


Gigi's Vanity
4 Materials
$00
16 Hours
Easy
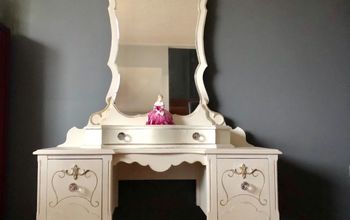
My lifelong best friend brought me this poor pitiful vanity. It was in her storage building and she needed the space. Since I am the one who always takes in orphan furniture, I was glad to take it under my wing.
It took me about a year to get around to it and once I did I wasn't quite sure where to begin.
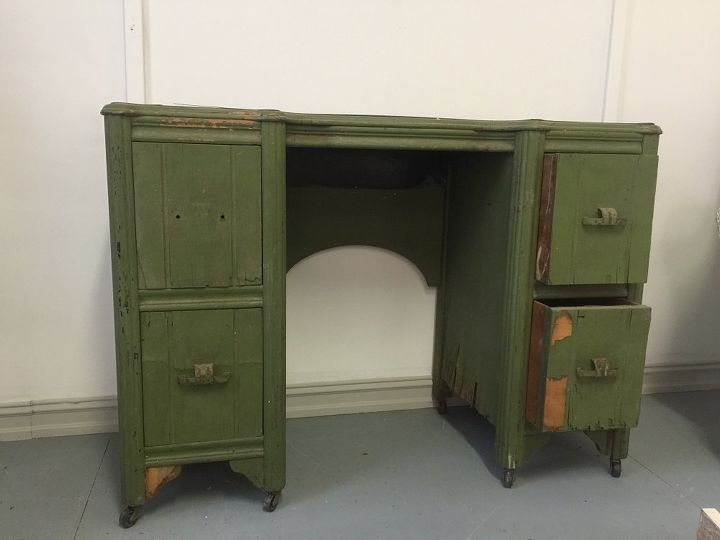
As you can see, it was in pretty bad shape. The veneer was peeling off almost every square inch.
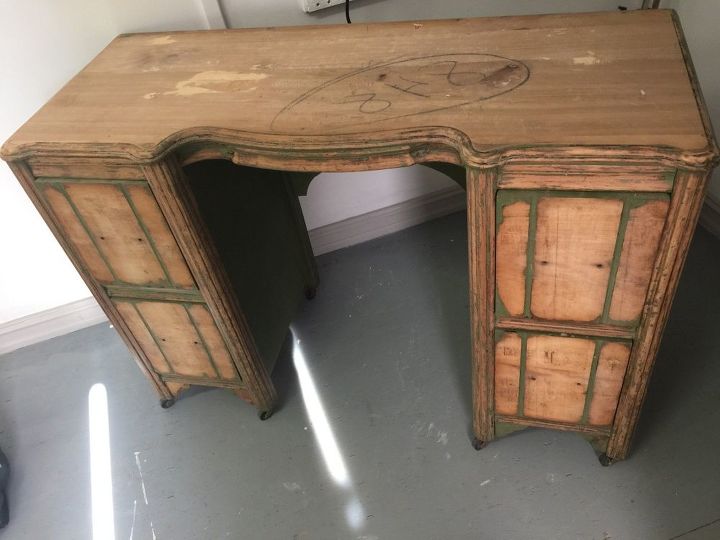
After a LOT of work, we finally removed all of the veneer. However, there was still a lot of ugly going on so I sanded (cleaned off glue) and decided to chalk paint.
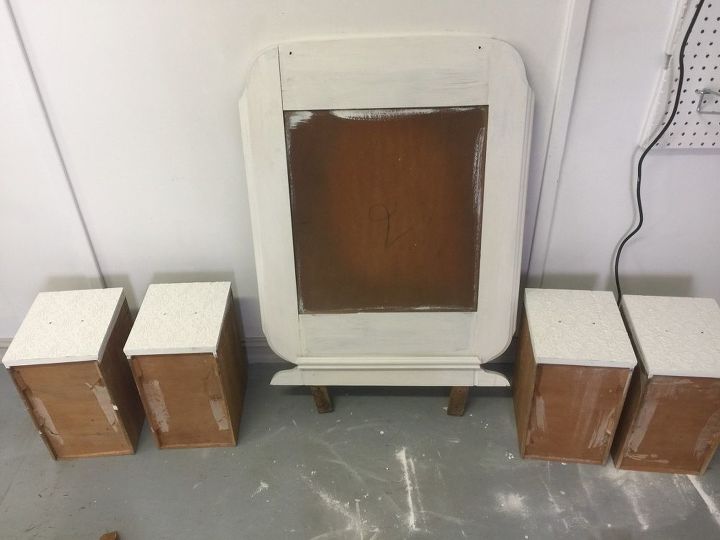
I painted everything white but there was so much damage that it needed something else.
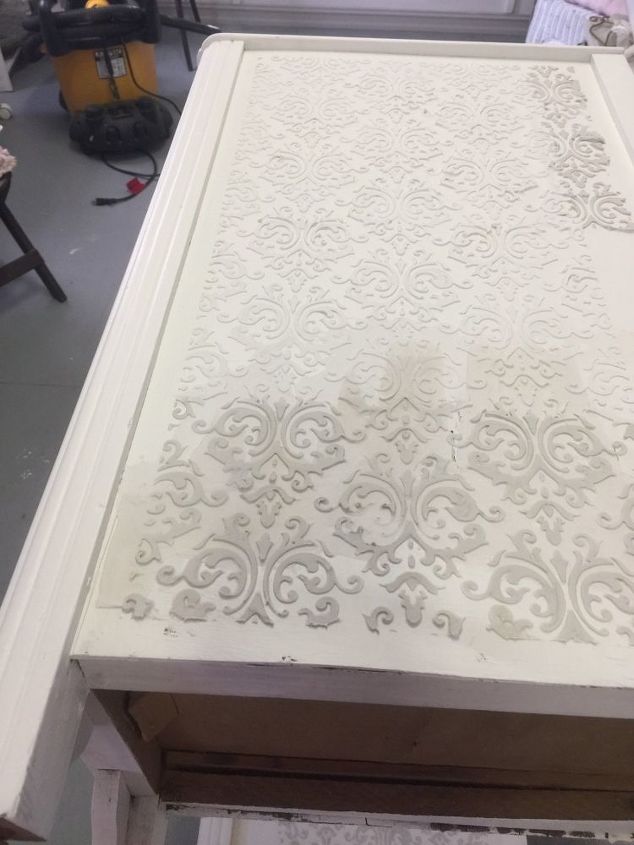
I decided to use my newest "go-to" technique, raised stencil. This would allow me to add texture and cover up the pits and dings in the wood. I layered the stencil (for the perfect fit).
Since I stenciled the outside, inside, and back, it took over 30 stencil placements to get everything covered. Add in the drying time between stencils and you can imagine the amount of time that went into this piece.
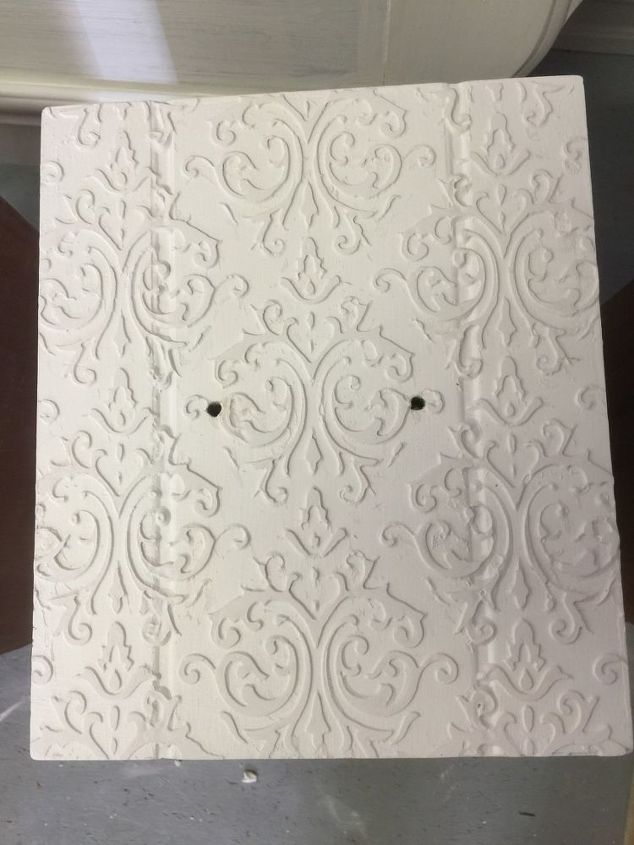
The drawers needed a little love, too so they got the same treatment.
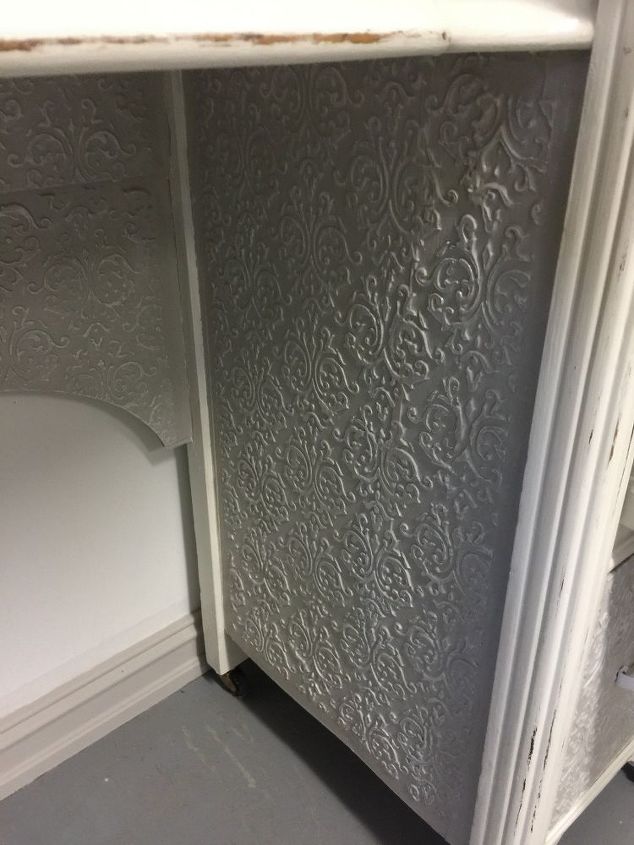
This is the inside of the vanity (where the chair goes). I painted the inside panels, outside panels, and drawers gray and used a dry brush technique in white before sealing it with polycrylic.
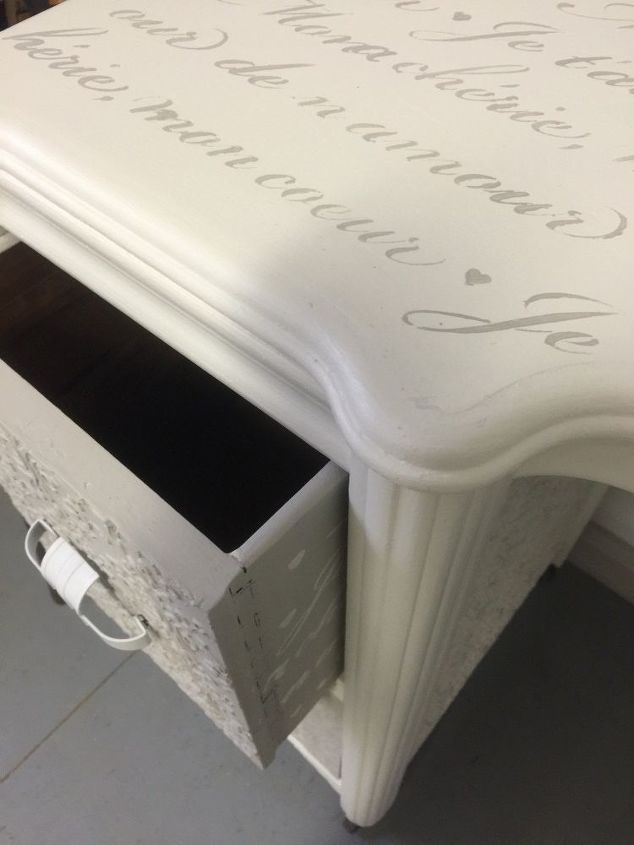
Next I stenciled a French scrip along the top and down each drawer.
Before I stenciled the top; but you can see the drawer stencil here.
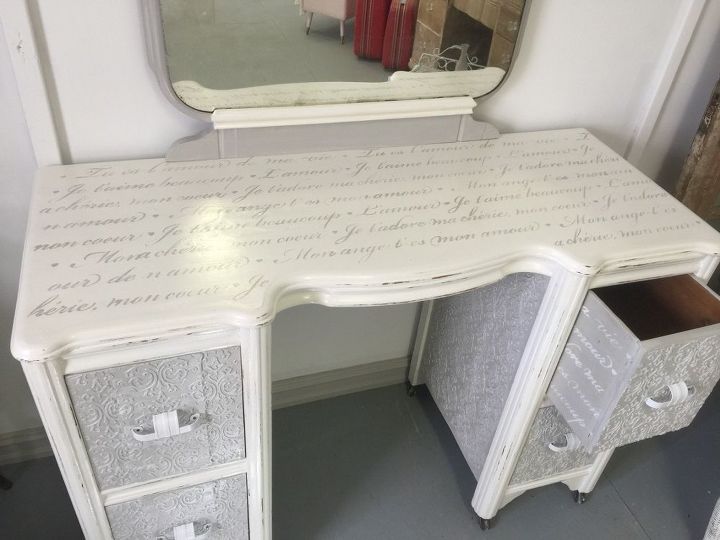
Here you can see the top and drawer stencil a little better.
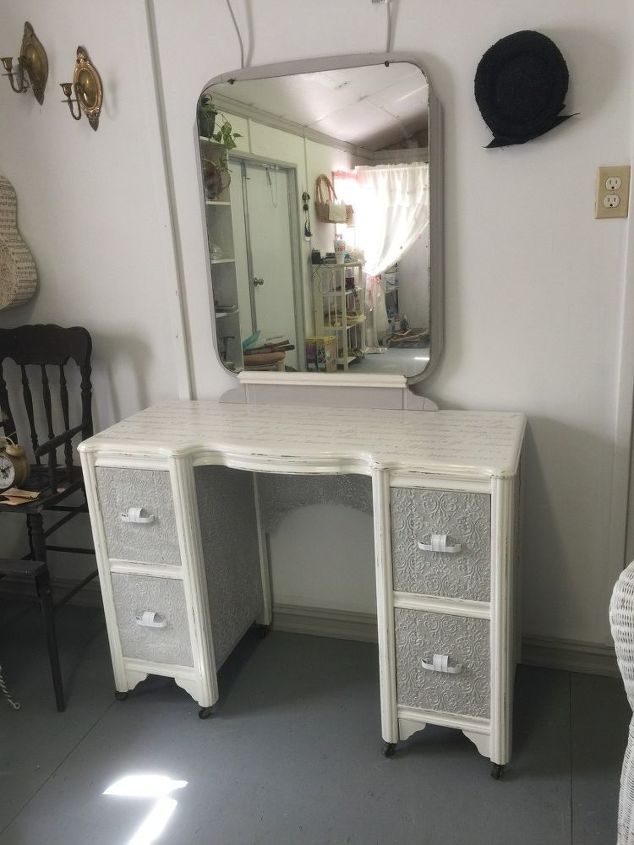
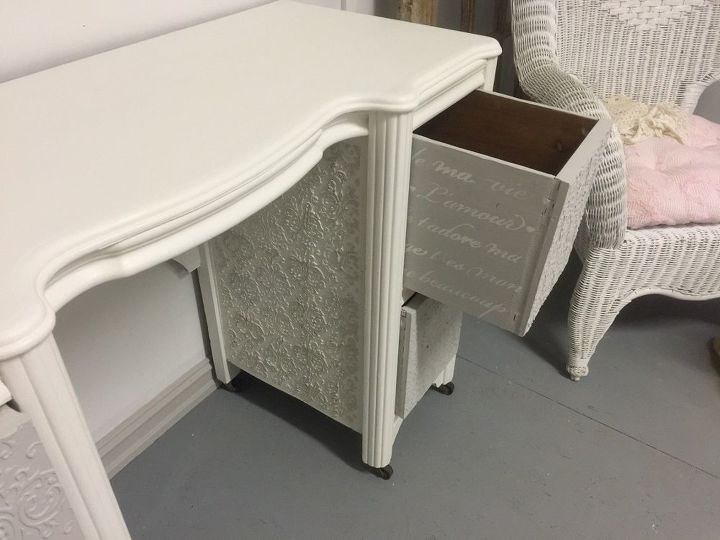
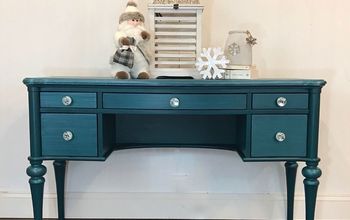
The finished product! I love the way it turned out and so does my friend. She ended up buying it back.

Want more details about this and other DIY projects? Check out my blog post!


Frequently asked questions
Have a question about this project?