


Halloween Candy Dish With a Twist!
6 Materials
$30
1 Hour
Easy
I have a love for painting flower pots and this year I decide to paint one and use as our Halloween Candy Dish!!!
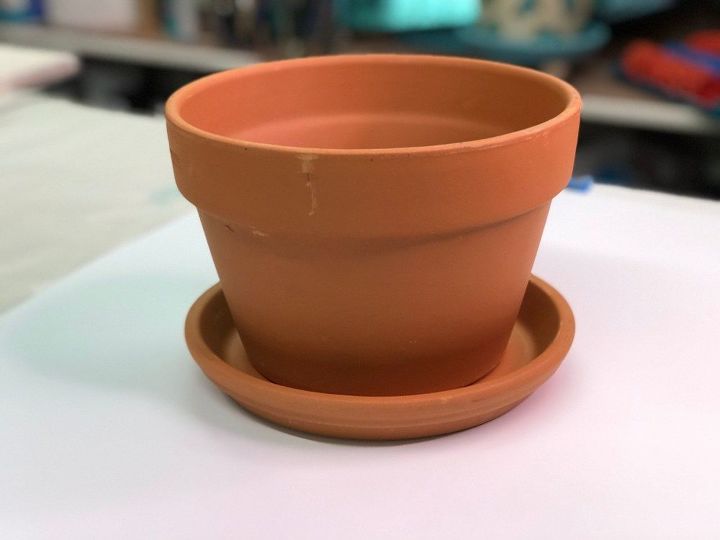
8" Fern Terra Cotta Pot
My favorite style pot if the 8" Fern Terra Cotta Flower pot - I love the shorter style.
Head to your local gardening store and pick yourself up a couple (because once you start painting flower pots, it becomes addicting)! First thing I always do is give them a good wipe down with a wet rag and then allow them to dry.
I start with priming the pots, I like just using Gesso but you can use any primer you have laying around. Apply the primer everywhere you plan to paint. Because I planned to use this as a dish, I primed 100% of the pot inside and outside.
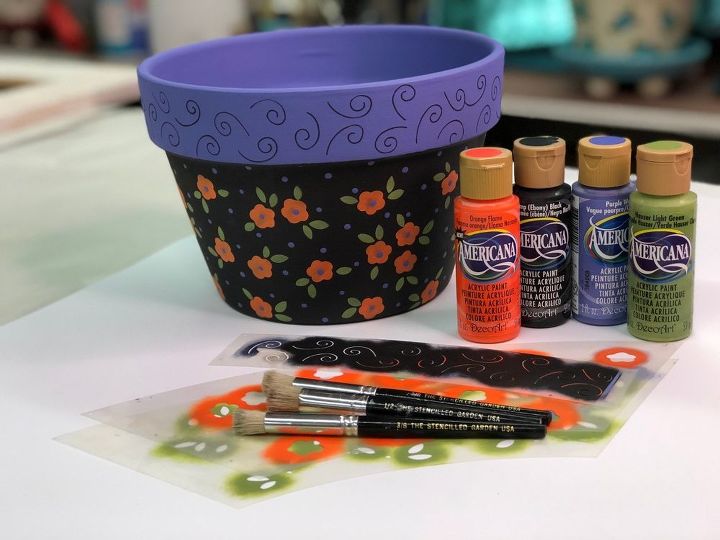
Then I applied some fun Halloween colors - Purple Wave and Black are my basecoat colors by DecoArt Acrylics.
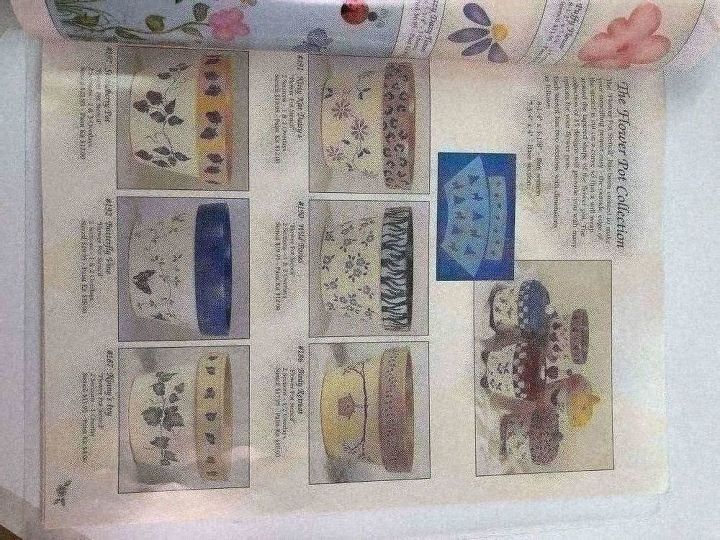
Stencil catalog flower pot designs
The next decision was to pick a stencil design to create my whimsical Halloween dish and I don't have Halloween designs. So, I just choose a fun flower pattern and painted in colors that reminded me of Halloween! You can't go wrong with Black, Orange, and Purple!!!
I actually choose two different stencils and used part of each pattern - Wild Posies and Wild Grapes.
These stencils are unique, in the fact that they are cut on a curve so they will wrap around a tapered shape (such as flower pots)!
My flower pot stencils have a design for the base section and a separate design for the rim and it's fun to mix and match as I have with this project.
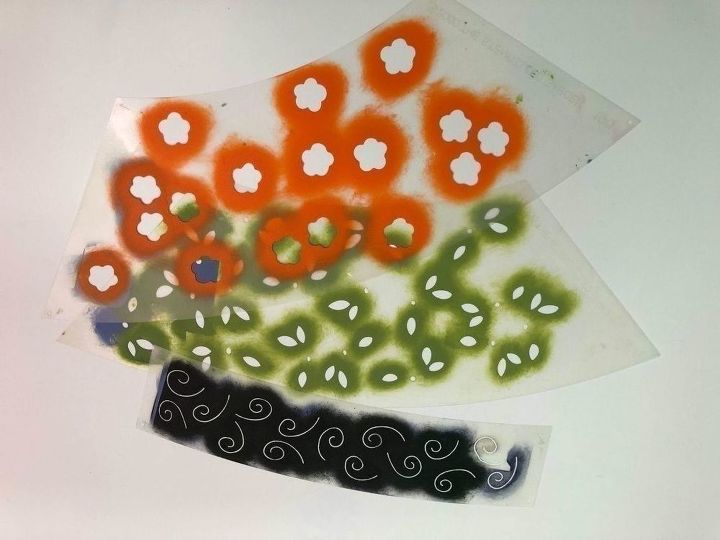
Just grab yourself a stencil design, some craft acrylics, and a few stencil brushes and this is a fun and easy project.
I used Black, Purple Wave, Light Hauser Green, and Orange Flame/Pumpkin mixed together for my orange color.
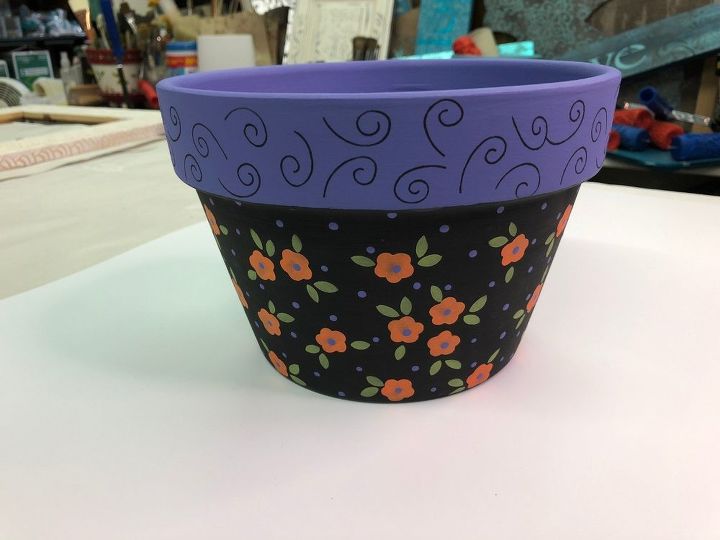
This will be an adorable Candy Dish for Halloween - just using the right colors can make anything look Halloween!!!
Make sure to check out my video for complete how-to step by step instructions!!! You can find the video on my Facebook page Artistic Painting Studio.
{
"id": "5091863",
"alt": "",
"title": "",
"video_link": "https://www.youtube.com/embed/bzMq4NEHC1U",
"youtube_video_id": "bzMq4NEHC1U"
}
{
"width": 634,
"height": 357,
"showRelated": true
}
Here is part one of the project!!!
{
"id": "5091866",
"alt": "",
"title": "",
"video_link": "https://www.youtube.com/embed/gSu0r09SI1Q",
"youtube_video_id": "gSu0r09SI1Q"
}
{
"width": 634,
"height": 357,
"showRelated": true
}
And part two!!!
Resources for this project:
See all materials


Any price and availability information displayed on [relevant Amazon Site(s), as applicable] at the time of purchase will apply to the purchase of this product.
Hometalk may collect a small share of sales from the links on this page.More info

Want more details about this and other DIY projects? Check out my blog post!
Comments
Join the conversation
3 of 28 comments
-
How sweet
-
Hello my name is Belinda Stevens i live in Augusta Me, this is the first time watching your video and i enjoyed it i love to do ant type of crafts i do them with my granddaughter ..... thank you for your video


Frequently asked questions
Have a question about this project?
How long did it take you to place and paint your stencils on it? It's very cute!
How can I save this video to my pinterest board? I can't find the pin.