


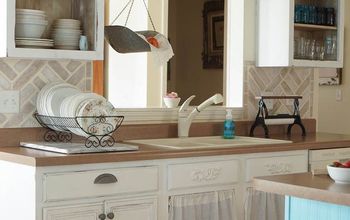
Thrifty Kitchen Transformation-Painting and Glazing DIY
Painting and glazing is an easy way to completely transform your kitchen cabinets! This is stage 2 of our thrifty kitchen transformation using existing cabinets. To read the full tutorial go to http://countrydesignhome.com/2014/06/26/thrifty-kitchen-transformation-diy-series-painting-glazing/
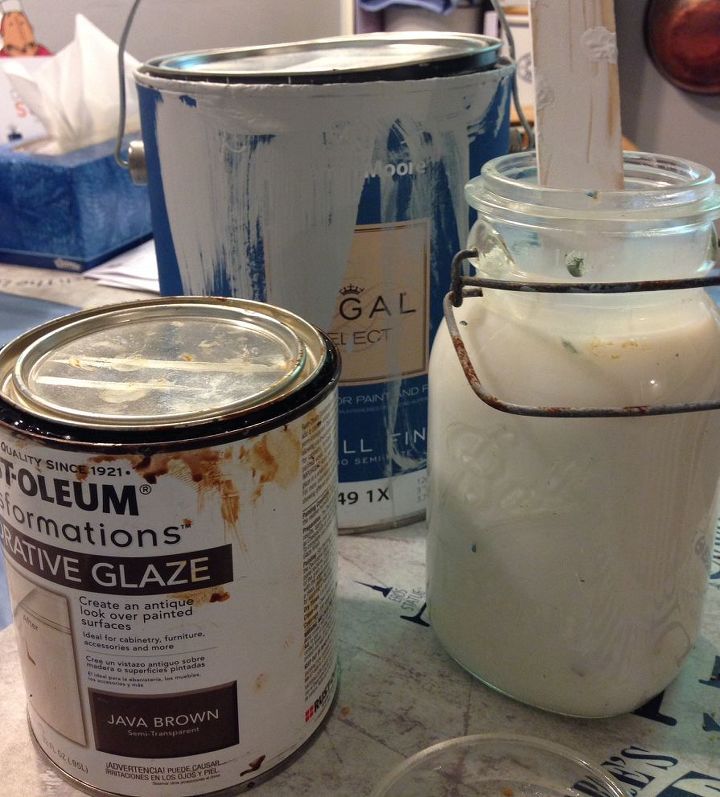
This is the color combination for the glaze. We wanted something very light, so I used Martha Stewart Antique Effects mixed with a teaspoon each of Rustoleum Java Brown Glaze and Benjamin Moore Whitestone Paint.
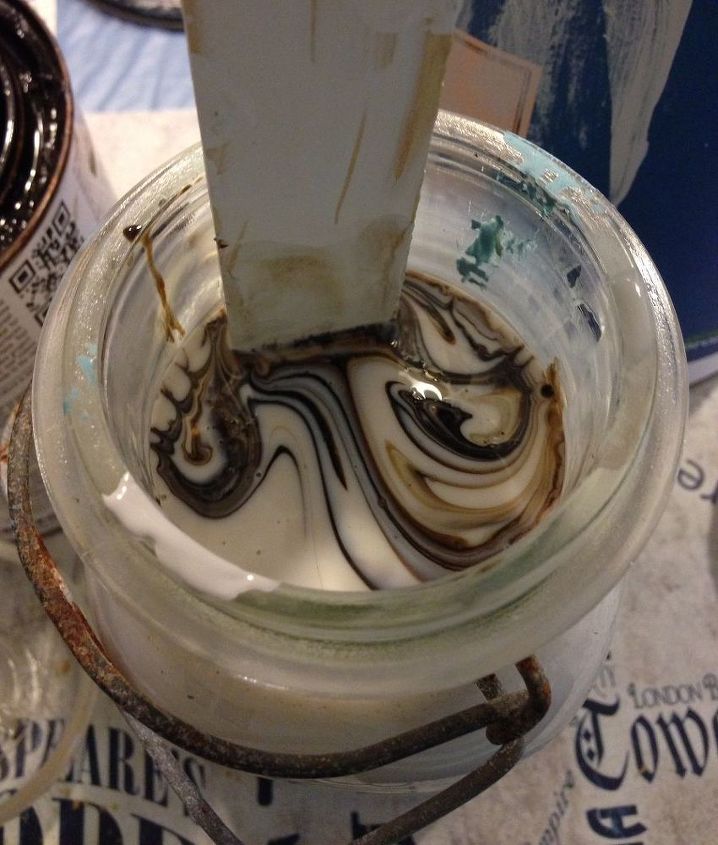
This resulted in a mocha swirl of colors! Since all the ingredients are water-based, they mixed together quite easily with the stirrer.
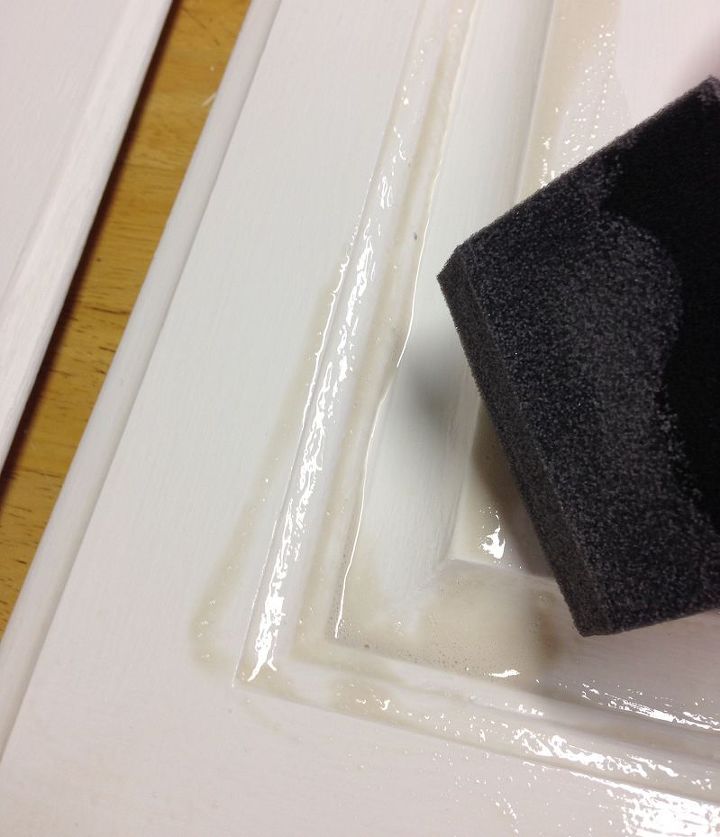
Easy to use: just paint the entire surface with a foam brush, making sure you get into all of the cracks and crevices.
Allow the glaze to settle for a moment to make sure it gets into all of the crevices and molding.

Wipe off the excess with a damp rage. Gloves, people!! This is the great part about the glaze- you can leave as much or remove as much as you would like to get the shade you want. If you want it to be darker, just add more color!
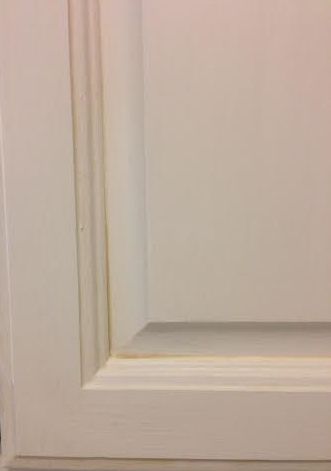
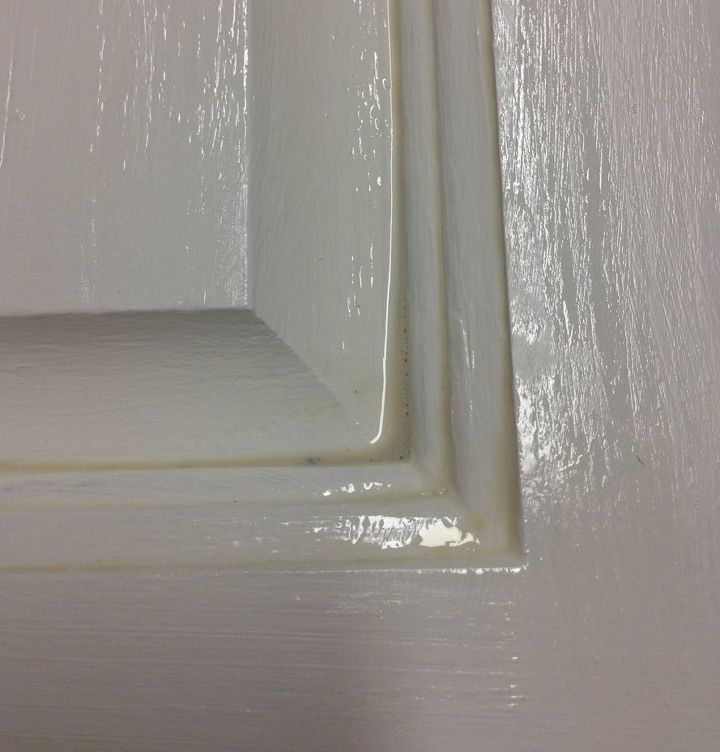
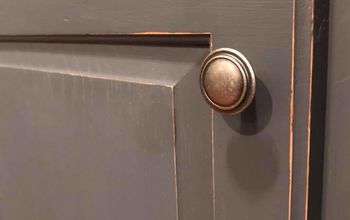
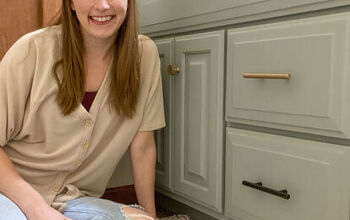
The cabinet door, dried and ready for the next step-the waxing! Read the entire tutorial on the blog today: http://countrydesignhome.com/2014/06/26/thrifty-kitchen-transformation-diy-series-painting-glazing/

Want more details about this and other DIY projects? Check out my blog post!
Comments
Join the conversation
1 comment
-
Thanks for the tips


Frequently asked questions
Have a question about this project?