


Easy DIY Cabinet Finishes

We're very excited for our next LIVE on Hometalk this Tuesday, 10/10/17 at 8pm EST. If you've considered learning how to paint kitchen cabinets, this is the one to watch. We are going to be painting 12 sets of cabinet doors and drawer fronts in ALL 12 colors of the Heritage Collection All In One Chalk Style Paint. We're showing you every color. Mix and match to get your perfect custom finish. We're also going to go through the very important steps of painting your cabinets. You're not going to want to miss this one!
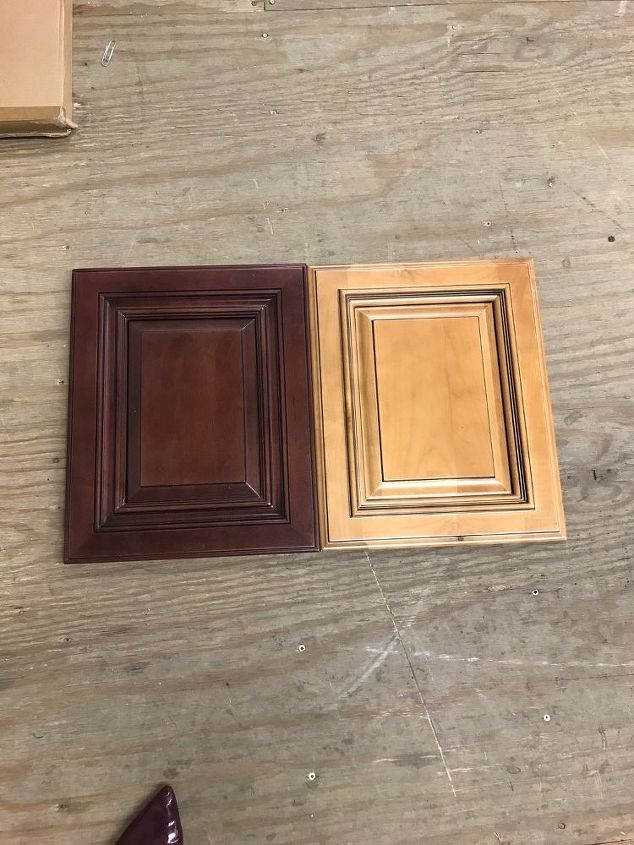
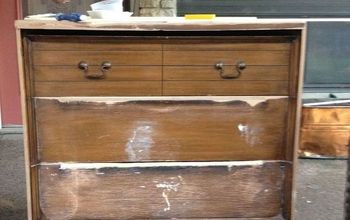
These are the cabinet doors we're starting off with. I know, they're kind of pretty as they are. But this isn't the look we're after. We're after light and bright or dark and moody.
Step 1 of Cabinet Painting is the most important step. I know all of the chalk style paint manufacturers, us included, say no prep. By no prep, we mean no sanding, bonding primer or stripping. That doesn't mean skip the cleaning step! Remember, most chalk style paints are water based. What doesn't mix with water? Do you remember from elementary science class? OIL! They don't mix. They don't even like each other, so its best to keep them separated. You'll want to start by giving your cabinets a thorough degreasing to remove surface oils. Don't think because they're not near your stove that they're not greasy. Grease floats in the air and sticks to everything in your kitchen. Even if you're a housecleaning extraordinaire (God bless you! Please come to my house to clean!), your cabinets need to be cleaned before you start painting them. We recommend using TSP which you can pick up at any hardware store. Mix per the manufacturer's instructions and give those cabinets a good rub down.
TIP 1: If you're working with brand new cabinets, don't skip this step! New cabinets can be even worse. Cabinet manufacturers put a wax coating on the cabinets to keep them from getting scratched in transit or sticking to the box. This wax is way worse than grease and water based paint does not like it one bit. Make sure you remove it thoroughly with TSP.
TIP 2: If you're painting your cabinets a shade of white, I always recommend a bleed blocking primer like a Shellac. Whites are one of the least forgiving paint colors to work with. That is why gray is the new white in kitchen decor!
Now we're ready for Coat 1. First things first, stir your paint. Shaking isn't going to cut it with an All In One. Remember, this paint has built in bonding primer, wax and top coat. That's a lot of heavy ingredients that need to be mixed in well. Take a stir stick and whip from the bottom for 2 minutes per quart. I know, that's a lot of stirring, but this will solve 95% of the problems that DIYers encounter.
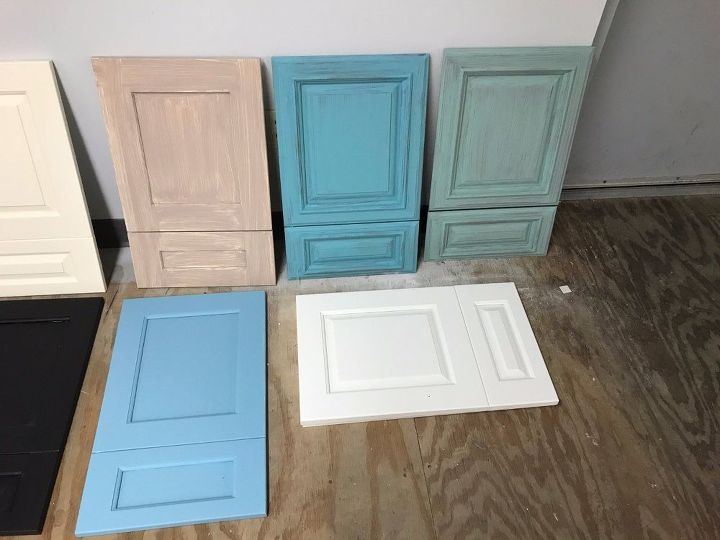
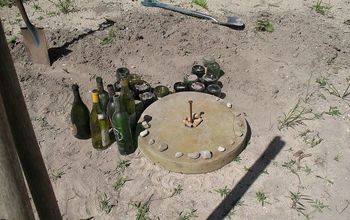
The 3 cabinets along the back are coat 1. As you can see, they're not gorgeous. That's okay. Coat 1 is the base coat that is establishing your bonding. Push through the ugly phase! Don't judge coverage or brush strokes at this point. You need to give the paint a chase to bite onto your surface. Once it does, it will hold on for dear life.
TIP 3: For coat 1, we recommend a stipple technique. That simply means you're going to pounce your brush rather than doing linear strokes. This helps with the bonding, coverage and sets you up for a super smooth finish for coat 2. You don't want to dry brush this coat on but at the same you don't want to saturate this coat. Think Goldilocks. You need just the right amount. To achieve this, I dip my brush and draw just one side of my brush against the container to the remove the excess. I don't do both sides. That prevents drips while giving me a good amount of paint on my brush.
TIP 4: We recommend using a good quality chalk brush like our Syntec Chalk Brush.
TIP 5: Make sure you allow coat 1 to fully dry. Don't rush your dry times. Wet paint removes wet paint. If you're starting to paint coat 2 and your removing more paint than you're putting on, its not quite ready yet. Stop and let it dry longer. Typical dry times are 30-60 mins, depending on heat and humidity. For cabinets, I always opt for 60 minutes to be sure I've allowed ample time for the coat to dry and bond. Even though this paint makes painting cabinets a doable task for the weekend warrior, you don't want to have to go around all those doors an extra time if you can avoid it.
Colors Shown: Vertical from left to right: Cappuccino, Amalfi, Verdigris.
On the floor left to right: Wedgewood, Cashmere
Now we'e ready for coat 2. This is where the magic starts to happen. You're going to want to apply a liberal coat. See tip 3 for how to achieve just the right amount of paint on your brush. This time, you are going to do the traditional linear stroke. Allow to dry thoroughly.
If your achieved the desire coverage, you can stop here. Allow 48 hours for the paint to fully bond and then you're ready to put your kitchen back together for normal use. That's right, we're done at the paint level. No top coat required, not even for your kitchen cabinets using the All In One Paint!
TIP 6: Allow your cabinets to cure for 30 days before you take any cleaners to your painted finish and for it to become scratch resistant.
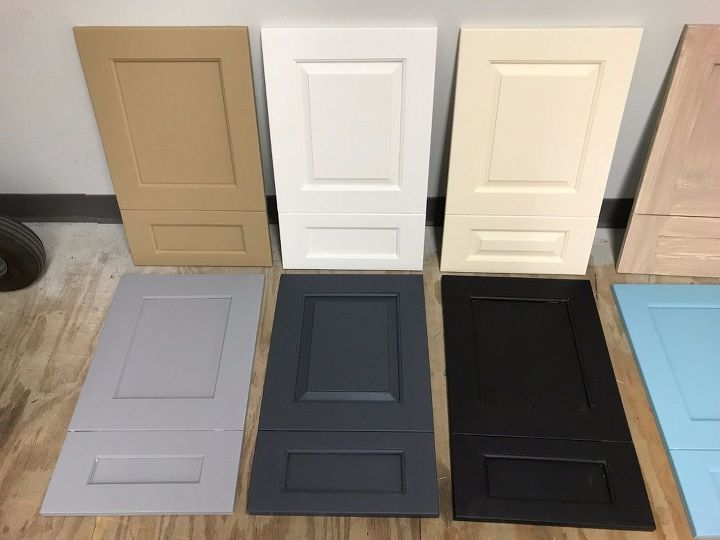
Colors Shown: Vertical from left to right: Tuscan Wheat, Cashmere, Manor House
On the floor left to right: Cobblestone, Cathedral, Iron Gate
Colors Not Shown because we're going to do those live are: French Toile and Polo
Here's a great example of a cabinet makeover using the color Cathedral. Our Facebook friend Patti Wadsworth shared her gorgeous kitchen with us. How rich and gorgeous is this color!

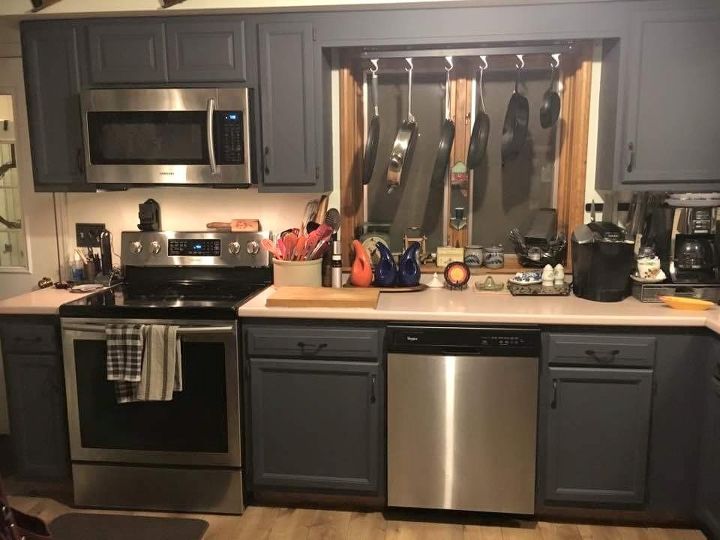
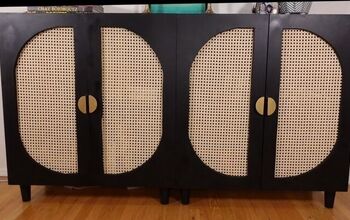
Here's another great example of All In One Paint on cabinets by our Facebook friend Philian Neumann. This time we're showing you a great two tone look featuring Manor House on the fronts and Cathedral on the outers. You could also do a great two tone look by painting your uppers one color and your lowers another.
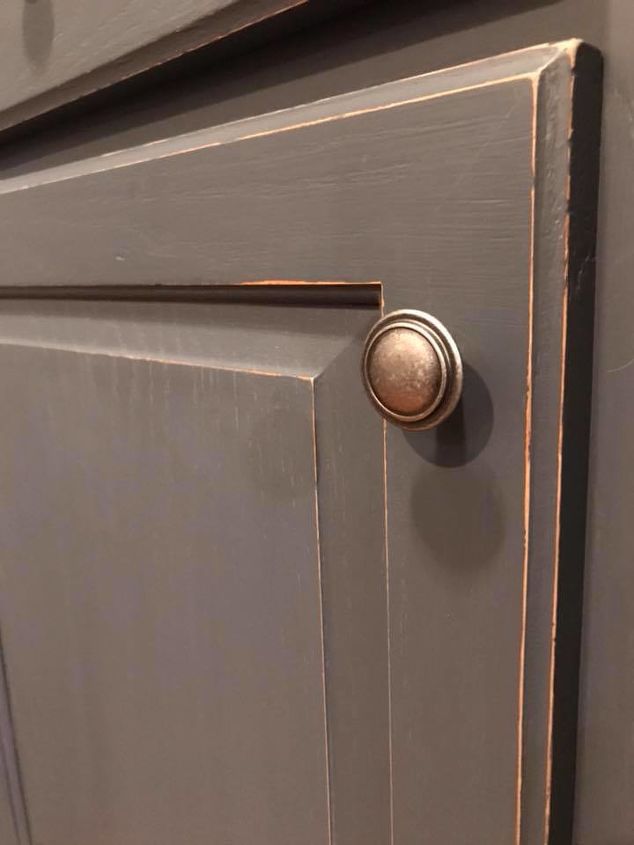
Here's an example of Cobblestone with the optional Weathered Wood Antiquing Gel and light distressing. Don't forget to update your hardware to complete your makeover.
Picture from our Facebook friend: Julie Broadfoot
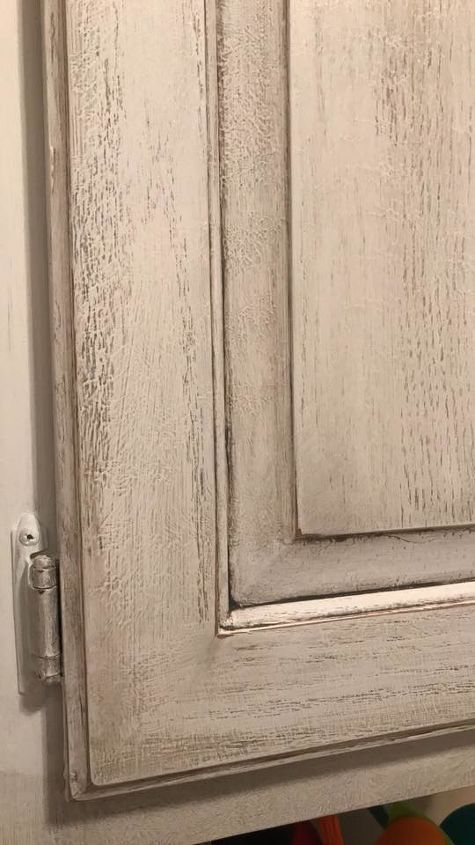
This is my fav look. Manor House with the Weathered Wood Antiquing Gel. To learn how to apply the antiquing gel to your cabinets, be sure to join us on Hometalk Live on 10/10 at 8pm EST. We'll be covering lots of tips for painting your kitchen cabinets from choosing the right color, distressing, antiquing, painting tips, cure times, how much paint you need, etc. We're covering it all so you can feel confident tackling this job yourself!
Picture from our Facebook friend: Julie Broadfoot


Frequently asked questions
Have a question about this project?
does this paint work on laminate cabinets?
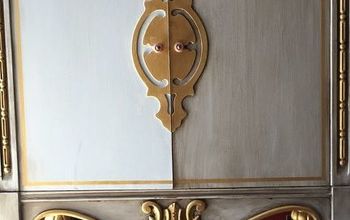
How did you do the golden door in the first photo? I watched the kitchen cabinet video and didn't see it explained. The wood-grain is showing through and it looks like the texture may be stained/wiped?