


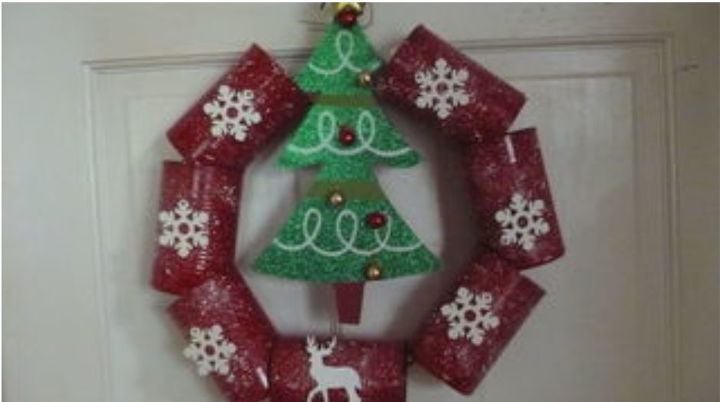
TIN CAN WREATH!

When I saw a Tin Can Wreath posted, I knew I had to make one. If you want to make one, be sure and save this post so you can save yourself lots of time an frustration trying to manage those cans!
Only $3.00 additional cost...everything else I had around the house!
This idea could be decorated for every occasion from Halloween to Spring flowers...any color, any theme!"
Will I make another one? Probably since I now have it MASTERED!
I'm already thinking St. Patrick's Day!!! Then Easter, then....
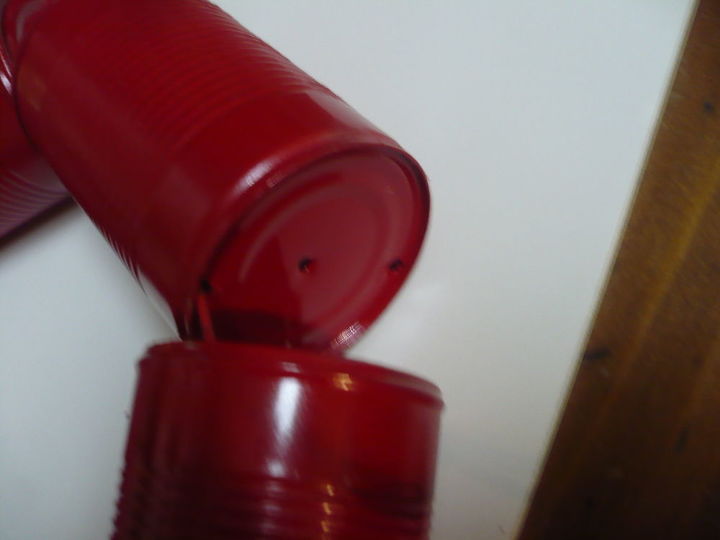
After the cans were collected, the coat hanger opened up and everything spray painted with glossy red Rustoleum paint, Hubs drilled 3 holes in the bottom for me since I had no idea where exactly where I would need the holes.
Don't worry about getting the glue off where the label was stuck to the back of the can...once they are painted and flecked with snow, you can't see it.
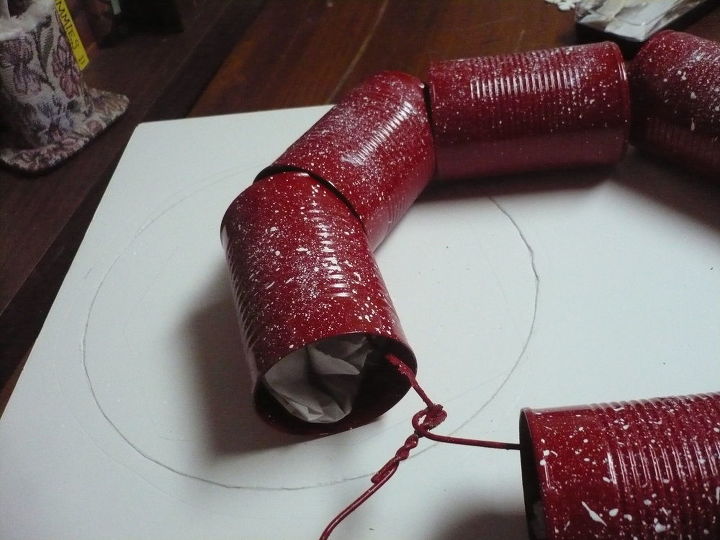
This is where it got tricky! Trying to keep these cans in the position so the decorations would be in place and keep the wreath round, was like herding a group of playful puppies! Thankfully, my son was here and suggested I hold the can where I wanted it and stuff the can with newspaper!
NOTE: When you run the wire through each can and turn it in the direction you want it to lay, the wire is not laying in he same place on each can. I stuffed paper under, around and on top of the wire to hold it in place. I tore the paper into the size of about half a sheet of typing paper and stuffed it as needed.
Once I got the cans stable, the paper was not visible. Had it been, I was prepared to top them off with some red tissue paper I had.
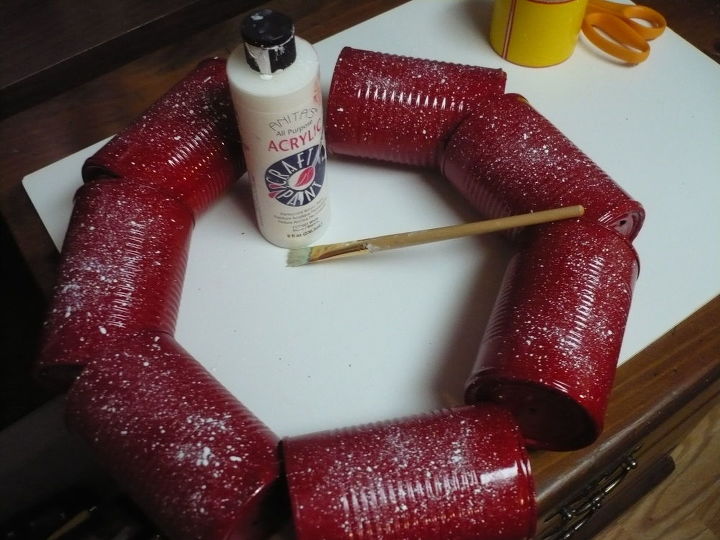
I then "flecked" white craft paint onto the cans to make "snow."
I had tried to do the painting earlier, but had to touch it up when I finally got the cans stable. So I would suggest you stabilize the cans before
"flecking" on the snow.
Do not overload your brush with paint to make sure you get a fine mist. A small paint brush or even a toothbrush will work for this.
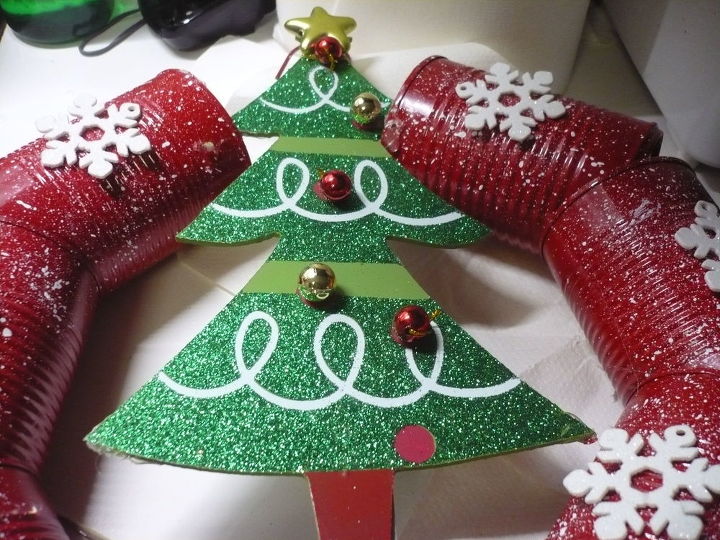
Once I had the cans stabilized, I used my hot glue gun to attach the snowflakes & Deer to the cans, and a star and small ornaments to the wooden Christmas Tree (I took this with one ornament not yet attached). Once this was done, I wired the tree to the top of the coat hanger.
That was about it! After wrestling this for hours, it was finally done!
I put the time worked on this as 4 hours, but it will be a lot easier for those reading this post because the difficult part was struggling with those cans. Once I got the hang of it, things went quickly.
Now I have an hour's work putting up the tools and things I pulled out of the closet...but that was not included the hours listed! LOL
Everything except the $3 spent for decorations came out of things I had around the house.
Comments
Join the conversation
-
I will defantly try this
-
I Love this! 💕
I suggest punching two holes in the side of each can and run a pipe cleaner through each one and then tie onto a wire wreath or other types of forms.
You could probably just hot glue them on a form as well.
Cans could be attached horizontally side by side as well.


Frequently asked questions
Have a question about this project?