


Uncle Fester Lamp

I was always a fan of the Addams Family, as a little girl I remember watching the TV series and movies with my family. And so recently as I was thinking about getting rid of an old lamp I no longer needed & then I thought why not make it into something cool and so here is how I made the Uncle Fester Lamp.

First of all I needed to remove the lamp shade, so I started by disassembling the switch and cutting the neutral wire. After that I took apart the base so that I could unscrew the lamp shade and pull out the wire attached to the socket.
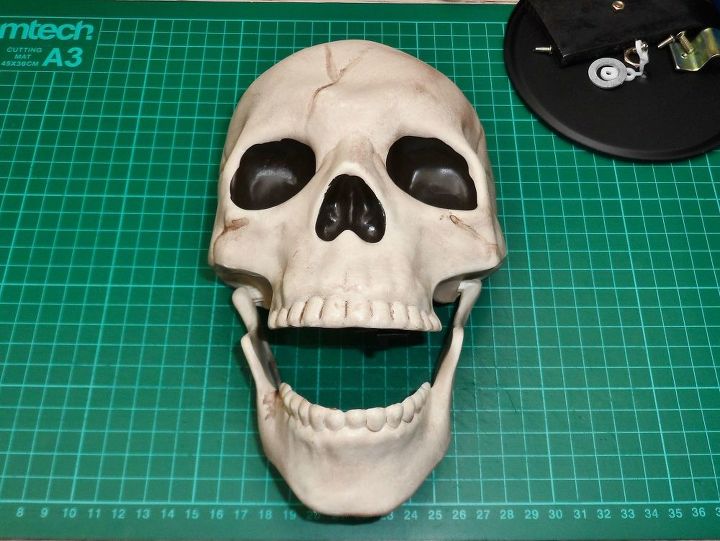
The skull I bought had a stake attached which needed to be removed. Following the removal I needed means in which to mount the skull onto the lamp arm, so I aligned the lamp arm with the skull and drilled a couple of holes.
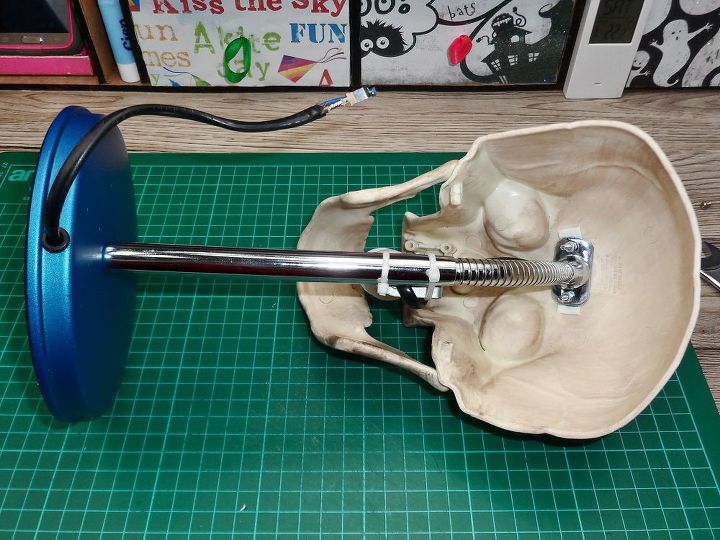
I didn't want the wire to be pinched in between the skull and the arm, so I attached some double sided foam tape onto the holes and gently bend the side of the arm top. Following that I was able to thread the wire through the arm and screw the arm onto the skull using two 20mm M3 bolts and nuts and join the base back together.
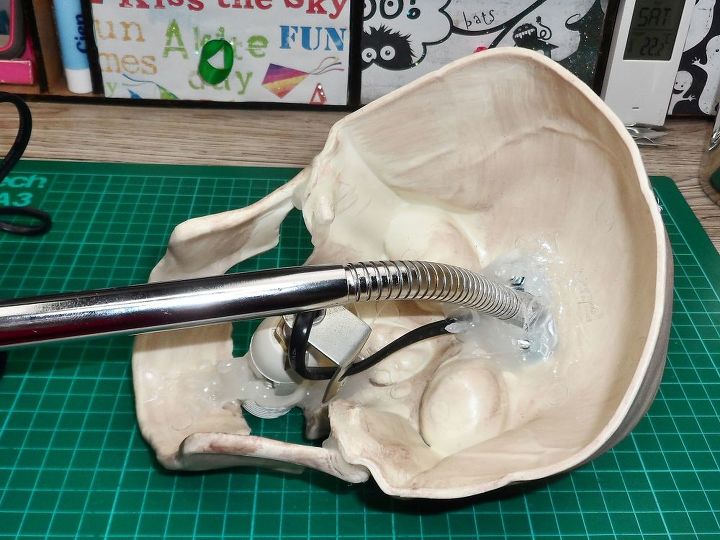
In order to assemble the switch I slid a heat shrink sleeve over the neutral wire, soldered the wires together, heated the heat shrink sleeve with a lighter and then joined the switch pieces together. Next I placed the bulb socket in between the teeth and fixed in place with hot glue.
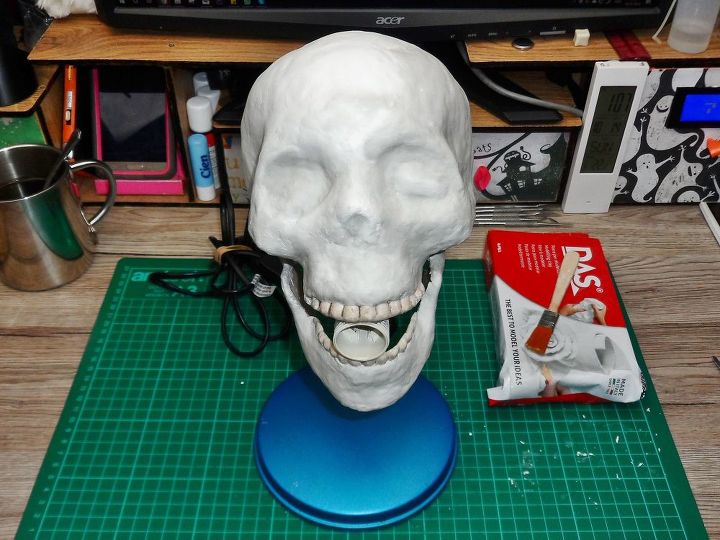
The skull was a little slippery so I started by covering it with the clay and allowed it time to dry completely. This way it was easier to add more clay later. I carried on adding more and more clay wherever it seemed necessary until I was happy with the shape of my Fester.
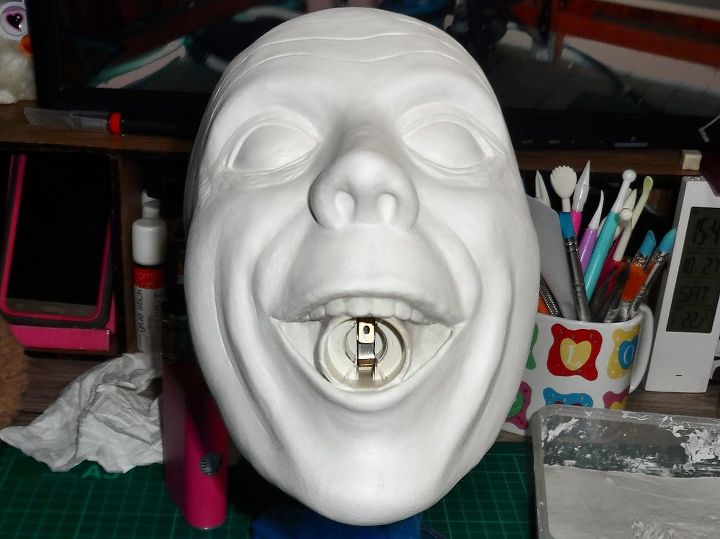
For smoothing I used a cut up dish washing sponge. With the rough side I was able to get an even surface and the smooth side was very useful for polishing. At first I planned to keep the original teeth, but I didn't really like the look of them after adding clay so I sculpted the teeth as well.
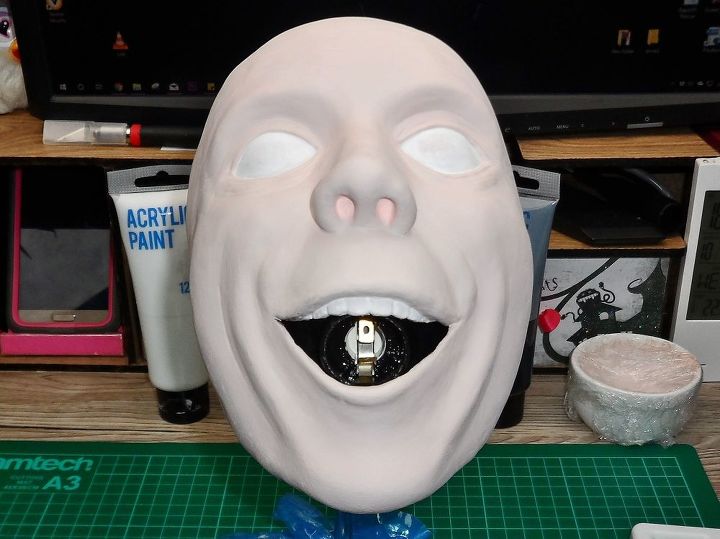
For Festers face I mixed a spot of red, yellow and black with white acrylic paint. It took about 4 or 5 layers to get an even coverage. Once dried I painted the eyes white and inside of the mouth black.
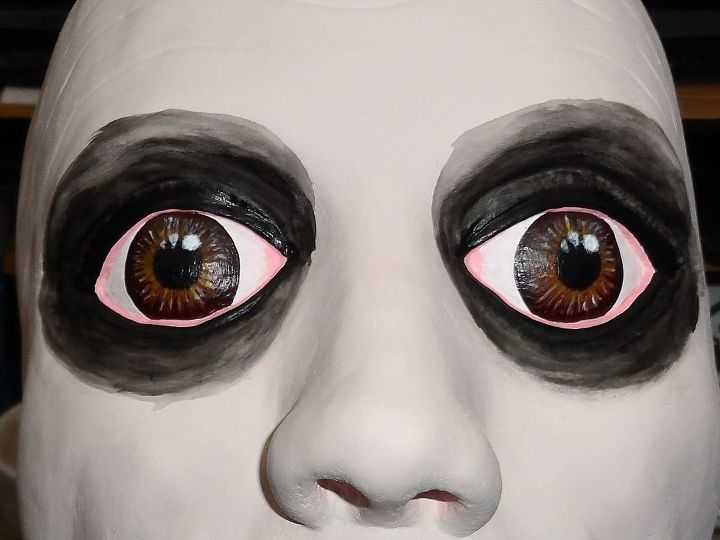
For the iris I cut out a paper circle and traced it onto the eyes. Then I painted the iris brown and black for the pupil. Following that I added dark brown, white and yellow lines into the iris not forgetting about the white reflection spots. Next I outlined the inside of the eyelids and the tear ducts. Fester wouldn't be Fester without black eyes so I diluted black paint with water and painted large circles around his eyes.
Fester means to rot so it didn't feel right to leave his teeth bright white. A spot of yellow and black paint solved that problem.
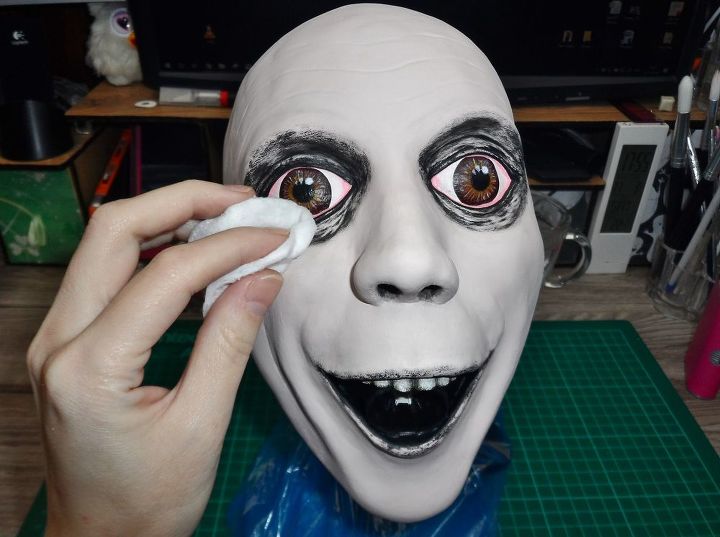
Because I slightly overdid it with the black paint around his eyes I decided to tone it down a little. For this I used a cotton wool pad dunked in water. To add more definition to his face I used black eye shadow for wrinkle lines and smudged them with my finger. To finish off I used a tissue to wipe away any leftover eye shadow
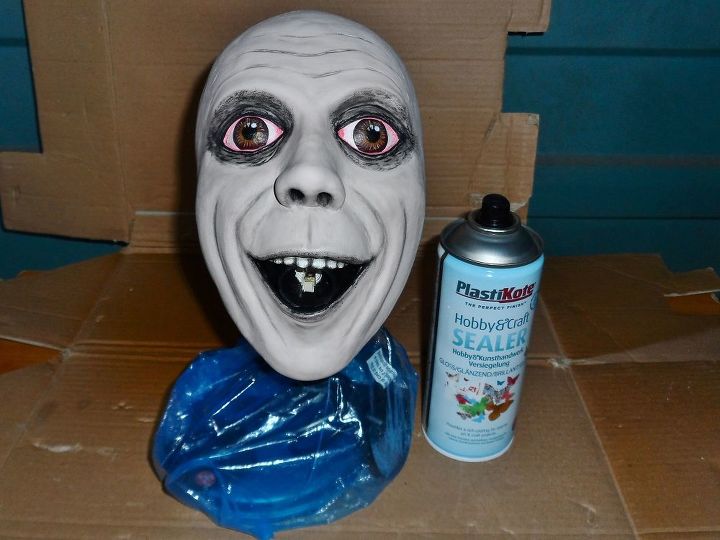
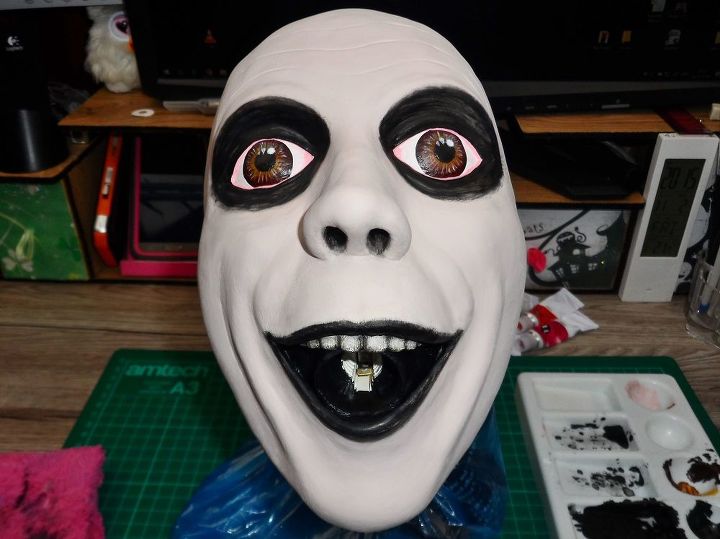
Lastly I used a hobby and craft sealer to add a shine to his bald head.
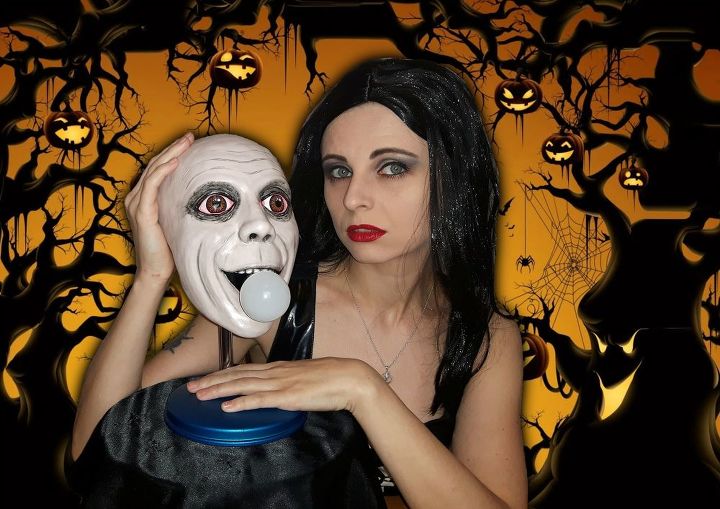
The whole project took about 20 hours to finish plus some drying time and I'm very happy with the result. If I was to make him again the only thing I would do differently are his eyes. I would probably use the eye shadow instead of the black paint around his eyes.
For more photos go to: https://www.instructables.com/id/Uncle-Fester-Lamp/
Comments
Join the conversation
-
Awesome! My cats names are Wednesday and Pugsley.
-
I’ll buy one!


Frequently asked questions
Have a question about this project?