


DIY Shiplap Fireplace Makeover
We took our boring, builder-grade fireplace and gave it a total transformation to make it feel a little more special! Here are the details on how we got it done (if you're curious about the mantel, it's a DIY project! Click here to see the full tutorial).
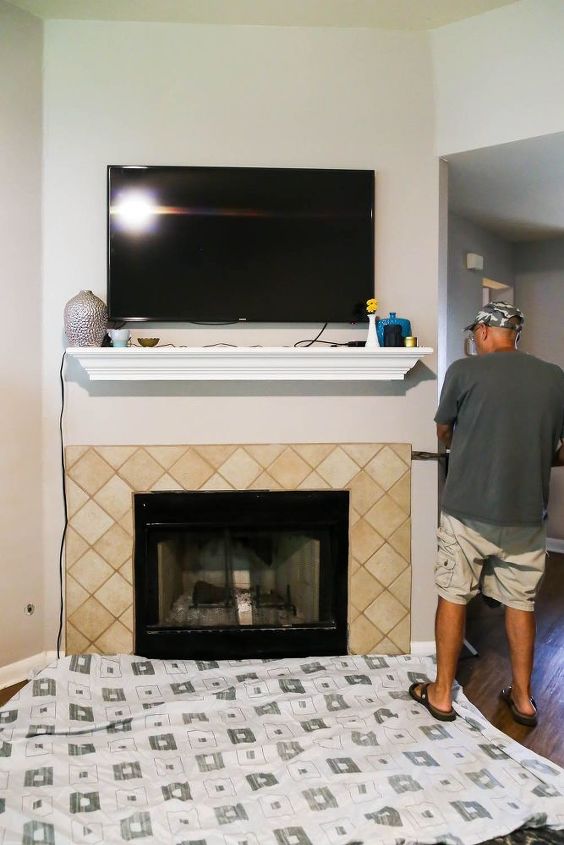
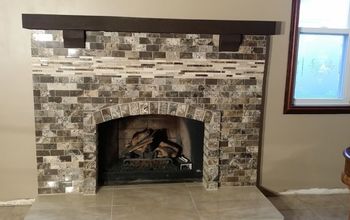
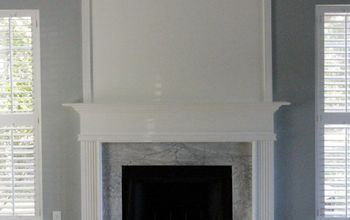
Here's a peek at what our fireplace looked like beforehand - the tile was pretty ugly, the mantel was way too high, and there really wasn't anything special about it. We started by removing all of the tile and replacing the drywall behind it.
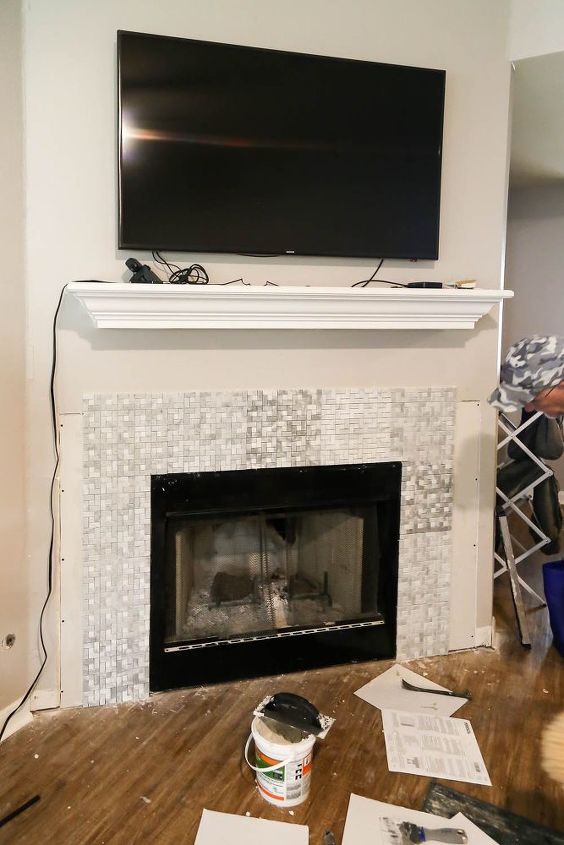
After that, we installed our new mosaic tile. We shifted things a bit so that the tile was lined up a little better (before, it was noticeably wider on one side) and we took the tile a little higher up on the wall than it had been, and planned to move the mantel down to meet the tile.
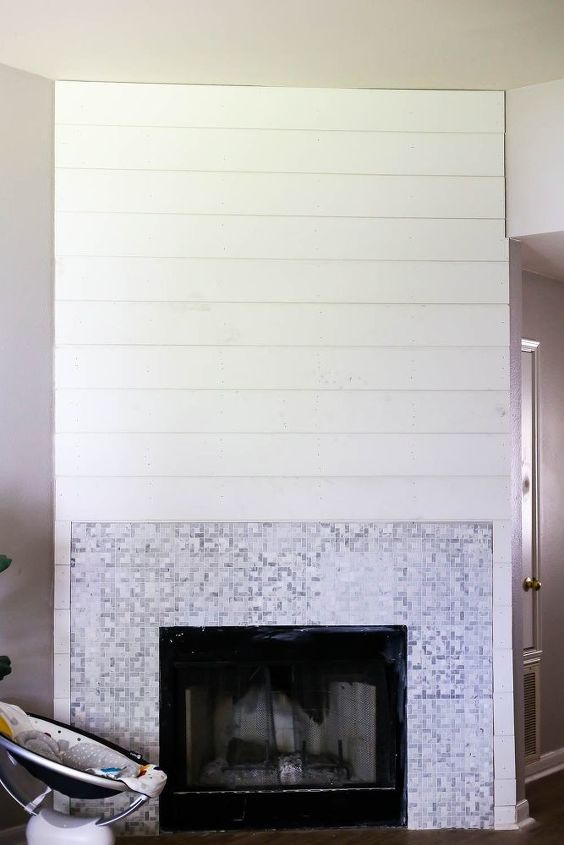
After the tile was installed and grouted, we installed our shiplap. We used lengths big enough to cover the wall without any seams, and took the shiplap from the floor all the way to the ceiling.
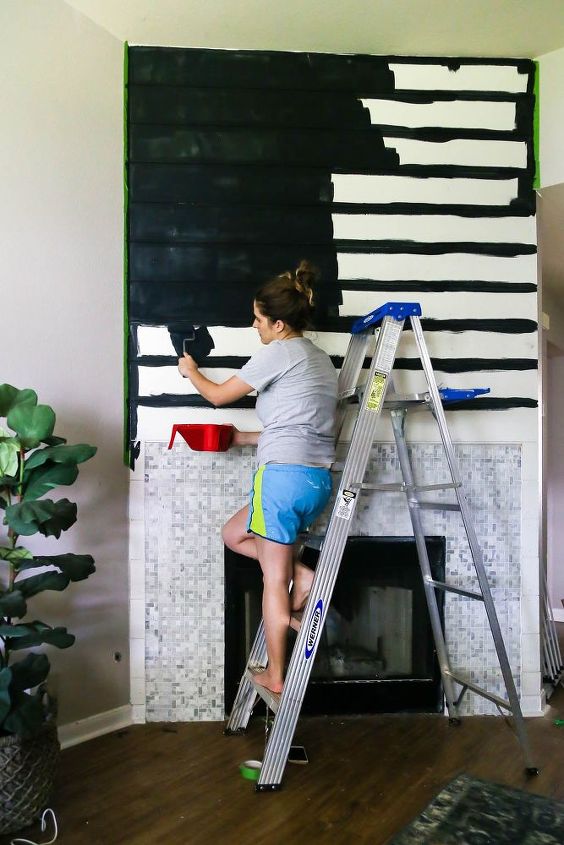
After installing the shiplap and caulking the nail holes, we painted all of the shiplap black.
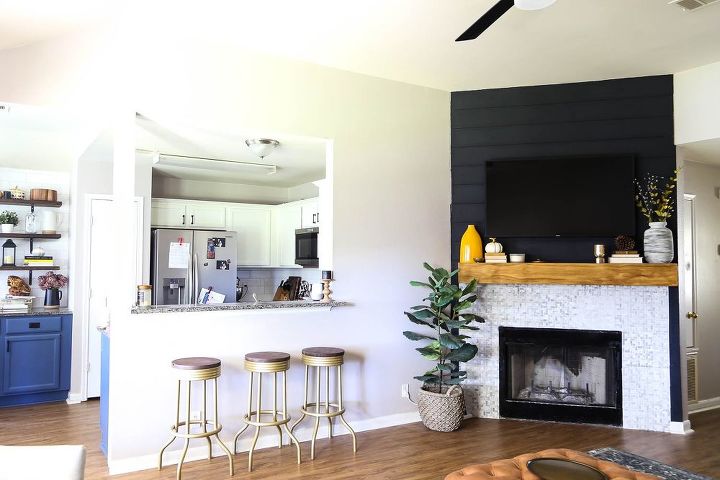
And finally, we installed our DIY mantel (see the link at the beginning of this post for the details on that) and re-hung the television! Now, the fireplace is a gorgeous focal point and the television above it no longer sticks out like a sore thumb. See the full blog post for more details on the project, including sources and links to related posts.


Comments
Join the conversation
-
I love what you did, I would not go with black. I would use a shade of gray.
-
I would never have thought to use it, but I like how the black hides the television.


Frequently asked questions
Have a question about this project?
What did you use where the tile meets the shiplap to graduate the difference?