


Build an Antique Wood Crate
Here's a darling, versatile piece that can be used for storing items or decorating! Our contributor, Mindi, from My Love 2 Create shared this project with us. Although this is a perfect centerpiece, it would also be a pretty way to organize clutter. It's an easy build, that anyone can do, with just a few tools.
Our quick video shows the process for creating this antique crate. Be sure to watch for helpful tips and tricks.
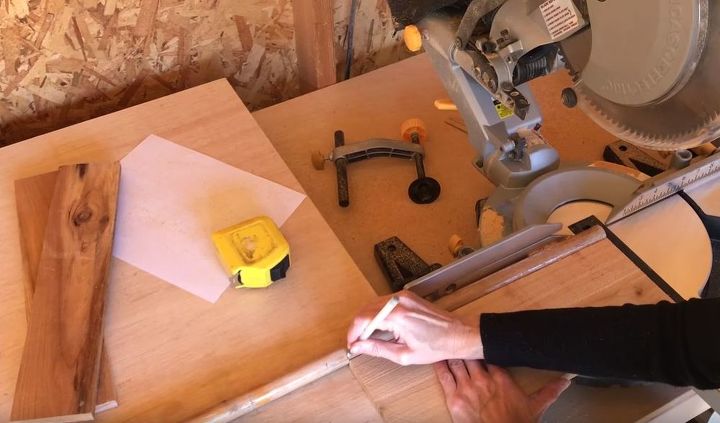
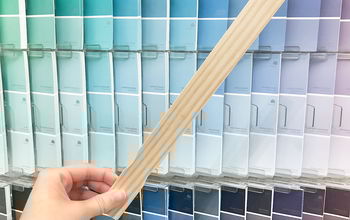
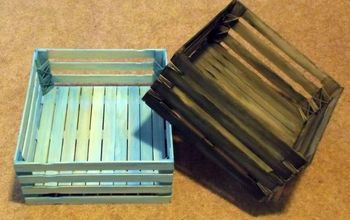
Measure and cut the pieces for your crate. Check out our antique wood crate blog post where we give you more details on how to do this and a cut list.
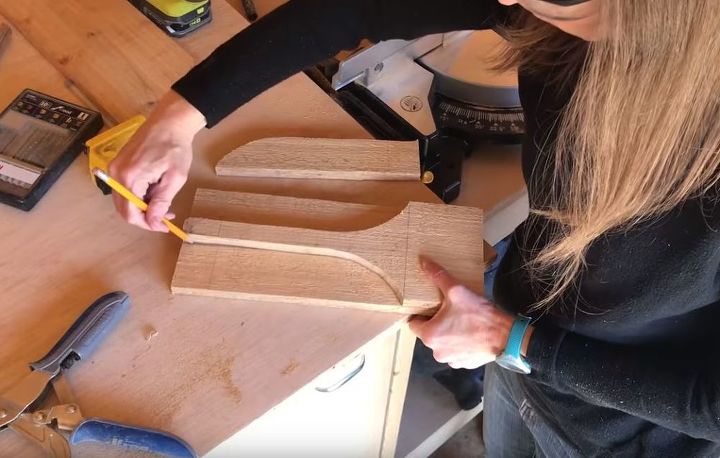
Once you've cut one side piece, it's easy to trace it in order to cut the 2nd side piece. Sand your pieces to remove rough edges and splinters.
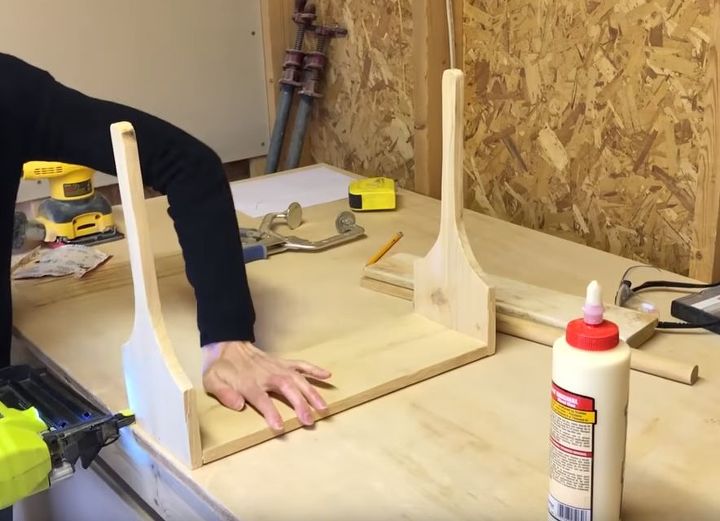
Glue and nail sides to the bottom piece of the crate, then nail on the handle. Attach side pieces with glue and nails.
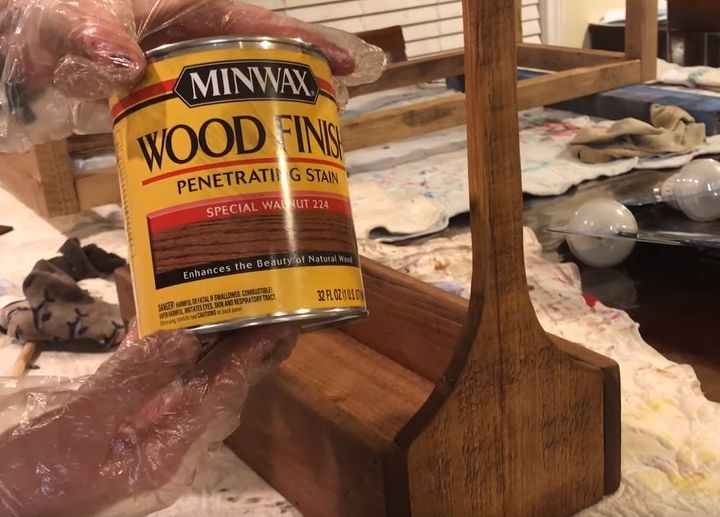
Condition and stain your crate. Mindi also used a technique to whitewash and antique her crate. You can find more information on the process by referring to our blog post.
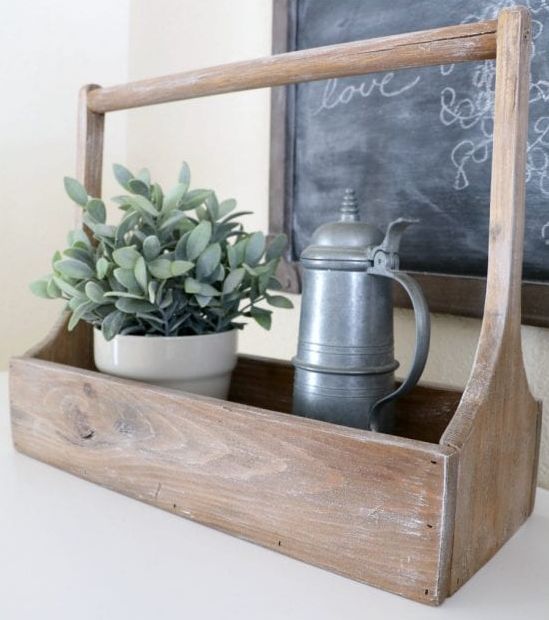
And now for the finished product!! We think it turned out so cute. What an easy, fun, and quick project. What will you use your antique crate for?


Frequently asked questions
Have a question about this project?