


Easy DIY Open Shelving
Here's a quick tutorial for how I added open shelves above the toilet in my bathroom. It's a much better look than the ugly cabinet that was there before, and it's super functional too. This project is incredibly simple and can easily be completed in an afternoon! If you love this project, you can find more easy and affordable DIY ideas on my blog , Love & Renovations.
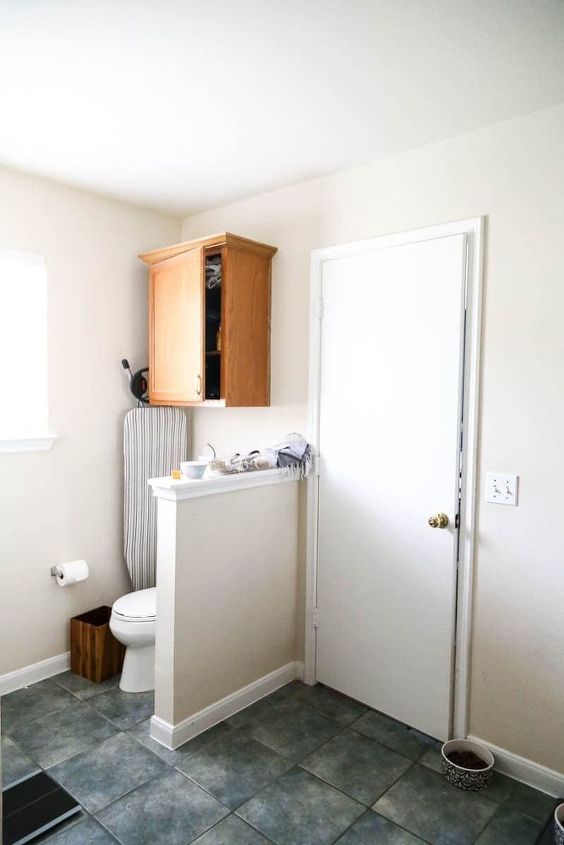
Here's a look at my bathroom before - pretty standard, with a plain cabinet hanging above the toilet. It was never super functional for us (and we hated the look) so we decided to do something about it.
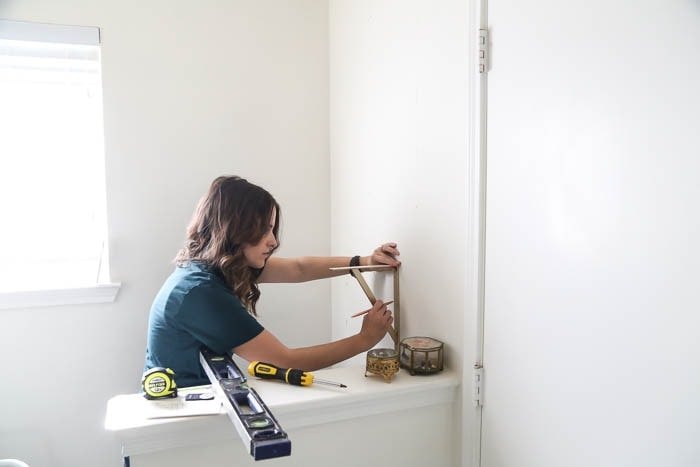
I started by removing the cabinet and patching the wall. Then, I measured and marked the places where I wanted the brackets for my shelves to go. You can see all of the details on how I planned it on the full blog post, but you'll install two brackets per shelf by simply drilling them into the wall. If you aren't drilling directly into studs, be sure to use an anchor!
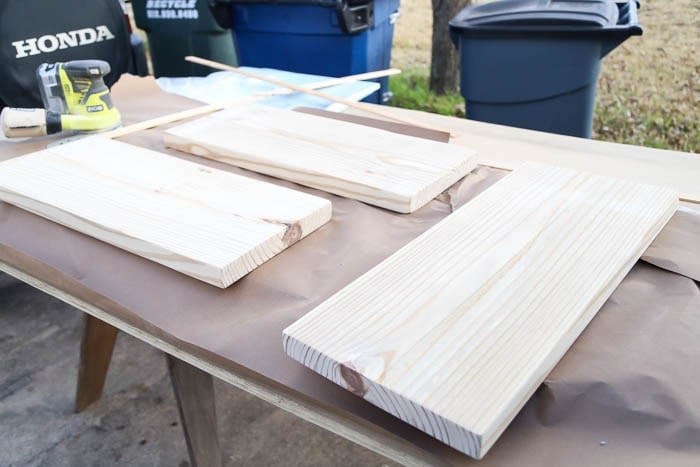
Once my brackets were installed, I took a piece of 2X12 pine and cut it down to the length of shelf I wanted. After cutting, I thoroughly sanded the shelves so that they were completely smooth.

I stained each shelf and allowed it to dry thoroughly.
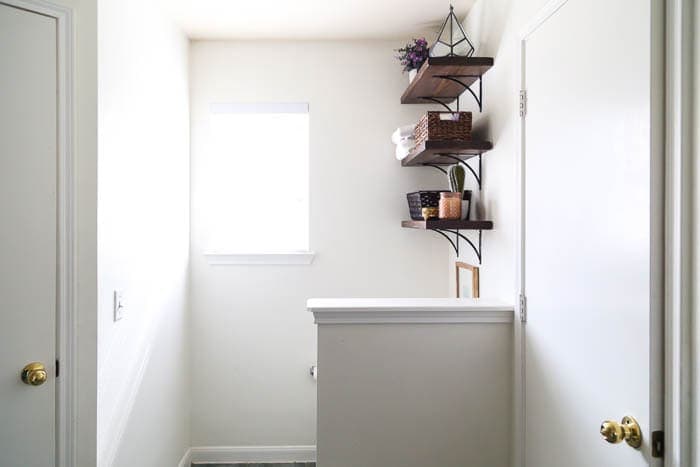
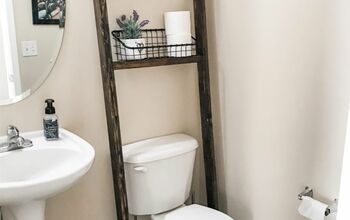
Then, I attached the shelves to the brackets by drilling into them from underneath. Then, I filled up the shelves!
Resources for this project:
See all materials


Comments
Join the conversation
-
Awesome job!
-
You can take that half wall partition and turn it into a storage cabinet like they make to put in between a cabinet and fridge or on the side of the fridge.


Frequently asked questions
Have a question about this project?
I love your floor tiles. If you did them, where did they come from?
How to put in a medicine cabinet in bathroom?
These projects always look really nice... but I always wonder "what did you do with the stuff INSIDE of the cabinet? Where did you put that stuff? The cabinet appears to be overstuffed and not with plants (that are on your shelves.