


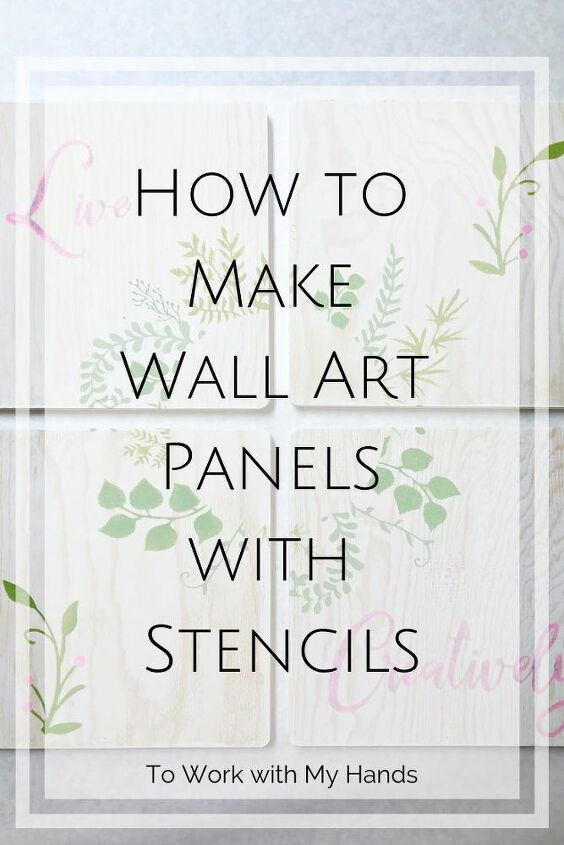
DIY Wall Art Panels
Have you seen those pretty painted or printed wall art panels?
You don't have to search high and low for one that fits your style and decor when you can make your own.
I've had my eye on these panels for a while. I love the interest of using a single design over several pieces, and decided I could probably make one of my own.
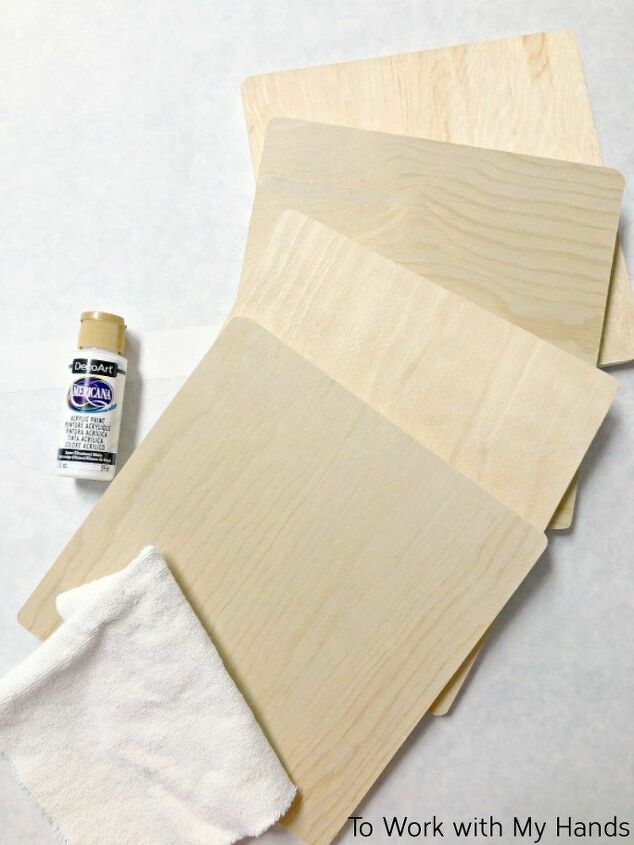
I wanted a farmhouse look and used a paint stain technique with white paint.
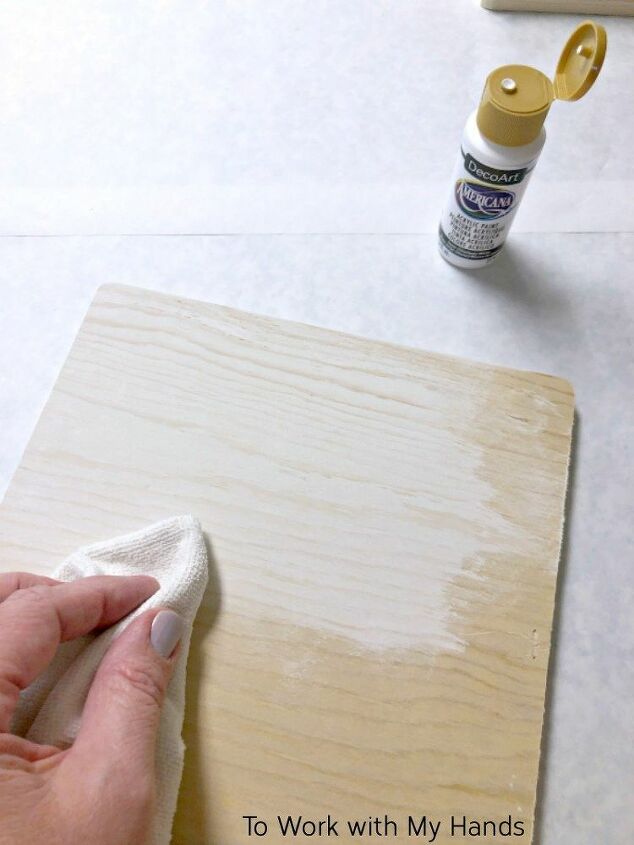
Just add a little paint to a lint-free cloth, then rub it on just like you would with stain.
You'll still be able to see the pretty grain (I think it actually shows up better after adding the paint), but you'll also have a soft white finish.
Don't forget to paint stain the edges too.
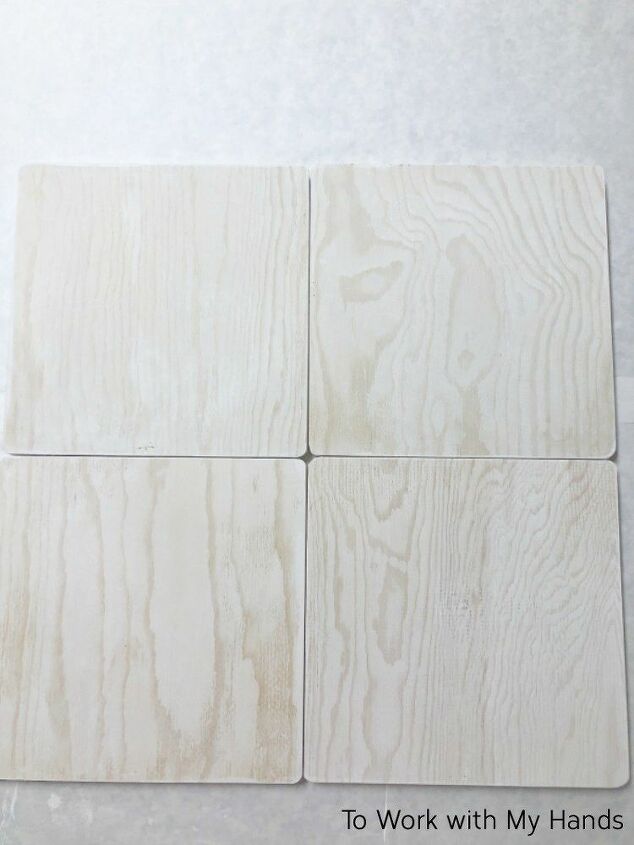
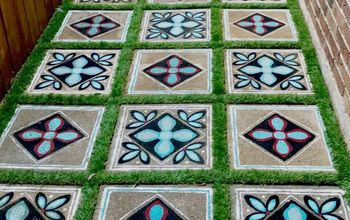
Here's how they look finished.
I chose to use 4 panels in a square pattern for this project, but you can use as many as you want to fit your design.
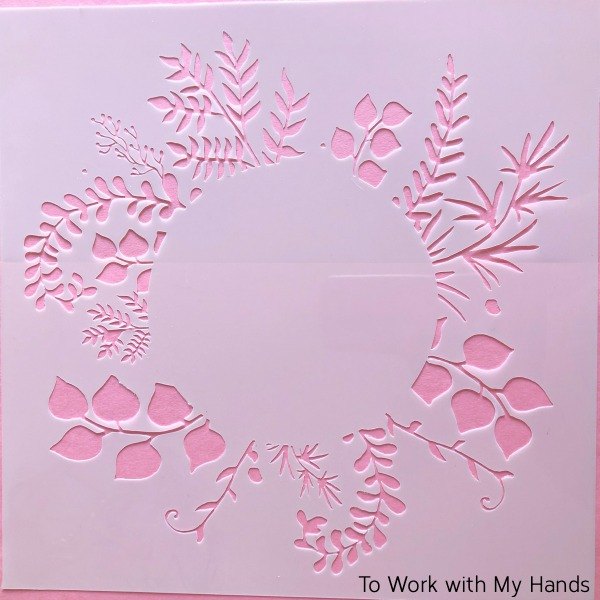
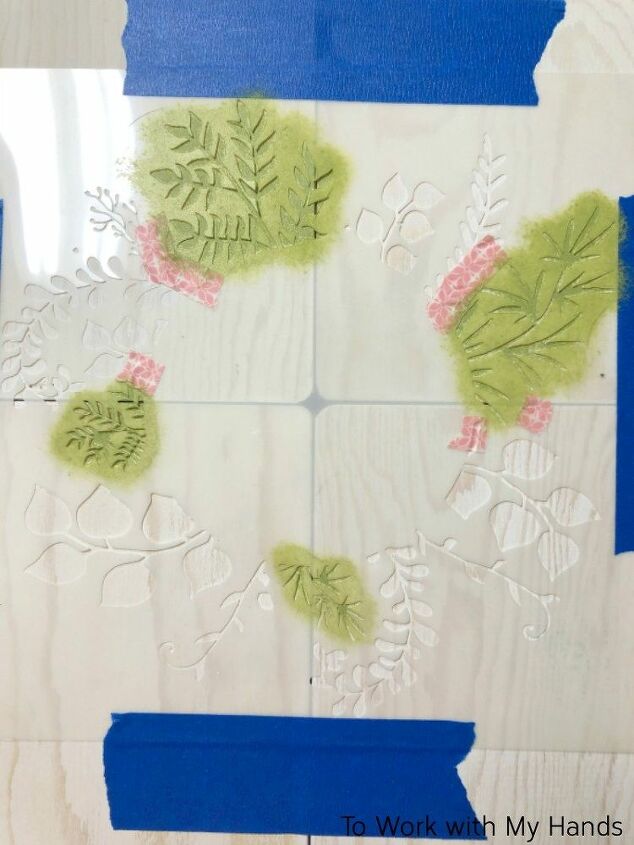
For the most delicate stems, I used a light green.
Tip: Bits of washi tape work well for masking off areas of the stencil that are very close, but that you don't want to paint.
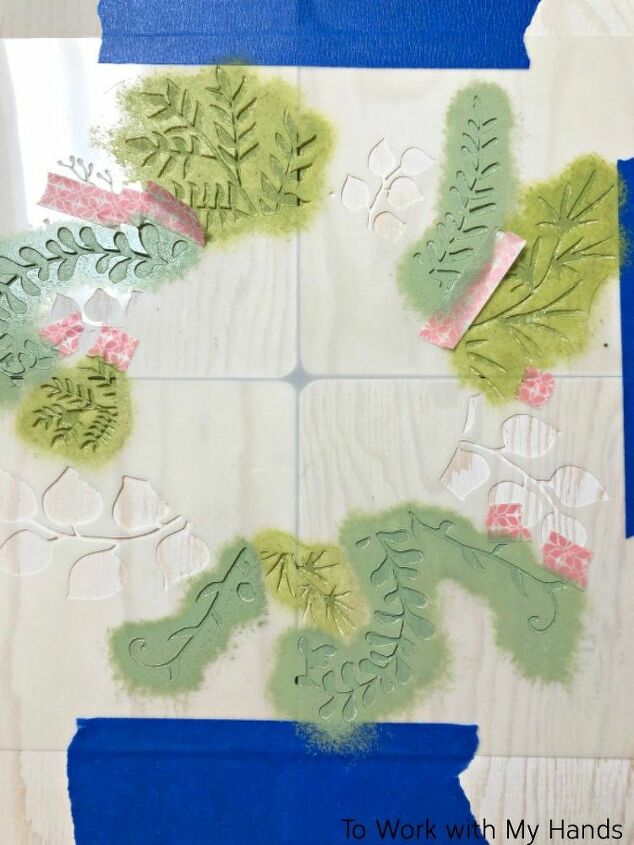
Next, I added some medium green to the heavier stems.
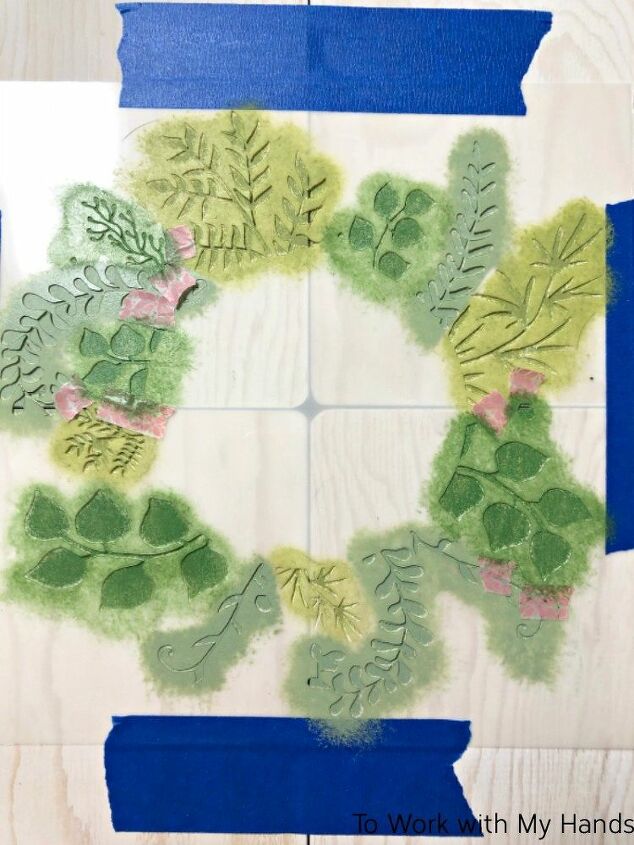
Finally, I used dark green to stencil the chunkier leaves and stems.
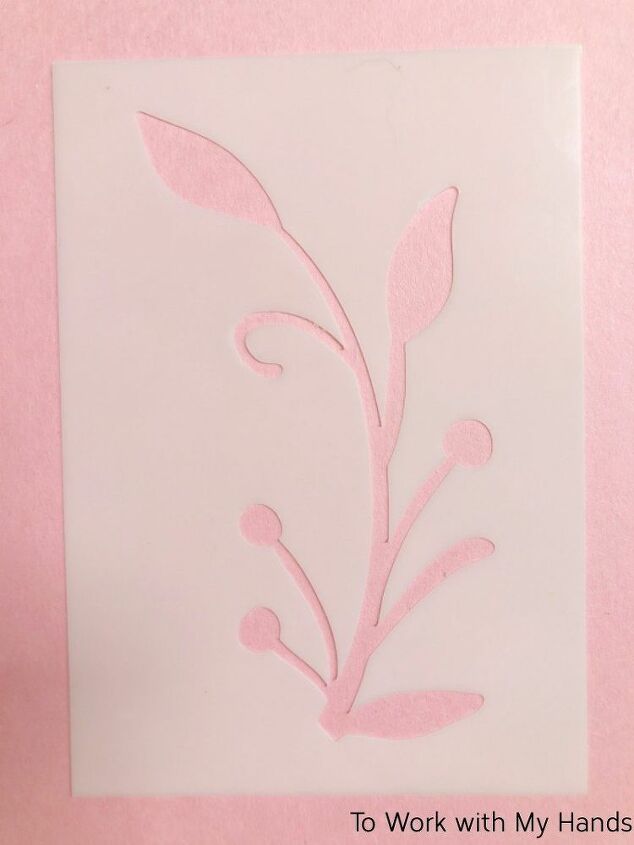
For added interest, I made a smaller, simple stencil: the Berry Stem stencil , and added it in two corners.

A little pink added a nice pop of color.
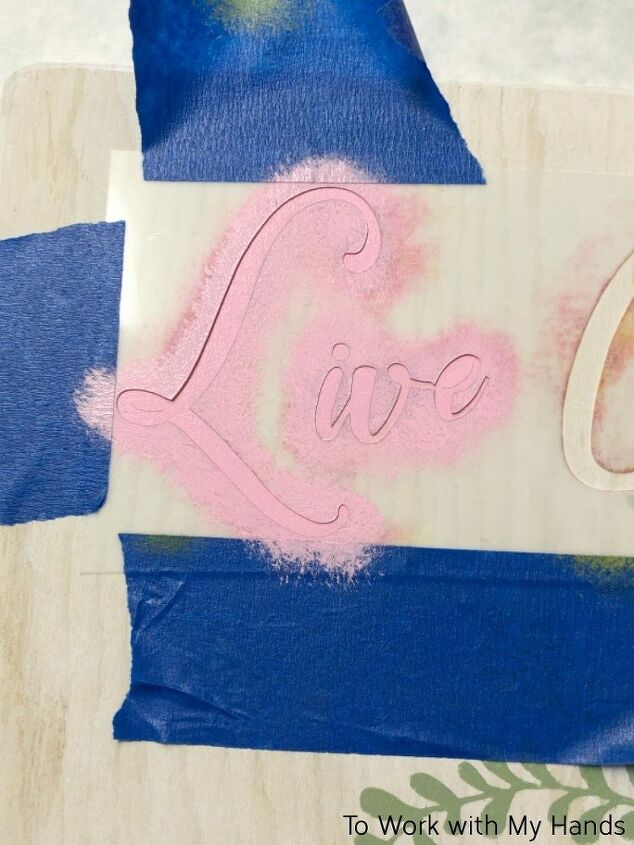
Finally, I stenciled my favorite phrase along the top and bottom of the panels.
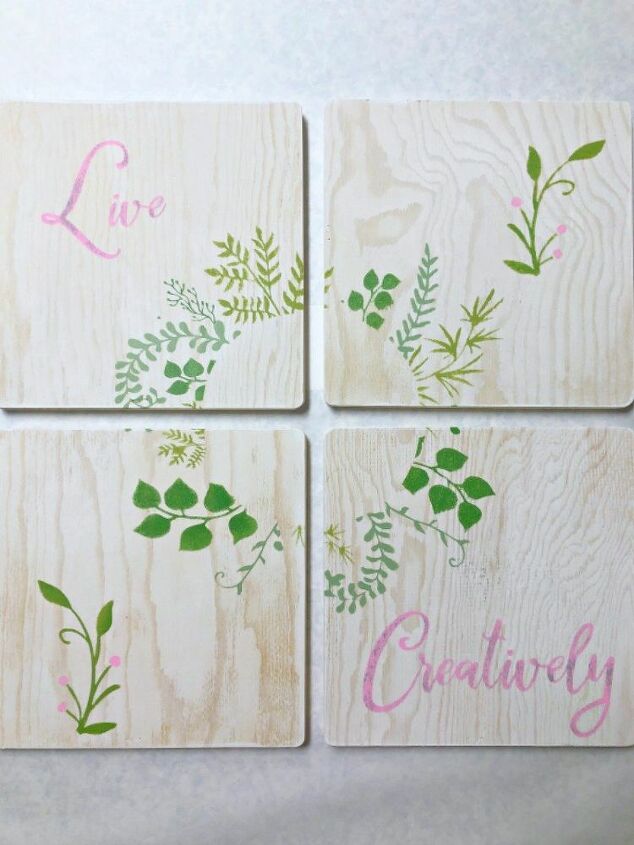
Hanging them with a bit of space between each panel is what makes these art wall panels so unique and I love how this one turned out!
Click the link below to visit the blog for more photos of this project, a link to all my stencil tips, and more stencil inspiration.
Resources for this project:
See all materials


Frequently asked questions
Have a question about this project?