


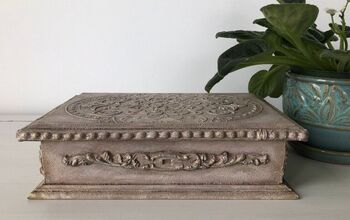
How to Refurbish a Stained Jewelry Box
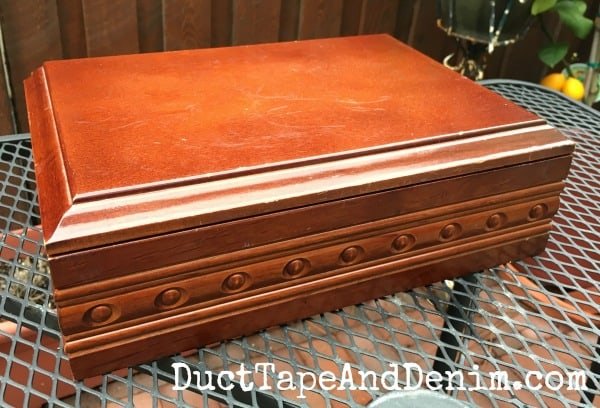
Today I’m back with another thrift store jewelry box find! I used to pass on plain jewelry boxes like this one but since I discovered stencils I pick them up all the time. I think I got this one for $3.99 from Goodwill. I thought it would be perfect for my stenciled jewelry box makeover. Sign up for my email newsletter and get ALL our thrift store makeovers sent straight to your inbox.
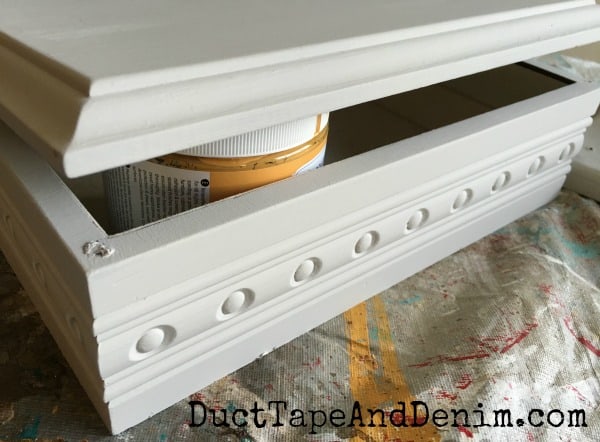
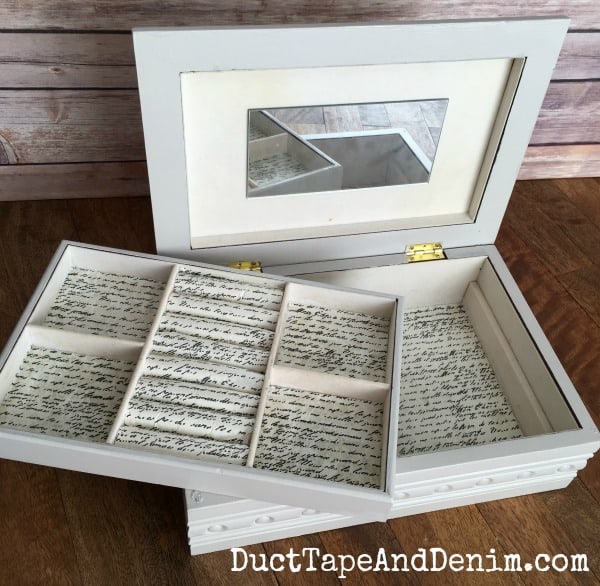
The inside wasn’t too bad. Just a little dirty. But I wanted to try out my new Canvas Corp tissuestock so I covered this up anyway. I didn’t even measure the tissuestock. I just held it up to the space and cut. Then I brushed decoupage medium on the felt, stuck down the tissuestock, and brushed on another coat. The section in the middle is one long piece that I stuck down in between the rolls. The box took two coats of the chalky finish paint. I propped it open with another jar of paint until it was completely dry so the lid wouldn’t stick shut.
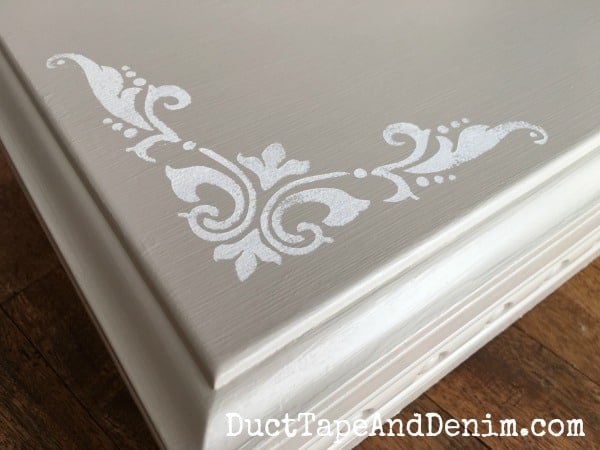
When the gray paint was completely dry I sprayed the back of my stencil with the spray adhesive and let it sit for about 5 minutes before pressing it to the corner of the lid. I pounced my brush with a very tiny bit of white paint. Then I repeated this on the opposite corner.
Here’s the finished product!
Thanks for reading! Don’t forget to sign up for my email list and check out our blog for LOTS more thrift store makeovers!
Resources for this project:
See all materials


Frequently asked questions
Have a question about this project?