


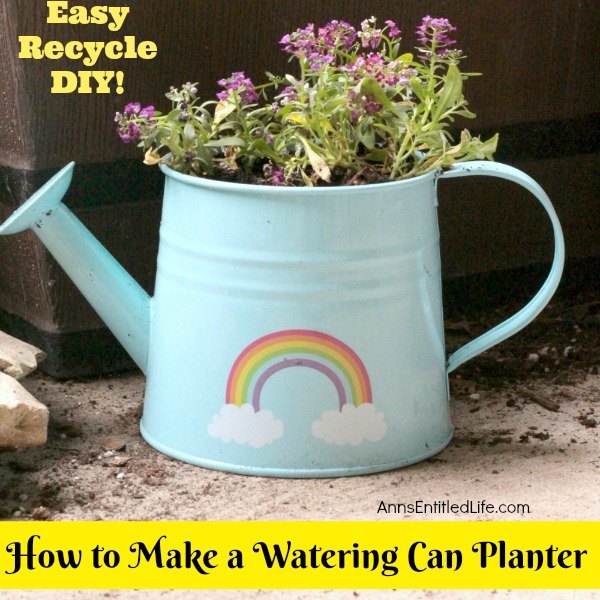
Make a Watering Can Planter
Upcycle your old watering can to make a fun, fanciful planter. ou will not believe how easy it is to transform a simple watering can into a planter for herbs, flowers, and other small plants. In just moments, transform your boring patio or yard into something amazing with the watering can planter!
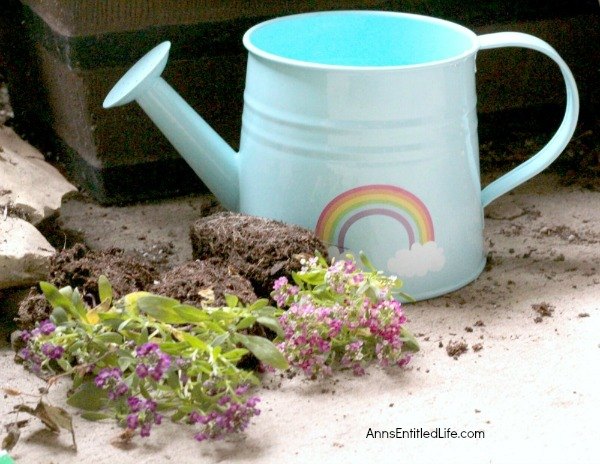
• Make sure your watering can is free of debris and wash it with soap. If you are reusing an old watering can and had used it to mix with something besides water, this will remove any old residue that may harm your new plants.
• Make a drainage hole in the bottom of your watering can using an electric drill (as always, read the manufacturer safety recommendations before using any power tool). This will help you not over-water your plants.
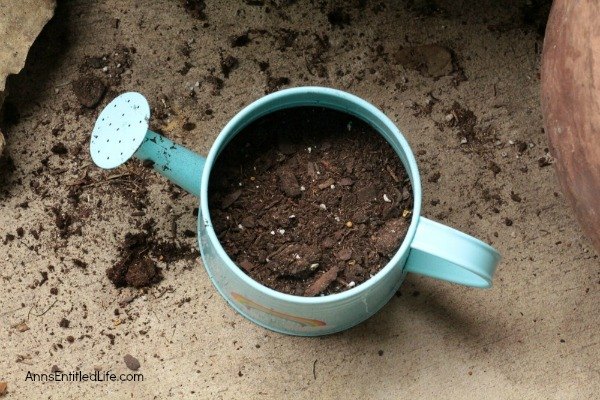
• Place a few rocks, stone, broken pieces of pottery in the bottom of your watering can (without blocking your drainage hole(s). This will also help promote drainage.
• Fill the watering can mostly full of soil.
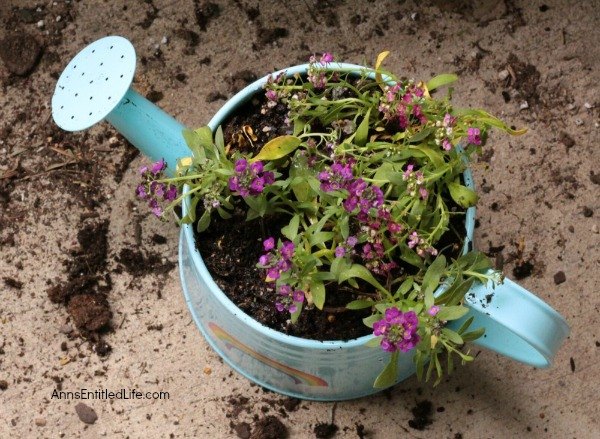
• Use the trowel to dig a hole in the center of the can for your plants. The flowers seen in this tutorial were broken into smaller sections and planted around the inside of the watering can (a small can was used in this tutorial).
• Place a tray underneath your watering can to catch excess moisture from watering if you plan on placing your can anywhere other than in your garden.
• Water your soil with another watering can. Do not over-water even if you have a drainage hole in the bottom of your watering can.
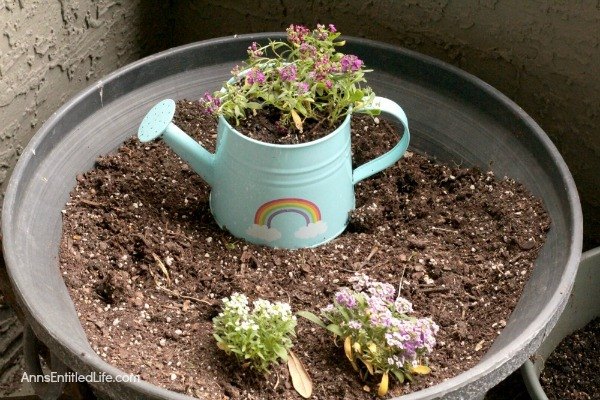
• That is it! Place your watering can planter in a sunny spot or in the shade depending on what type of plants(s) you chose to grow. Make sure to check your can every day or two to see if it needs water as shallow containers dry out quickly.
• If you keep your watering can planter outside, when frost threatens, just take the watering can planter inside!


Comments
Join the conversation
-
This is gorgeous! Thanks for sharing this adorable idea!


Frequently asked questions
Have a question about this project?