


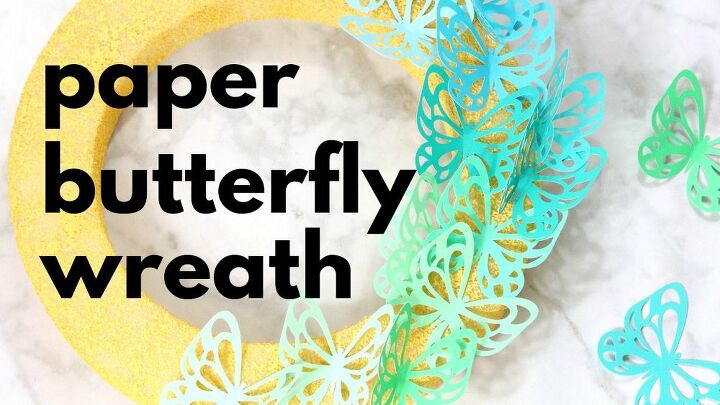
Paper Butterfly Spring Wreath
Create a colorful spring wreath for your front door using these pretty paper butterflies.
This beautiful paper butterfly wreath is made with the following supplies:
White foam wreath form
Yellow paint and sponge brush
Paper in an array of colors
Silhouette machine
Hot glue gun
Ribbon (to hang the wreath)

I began by painting the white wreath form with a soft yellow chalk paint. I used a sponge brush and gave the wreath a sparse coat. It has the look of watercolor and the yellow looks great against the blue and green butterflies.
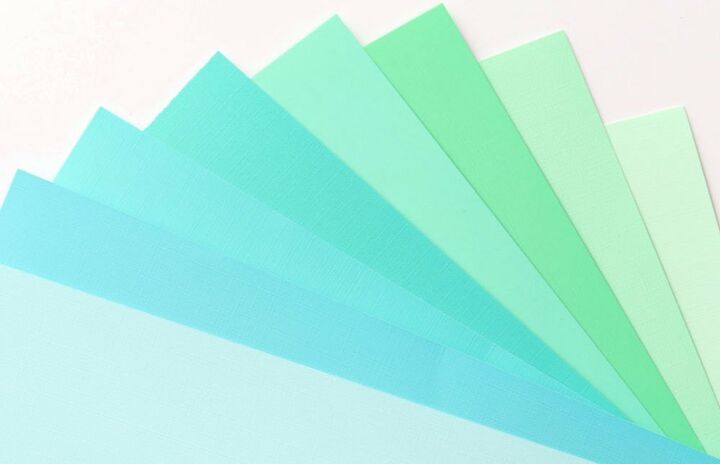
I went through my paper stash and pulled out shades of blue and green. I wanted an ombre effect so I chose shades that moved beautifully from light blue to green.
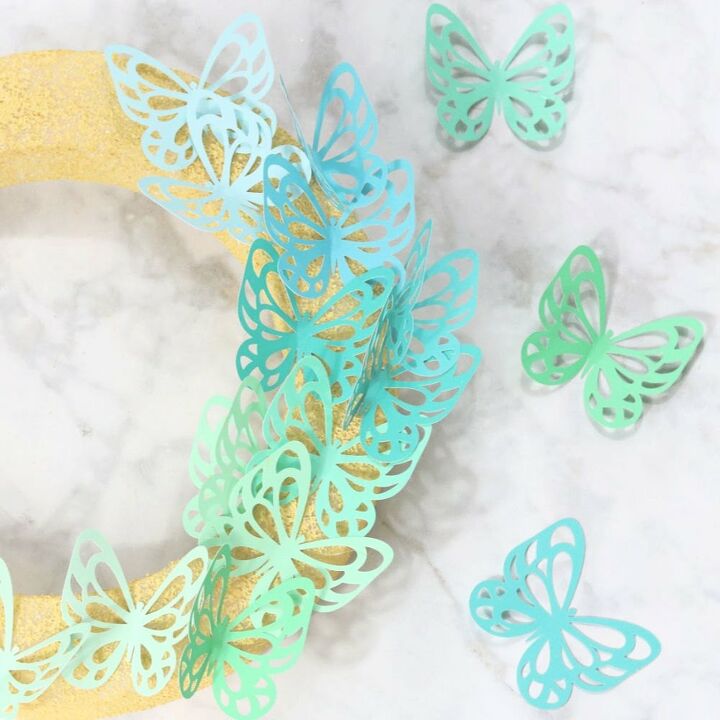
Next, I used my Silhouette to cut a few butterflies from each color of paper. I used a free cut file that had lots of dimension, you can use butterflies for this project or it would look lovely with flowers too. Once all the butterflies were cut, I folded up the wings slightly and used hot glue to attach them to the wreath.
I started with the lightest color on top and gradually moved into the greens as I went down. I chose to add butterflies just to the side of the wreath to give the impression that they are flying.
You can download this butterfly cut file using the link in my full post over at Creative Ramblings.
Watch how I made this paper butterfly wreath.
Subscribe to Creative Ramblings for more simple inspiring videos like this.


Frequently asked questions
Have a question about this project?