


DIY Garden Bench Using Chair Backs

One of my favorite types of project is to use reclaimed items to create something new and different. One of my friends, Leslie and I were shopping at Habitat/Restore awhile ago and found some chair backs made from nice, solid wood. We each bought two, not knowing what we would do with them, but they were only $5 each so we couldn't resist!
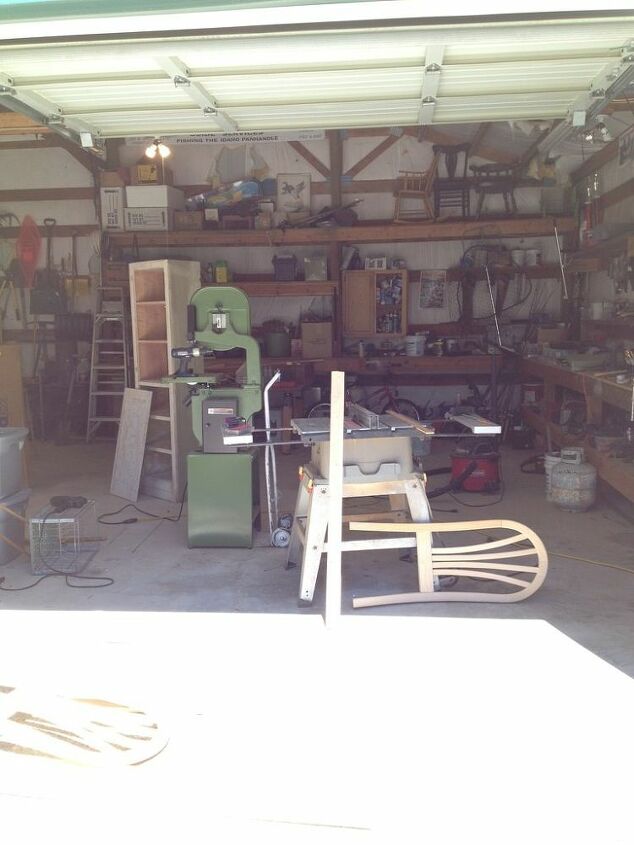
After some thought, we each decided to use the chair backs to build a bench. Les created hers first and used it on her deck (I don't have a picture of hers). When I was ready to build mine, I didn't have the tools I would need to make the cuts so I drove to her house with my chair backs so we could build the bench together.
Before heading over, I did some searching around on Pinterest for design ideas for my bench. I found several that I liked and bought the wood I needed to create the look. I bought one 1" x 8" x 8' board, two 1" x 4" x 8' boards & two 1" x 3" x 8' boards.
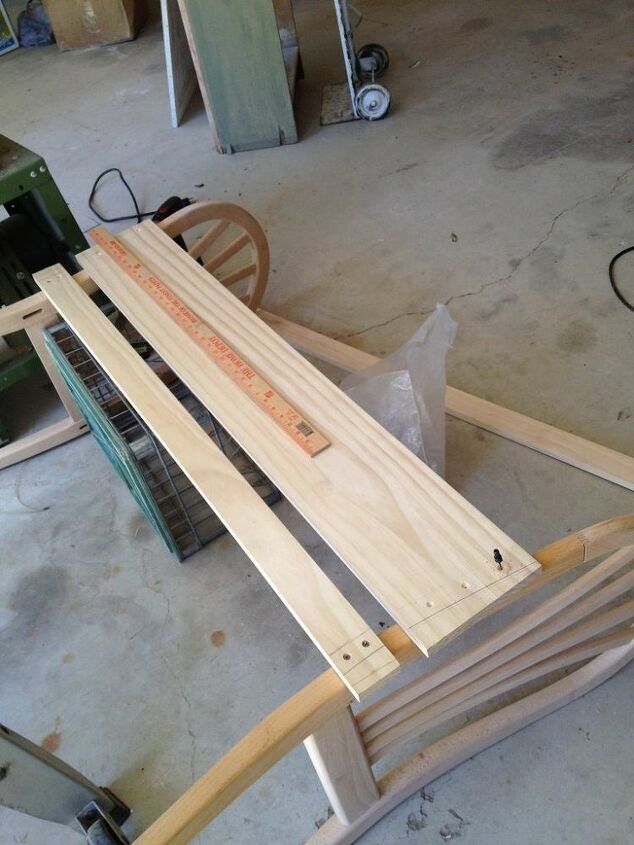
Using the table saw, we cut the 1" x 8" into two 4 foot sections, one for the back and one for the seat. Then we cut the two 1" x 4" boards into two 4' pieces -- we would be using two of those on the back and the other two on the seat. Since the chair backs are curved, we set the boards on the chairbacks and marked where we would need to cut them and then did those cuts with the band saw. Once the cuts were made, I sanded the pieces before we attached them with screws to the chair backs. It was really nice that there were two of us working on this project so one of us could hold the pieces in place while the other attached them together.
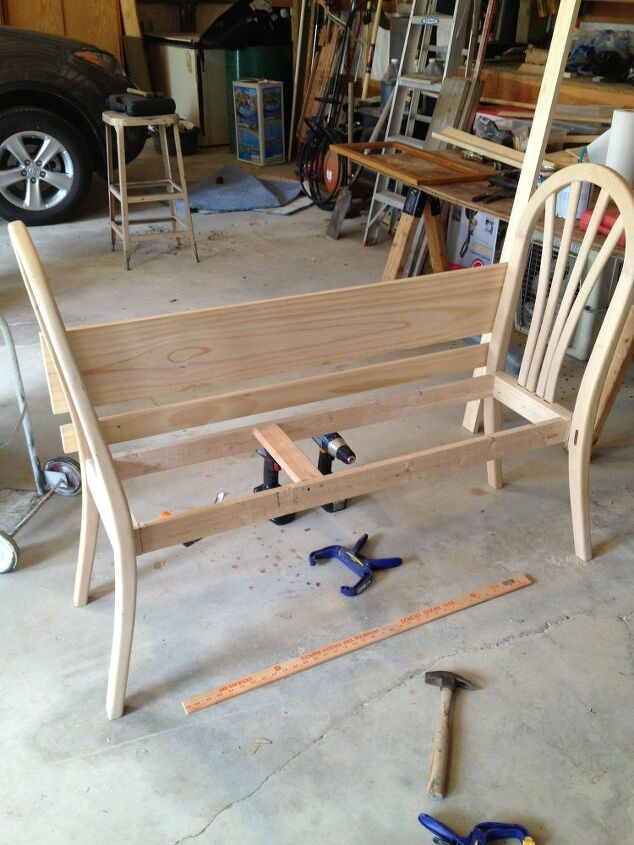
After two of the back pieces were attached, we attached the bench seat support using two 4' pieces of 1" x 3" board. To help stabilize the seat, we then attached two crossbars with screws also using the 1" x 3" board. Once the seat support was done, it was easy to attach the seat boards using screws. The next step was to add the top rail to the bench back. To finish the seat, we attached a 1" x 3" board to the face of the seat also with screws.
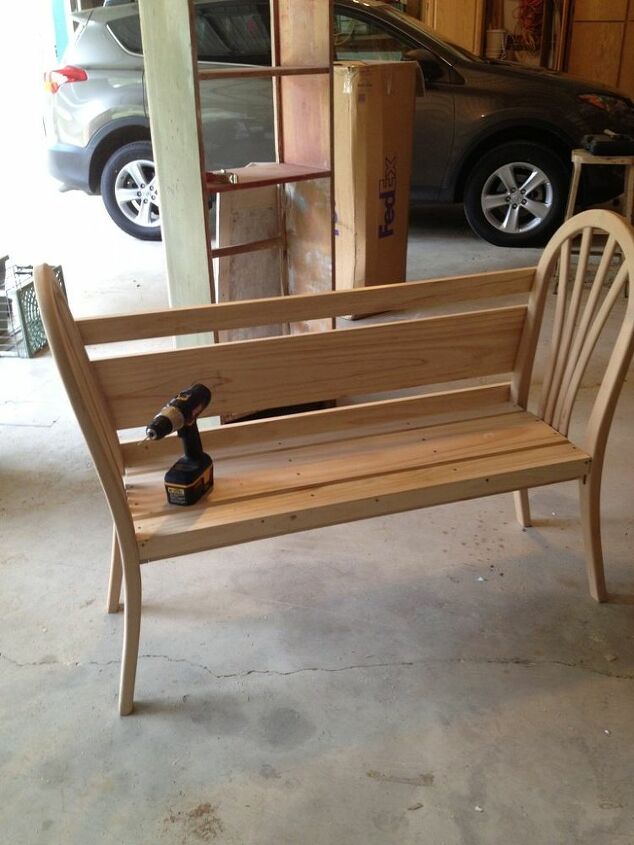
Once the bench was built, we loaded it in my Rav4 so I could paint or stain it at home. After getting it home, I chose paint over stain.
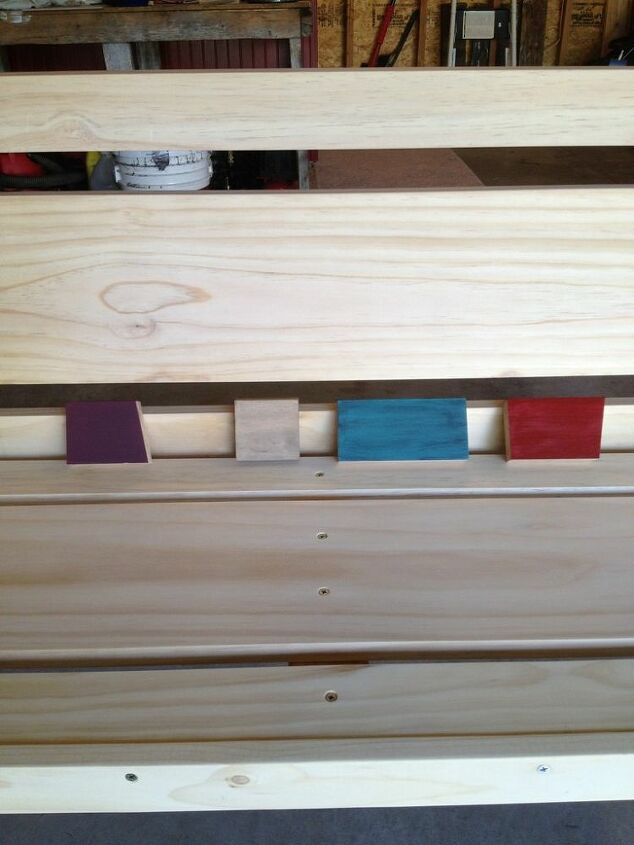
After bringing my new bench home, it was time to decide on the color to paint it. Since I'm a visual learner, I painted several small pieces of wood and placed them on the bench to see which color I liked best. I was using paint that I had on hand so my options were burgundy, taupe, teal with a blackwash or red. I decided to use teal with a wash of black paint.
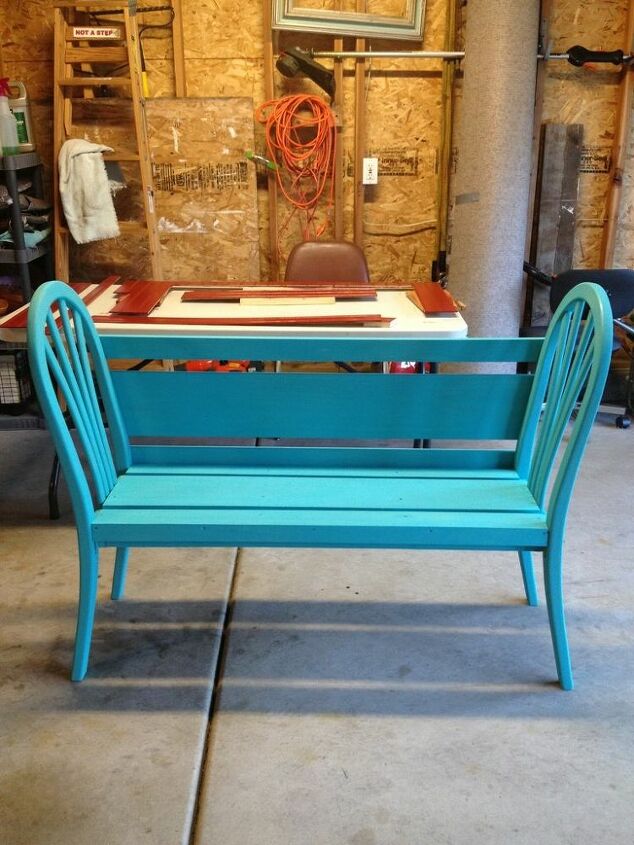
I applied two coats of teal to the entire bench using a 1" angled paintbrush on the chair backs and a painting pad on the flat surfaces. After that dried, I applied a coat of black paint by brushing it on and wiping off any extra. Before applying the black, I thinned it with water so it would be an accent color. Since this bench was going to be used outdoors, after all the paint was dried, I applied two coats of water-based polyurethane.
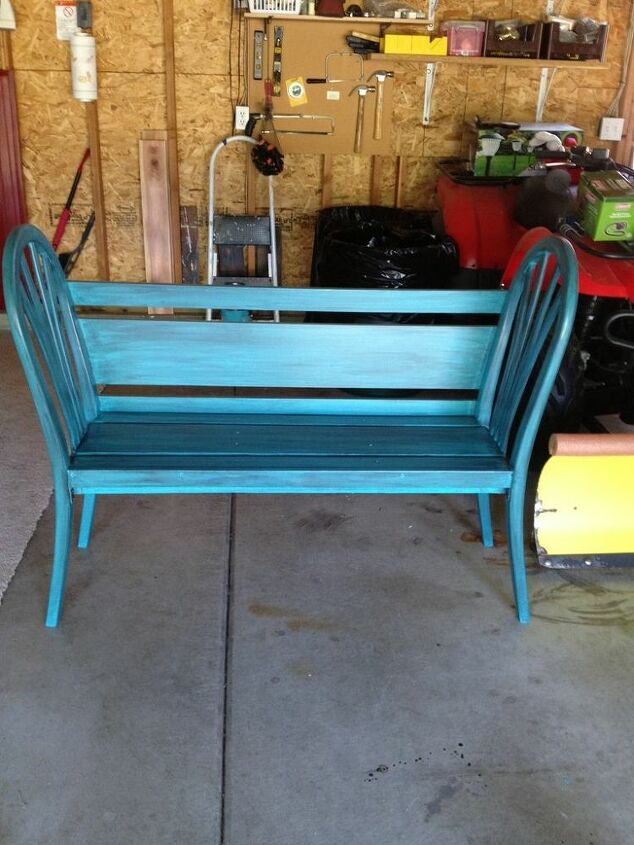
This bench was fun to make and I loved being able to use the chair backs we found at Habitat/Restore and repurpose them into a unique piece of furniture. The cost of the bench was approximately $35
List of instrutions are at the link.
Resources for this project:
See all materials


Comments
Join the conversation
-
Just adorable!
-
Nice and pretty. Cleaver. From the photo it looks like the back slats follow the chair curve. That would mean that the back curves inward toward the flat seat and would be opposite of most benches and would be uncomfortable hitting one's back instead of being able to lean backward.


Frequently asked questions
Have a question about this project?
i ave 2 straigtback upholstered chair do you think i could use these if i remove fabric etc
Do you have any idea how much weight this bench will hold. My grandsons are big boys and will be using this when they are on the porch