


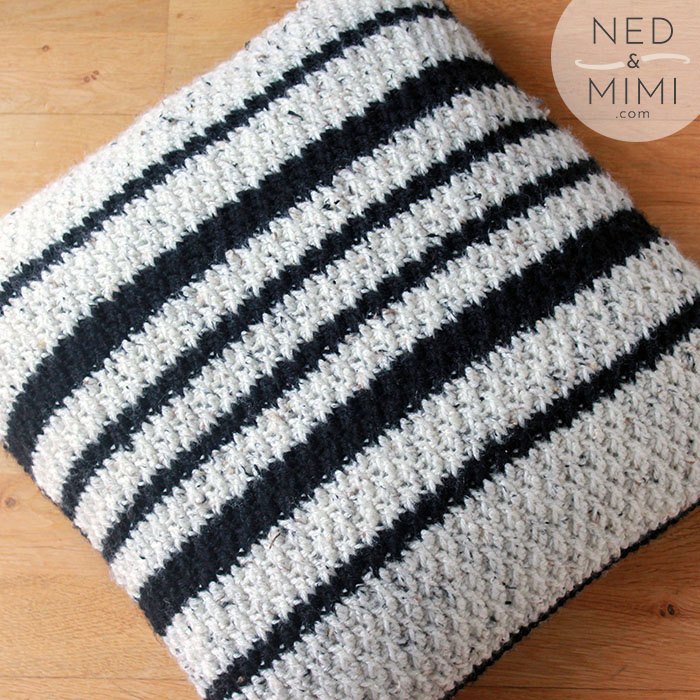
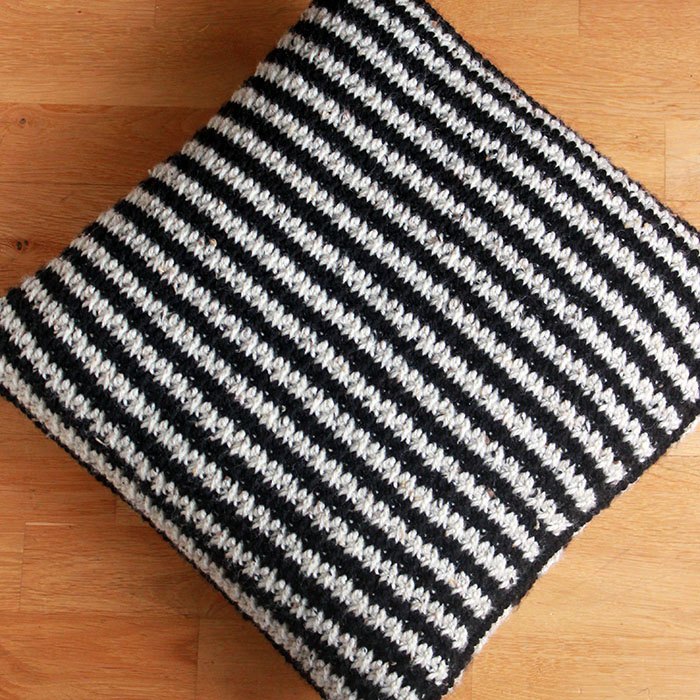
Black & White Crochet Throw Pillow

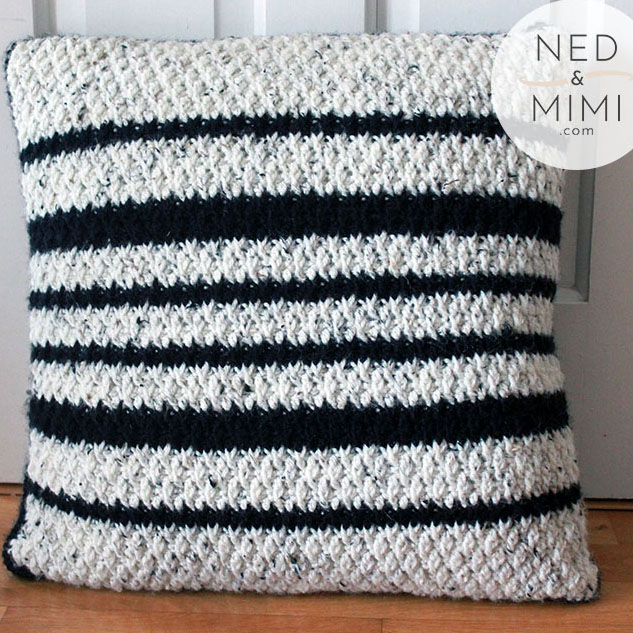
Black and white never goes out of fashion, right!? I’m no style expert but I do love the simplicity of anything monochrome. I am a bit of a magpie (who incidentally are also black and white!) when it comes to yarn, and find it hard to pick just one colour palette that I like. So for indecisive moments Black and White are the perfect combo.
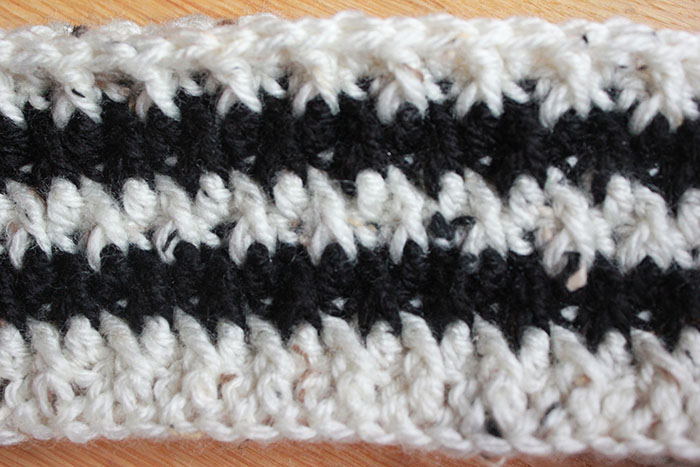
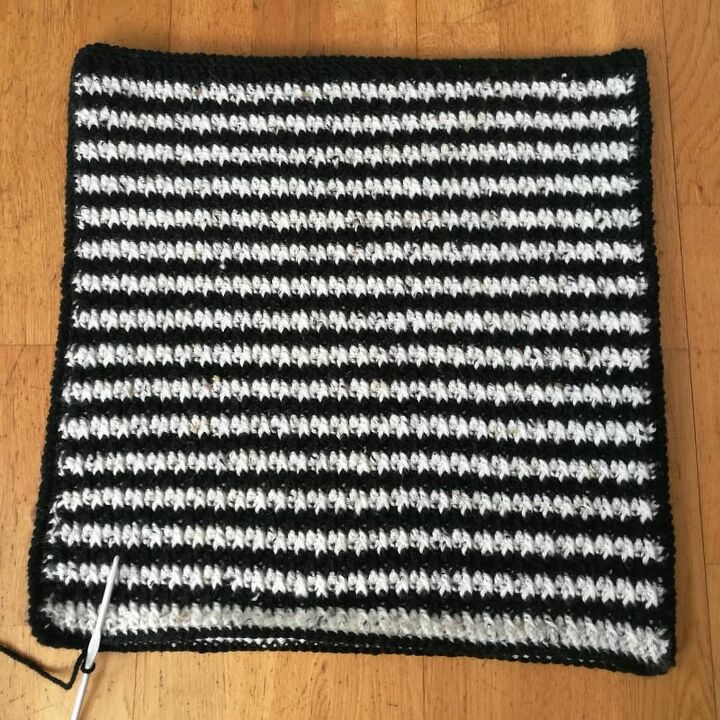
This crochet throw pillow is created using the Alpine stitch. This stitch is easy to learn, quick to work up, has fabulous texture and once you are in the swing of things, makes a perfect “couch project”.
And perhaps best of all - this project involves NO SEAMING at all. The finished back and front panels are joined together by crocheting the 'Crab stitch' so you can leave that tapestry needle alone 
The full pattern is available here: https://nedandmimi.com/crochet-throw-pillow-free-pattern/, with the Pattern Overview provided below.
Stitches Required
Alpine Stitch
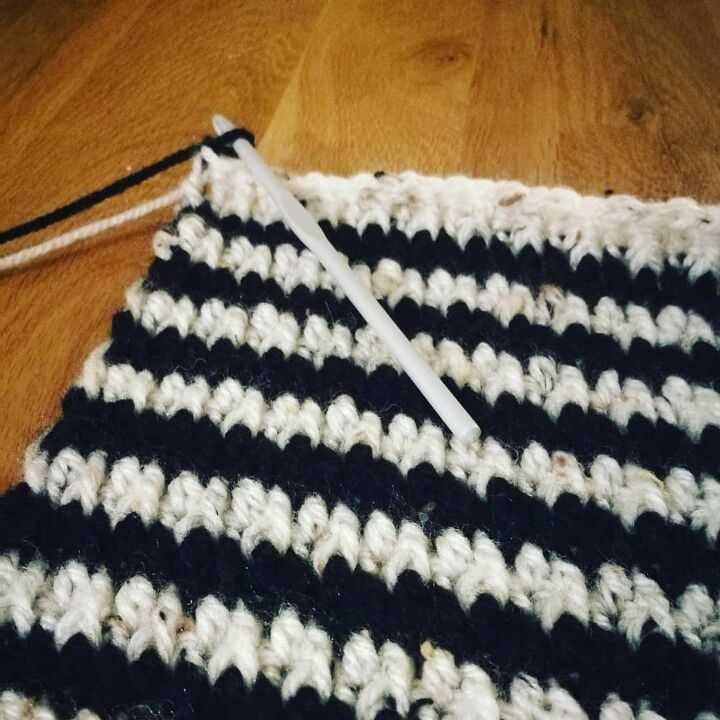
The Alpine Stitch pattern is formed by working alternating rows of Single Crochet (sc) and Front Post Double Crochet (fpdc).
Reverse Single Crochet (US)
The front and back panels are joined using the Reverse Single Crochet stitch, also known as the Crab Stitch
Color Changes
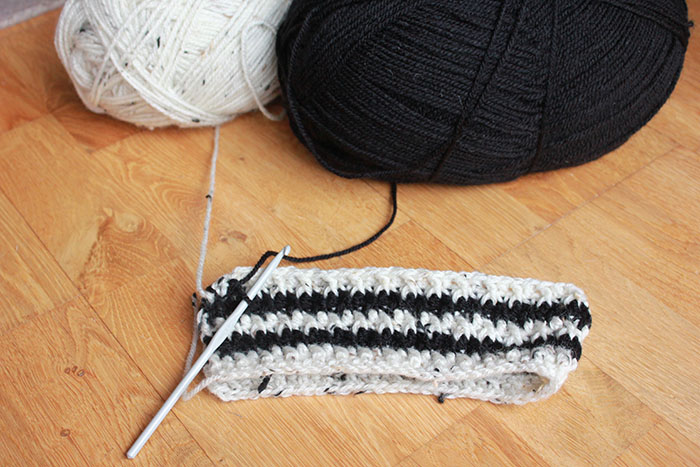
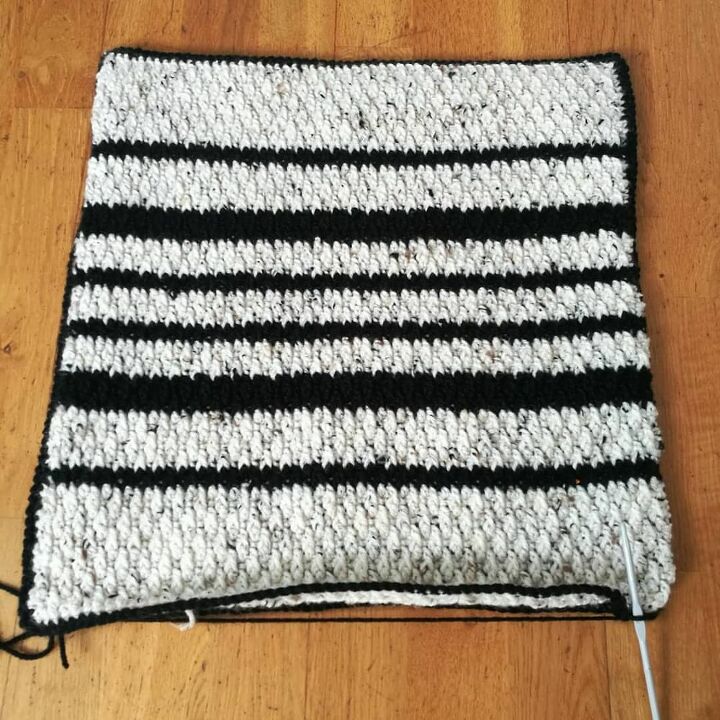
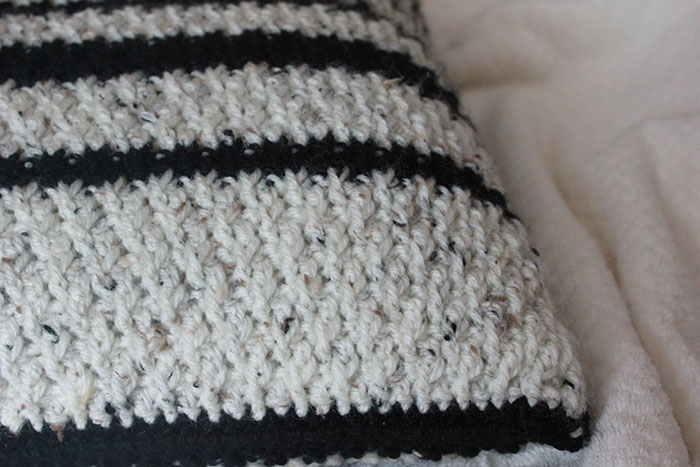
I did two different stripe patterns on each side of the crochet throw pillow. On one side, I alternated colours every two rows. On the other side, I mixed it up a little bit and did bigger blocks of the lighter colour.
- The important thing to note is that you should change colours at the start of your sc row
- When changing colours every 2 rows, I simply carried the previous colour up along the side of the work. When I did a bigger block of colour, I cut the yarn and weaved in the ends.
Finished Measurements
17 Inches x 17 inches (43 cm x 43 cm) approx. I deliberately made the cushions a little bit under 18” so that when I used an 18” insert the cushions would be nice and plump.
Pattern Overview
1. Crochet both the front and back panels using the Alpine stitch pattern. I decided to do a slightly different stripe sequence on both sides, the charts for which are available in the full blog post.
2. When alternating colors every 2 rows, you can simply carry the yarn up the side of the piece.
3. For the larger blocks of color (as below), I cut the yarn and joined it in again when needed.
4. Join both panels on 3 sides using the Reverse Single Crochet (Crab) Stitch.
5. Insert the foam cushion and continue to join the 4th side in the same way
All done!
Resources for this project:
See all materials


Frequently asked questions
Have a question about this project?