


Metal & Wood Corner Shelf

We are new empty nesters and are in the process of transforming my son's room into a guest room. I wanted to take down the metal shelf he had up and make it more of my farmhouse style.
Material List:
- 4 Shelf brackets
- 2x10 board (cut 2 pieces 24 inches each)
- Compound Miter saw
- Table saw
- Sander
- Stain
- Drill
- Screws (sized to fit your wall and board size)
- Spray paint
- Cut off wheel grinder
- Biscuit cutter
- #20 biscuits
- Wood glue
- Clamp

I love mixing metal & wood. I was inspired by these brackets I found at Menards to create the new corner shelf.
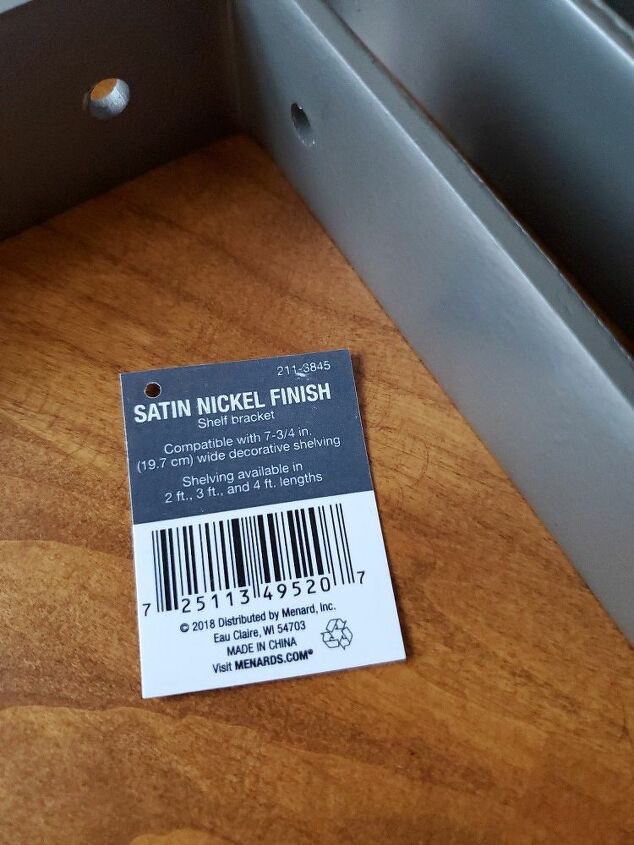
*NOTE* Menards also sells shelving boards that you can use with their brackets. This is a close up of the tag on these particular brackets for which board size would complement it.
I personally like using real wood and wanted a thicker board for my shelf.
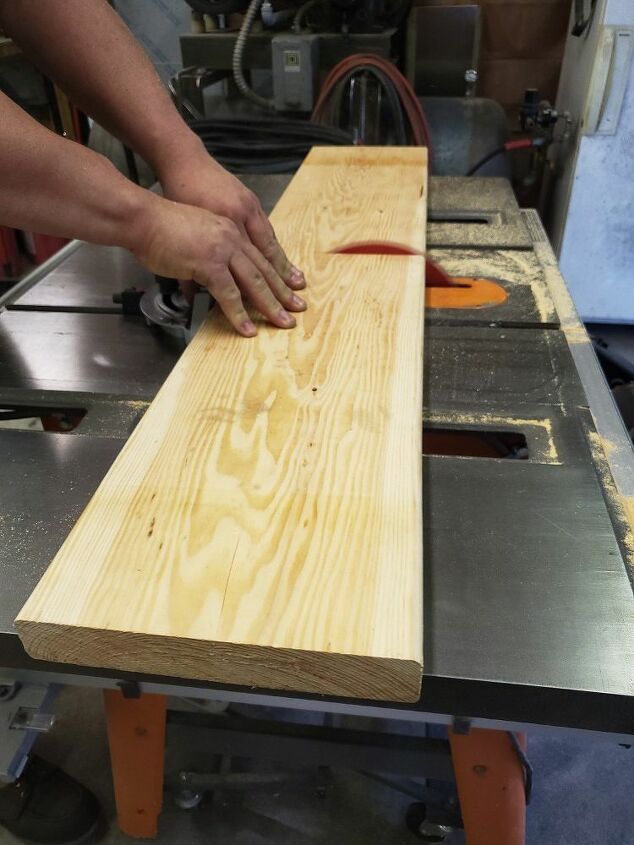
We had some old 2x10s leftover from another project so we used what we had.
Here we cut the board on the table saw to 24 inches long.
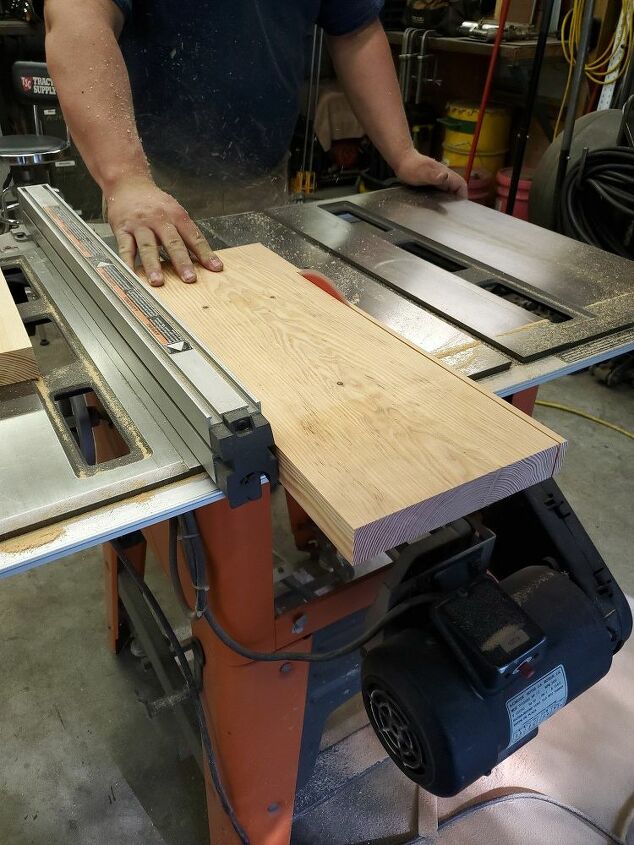
After the boards were cut to length we trimmed the sides to make sure everything was square.
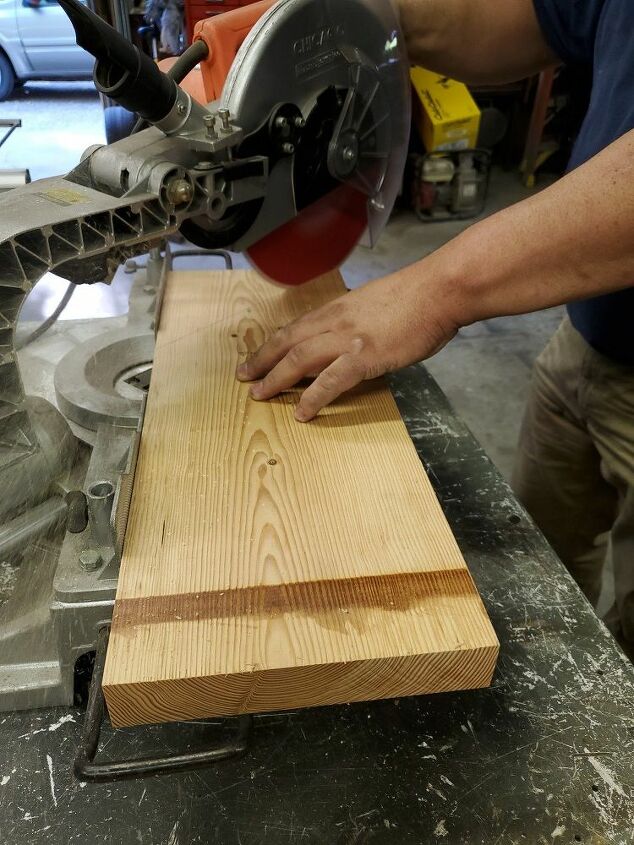
Then we cut a 45° angle using a compound miter saw on both boards.
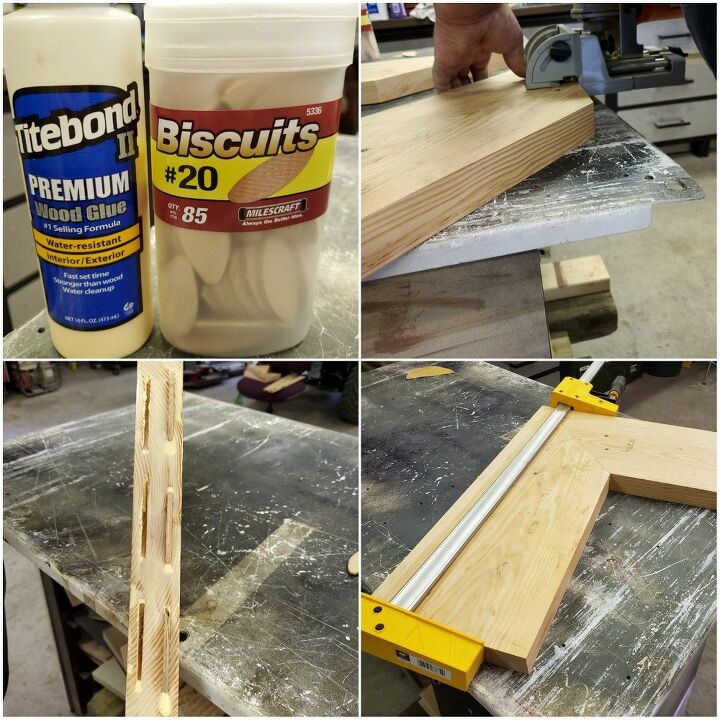
We used 6 #20 biscuits & wood glue to join the two pieces together. We clamped it and let the glue dry overnight.
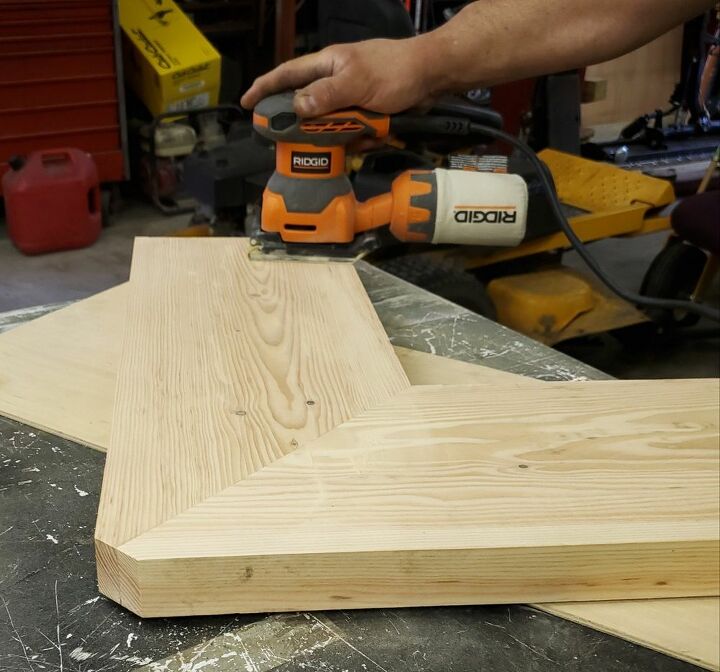
The next day we removed the clamp and sanded the shelf boards.
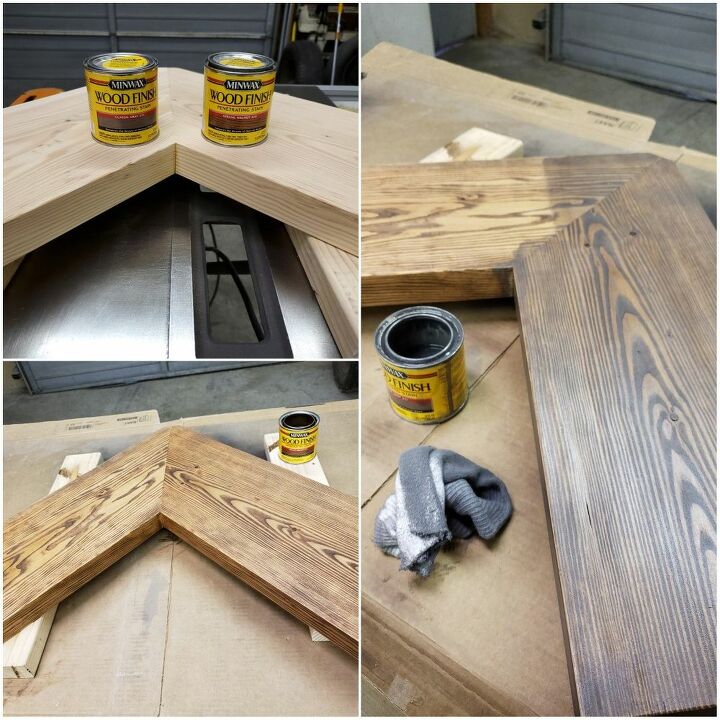
I wanted a weathered wood look so I used two stain colors. First I used Minwax's Special Walnut and let it dry. Then I used Classic Gray to give it the weathered look.
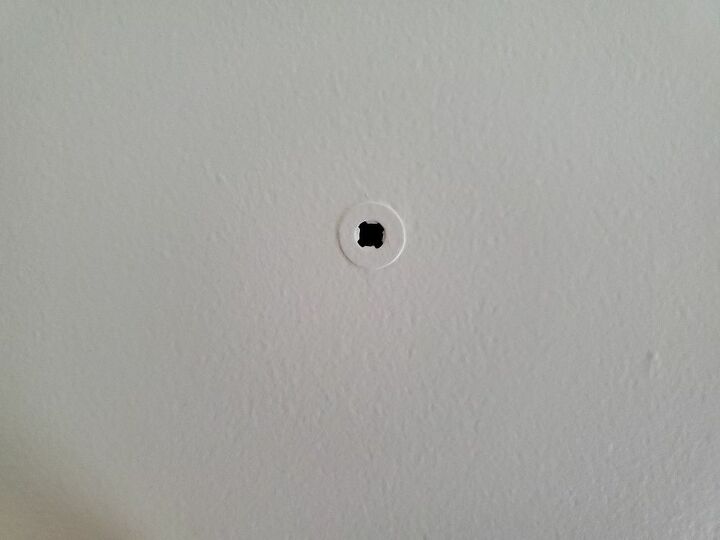
Since the previous shelf had to have anchors placed in the wall for extra support I decided to just use those holes/anchors for the placement of my new shelf.
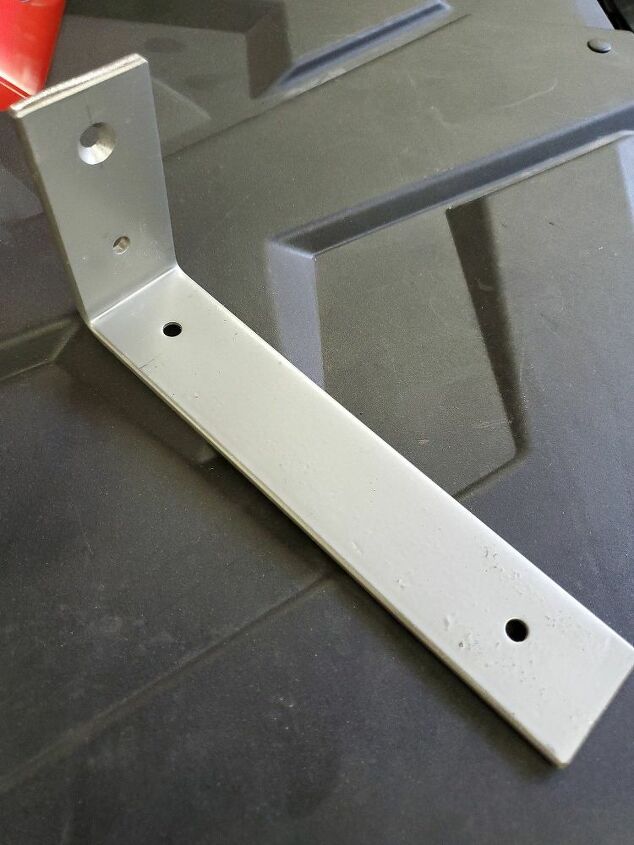
But, doing so meant I needed to cut down the brackets that inspired the look I wanted. I was sad to cut off the wrap portion off the bracket but I needed the shelf to drop down some to fit a TV above (you'll see what I mean in the finished photo).
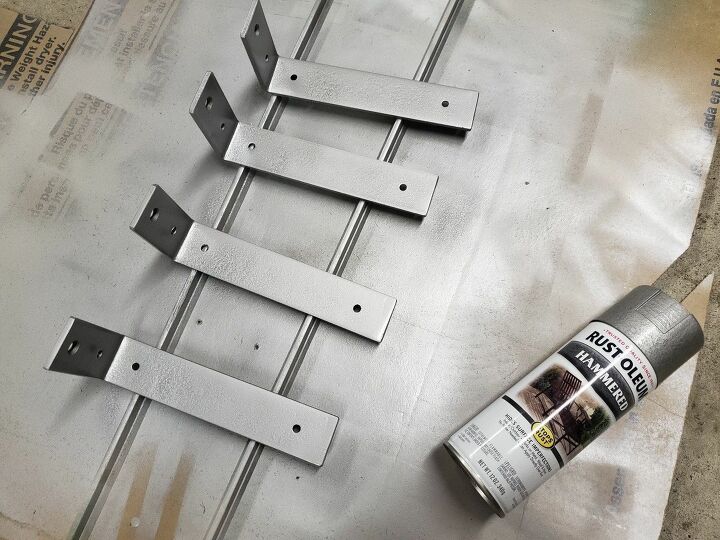
My husband cut the shelf brackets down using a cutting wheel on his grinder. I then spray painted the brackets.
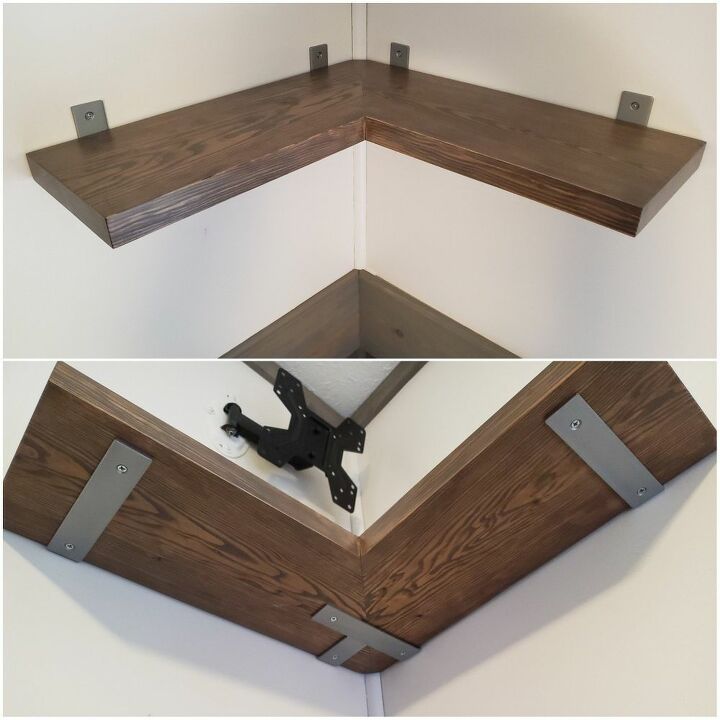
We hung the shelf using wood screws.
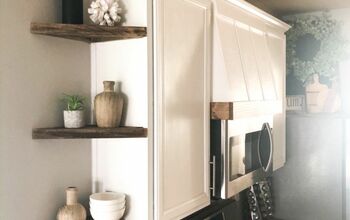
This is how the corner shelf looks from the top and under the shelf. As you can see my husband had to cut the one bracket even more to fit.
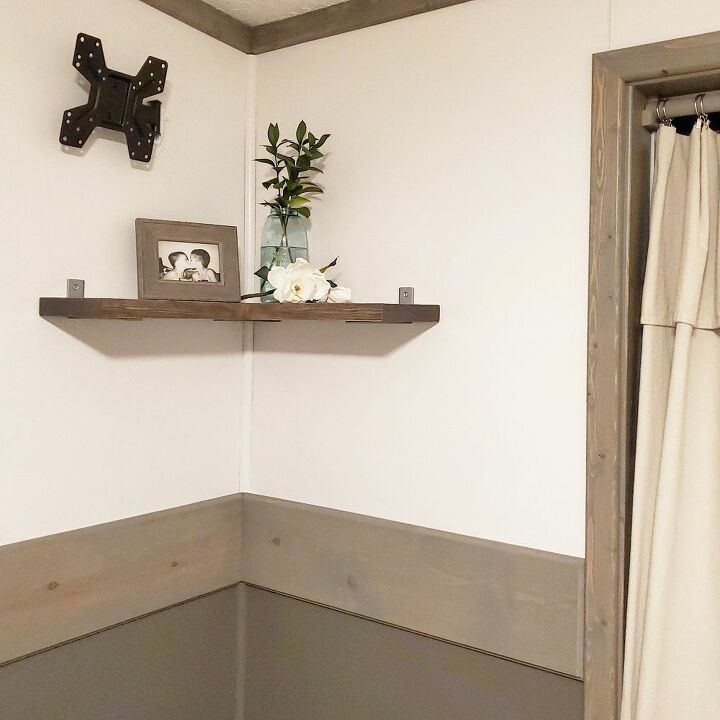
This is the finished shelf in the new guest room.
Resources for this project:
See all materials


Comments
Join the conversation
-
Nice, looks lovely. This is a project for people who have many tools.
-
Lovely


Frequently asked questions
Have a question about this project?