


Refacing Outdated Kitchen Cabinets!
A budget friendly way to give outdated kitchen cabinets a face lift!
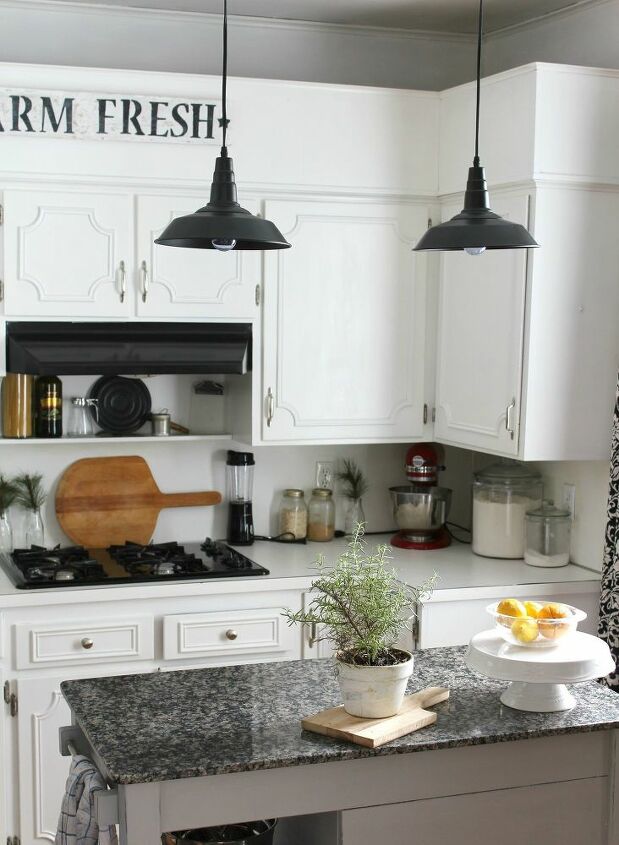
After several years of living with our outdated kitchen cabinets and just not having the budget to replace them, I decided to take matters into my own hands!
We were going to be taking out the two cabinets above the stovetop anyway, so I chose them to experiment on.
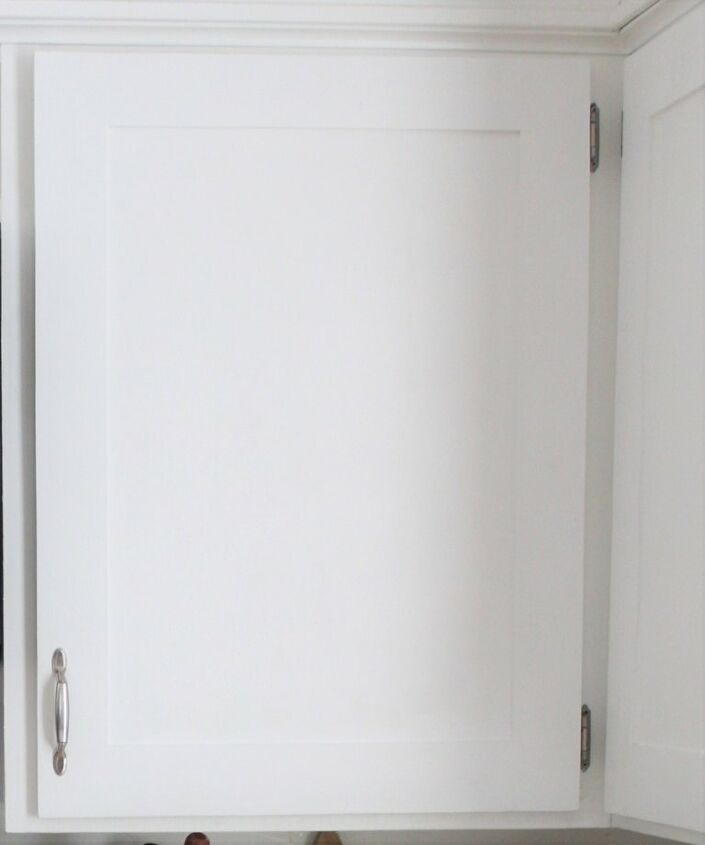
The first step was removing the trim off the cabinet face. (I apologize I didn't get a photo of that process.)
Basically, I scored around the edge of the trim with a sharp razor blade to break the seal of the paint. Then I placed the edge of a putty knife at an angle on the trim piece and gave it a few taps with a mallet. This loosened the trim piece up enough where I could pull it off.
Since removing the trim from the first cabinet front went so well I kept ongoing. **This is a long and tedious job but worth it!
Once the trim was removed we cleaned the panels with a vinegar/water solution (You could also use TSP) to clean off any residue and dust. After they dried completely it was time to give them a new face lift!
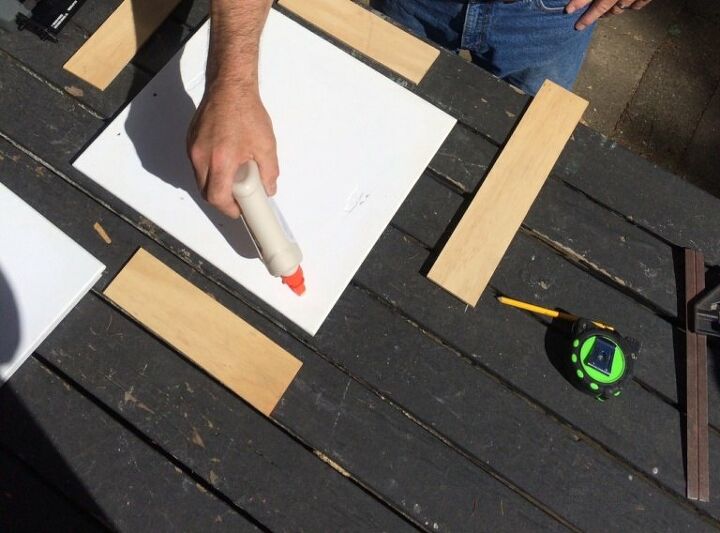
To do that we measured each panel and then began cutting strips out of plywood. Each strip was 2- 3/4 " wide. Each strip was sanded down to remove the sharp edges and then attached to the front of the panel with glue.
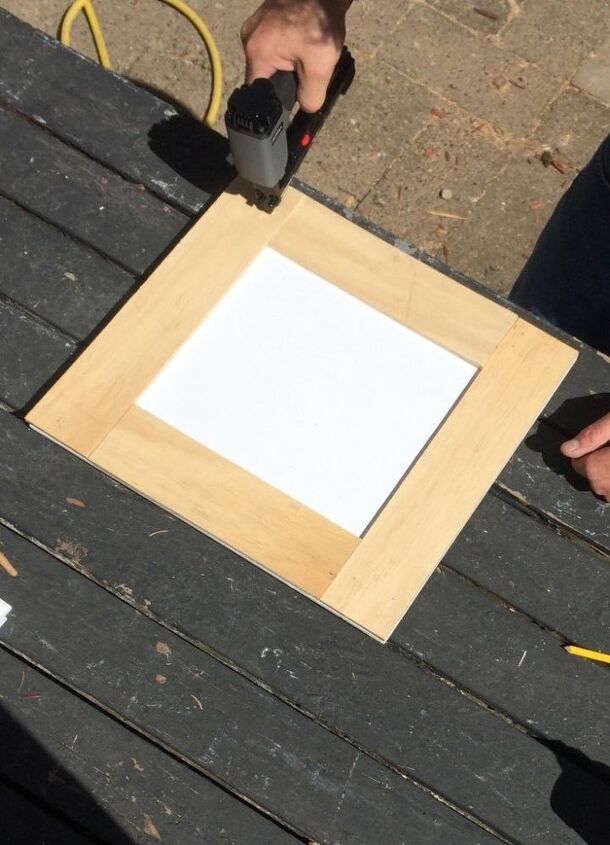
We let the glue set up for about 1 hour and then used a nail gun to attach the strips permanently with finishing nails. Then we let the glue dry completely overnight.
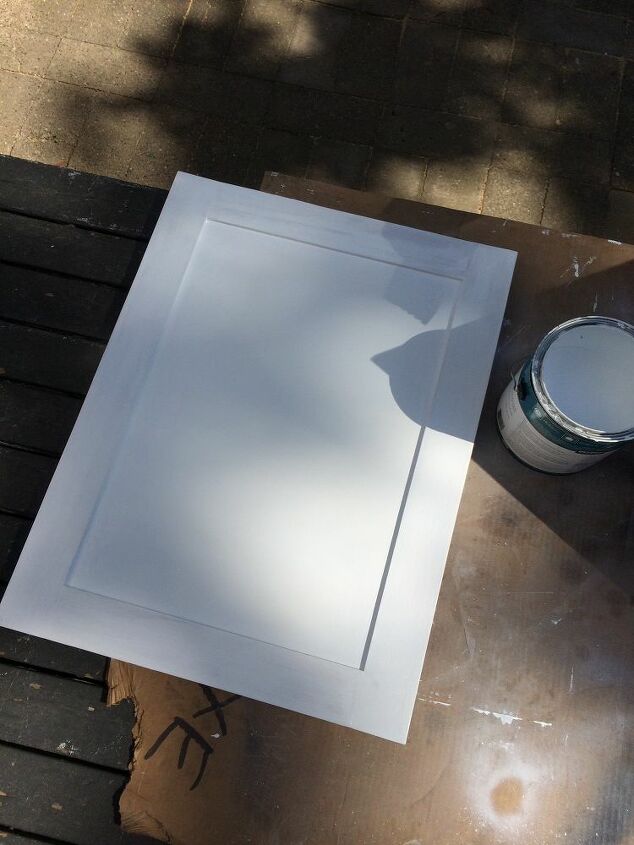
The next day we filled in any seams, cracks or gaps with wood filler. Once that dried we sanded down those areas and re-applied if necessary. When the wood filler was completely dry we applied the first coat of paint/primer. It took a total of three coats-with sanding in between each and a drying period of 24 hours between the second and third coat.
Then we added new hardware and hung each cabinet face back up.
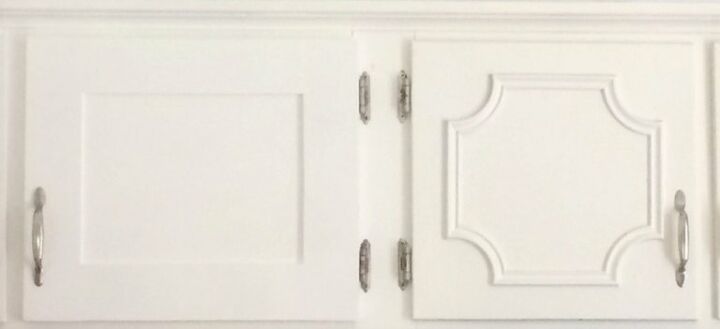
Here is the before and after upper cabinets side by side view! What a transformation!
Even the corner lazy Susans received an update, although they were a bit more work.
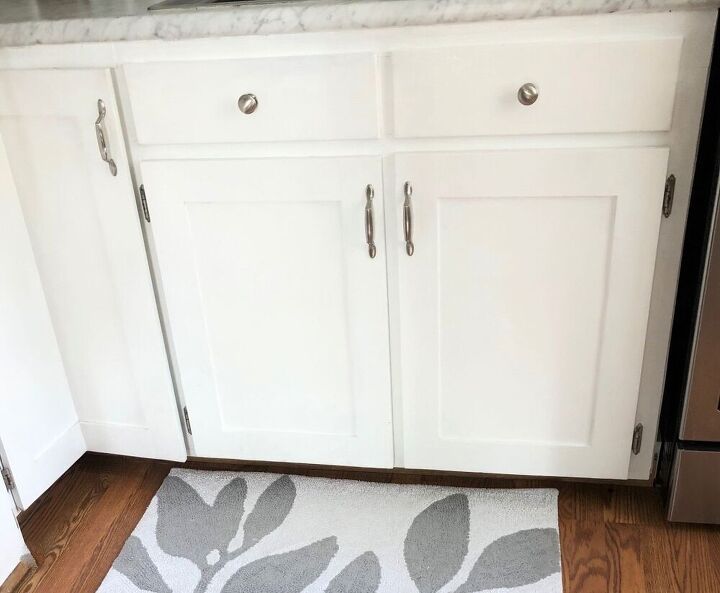
Here are the refreshed lower cabinets. Eventually, the cabinets will be replaced, but for now, they at least match the remaining updates we are doing in this space.
If you liked this cabinet makeover project here are more posts you might like!


Comments
Join the conversation
-
I wouldn't even bother to replace, the kitchen looks beautiful!
-
Beautiful!


Frequently asked questions
Have a question about this project?
What paint to use for white
I would love to do this to my outdated cabinet doors but...my cabinets have been painted over so many times that the hinges are literally fused to the cabinets and no way to get a screwdriver to unscrew the doors! Any suggestions?