


How To Make A Unique DIY Pumpkin Wreath
I am so excited for fall! How about you? I made a DIY pumpkin wreath—my first fall project of the season!
I was craving some fun and colorful decor, so I gathered some supplies and got to work to make a wreath using affordable mini plastic pumpkins from Michael’s.

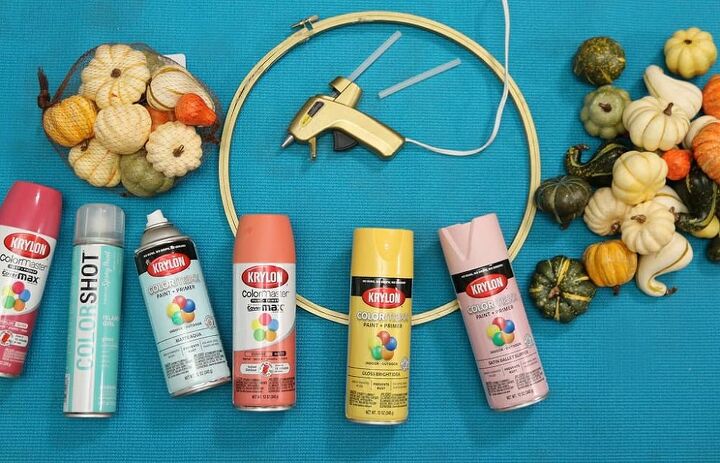
Gather your supplies
- 2-3 bags of pumpkins from Michael’s (they’re buy one get one free right now!)
- Hot glue gun and glue
- Embroidery hoop
- Yarn
- 4-5 colorful spray paints
- I used Krylon Watermelon, Matte Aqua, Sunrise, Gloss Bright Idea, and Satin Ballet Slipper as well as Color Shot Island Girl
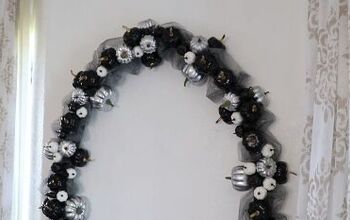
If you're not into bright colors you could choose a more neutral paint. The possibilities are endless!
Let's make our wreath.
Decide how many pumpkins you’ll need to cover the wreath. You can do half like I did or take the pumpkins all around. I needed about 28 pumpkins for mine.
I decided on five colors of spray paints for both projects and divided up the pumpkins to even groups and spray painted them.
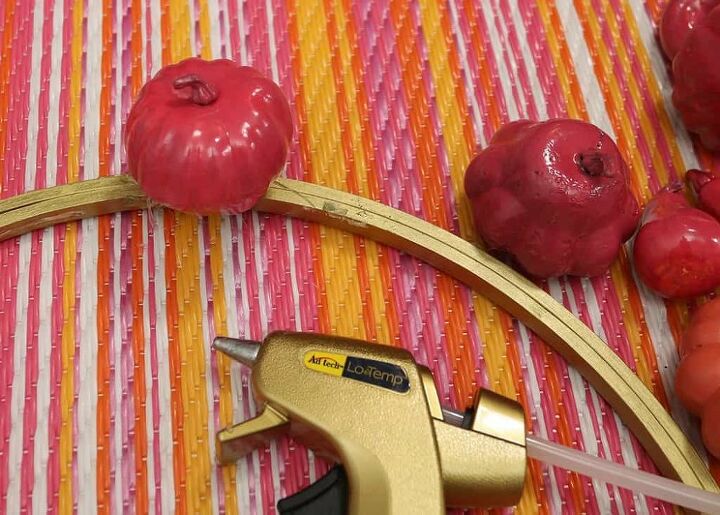
I used an embroidery hoop from a previous DIY project. It had already been sprayed gold.

This required two to three coats, and some spray paints covered better than others.
The light pink Ballet Slipper spray paint actually kind of ate away at the pumpkins, so I don’t recommend using this paint. Lesson learned. More on that later.
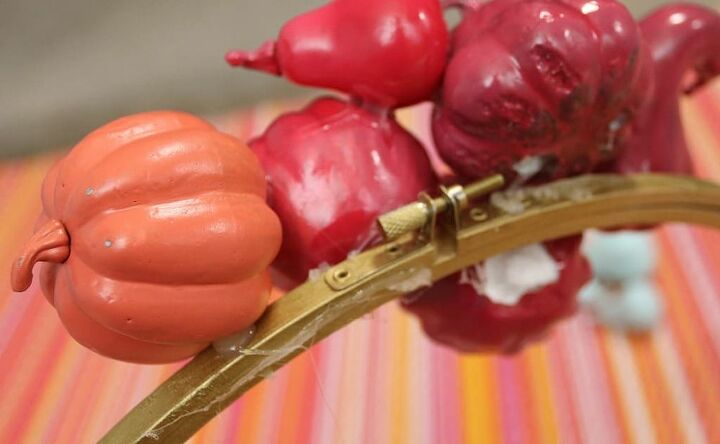
Once the paint was dry, I plugged in my hot glue gun and got to work. I started by gluing one pumpkin onto the hoop.
One trick I learned when I was nearly done painting: It works really well to use toothpicks to stick your pumpkins into some styrofoam or a cardboard box. It prevents the pumpkins from rolling around when being sprayed. I'll use this method next time.
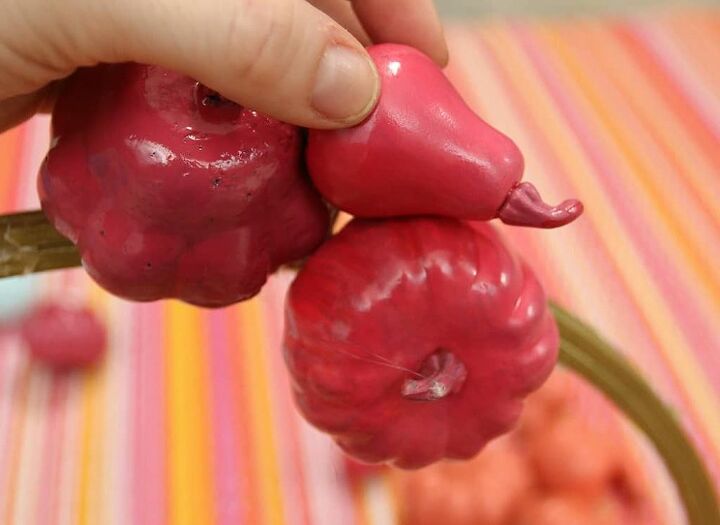
From there, I simply glued the same colored pumpkins together in groups.
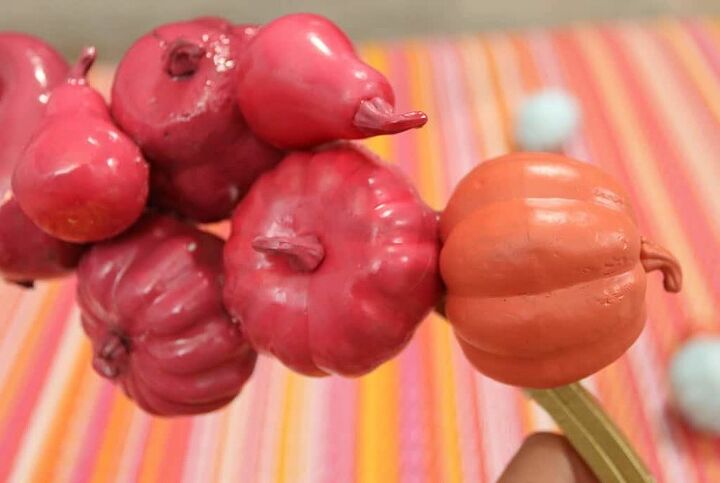
I attached each section by color. I decided to use four colors, but you can definitely only use only one color if you like a more simple look.
Here’s the backside. It doesn’t have to look good, ha!
I repeated these steps all around the bottom half of the hoop until I was happy with the look. Then I pulled the dry strings of hot glue off the pumpkins.
As I mentioned, I wasn’t the biggest fan of the light pink spray paint, so I decided to grab a pink acrylic paint and paint brush from my paint stash and brush a deeper shade of paint over the pumpkins. I’m much happier with this color!
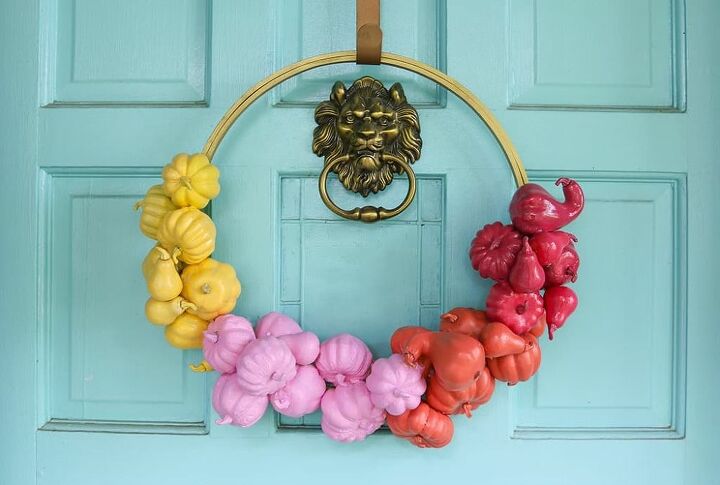
And here she is—my colorful and unique hoop pumpkin wreath!
I love the way it looks on our turquoise front door! I chose the spray paints based on what would look good on this color.
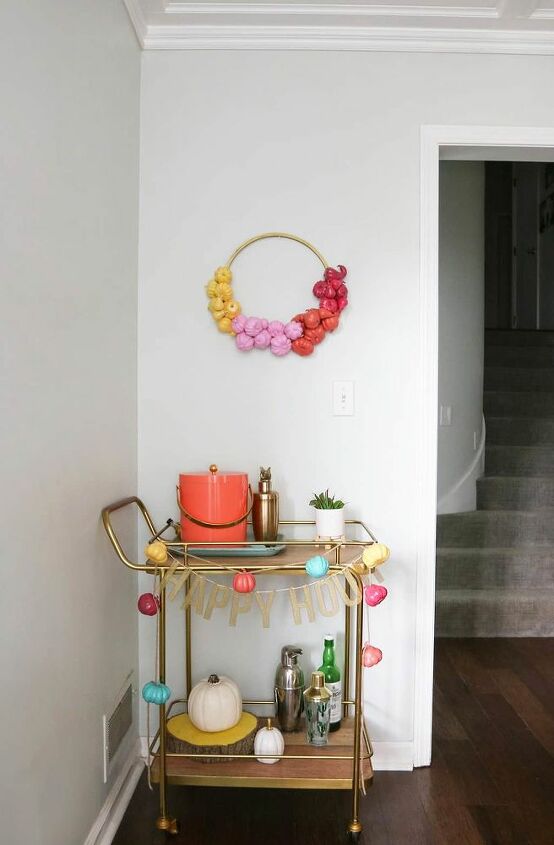
It's also a fun addition hanging above our bar cart!
I also made an easy coordinating banner using the same painted pumpkins and yarn. That's it!
What do you think of my DIY pumpkin wreath? If you're not into bright colors you could choose a more neutral paint. The possibilities are endless!
I highly recommend this project as a fun and affordable way to add some color and personality to your fall decor!
Resources for this project:
See all materials


Comments
Join the conversation
-
Love the bright colors!
-
Thank you Pachya!! :)


Frequently asked questions
Have a question about this project?
What is the bottom half of the basket