


DIY Ornament Garland for a Whimsical Christmas Mantel

An easy 5 step tutorial to make an ornament garland to decorate a whimsical Christmas mantel!
Y’all this DIY ornament garland is so easy to make, and you can completely customize it to your style and color scheme. Hang it with a mix of ribbon and bead garland for a festive look!
Steps:
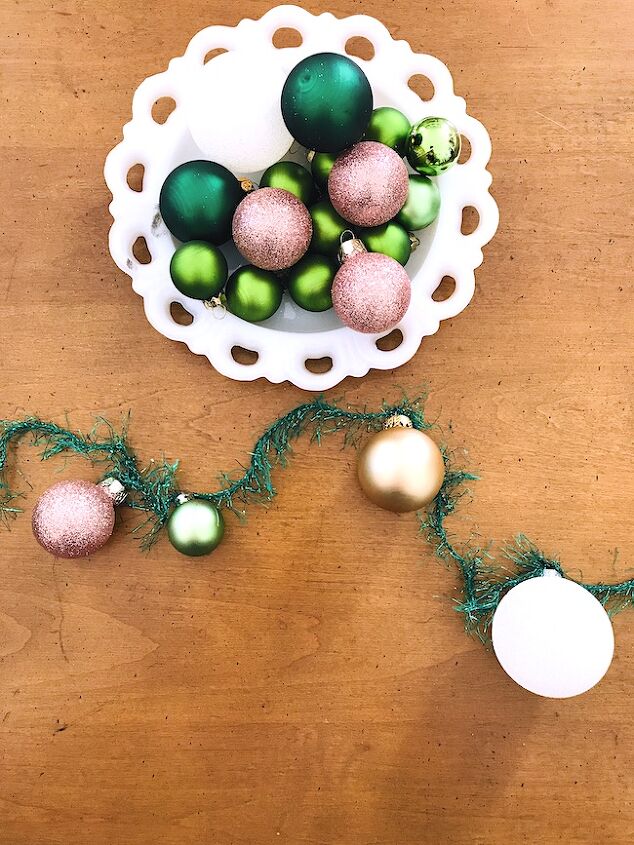
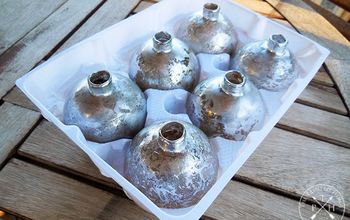
No. 1 Gather up materials and place ornaments in bowl or dish for easy access.
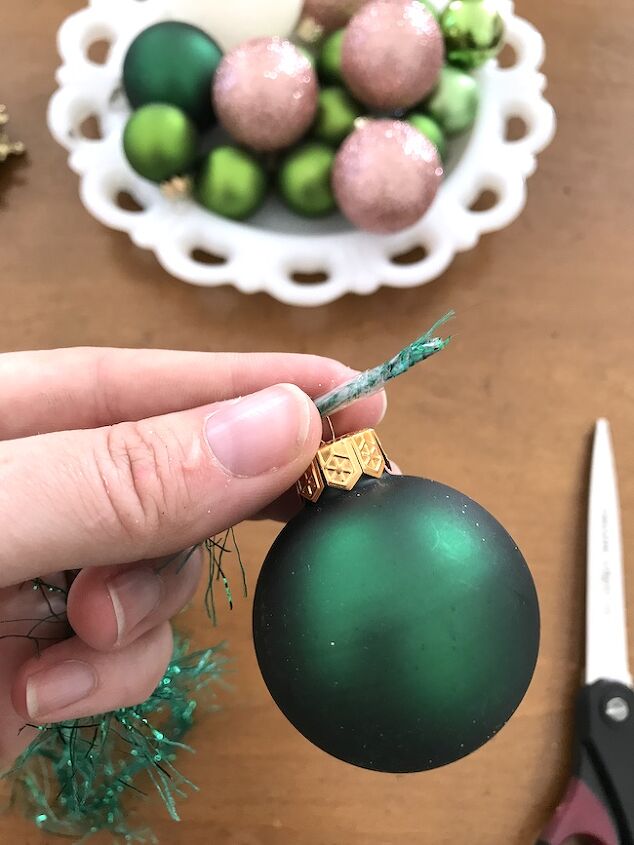
No. 2 Tape end of eyelash yarn so that it can be easily threaded through eyelets of ornaments.
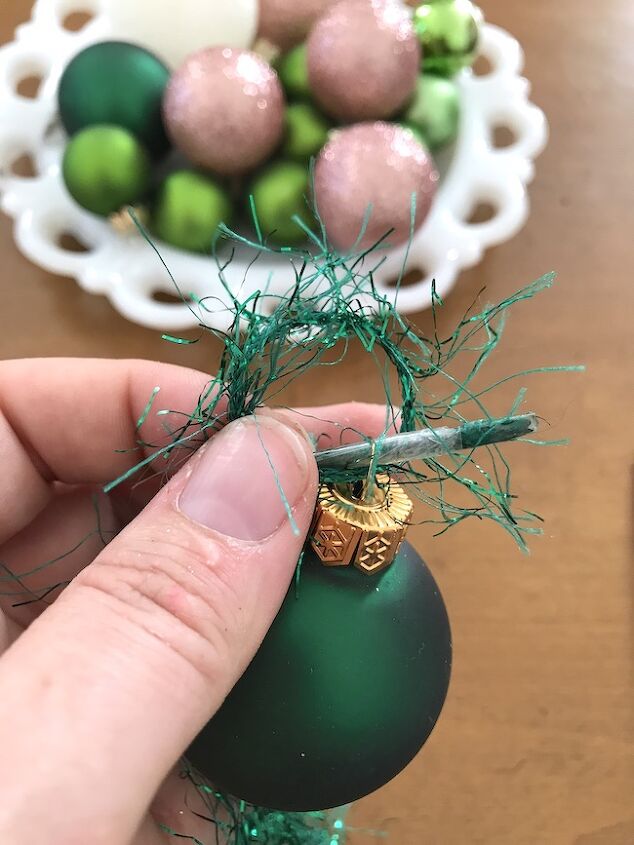
No. 3 Thread on first ornament and loop yarn back through eyelet.
No. 4 String on as many ornaments as it takes to go across your mantel, leaving about 2 to 3 inches of space between each one and alternating colors and sizes.
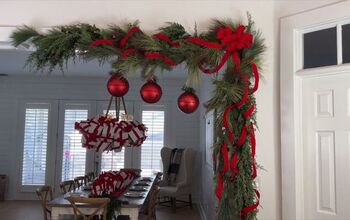
No. 5 Hang from mantel and adjust ornaments as needed. Ornaments will slide across yarn better if yarn is loose and not taut. Be careful not to pull too hard on ornaments so hanger doesn’t pop out.
Tips:
- Use shatter-proof ornaments just in case any fall off while you are adjusting.
- If you have a problem with the hangers popping out, glue them down.
- Don't cut your yarn until you know how much swag looks good across your mantel.
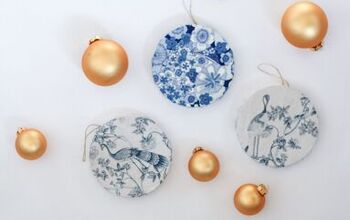
- Use ornaments in a variety of colors and sizes for that whimsical vibe.
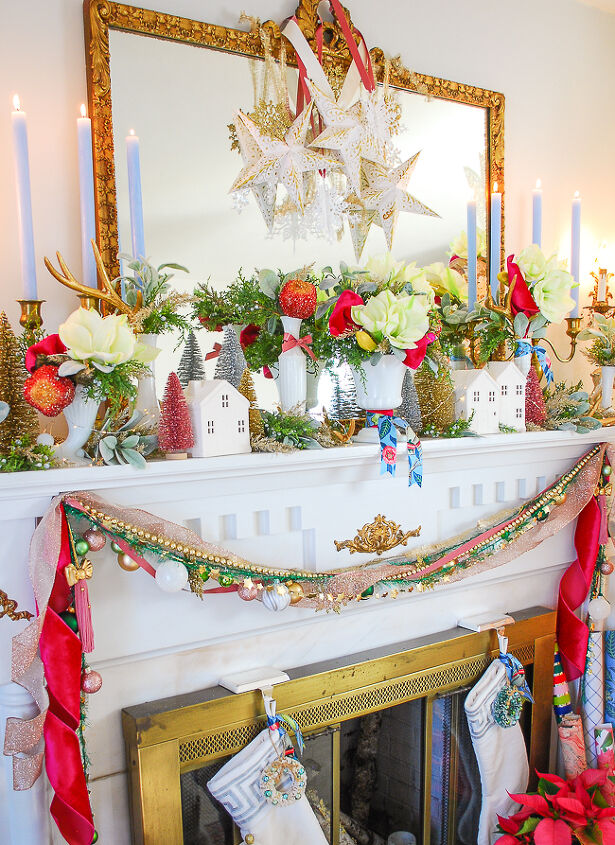
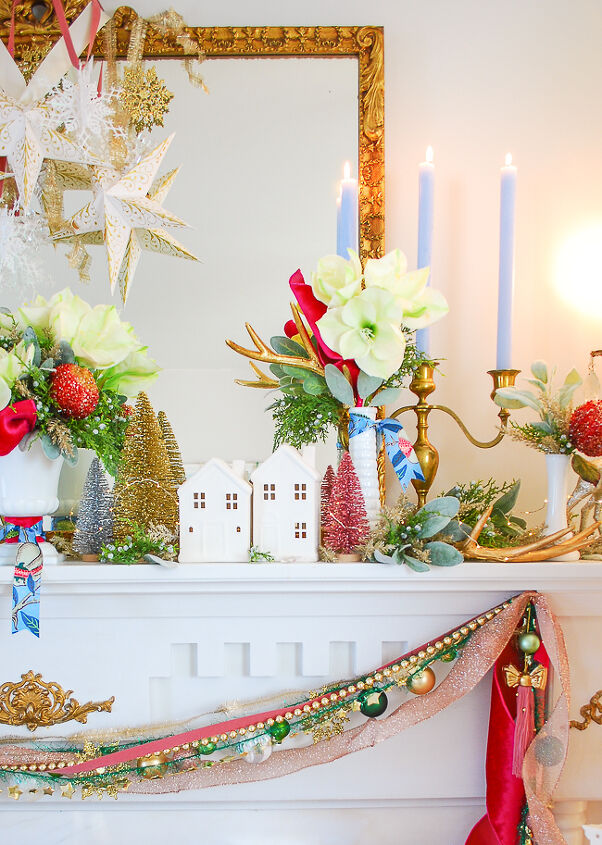
I mingled my DIY ornament garland with three other types of ribbon and gold bead garland for a full look that complemented the whimsical Christmas mantel.
You can see my full mantel on Pender & Peony plus get all my shopping resources!
Resources for this project:
See all materials


Comments
Join the conversation
-
So colorful! I love your mantle! 💙💙


Frequently asked questions
Have a question about this project?