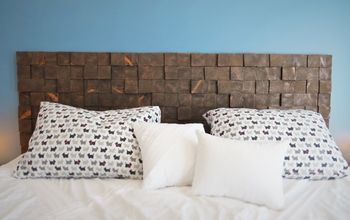
How to Reupholster a Headboard (without Taking It Off the Wall!)
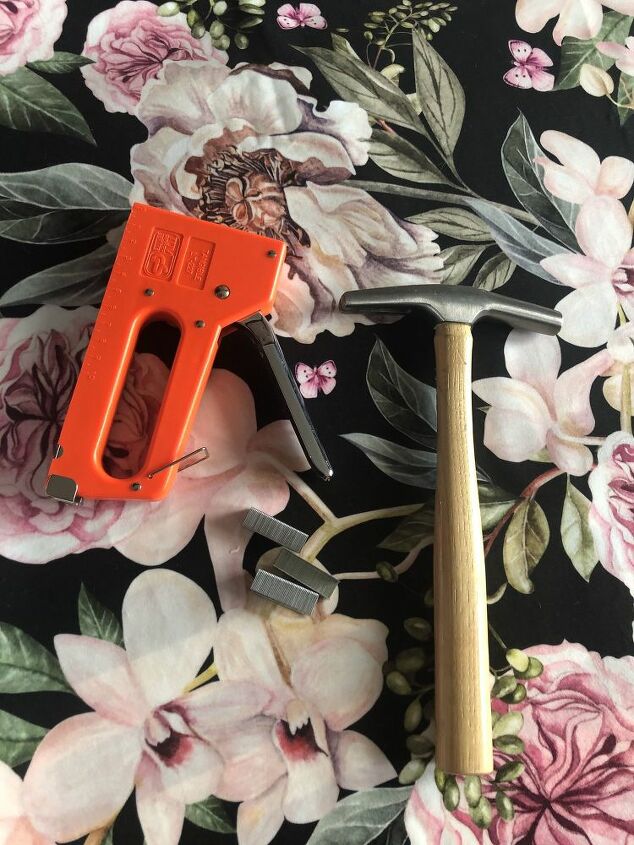
3 Materials
$60
1 Hour
Easy
So I got this lovely tufted headboard when we moved in to our new house. Three cats, two kids, and three years later…it wasn’t looking so lovely anymore!So of course I decided I should upcycle it by reupholstering it.But – my husband was adamantly opposed to taking it off the brackets that attach it to the wall.To be fair we did corral a workman or two to help us put it up in the first place and we do live in an old house whose walls can be temperamental when we try to attach things to them. So I did see where he was coming from.Soo…the upshot was I decided to reupholster my headboard in situ – while it was still hanging on the wall.To be clear, if I had my choice I would have taken it down. But, if for whatever reason you find yourself needing to reupholster a headboard without taking it off the wall – this is the tutorial for you!
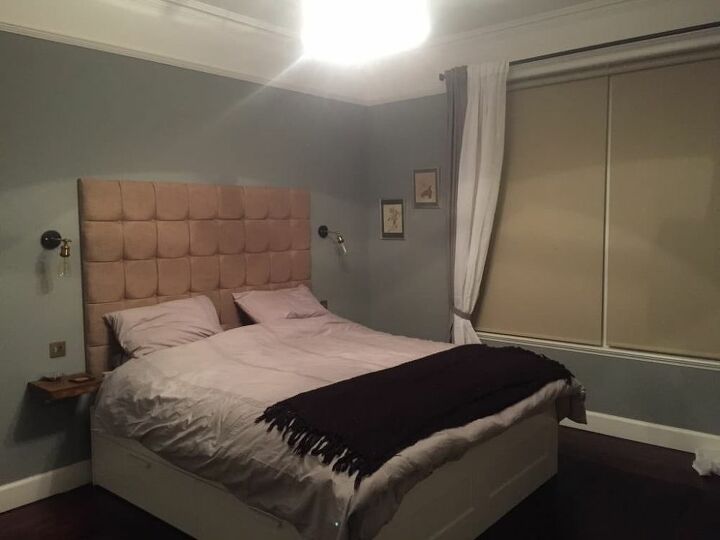
This was the headboard when it was new - not the greatest photo.
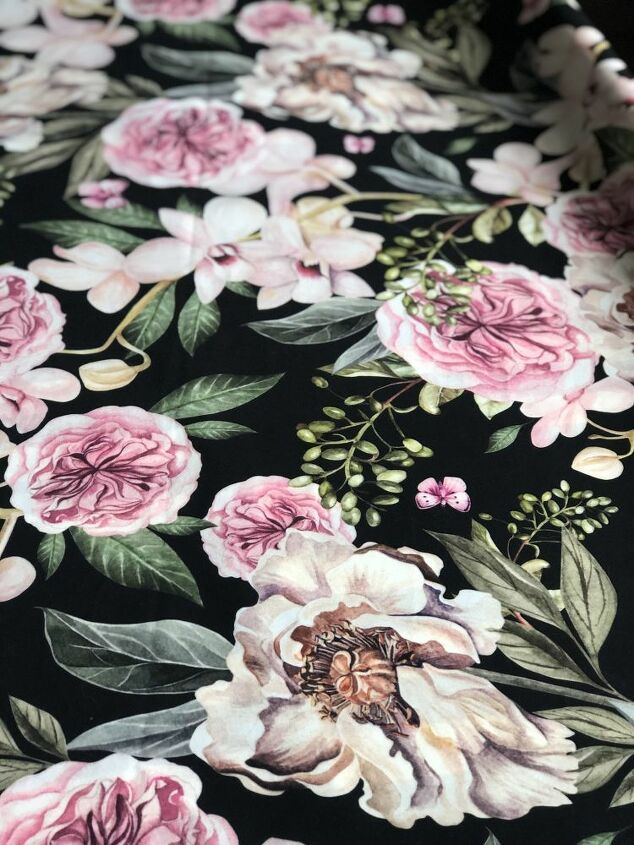
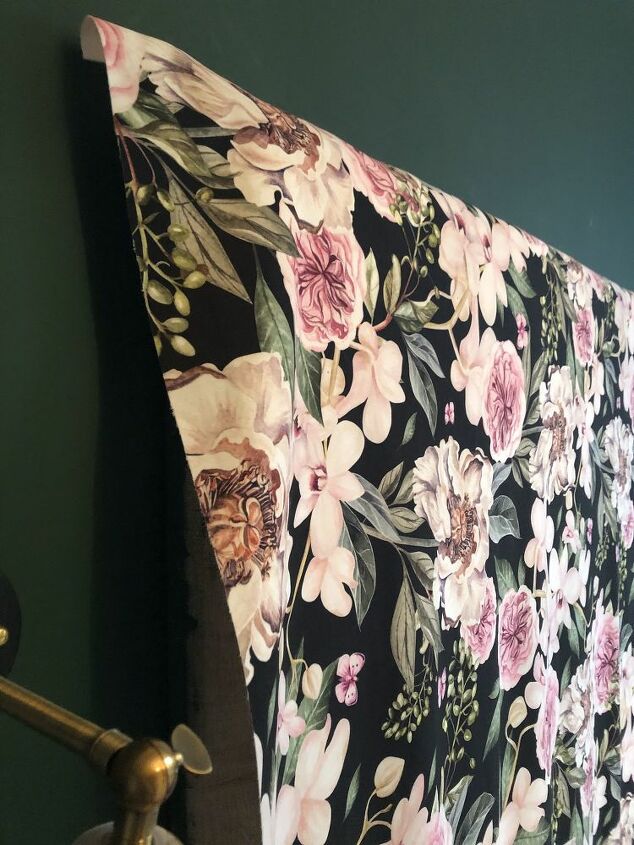
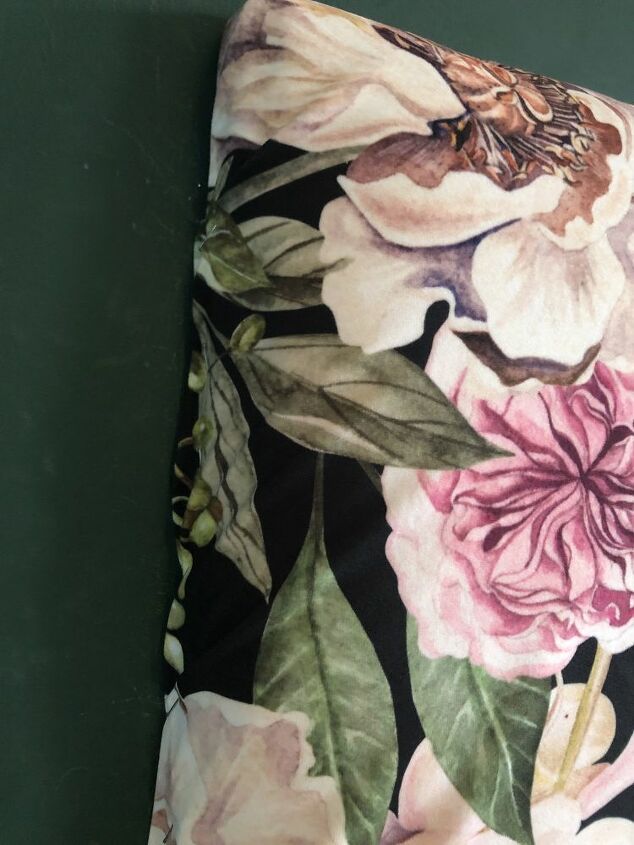
I picked a pretty bold pattern for my headboard reupholstery project. One because I fancied a change; two because I was going for a more dark and moody feel for the bedroom (the walls got a dark green repaint as well); and three because patterns hide mistakes and imperfections!
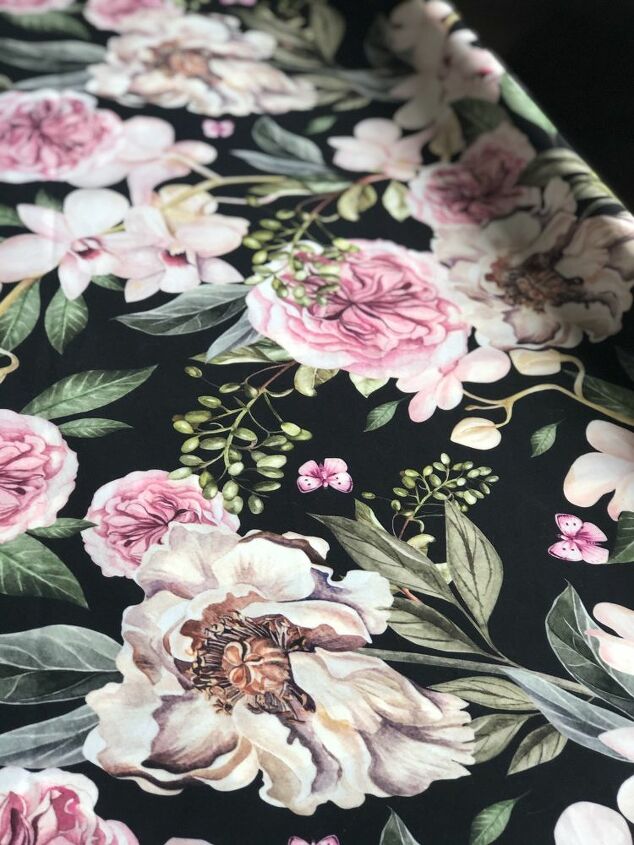
I bought my fabric on Ebay fairly cheaply (I've linked to it in my original blog post if you want the exact one). It’s a printed velvet upholstery fabric in Peony floral print. It has a black background and shades of olive and dusty pink.


Before I settled on this particular fabric I did go to a couple fabric stores in my area to see if I could find something in the fabric remnants department. But I just couldn’t find what I was after. That doesn’t mean you won’t though, and buying fabric remnants (or using some from your own stash) is definitely a cheaper way to go.
My headboard was just under two metres wide and it’s height was about 15cm shy of the width of the fabric I decided to go with. So I just ordered 2 metres and cut it as I went along as you’ll see below.The key point when measuring is to make sure you can cover your headboard in one large piece of fabric. So you need to measure the height, the width and the depth (from the front of your headboard to where it hits the wall – mine was something like 5-10cm deep).


DOUBLE CHECK THE FABRIC WIDTH!


When you buy 2 metres of fabric (or whatever that is in yards if you are in the US), it will generally come in one long piece, but double check that if you are purchasing online.You also need to check the width of the fabric as a metre of fabric isn’t a metre square, it is a metre long and the width will vary.


Mine was 140cm wide, which is fairly standard, and worked well for me as my measurements told me I need about 125cm – so I had a little to spare. But make sure you check before you buy as there are variations when it comes to width for fabric! I don't know the standard measurements in inches for US readers but the key point is the same - double check before you buy!
If your fabric needs an iron, do that before you start this step. My fabric was velvet and I made sure to unfold it as soon as it arrived so it didn’t need any additional ironing or pressing.


I started at the top in the middle of my headboard. My fabric was quite heavy so I needed to ask someone to hold the bulk of it while I stapled along the top to secure it before working around.


A NOTE ON TACK STRIPS


One thing to note as I am giving you the steps to do this yourself should you want to is that ideally you would probably use tack strips rather than staples (the long pieces of fibre or metal that come preloaded with tacks). It would be a similar technique to what you would use to do the back of a chair or sofa in that you would fold the fabric over the strip and bang it in with your upholstery hammer. Thus making the tacks invisible.


If you want more information on that technique check out our  post on reupholstering an armchair here.


So why didn't I use tack strips? Honestly, I'd ordered some and they hadn't arrived by the time I had an afternoon free for this and since getting an afternoon free involves sending my husband off with the kids, I just felt the need to get it done. So I used what I had, which was a staple gun!
A GET IT DONE APPROACH!


As you can see from the photos I painted my room green before this upholstery project. I knew I would be reupholstering the headboard, so I didn’t bother taping it off – so that is where the paint marks on the side have come from!


I folded my fabric under at the edge, just a couple centimetres. In my room you can’t see the edge at the top of the headboard as it is so high, but it made me feel better to tuck it under.


I used a pretty cheap and cheerful staple gun, if you have an electric one – use it- it will probably make your life easier. Mine gets jammed a lot and I end up having to dig staples out but for now it still does the job in the end. There is no perfect length of staple to recommend. It will depend on your staple gun, how heavy your fabric is, as well the surface you are stapling on, but I used 7mm ones for this project.
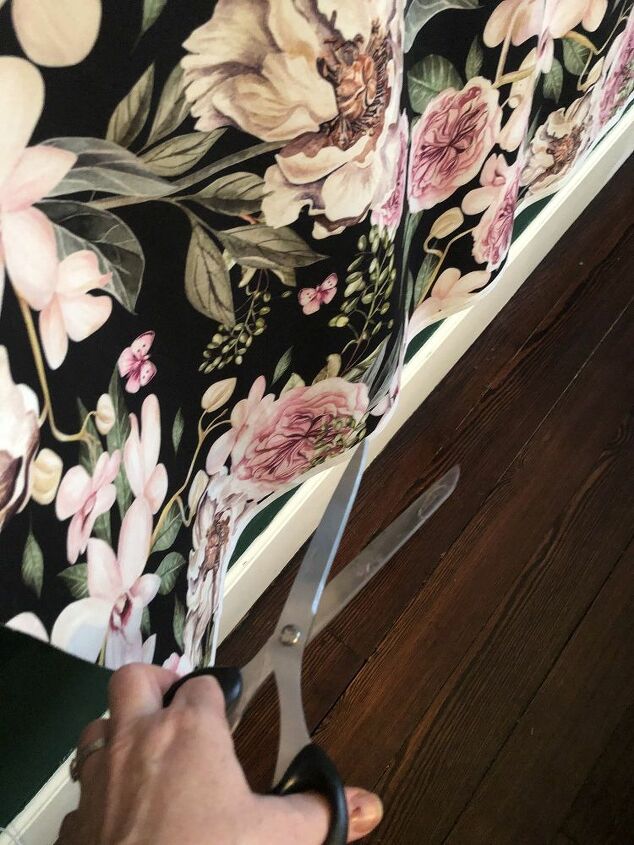
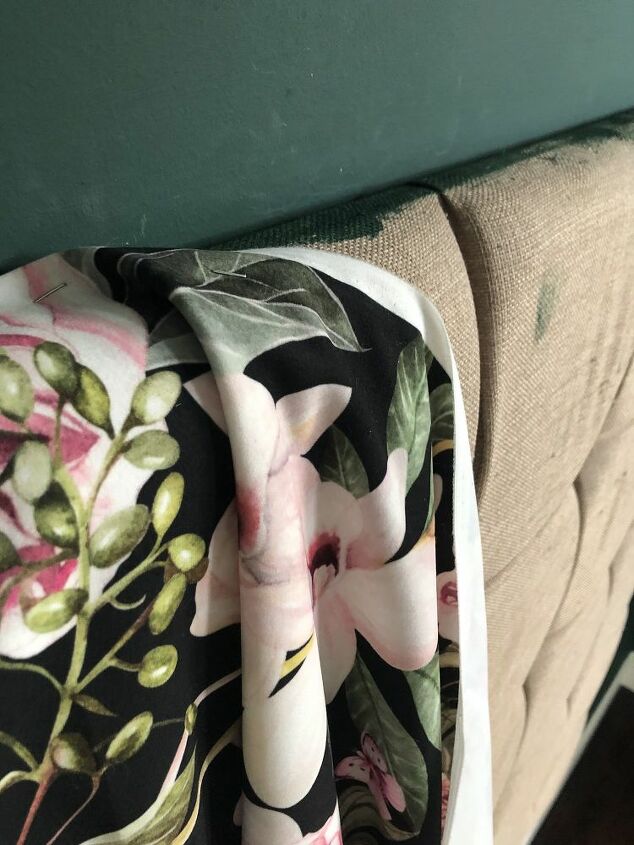
Once you have the top secured you can head down to the sides and see how much overhanging fabric you have. If you have measured it super accurately you might not have too much excess and you can just fold over the edges.


For me, I had a bit more than I needed on one end so I trimmed it to give me just enough extra fabric to neatly fold it under to staple down the sides. I also had extra at the bottom so I trimmed that at the same time. No doubt I’ll use the scraps in another project.
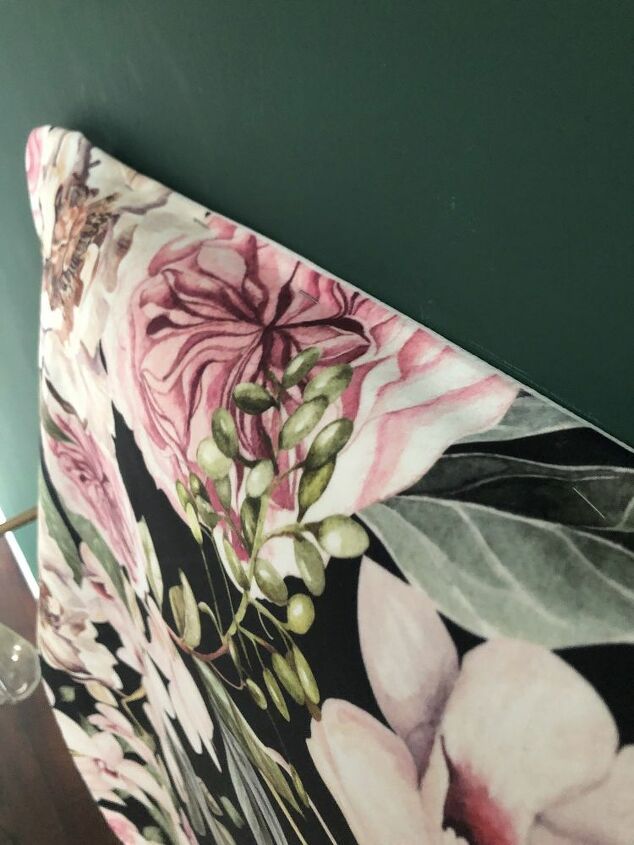
Once you’ve got your fabric trimmed you can start folding over and stapling down the side. The most important bit of this for the finish is the top corners on either side. I fold them a bit like you would if you were wrapping a Christmas present.
I’ll be honest the side that faces the hallway has neater, straighter staples and folds than the side that faces the wall!In any case, I stapled probably ever 5-10cm, just until it felt secure on both sides.


The upholstery hammer in the materials list is there for when your staple doesn’t go in all the way. I then use the hammer to staple it in if it isn’t too bent. But I am a cheapskate who hasn’t bought a proper electrical staple gun, so you may not need the hammer if you have a really good quality stapler.
When you do the second side make sure to pull the fabric as taught as you can get it. If it’s too loose your fabric might look a bit rippled in the middle since it won’t be attached in the middle.


For the bottom I had to get down on the floor and I couldn’t actually see where I was stapling. I folded it over to pull the fabric taught again. I turned my stapler upside down, aimed where I thought it should go and stapled blind.
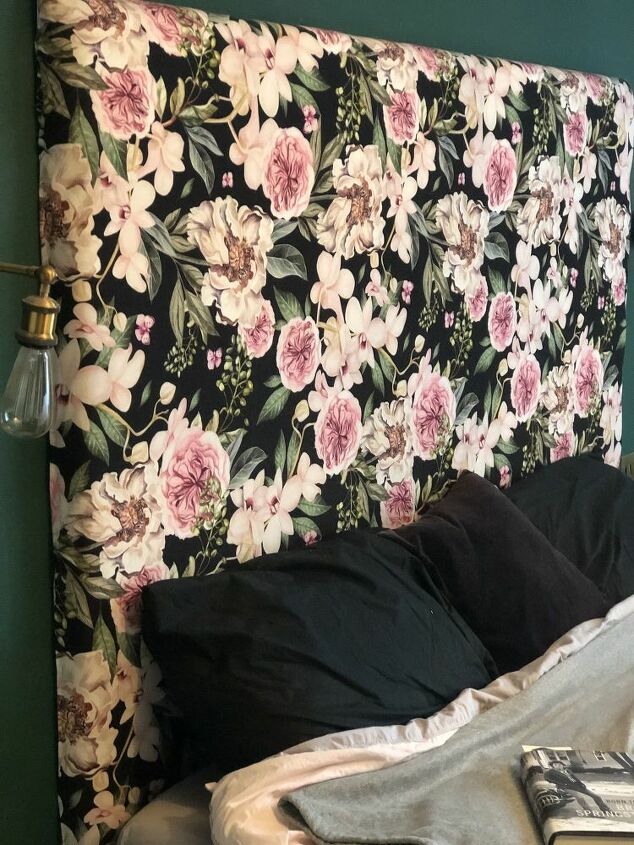
So, because the staples are visible when you are reupholstering a headboard while it is still on the wall I originally intended to cover them with stud strips. I didn’t in the end because I liked seeing the pattern of the fabric wrap around the side. I also thought I did an okay job with the staples on the most visible side.


Most people would probably still choose to cover them. And it’s pretty simple if you want to. You measure and cut your stud strips and use your upholstery hammer to hammer them into place. Only every 5th stud or so will actually have a nail in it, the rest are decorative so they can be placed to cover the staples.


Any professional upholsterers out there will be screaming at whatever device they are reading this on that I could have used tack strips instead of staples and I wouldn’t need to consider stud strips.That is very true, and probably something I would do next time. But as I noted above, sometimes if you wait for all the right tools and materials you never get anything done!
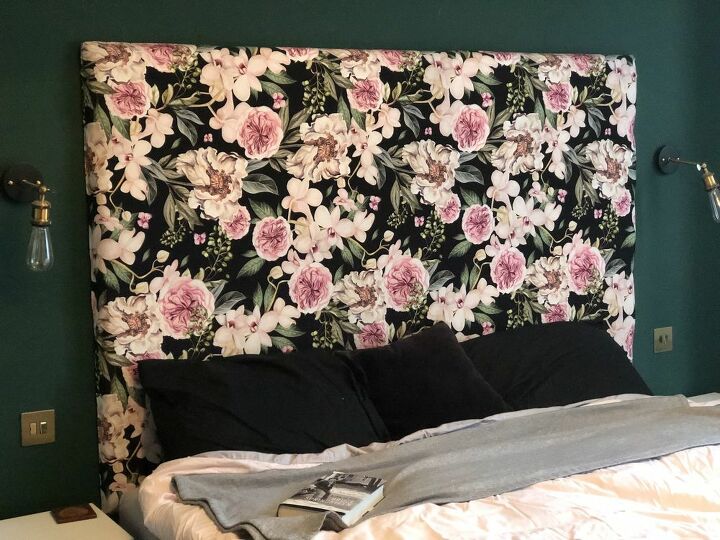
The last step is to dress your bed to match your lovely new upholstered headboard (I’m sorry I don’t iron my duvet covers – if you do your end result will look 10 x better!).


All in all I am happy with the results. I think my choice of fabric is what won the day. Anyone who comes in will most definitely be looking at the gorgeous floral pattern and not my upholstery skills!


You'll find lots more upholstery tutorials on my blog - from 'have a go' techniques to expert professional tutorials (we have guest bloggers who do this for a living!).
Resources for this project:
Any price and availability information displayed on [relevant Amazon Site(s), as applicable] at the time of purchase will apply to the purchase of this product.
Hometalk may collect a small share of sales from the links on this page.More info
Kristen Hubert
Want more details about this and other DIY projects? Check out my blog post!
Go
Frequently asked questions
Have a question about this project?
  1 question
Comments
Join the conversation
2 of 23 comments
Next