


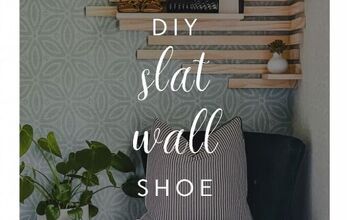
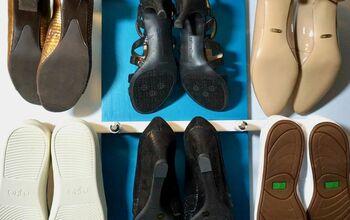
DIY Shoe Rack

Shoe's disorganized and taking up too much space? Check out this DIY shoe rack that is a quick build. This is a project that is cheap and fun to make at home.
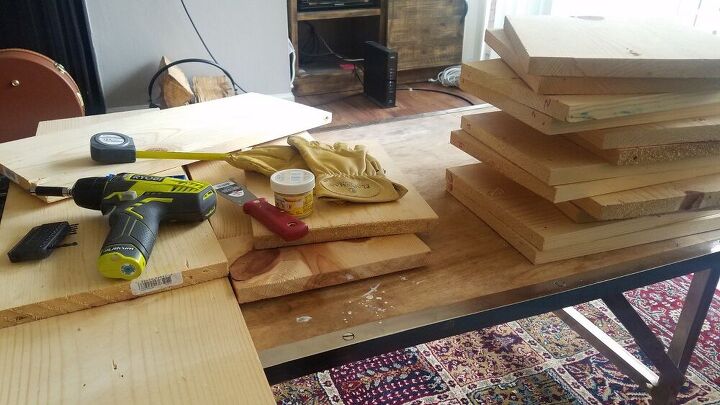
The supplies you will need to buy are 5 common boards and screws that measure 2in-3in. You will also need a: drill, drill bit, tape measure, polyurethane and work gloves.
Have the boards cut into the sizes below. You can have this done at a Home Depot or Lowes.
*5 boards that are (1inX10inX6ft) long.
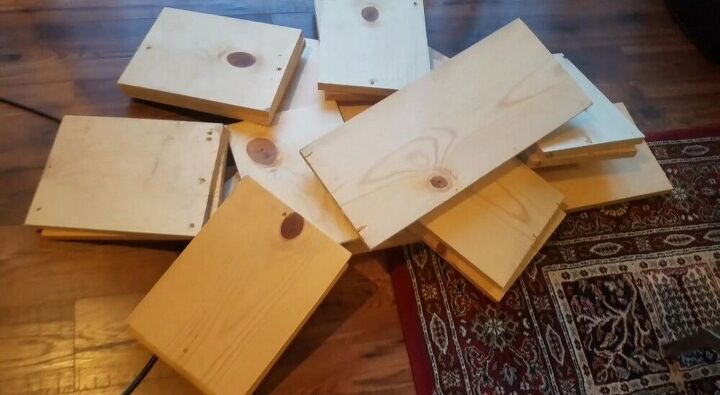
- Cut 12 boards -1ft
- Cut 1 board - 2ft 3in
- Cut 1 board - 3ft 3in
- Cut 1 board - 4ft 7in
These boards were scraps from another project and these are the measurements (above) after I joined them together. You can adjust the measurements in anyway you want.
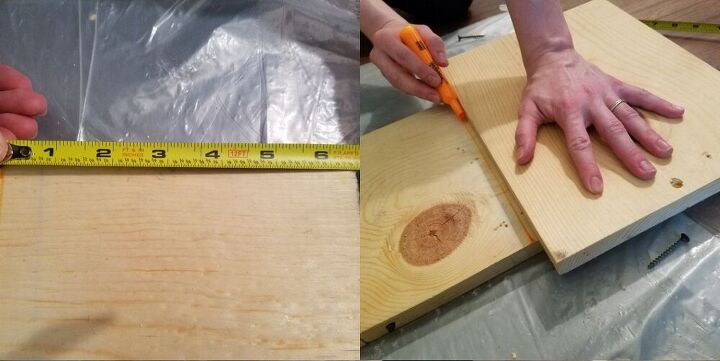
Now we're going to start with measurements. In the video, it shows me putting together boards to create a base. You do not need to do that part. If you follow the measurements given, you will have your base already set :) To start, choose the largest board that you have (should be the 4ft 7in) and place that as your base. You will then measure the ends of the board. It all depends on how much space you want to leave between the end and the first A-frame. I chose 6 to 7inches since a pair of shoes will fit in that area. I did this for both sides.
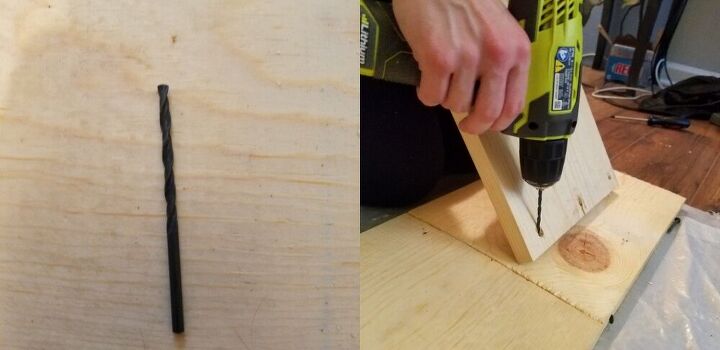
This is probably one of the trickiest parts for the whole project. For the A- Frame to stand up correctly, we will need to secure them to the base-boards by screwing the diagonal boards down diagonally. We will need a drill bit for this to prevent the board from splitting. You will repeat the step for every A-frame you create. In this case, you would be making six A-Frames for the whole project.
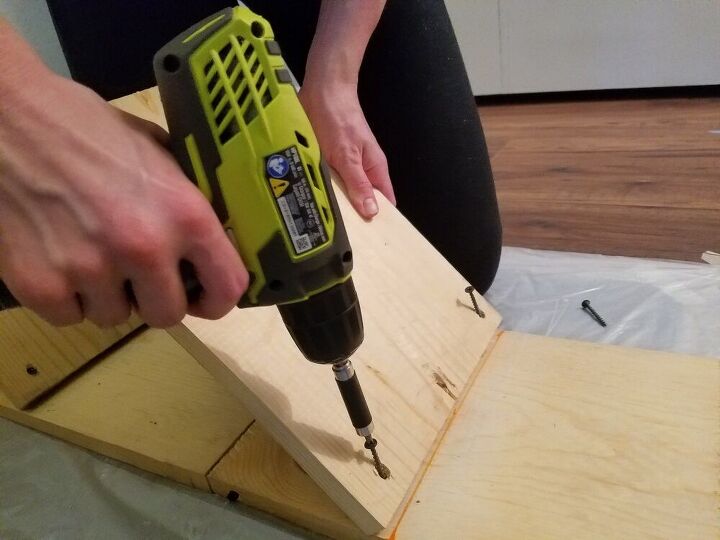
Once the holes are pre-drilled, use the 3inch screws and screw down both sides of the board.
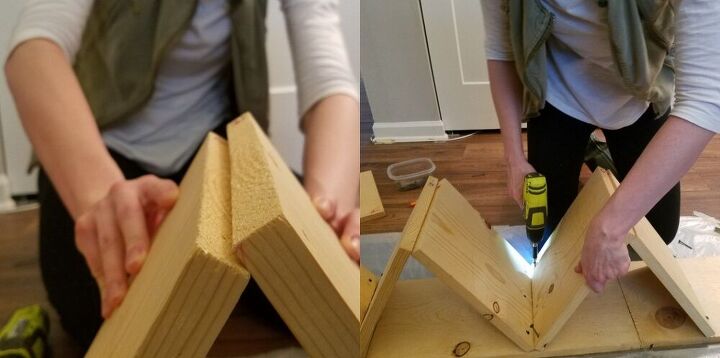
Once one board is screwed to the base, take the second board and create the A-frame. You will attach the top of the pieces together with a 2 inch screw. Then you would repeat steps 2,3,4 and 5. Once 3 full A-Frames are created on the base you can then move on to the second level.
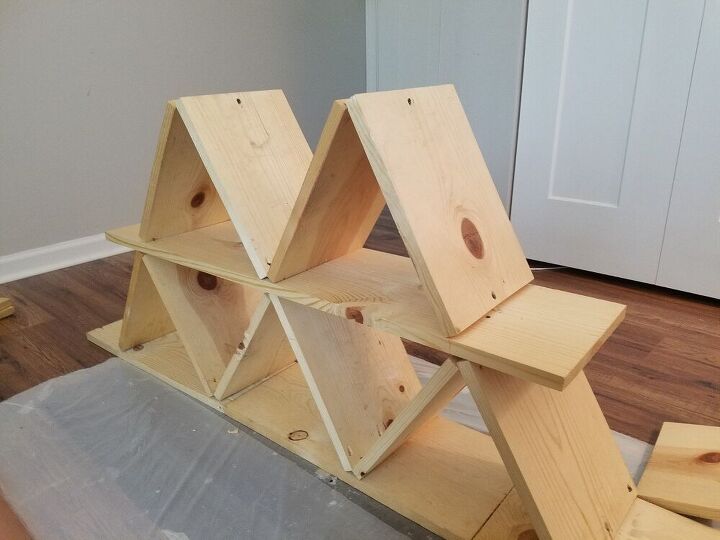
Take the second largest board (3 ft 3in) and apply it on top of the three A-Frames. I screwed in 2 screws to the board and connected it to the 3 A-Frames. This helps secure the board. From there create 2 A-Frames by repeating steps 2,3,4&5.
We are now at the third level. Follow steps 2,3,4 &5 to complete this step.
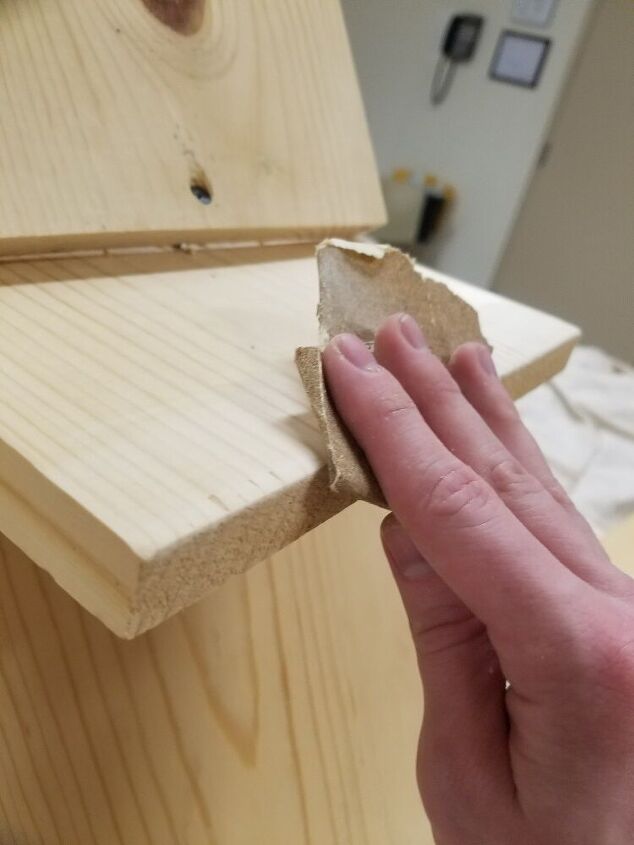
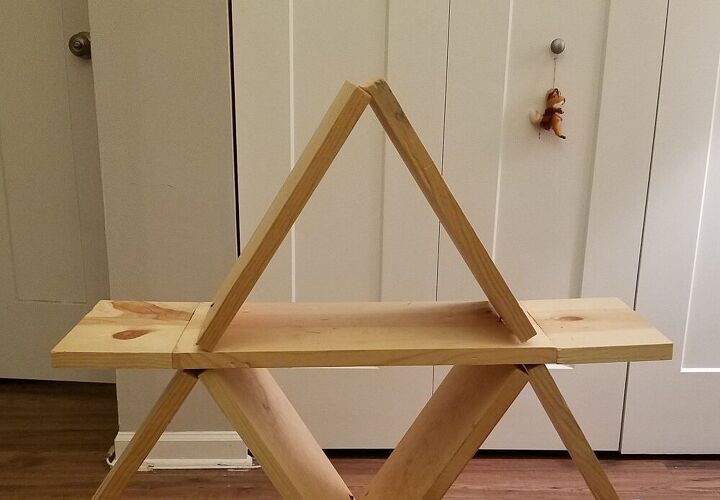
You are almost done!!! By now you have completed building the shoe rack. Now its time to make the final touches. I personally love the industrial look the screws gave the shelf. However, if you do not like the screws showing, you can use wood putty to cover them up. I did sand the edges and used clear matt polyurethane to give it a more finished look.
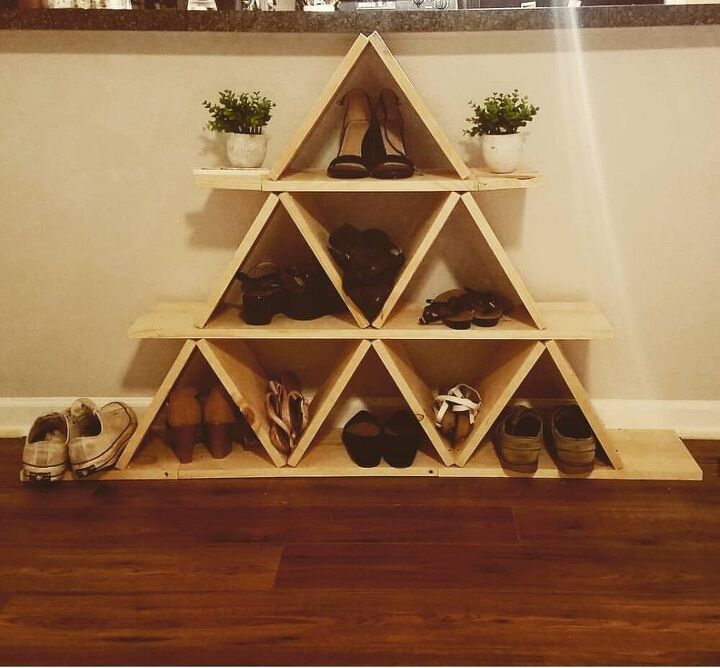
Congratulations!!! Your shoes are now organized with your amazing new DIY shoe rack!!! If you decide to paint yours, don't hesitate to share!!!
Resources for this project:
See all materials


Comments
Join the conversation
-
awesome job!! this is so versatile, and thanks
-
Great idea and great job too. Looks so nice.
Annie🦋


Frequently asked questions
Have a question about this project?