


Do You Know How to Spell— C-H-A-R-C-U-T-E-R-I-E?

Better yet, do you know what it means? Charcuterie boards are a very popular option to serve a fabulous combination of meats, cheeses and other tasty tidbits. And there are so many board types and styles. Here is an example of how you could take a basic tray design and create a Charcuterie board that will WOW your guests!
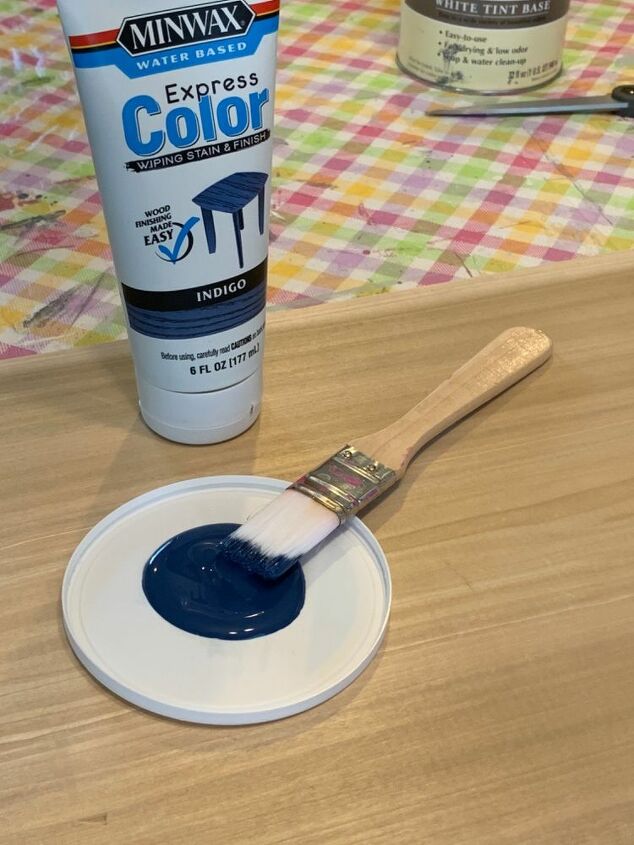
I used a piece of poplar wood that I bought at Lowe’s. I cut it to size (24” x 11”) and sanded the rough edges. I also gave a light sanding to the top and bottom as well. I decided to use a two color stain process that I never did before and hoped for the best.
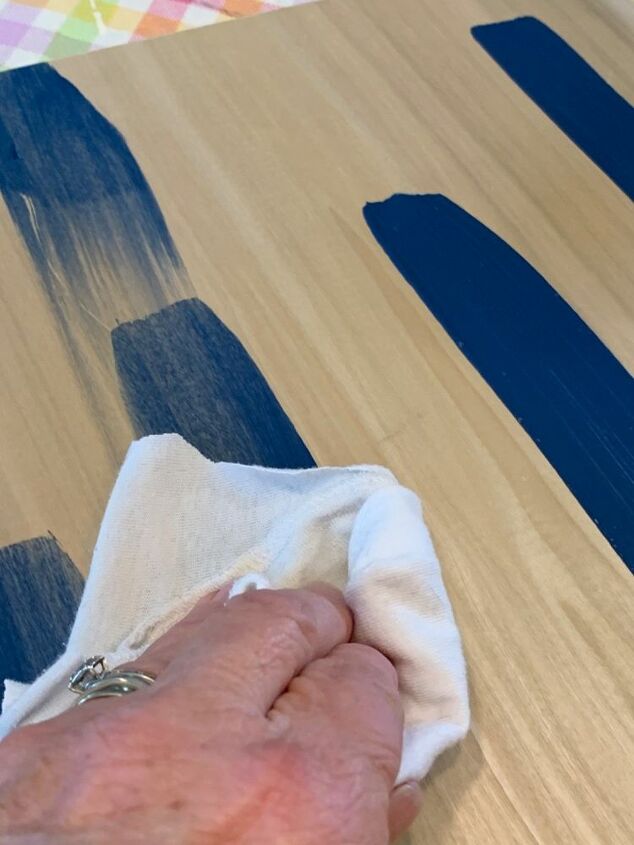
I used a synthetic bristle brush to add thick lines of blue stain here and there. As instructed I waited 2 to 3 minutes and then wiped with a clean cloth.
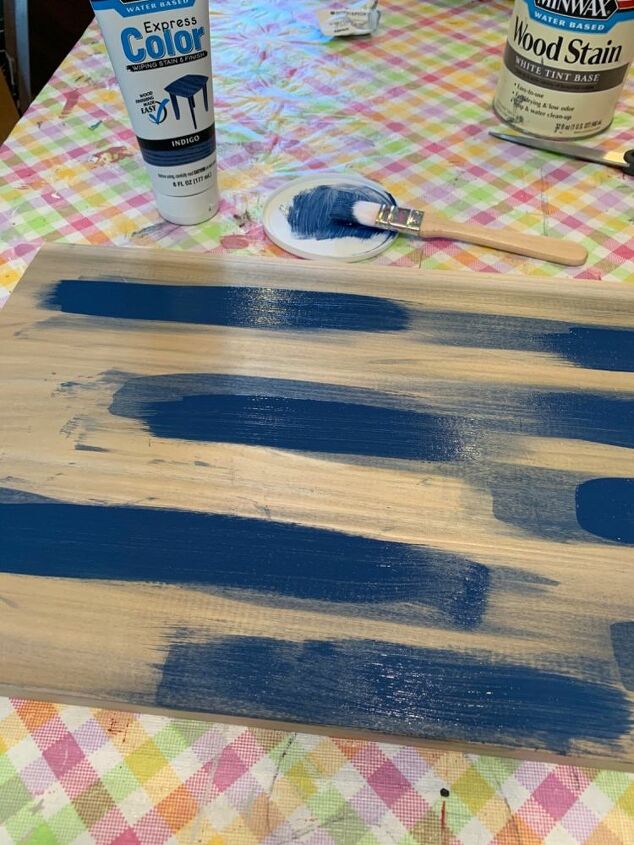
I went back and added more blue stain as described in step two. It’s really a personal thing but I wanted to make sure that there was enough blue that would show up through the next color. I picked a Coastal Gray stain for the top color.
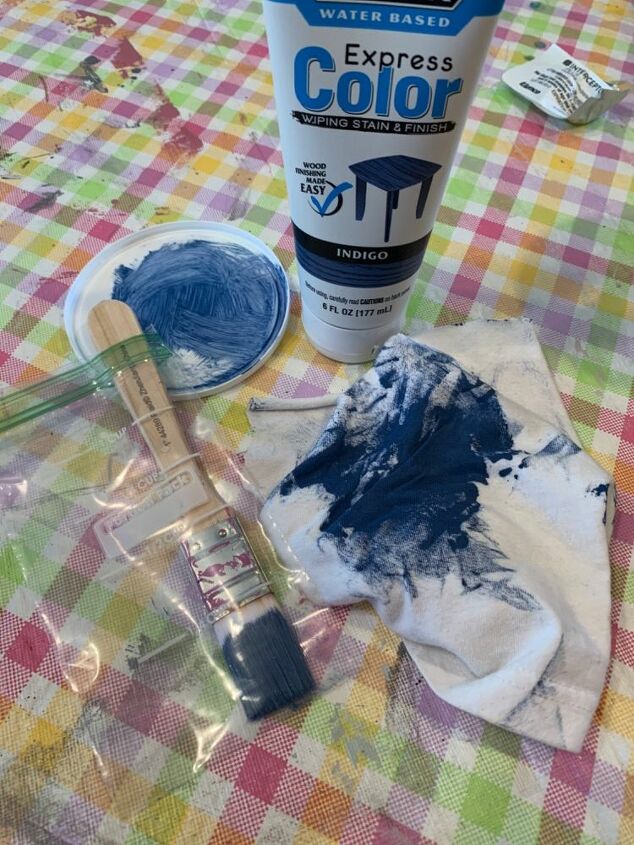
I store my brushes in small vertical snack baggies as I am working. This keeps them from drying out!
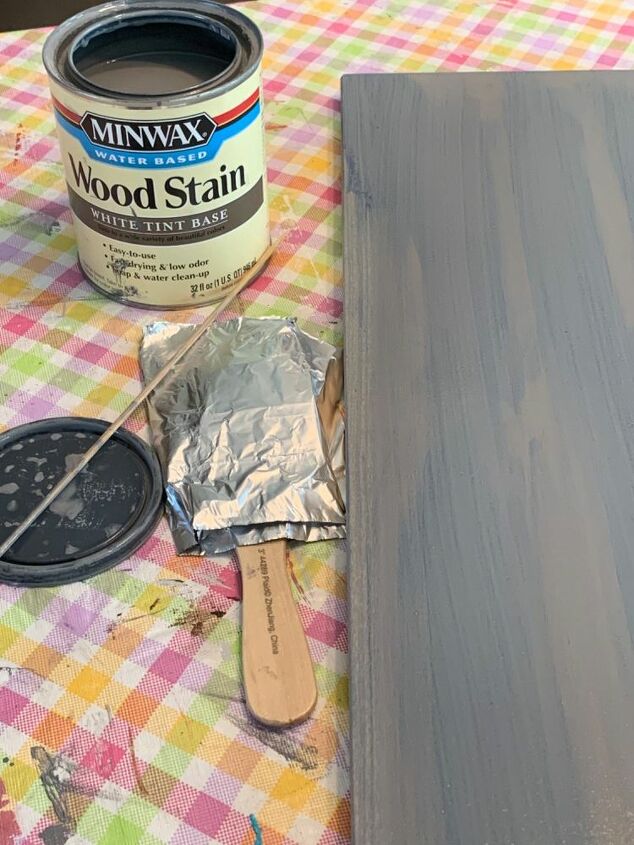
I covered the entire surface with coastal gray stain. After it sat for about 3 to 4 minutes I wiped it with a clean cloth. (I kept this larger brush from drying out by wrapping it in tinfoil)
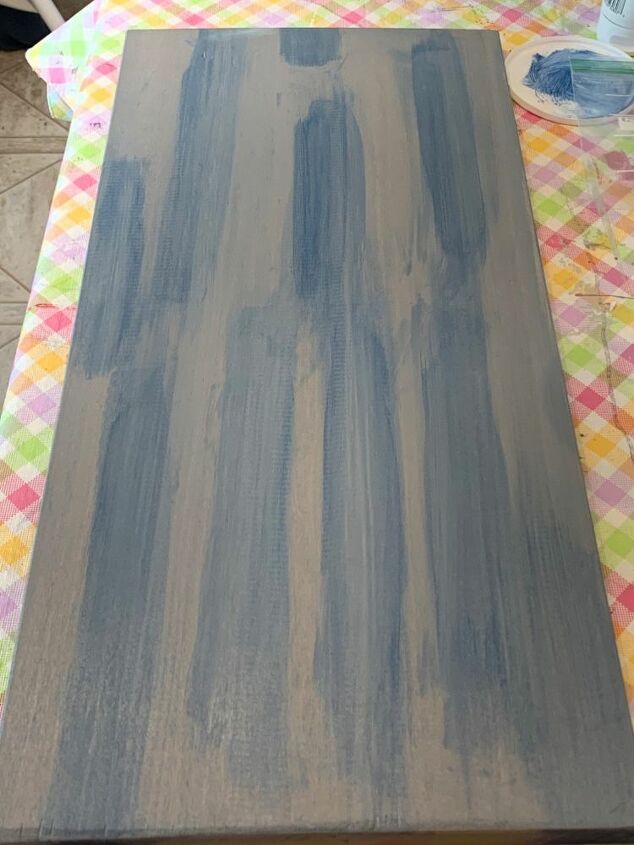
This is what it looked like after the first coat of gray. I decided it needed more gray (too much blue showing through) so I waited two hours to let the first coat settle in and dry really well.
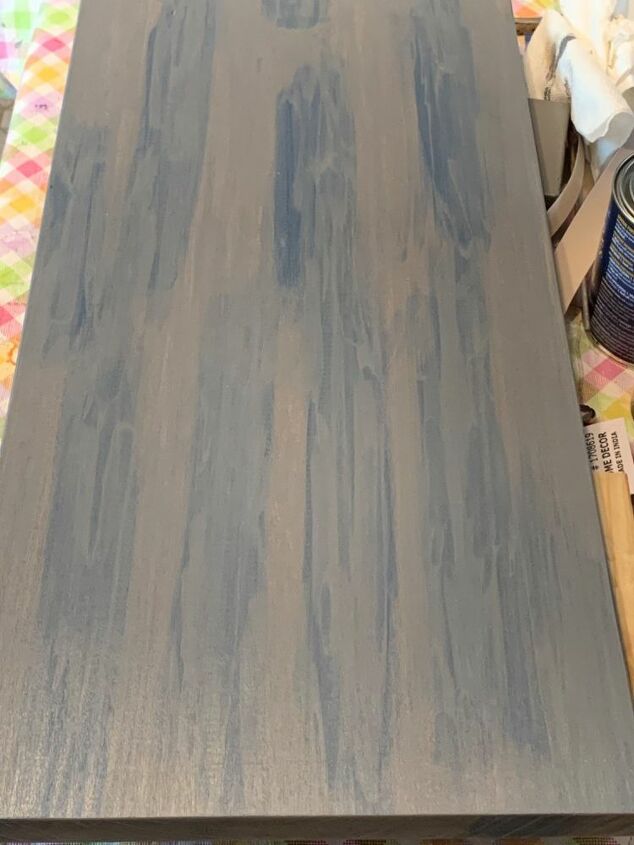
At this point I added more of the gray stain here and there depending on how much more of the blue I wanted to cover. I had fun with this knowing I would eventually get the look I wanted. I did the same process on the other side and the edges. This allowed me to pick the side I liked best for the top.

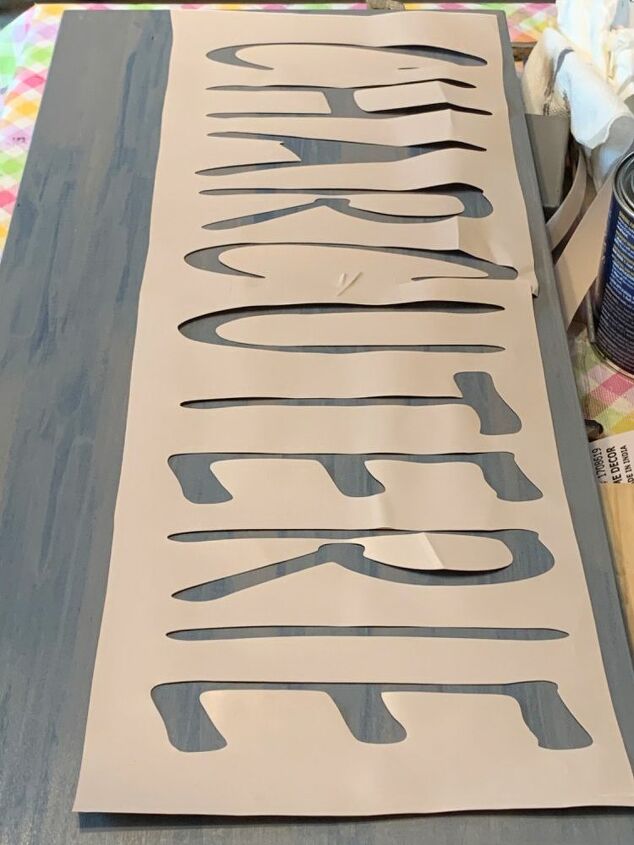
Using my computer with the Silhouette Cameo program I designed my stencil. I saved this image as a guide for later but on a different page I pulled apart the elements so I could cut them out separately.
I purchased shelf liner from Walmart that is super cheap. I use it to make all my stencils.
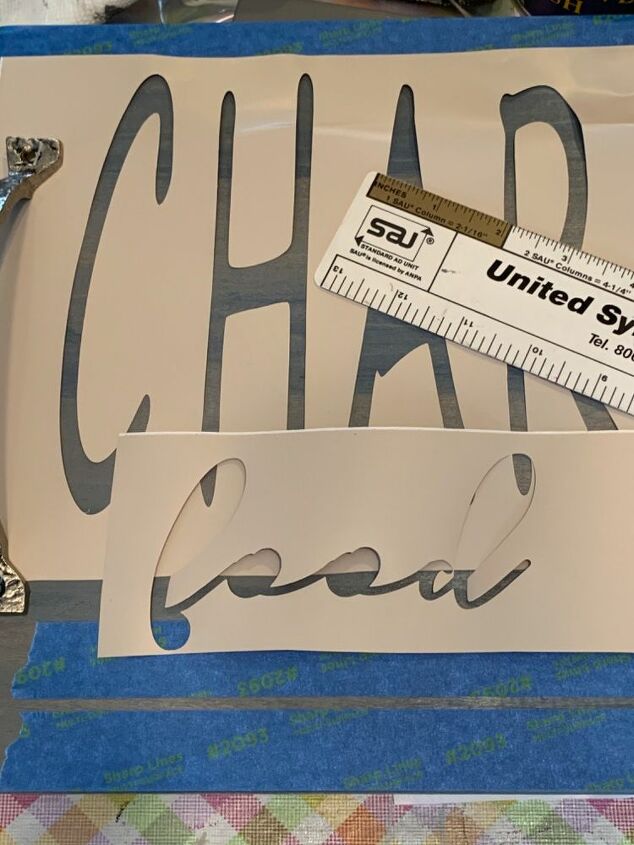
Since some of the words are going to overlap I made sure that I position the first stencil high enough. I used blue painters tape instead of a stencil for the line on the bottom. First I painted the word charcuterie. After it dried I was able to add the other words.
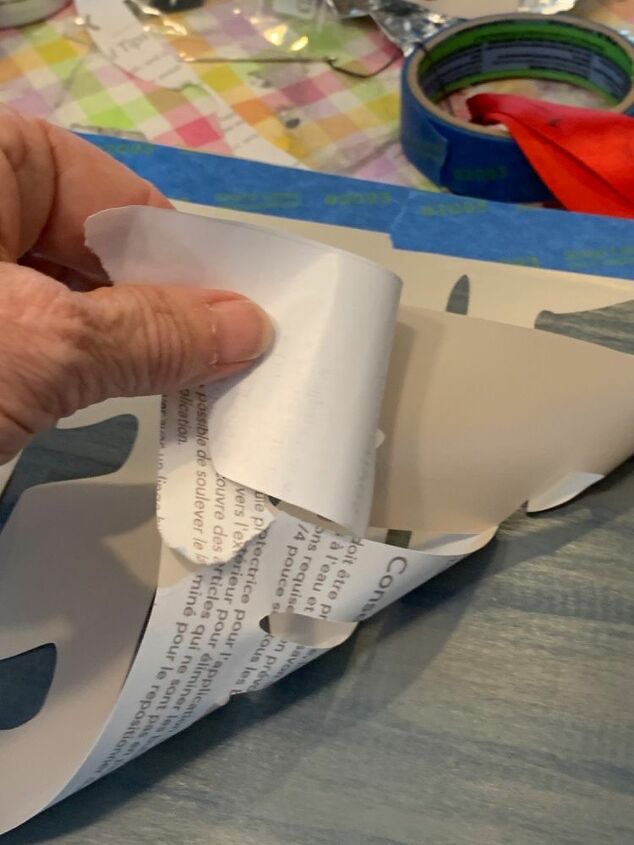
I position the stencil where I need it leaving the backing on. I hold it in place using blue painters tape. Then I lift the stencil and peel back only about 1/3 of the backing paper off. I press it into place on the board. Then little by little I continue taking the rest of the back off. This is so much easier than peeling the entire backing off first.
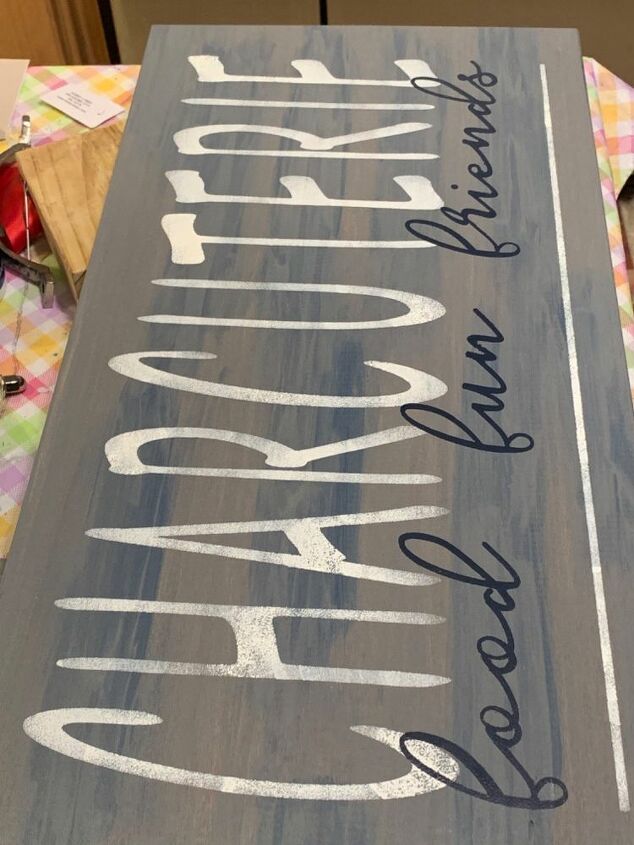
When you stencil make sure that your stencil brush has a small amount of paint on it to avoid bleeding beneath the stencil material. I decided to use a very light cream color and navy blue for my two paint colors. I also like a blotchy look so I didn’t fill-in the letters for complete coverage. I peeled off the stencil just as soon as I’m finished painting each part.
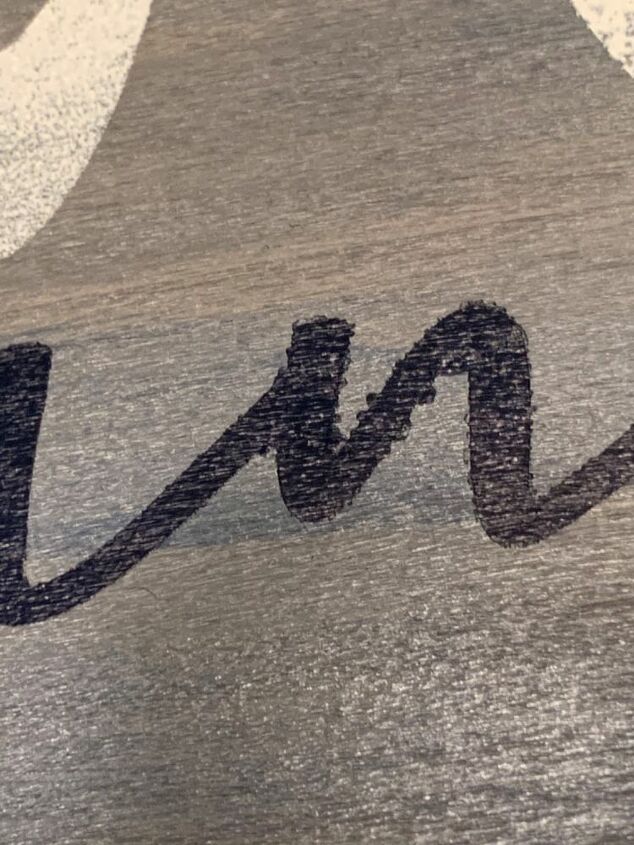
When this happens it would be very hard to cover those little nasty edges with the coastal gray stain. So instead I usually widen the letter with the navy blue paint. This time I used a large sewing needle and scraped off the little bit of excess. So much easier and it worked!
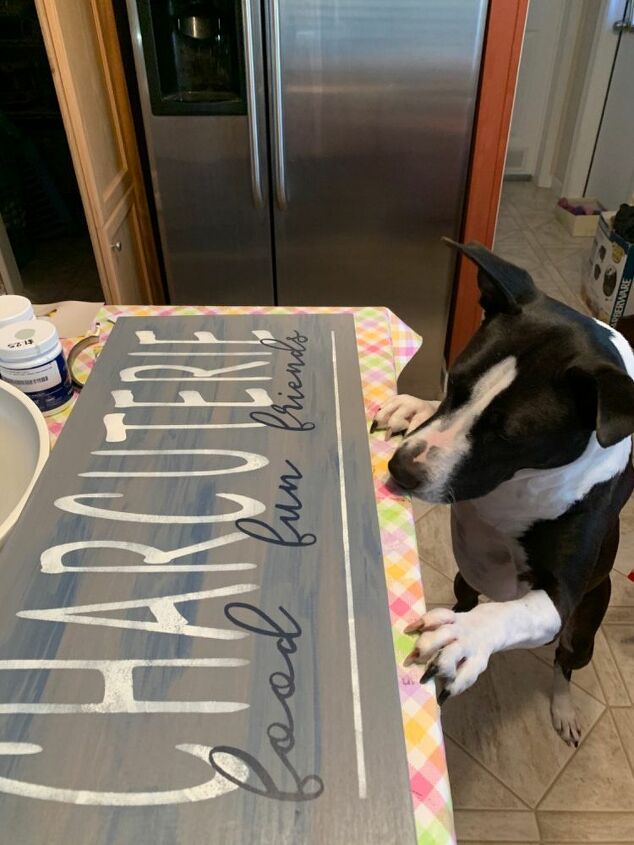
Abby is always close by to double check my work. Now that the design is done I can protect the project by adding a food safe finish. WARNING: The drying time is several hours so I elected to let it sit overnight before putting on the second coat. After the second coat was dry on both sides I added the handles. TIP: Food safe finish is a little bit expensive so on the bottom side I used an acrylic finish that I got on the Lowes discount table. My food safe finish is oil based so I needed turpentine to clean the brush.
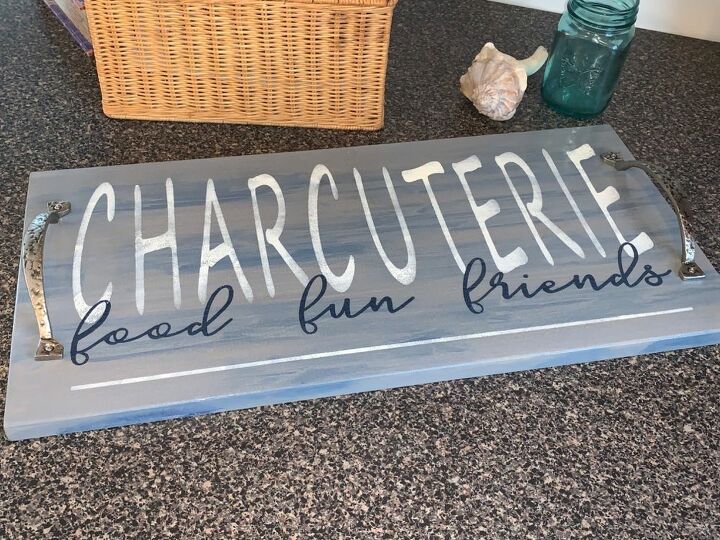
Food...Fun...Friends!!!
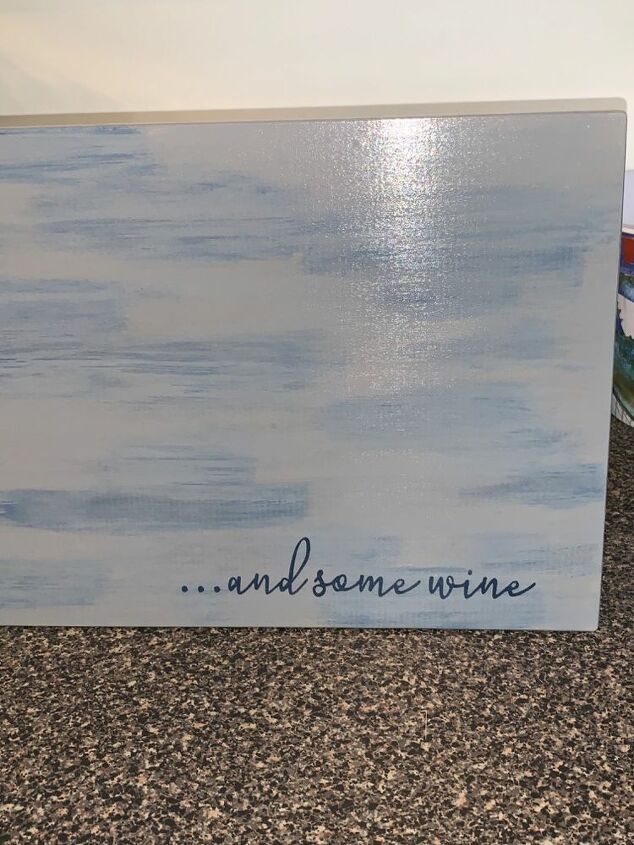
When I can I like to add a little unexpected surprise. So I painted “and some wine” on the bottom side.
What do you think?
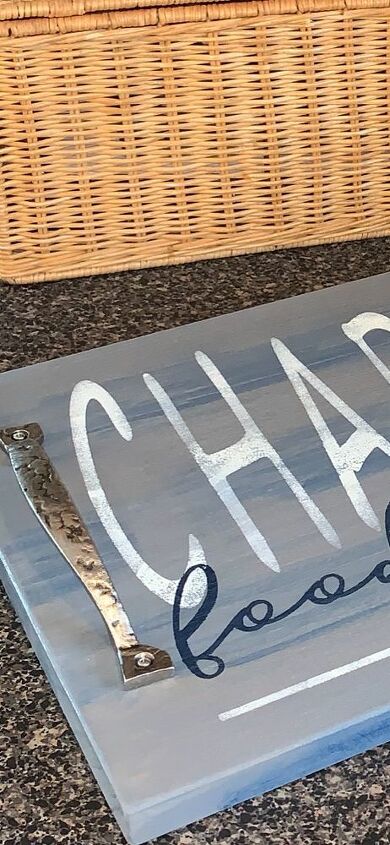
Here is a close-up so you could see how pretty the handles are and the blotchy style lettering.
If you have questions just let me know.
I’d also like to know your thoughts about food safe finishes and if you have any product recommendations. Some say your typical acrylic finish after cured long enough is food safe.
Enjoy! 💙 ll
Resources for this project:
See all materials


Comments
Join the conversation
-
I love this and am in the process of making one. It’s not perfect (never am totally happy with my creations), but your directions are very helpful. This one will be mine, and my next one (gift) will be even better. Thank you!
-
Glad you like it. I’m trying to think of new designs and looks.


Frequently asked questions
Have a question about this project?
I use butcher block conditioner from Menards to seal, 5-6 coats with a soft cloth! Add an extra coat after use, adds shine & seals your board
I kinda chuckled when I saw th heading...Can u spell chatcuterie? I thot spell it? I can't even pronounce it? I'm lucky I knew what it was. Back in my day we just called 'em serving trays. That all being said, it's a neat idea executed expertly. And so 2020.
What kind of paint did you use for the cream?