


Pendant Light From Recycled Metal Blinds

Aluminium is a fantastic material work with because it bends and cuts very easily. This pendant is lightweight, fun and easy to make. Plus you are getting rid of a very ugly blind that is languishing in some corner of your house.
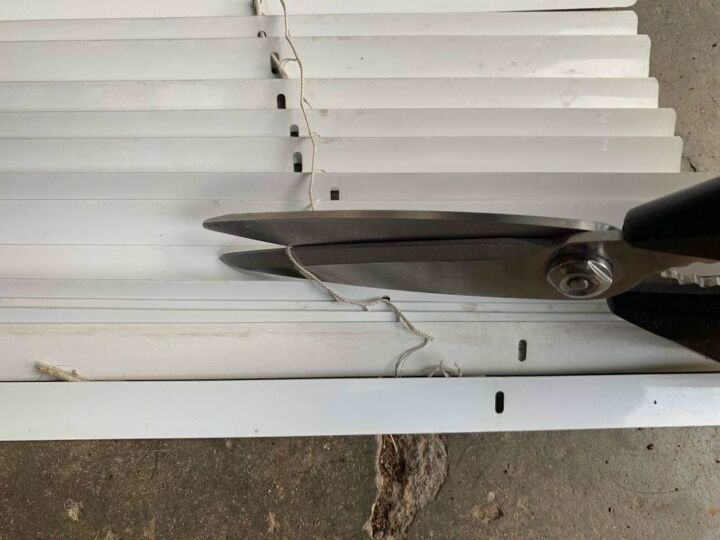
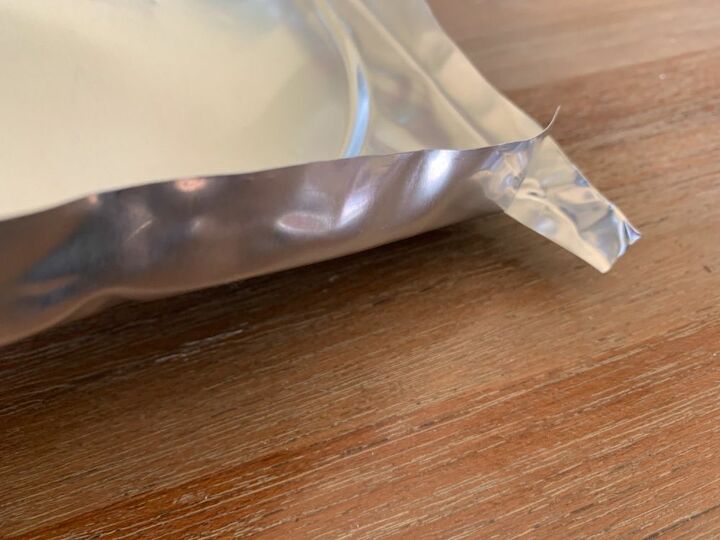
I have been experimenting with the old blind that has been laying in the garage for quite some time. I was pleasantly surprised at how easy the aluminium is to work with. I first cut the slats loose with kitchen scissors. I just cut wherever there were strings. The slats can then be slid out and washed.
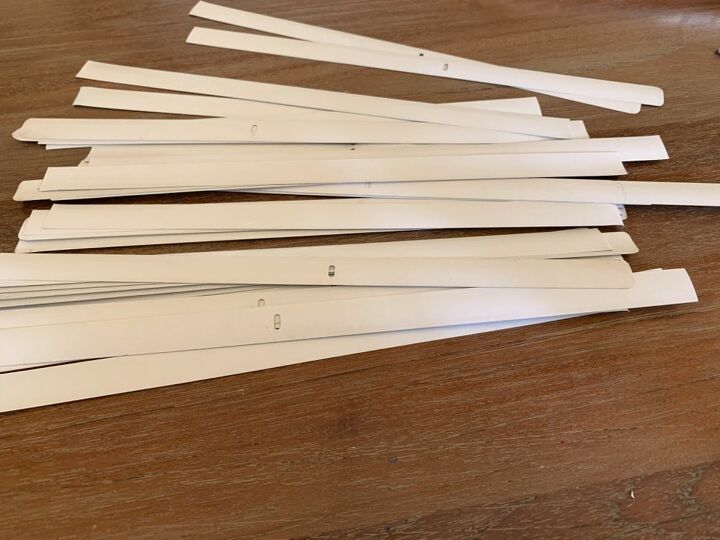
Cut the slats into the required length with normal kitchen scissors. The length depends on your design and how long your slats were to start off with. I quartered mine and since my design leans itsself towards uneven lenghts I didn't even measure.
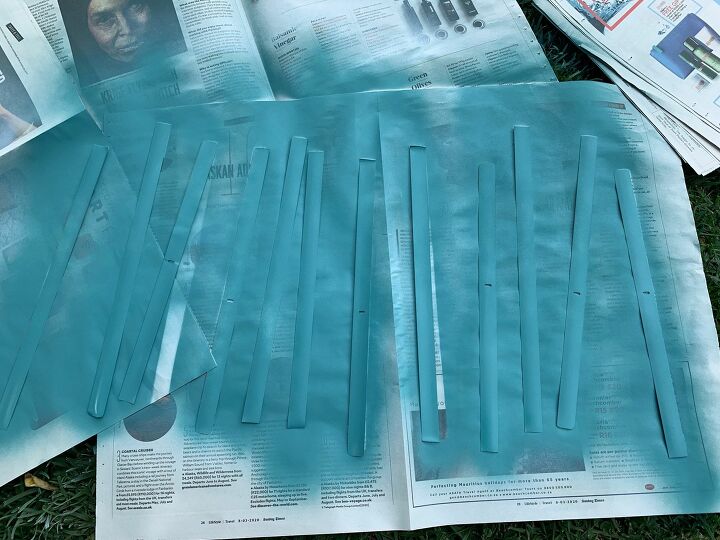
I spray painted some of my slats on both sides. I first applied a base coat suitable to metal, then a Rustoleum chalk colour and lastly a matte varnish.
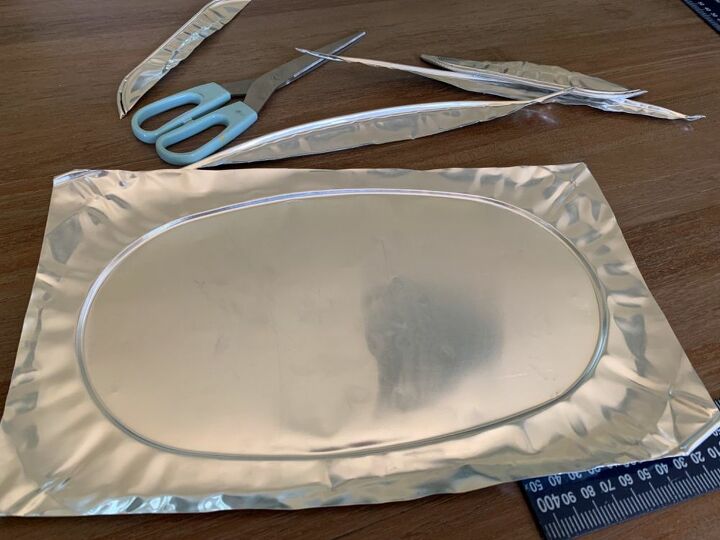
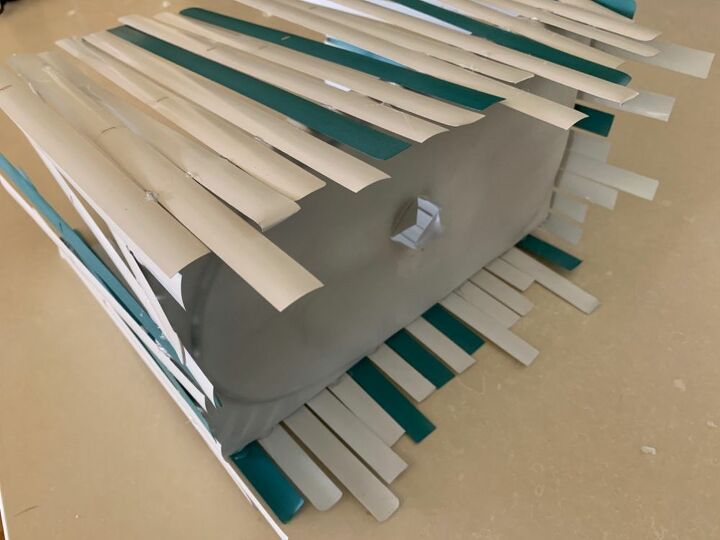
To give structure to the shade you need something to adhere the slats to. I used a disposable foil plate that is thicker than a normal pie tin. You could also just use an old lampshade, a wire frame, or a cake tin etc. but I wanted something rectangular and lightweight because I am uncertain on how much weight a pendant should carry and wanted to play it safe. I cut the oblong plate into a rectangle with scissors.
You may need to cut away some of the corners.
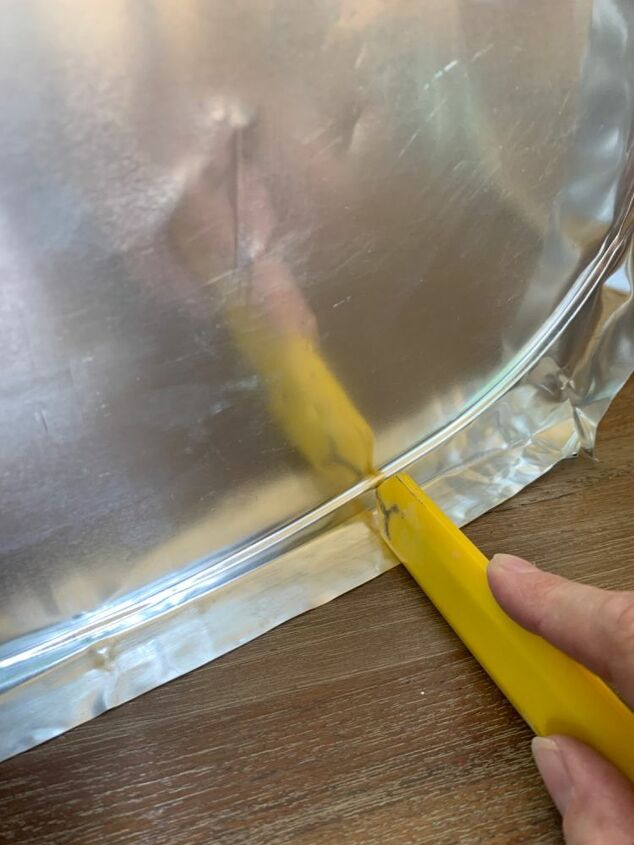
I folded a rim right around my rectangle and flattened it out by laying it on the table and running the back of a craft knife over it. The neater you can get this the better which is why using the lid of an existing tin would be even easier. But doing it this way is fine.
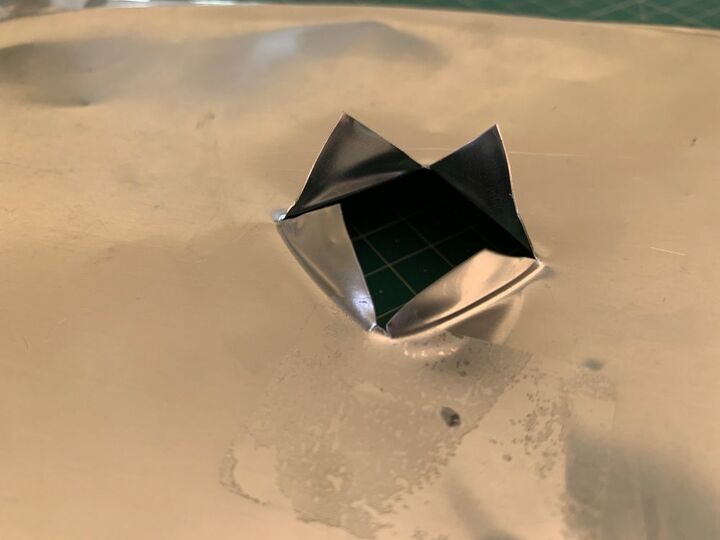
Using a craft knife an or scissors, make a hole in the centre of the large flat surface. Mine was literally a small cross that I folded outward. Take into consideration how the globe and shade will ultimately be balanced. I then spray-painted it white to match the slats.
Once you have the fitting, start sticking the slats to the rim in a vertical direction using a glue gun. In the picture above you will see that I started by placing the foil fitting on the edge of the counter and then sticking the slats. Remember that the foil and slats are hot so wear gloves if need be. I varied my colours and the height at which I stuck the slats.
Once the one side is done it is much easier to stabilize the fitting and you needn't work with the slats hanging down the side of the counter. If you are doing a round shade you could lay it on a towel on your work surface to stabilize it.
As you can see above it gets easier to position the thing once you have done one side. Even the last two sides, although small, had enough balance due to the slats on the other sides. You can also see that the slats are all stuck at different heights.
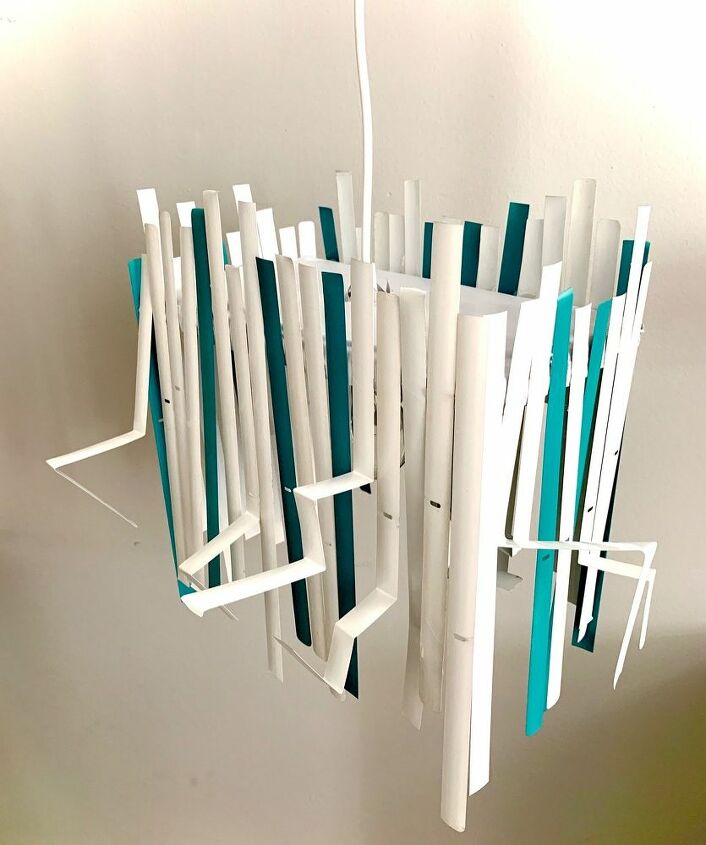
Put the chord through the hole and connect to power and put in a globe. I decided to bend some of the slats into different directions. This is particularly handy if some of the slats stuck skew because it makes them less obvious. This is purely an aesthetic choice. If you don't like the higgledy-piggledy look of my lamp you could always stick to straighter lines.
Resources for this project:
See all materials


Comments
Join the conversation
-
Very cool indeed !
-
Okay, you are the one who made the "covid" light. lol
Love the originality, but not my style.
Very creative!!


Frequently asked questions
Have a question about this project?
Where is the picture of your finished project???
Can this be made using the plastic blinds
Seems like a lot of work to make. I'm sure it'll fit into someones decor. Good imagination.