


DIY Fabric Face Mask With Wire Nose Support. Washable, Reversible.
Editor's Note: This mask is not a N95 mask. It is meant to be used for general protection from coughing and sneezing when out in public. This is not protection in place of social distancing. At this time, it is best to stay home when possible. For necessary trips out, like trips to the grocery store, the CDC recommends wearing a mask to provide whatever protection you can for yourself and others.
You can help your loved ones and your community by sewing a fabric face mask. This is an easy beginner sewing project and a great way to help prevent the spread of infection (in addition to practice social distancing and washing your hands of course). Medical face masks are in high demand. Help fill the need with these washable, reversible masks that with wire nose support.
Watch the video tutorial for detailed instruction then follow the steps below:
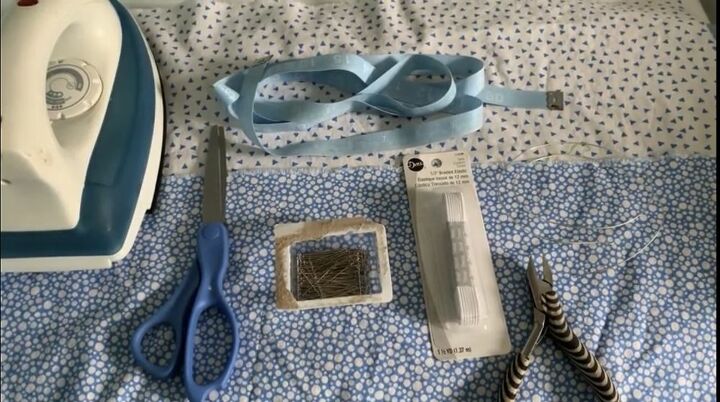
- 2 cotton “fat quarters” of 100% cotton non-stretchy fabric
- Coordinating thread
- Scissors
- Straight pins
- Tape measure
- ¼ inch elastic cut into 7 inch long pieces
- Iron and ironing board
- 3 inch long 20 gauge wire
- Wire cutters and pliers
- Sewing machine
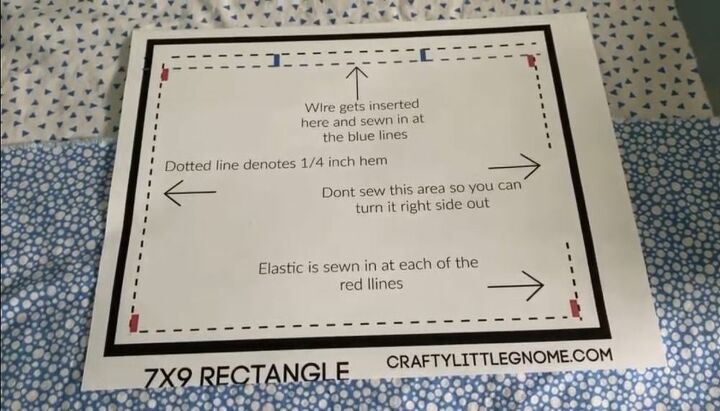
You can get access to the template here: https://landing.mailerlite.com/webforms/landing/q9s3c6
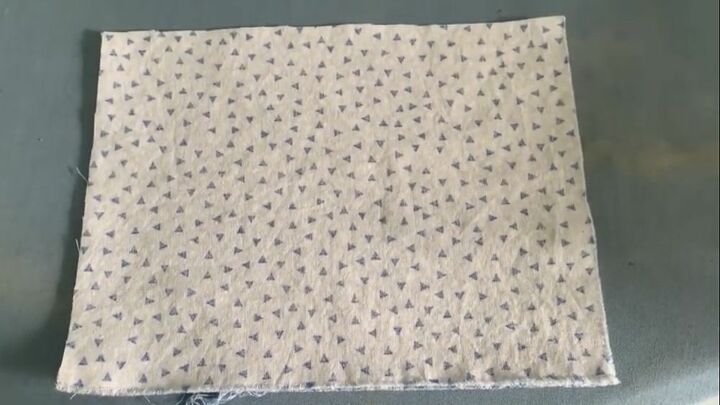
Before you begin, wash and dry your fabric. Iron if necessary to remove and wrinkles.
Cut your fabric rectangle according to the template.
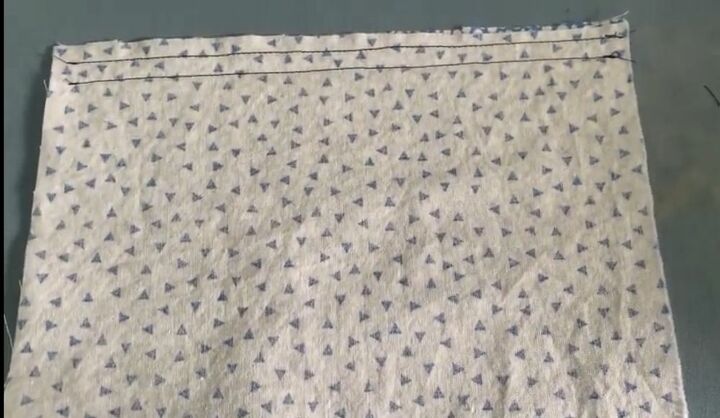
Place the two pieces of fabric right sides together and sew a seam at the top 1/4 inch from the edge. Sew another line underneath it to make a small area where you can insert the wire.
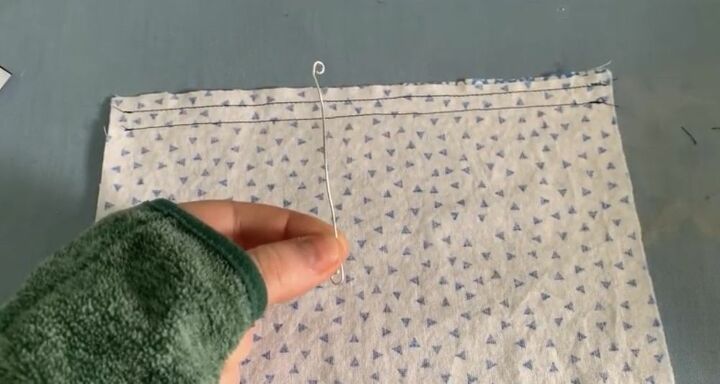
Cut a 3 inch piece of craft wire and curl the edges. Insert it between the two rows you have stitched and center it.
Prevent the wire from moving by sewing a line on either side of the wire to keep it in place.
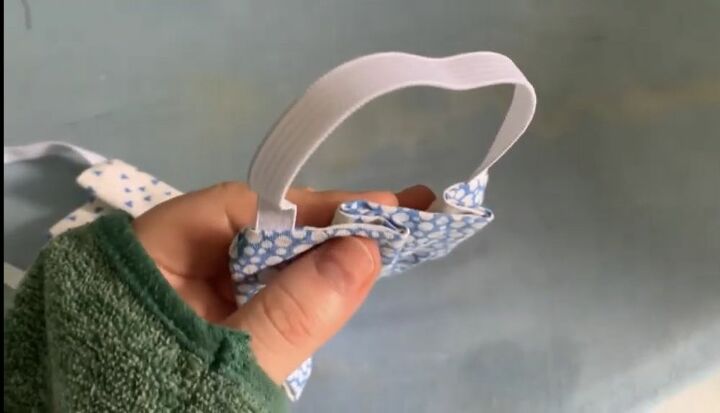
Cut two 7 inch pieces of elastic and pin them to the fabric according to the template.
Once the elastics are in place sew a 1/4 hem all the way around the fabric leaving a small hole to flip the mask inside out.

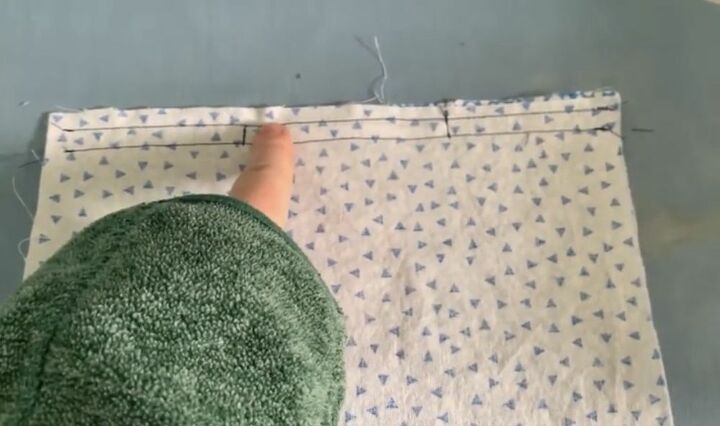
Take a tape measure and place a pin every inch from the bottom of the mask for 4 inches.
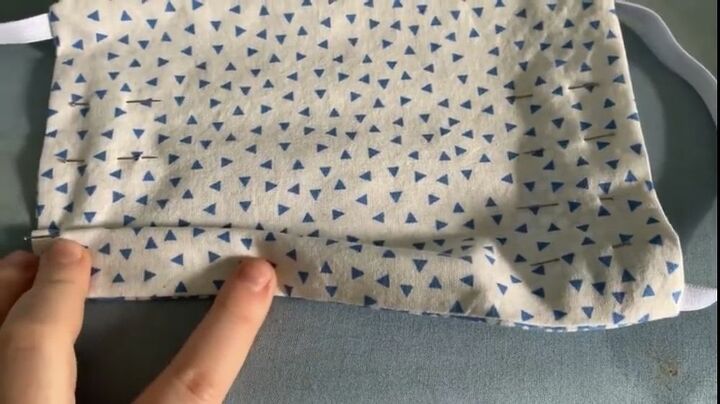
Gather the fabric from the bottom pin and bring it to the pin on top. Remove pins and repin the pleat for sewing. Do the same with the top two pins. If this seems complicated- watch the video.
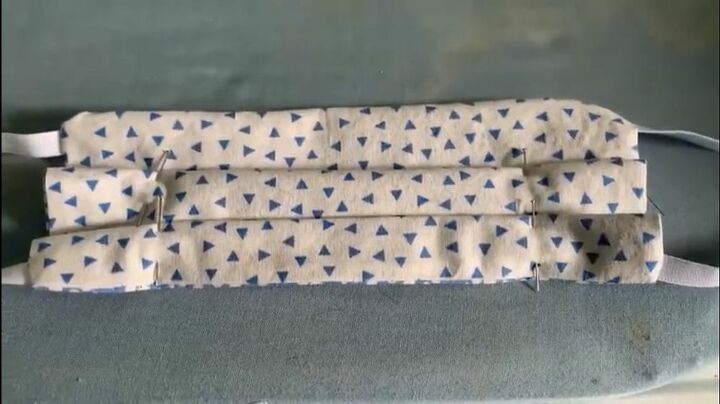
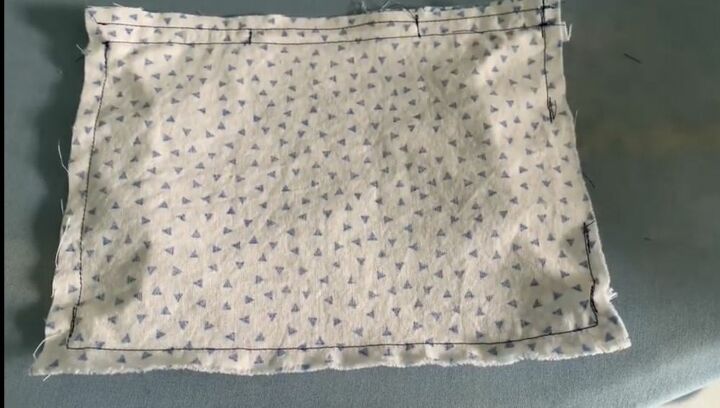
You can now sew the the sides of the mask to keep the pleats in place.
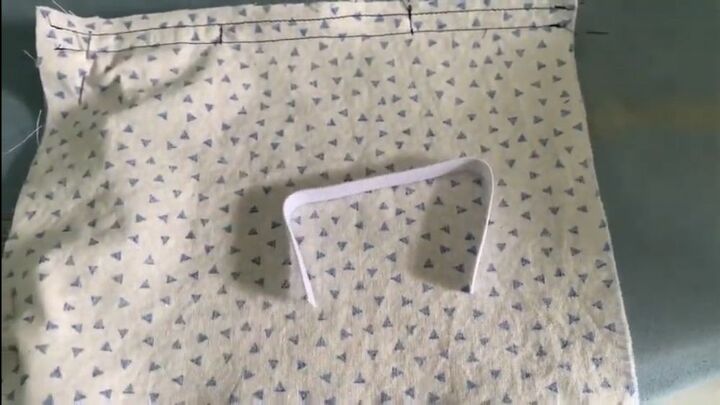
This is what the pleats should look like from the side.
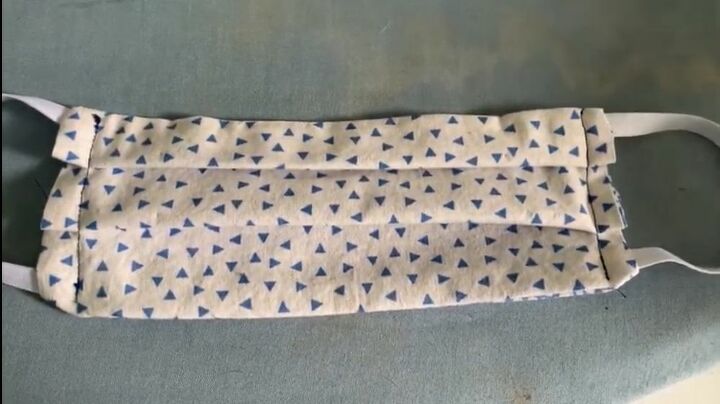
This is what the mask will look like finished.
Wear your mask and always use the same side touching your skin in-between washings. Wash in the laundry with your other clothing like normal. You can add a little bleach to the load for extra germ fighting power.
Resources for this project:
See all materials


Comments
Join the conversation
-
I just read that the folds of the pleats should face the bottom of the mask when you wear it, so maybe you should pin them the opposite way.
-
Thank you for this!


Frequently asked questions
Have a question about this project?
Looks easy....do you have a pattern for surgical caps??
Wouldn't it make more sense to have the opening at the bottom of the mask?
how do I down load?