


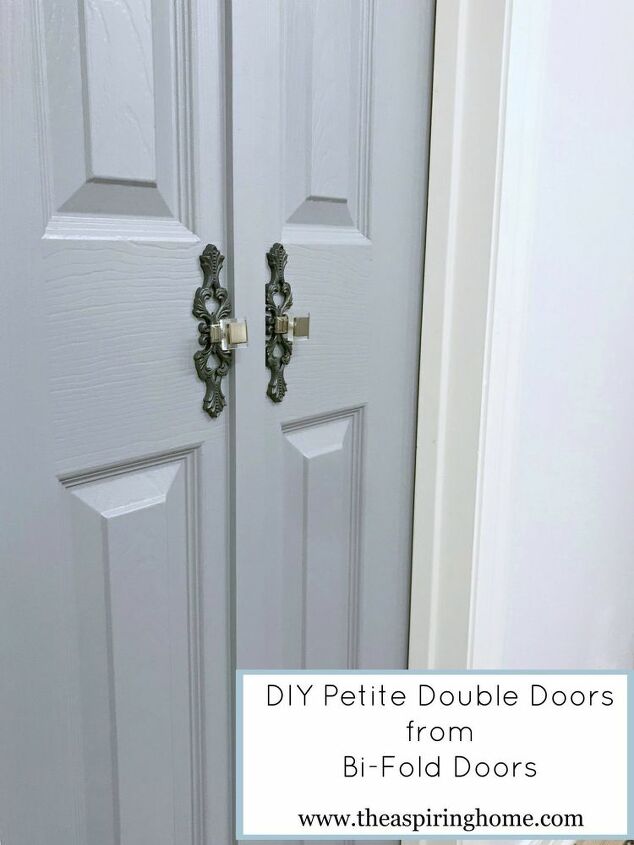
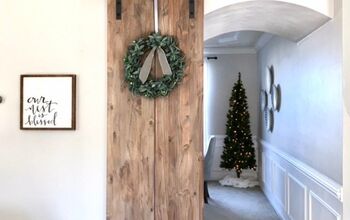
DIY Petite Double Doors From Bifold Doors

SUPPLIES:
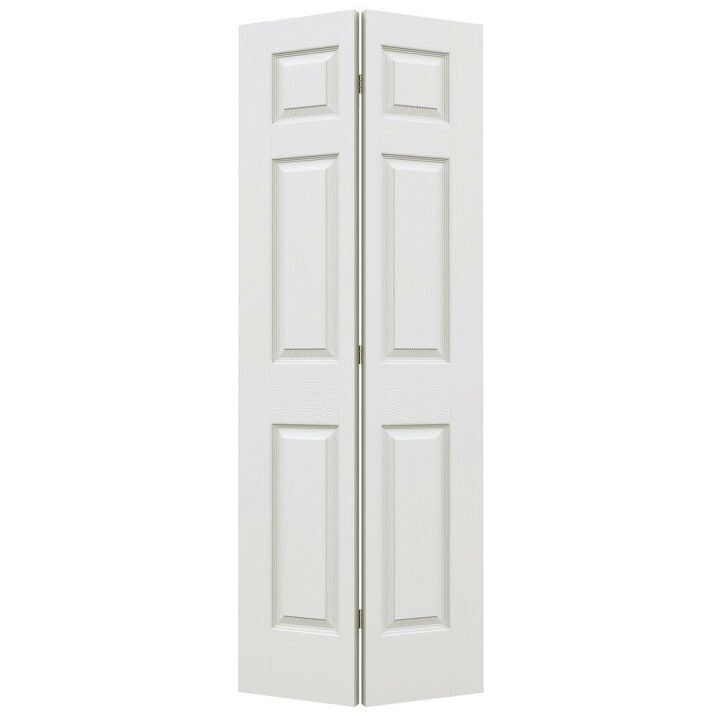
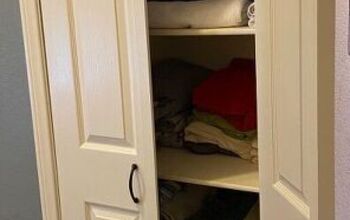
Basic Bifold doors – primed if you are paintingTwo sets of hinges (one set for each small door)Four knobsBall catch latch hardware to allow the door to shut securely1in x2in x1/4in plankPaint or Stain This project is really quite easy. I did not take pictures of the process because we were in a time crunch during the Jeffrey Court Tile challenge. I will include a few links to tutorials in each step to help you. I have a feeling that I may be repeating this process soon so I will update pictures at that time.STEP 1:
Take the bifold doors apart by removing the original hinges.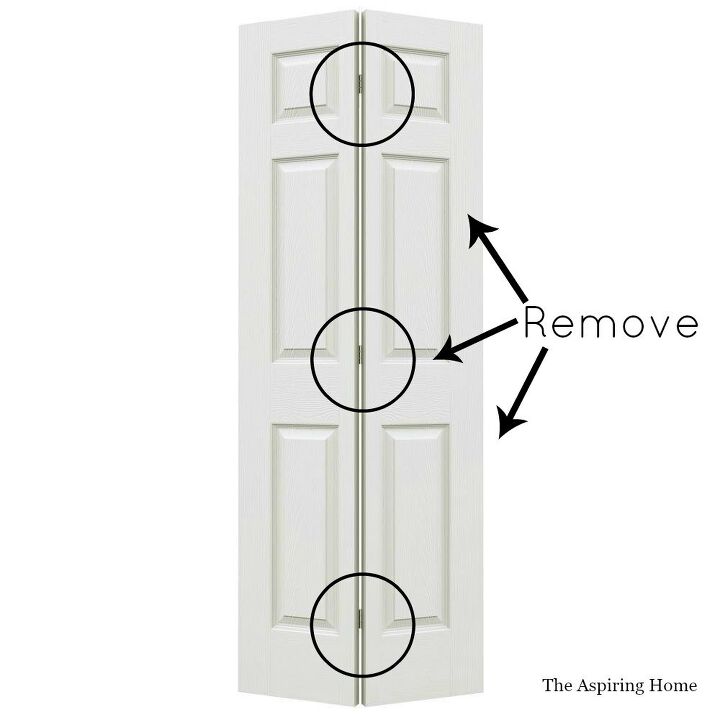
STEP 2:
Knock off the “burrs” or rough edges of the bifold doors with a fine grade sandpaper. If you are using stain grade doors – you will want to follow the steps needed to create a smooth evenly stained surface. Minwax has a great link to help ensure your doors look beautiful, click here f or the link.STEP 3:
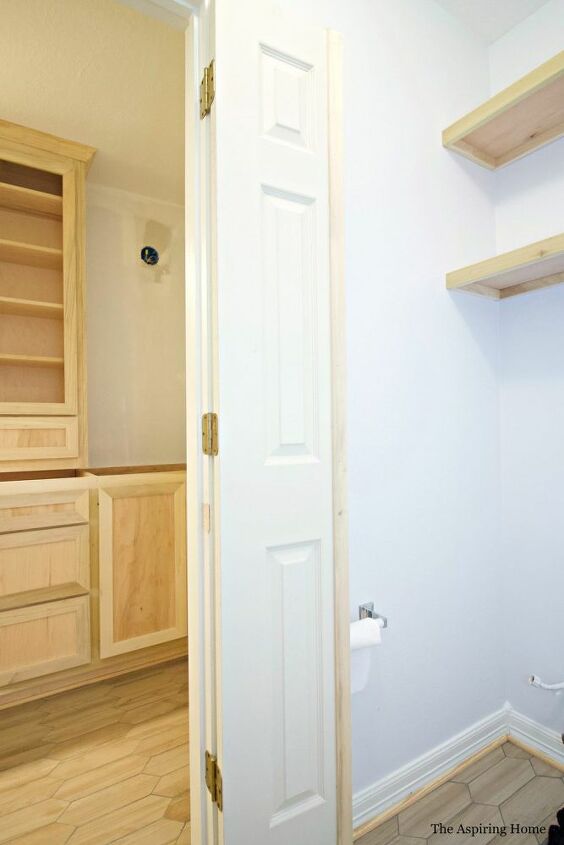
Use wood filler or spackle to fill in the old hinge areas. Sand smooth. Install hinges on the opposite side(s) of the doors.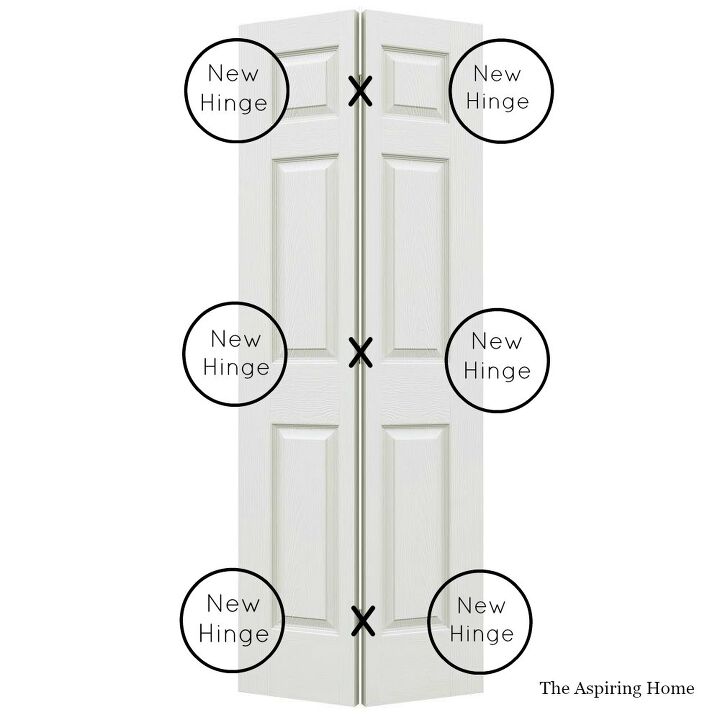
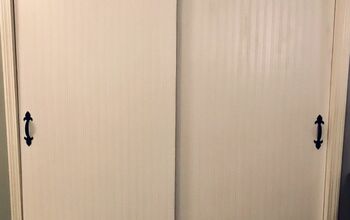
STEP 4:
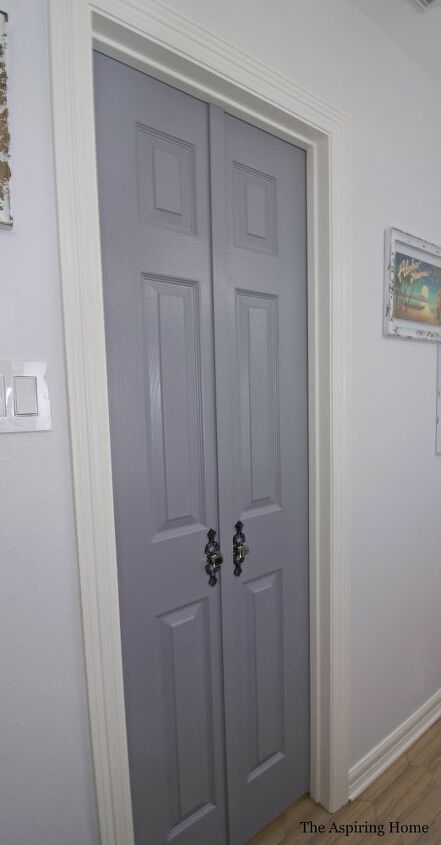
Add the 1in x 2in x 1/4 in plank to close the gap created by separating the two doors. Otherwise the whole privacy part is null. Attach the plank to left side if facing the door, like this diagram. Hang the doors. Here is a tutorial for hanging double doors.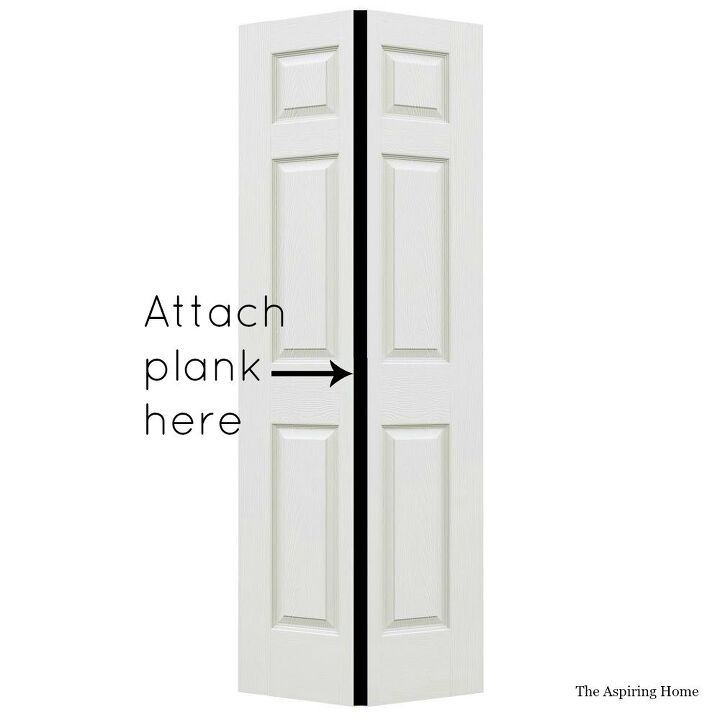
STEP 5:
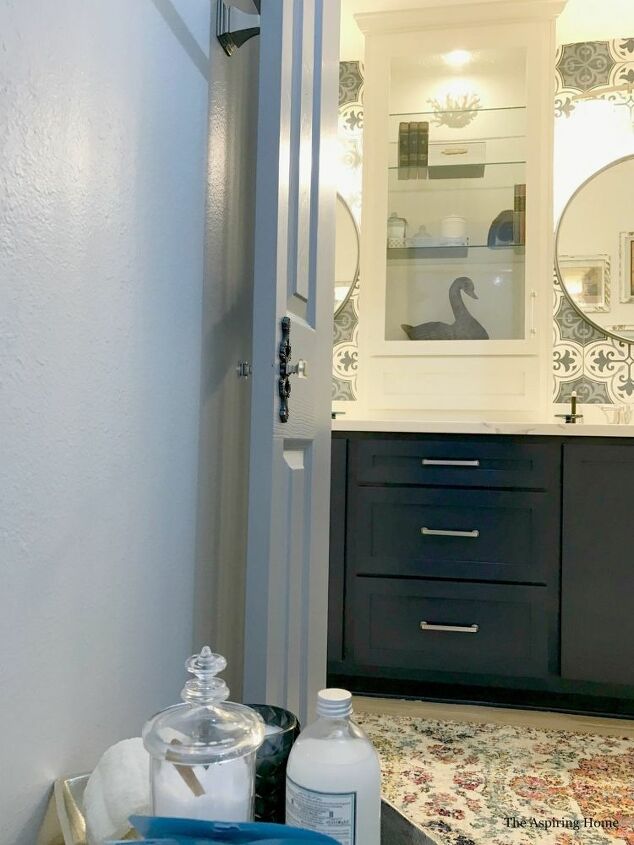
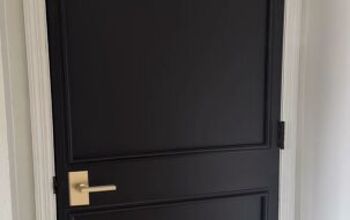
Install ball catch latch at the top. Here is a tutorial to help you with installation.STEP 6:
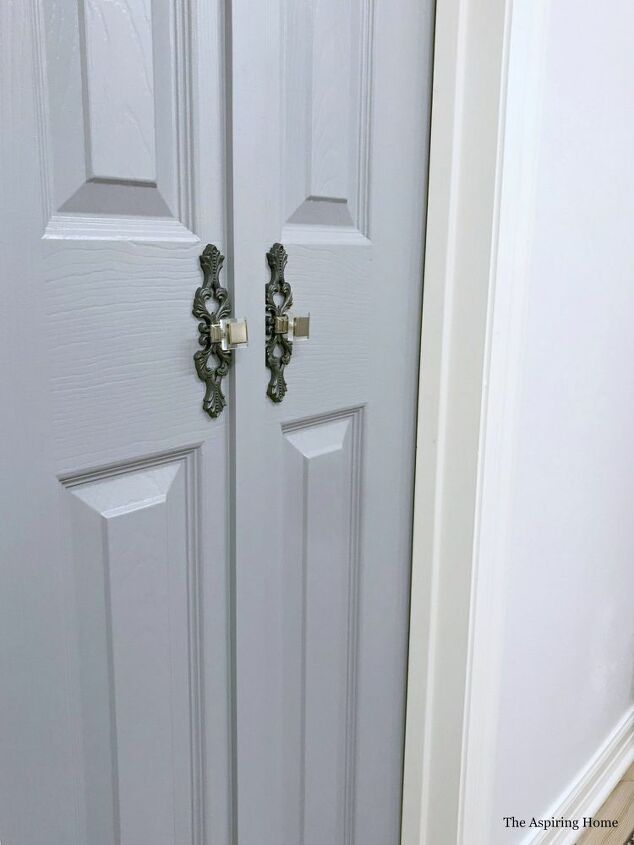
Paint your new double doors. I chose Sherwin Williams Dust Blu in satin finish. I painted the hinge on the double door side the Dust Blue and the hinge on the door casing the color of the trim. *always paint with the grain of the wood or faux wood.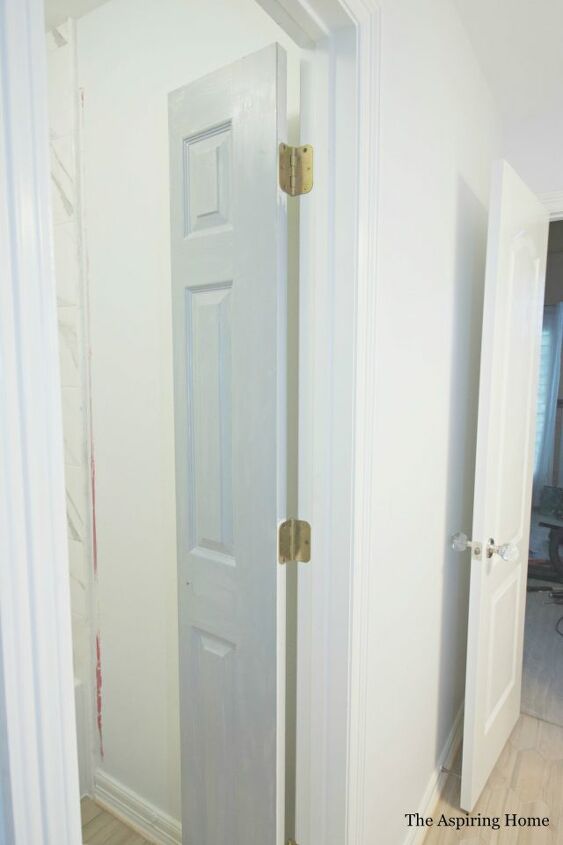
STEP 7:
Install Knobs. I fell in love with a particular Liberty Hardware knob but it felt a little small on the double doors. I added a backplate from a knob set I purchased at Hobby Lobby. I love the mix! To create the double knob for the doors – use a piece of “all thread” metal cut to size (add the thickness of the door to depth of the knob interior).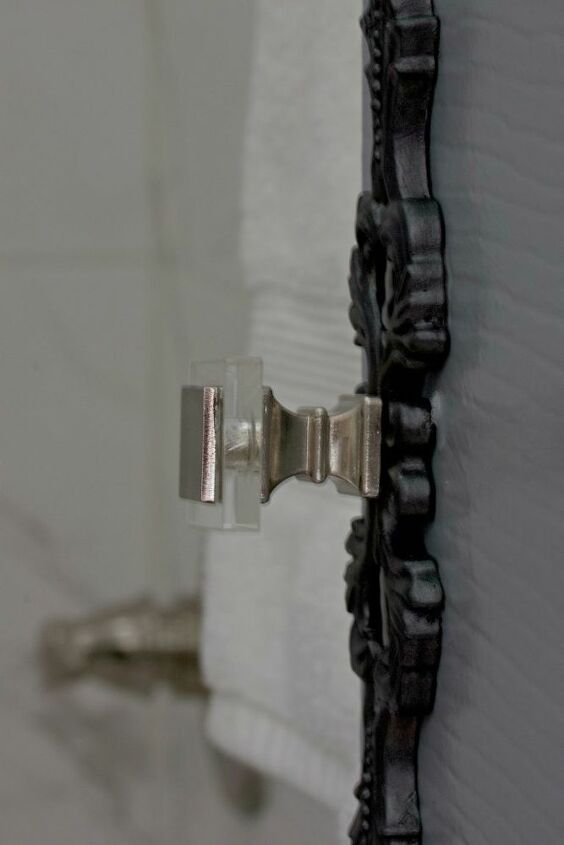


Comments
Join the conversation
-
I live in a very old house. The standard doors are taking up too much space. I am so excited about trying this project. First I will do the bathroom and a bedroom door. I think it will add charm to my small space. Thank you for sharing your creative idea.
-
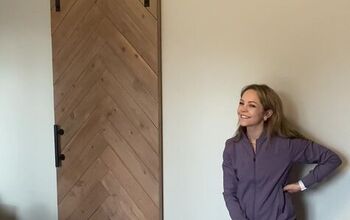
Thanks for the inspiration! I loved this idea and decided to try it with my linen closet doors. It was a lot more work than I anticipated due to issues with the door frame, and. It turns out the doors were not perfectly flat after hanging in my house for over 30 years. So I had to re-hang one door with the bottom hinge slightly out of alignment so that the slightly warped doors would line up in the middle. I went with heavier hinges because I may hang some racks on the inside of the doors for storing extra toothbrushes and guest supplies. I love how it turned out.


Frequently asked questions
Have a question about this project?
Do these block the sound the same as a regular door?
Since it's a bathroom, what keeps others from bursting in? How much privacy does a ball catch latch provide.
Joy, Did you glue the plank onto the left door?