


A Chair Pair Makeover
Normal at this time I am in full swing preparation for that was supposed to happen mid-May. It has been postponed to September 18th-20th of this year (2020).
Thank goodness it hasn't been completely canceled and by that point hopefully things will be popping again.
In the meantime I thought I would share the projects I've been working on.
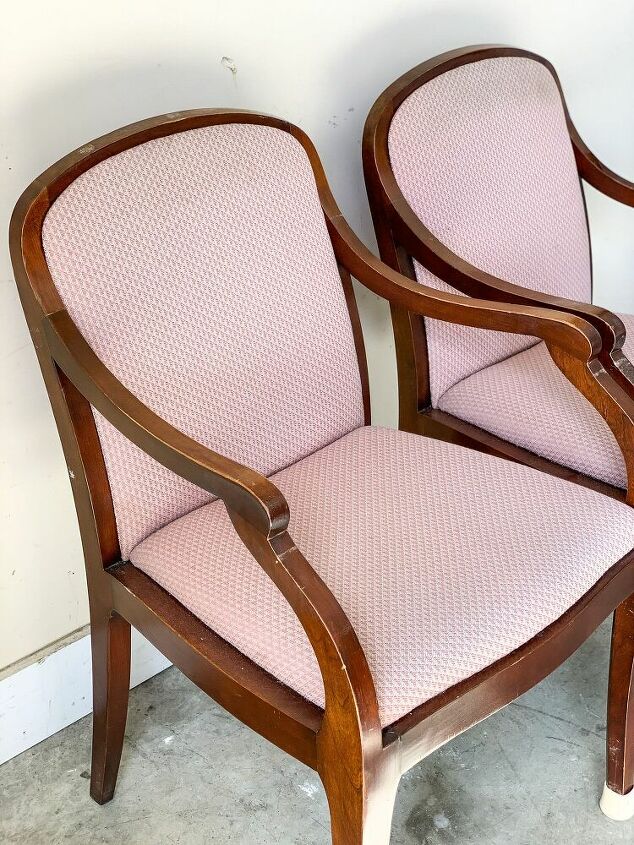
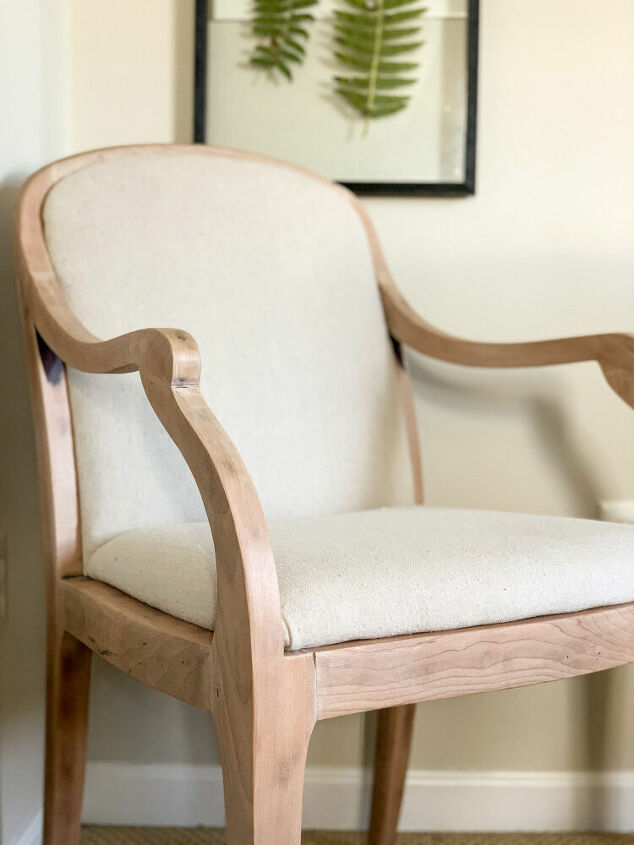
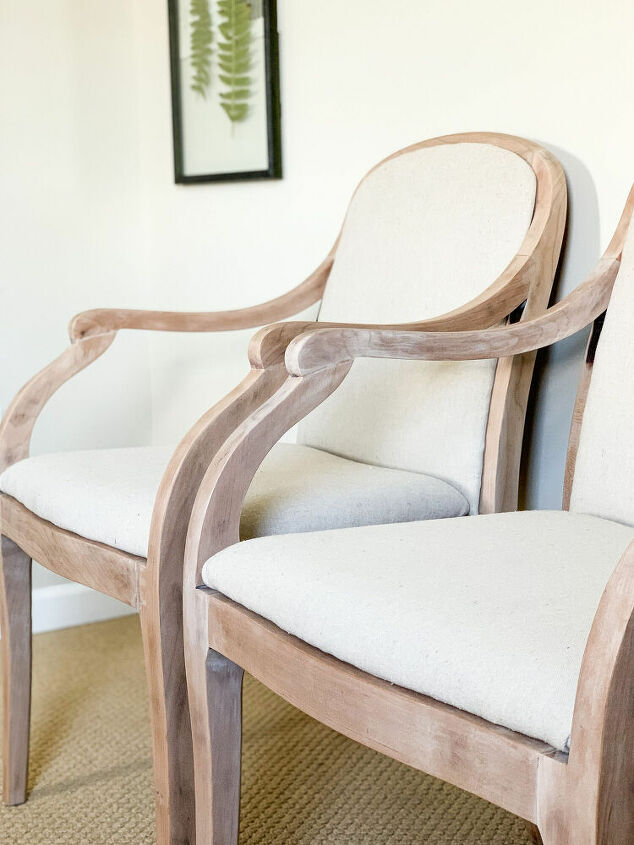
First up is this pair of reeeeeally boring chairs. They were probably mass produced for offices or hotels and I just happen to find two together.

A fairly straight forward upholstery job in my humble opinion.
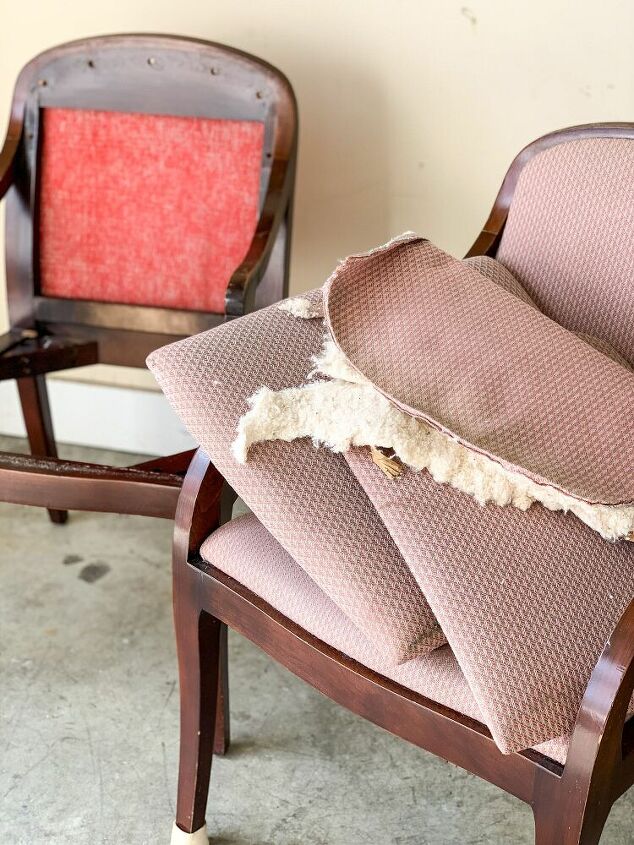
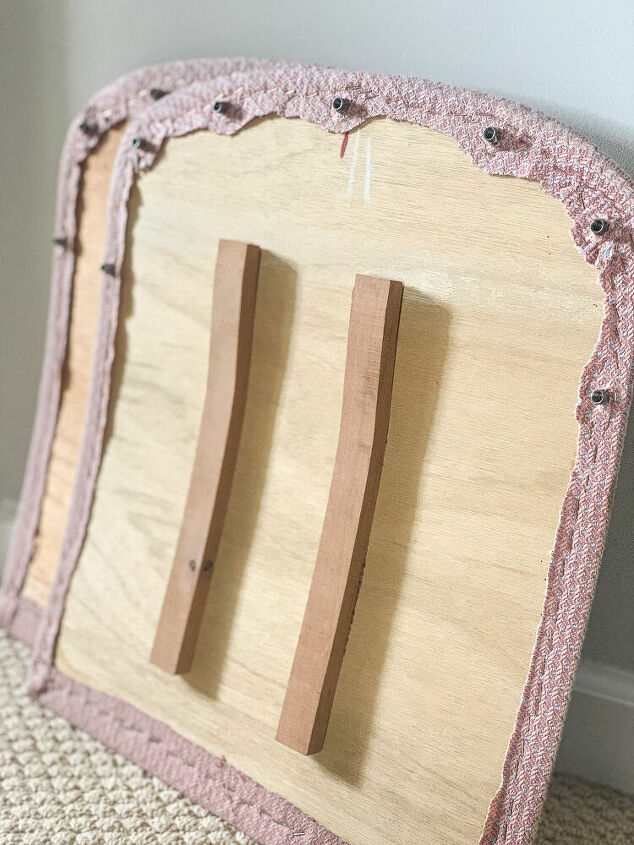
First step was to take them apart which required unscrewing the seat and backrest portions from the frames.
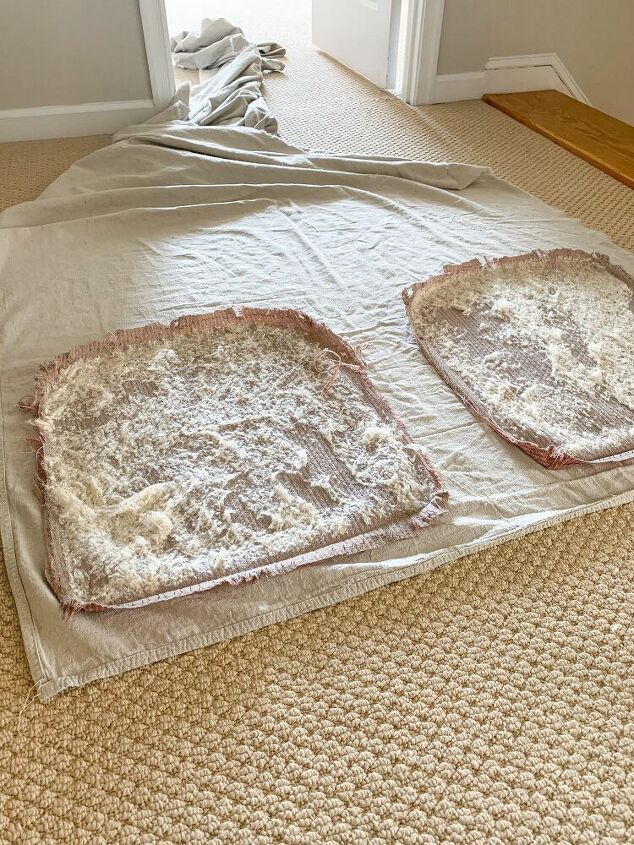
The separate fabric from the back needed to ripped off entirely.

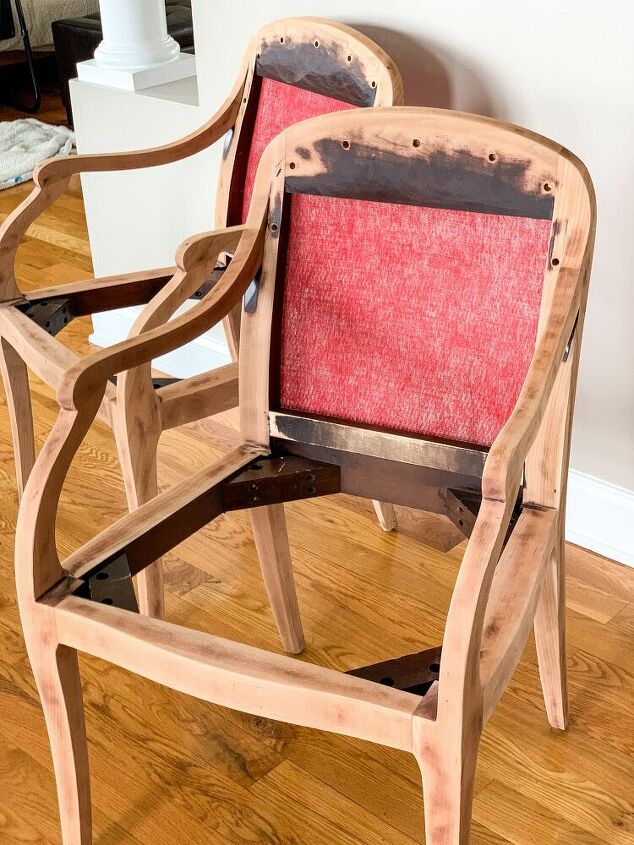
Sanding was next. My least favorite part of any project.
I needed to strip them down to the raw wood.
I used 80 grit to remove the finish and 120 grit to smooth them out.
After all that sanding the raw wood was still too orange for the look that I was going for so I needed to light that up.
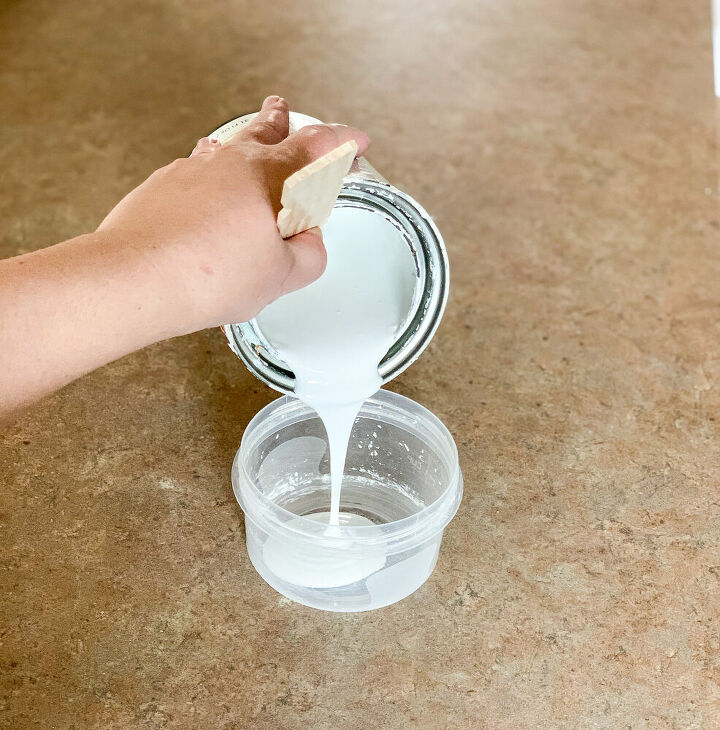
Not to sound unprepared for this next step, but I just grabbed some basic white, interior paint (semi-gloss) that we had sitting around and diluted it with water to create a whitewash mixture.
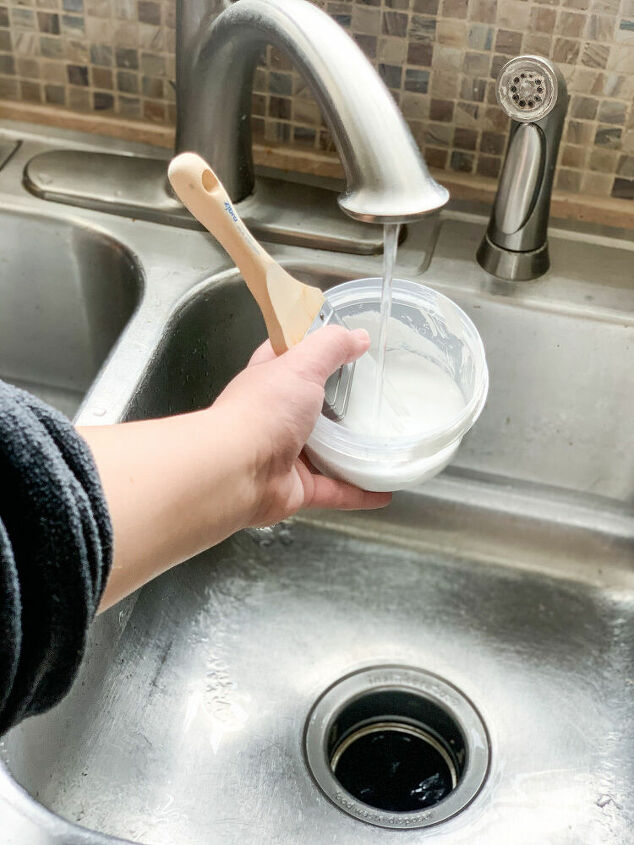
If I had to guess, It was probably a 2 parts paint, 1 part water for the mixtures measurements.
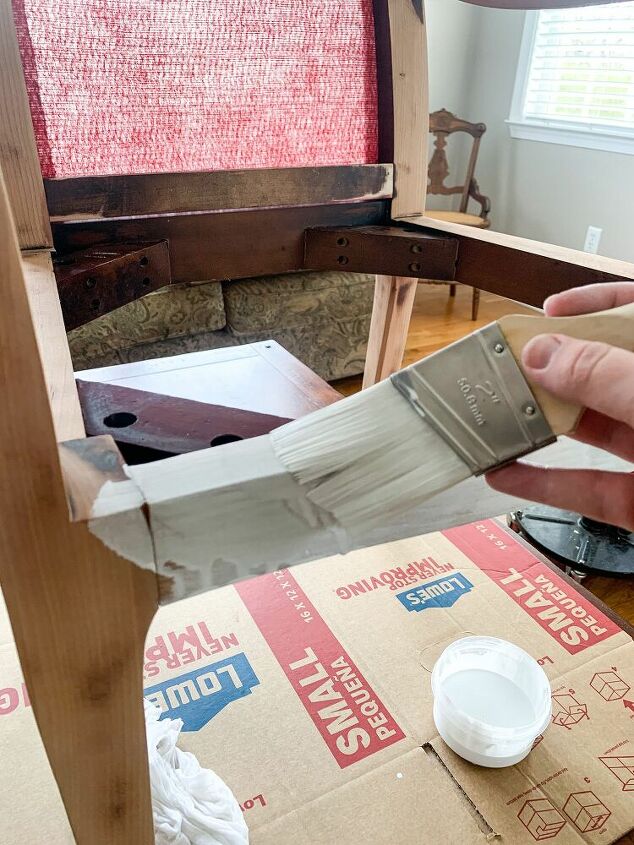
In sections, I would paint the watery paint mixture on to the chair, leave it for about 15-25 seconds and then wipe it away with a damp rag.
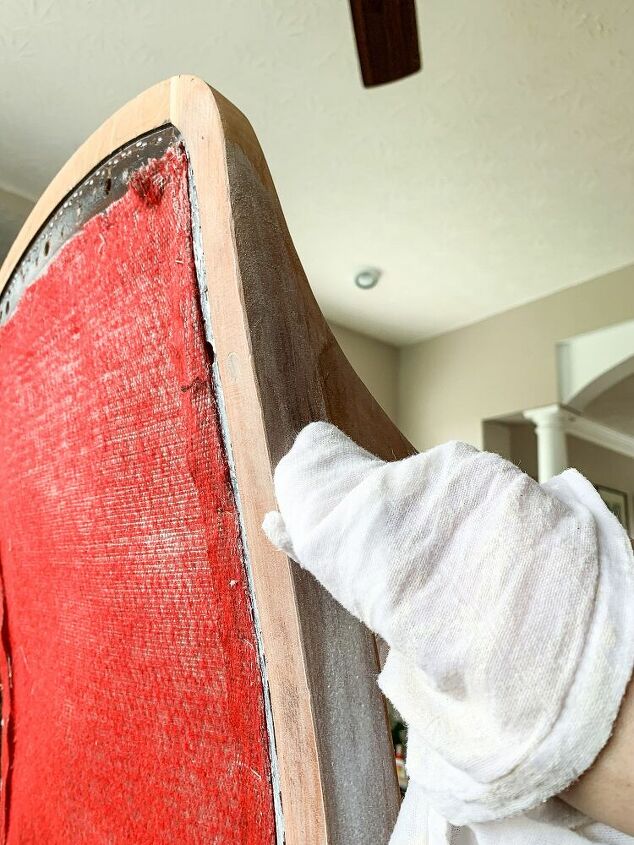
This would allow for the raw wood to soak up some paint but removing the residual would keep it from becoming too opaque.
I still wanted to be able to see the character of the wood under the finish.
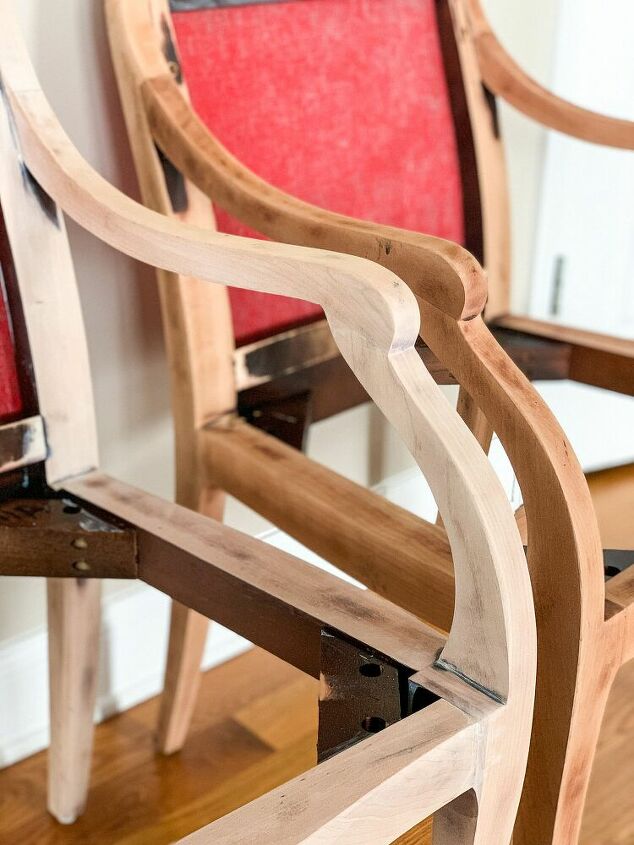
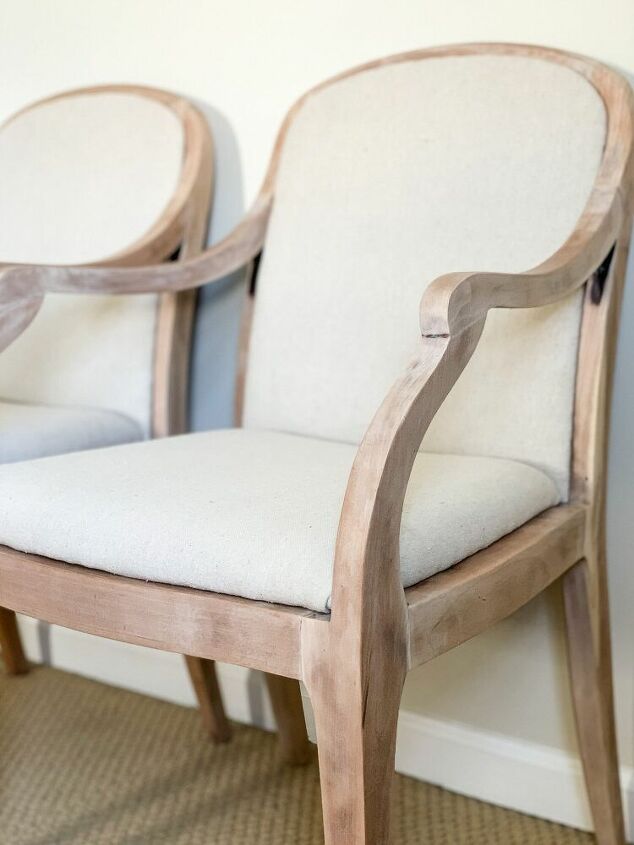
This is the difference the white washing makes. Crazy right?
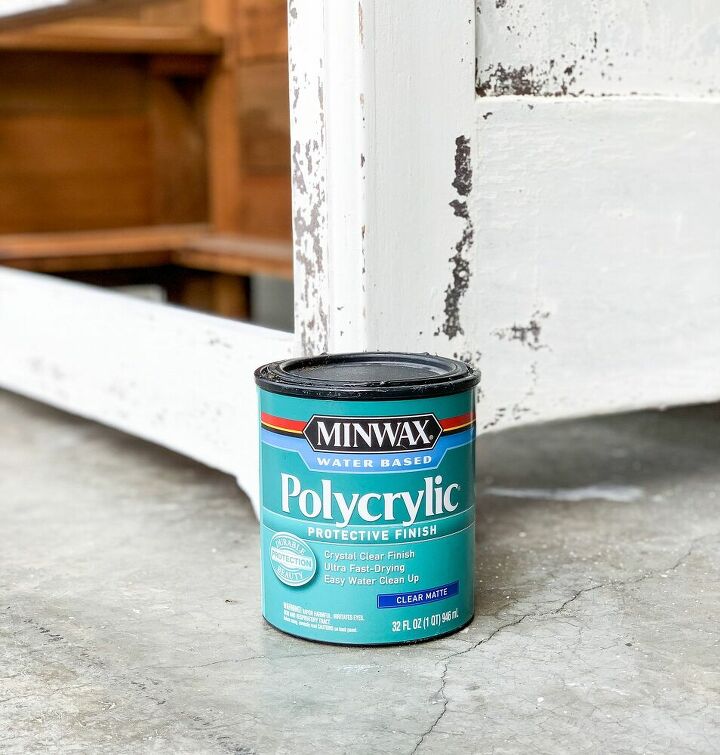
I topped the frames off with a protective coat of Minwax's Polycrylic in CLEAR MATTE.
I don't have a picture of me in the act but here is a snap of the can.
I have the best luck find the clear matte version at Lowe's.
Once the frames were done it was time to move on to the upholstery work, starting with the backrest portions.
I stripped the fabric off the frames and used the old stuff as a guild when cutting the new.
I used drop cloth that I had washed (also found at Lowe's) for the backrest and seat.
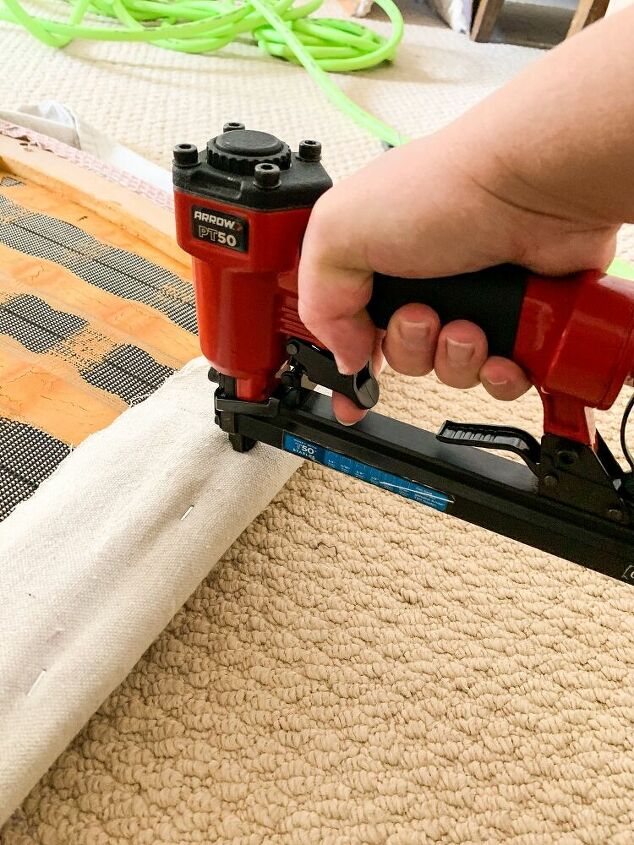
With my staple gun I tacked on the new fabric to the backrest and the seat.
If you don't have a staple gun/air compressor combo, I highly recommend you get one if you think you will be doing upholstery work on the regular. If not, than a regular staple gun will work too.
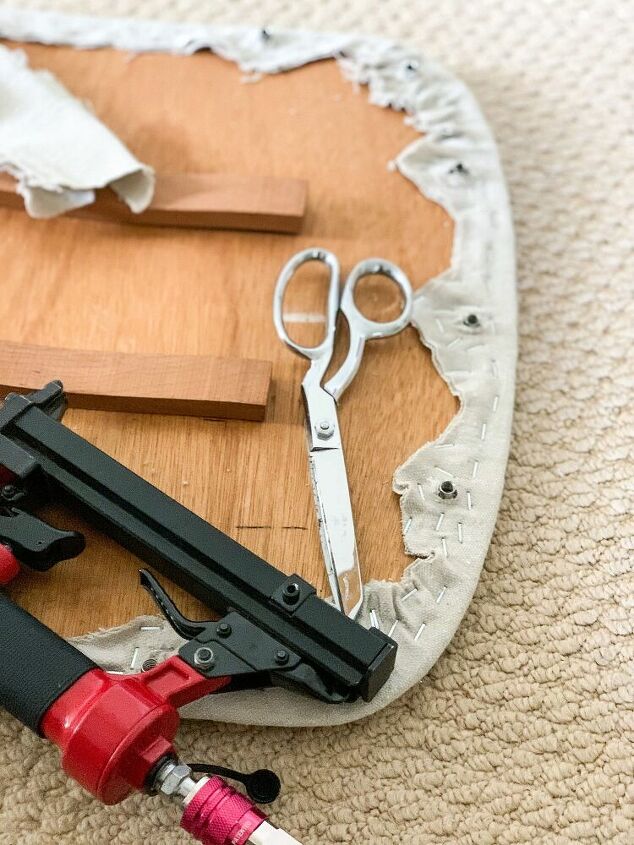
I had to work around the screw holes for when I would reattach the back. Fun.
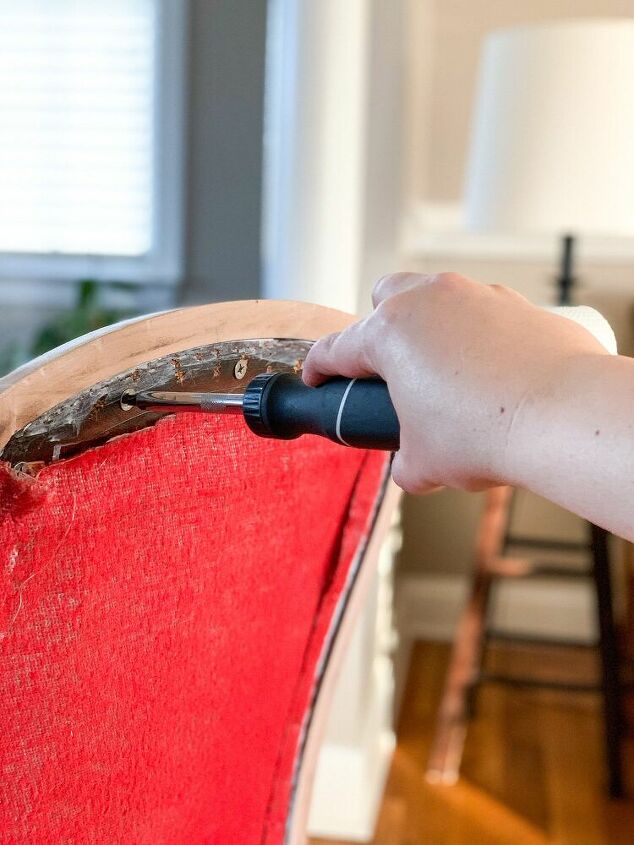
I then re-attached the seat and backrest back on to the chair frames. It is was important that I did this first before closing in the back with the new fabric.
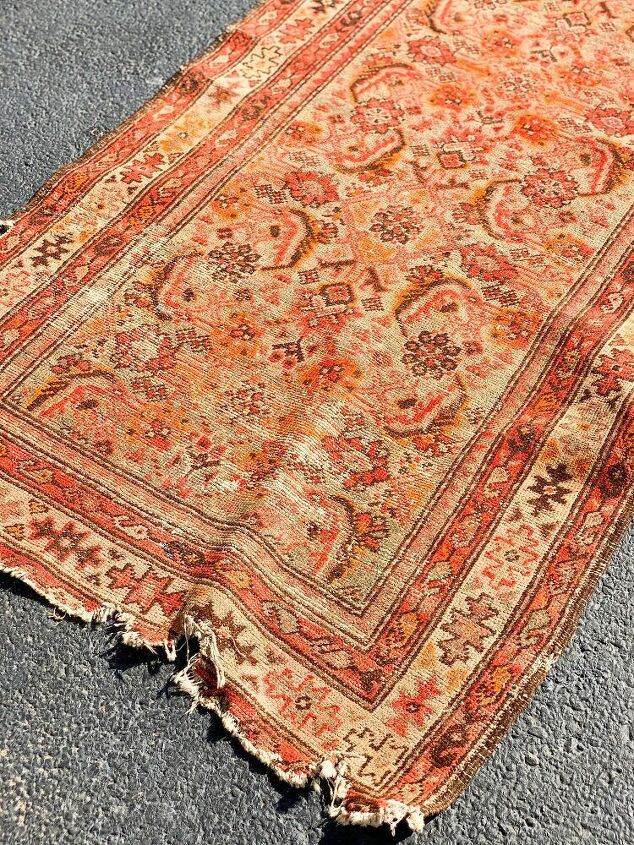
To add some interest, I wanted the back panels to be different from the chair's front textile and for that I decided to use an old rug that I found.
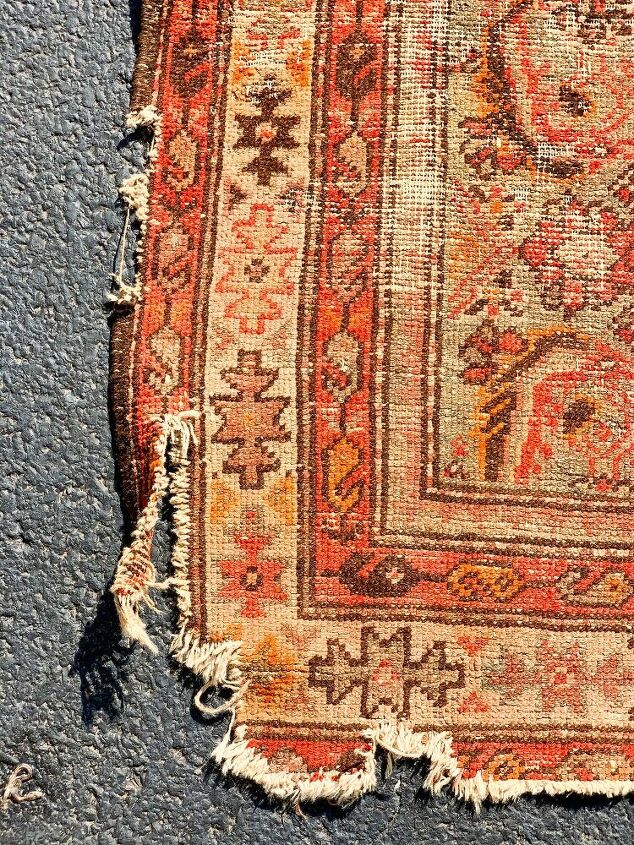
Before anyone comes for me in the comments, It had some decent damage done to it over the years and I plan on using what is leftover for some pillows or another project.
(I do clean all of my rugs before using them for upholstery or pillows)
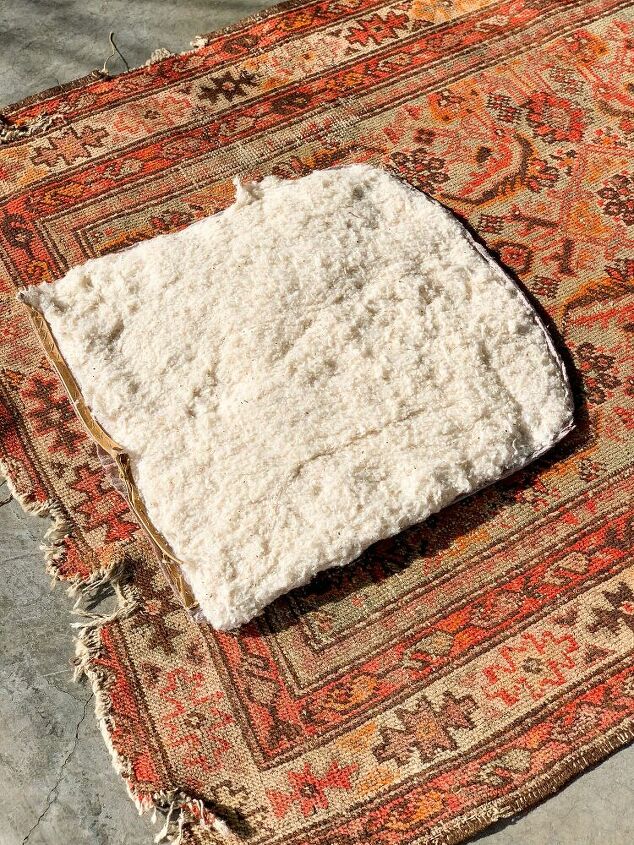
Using the same method as I did before, I used the old fabric as a template to cut what I needed.
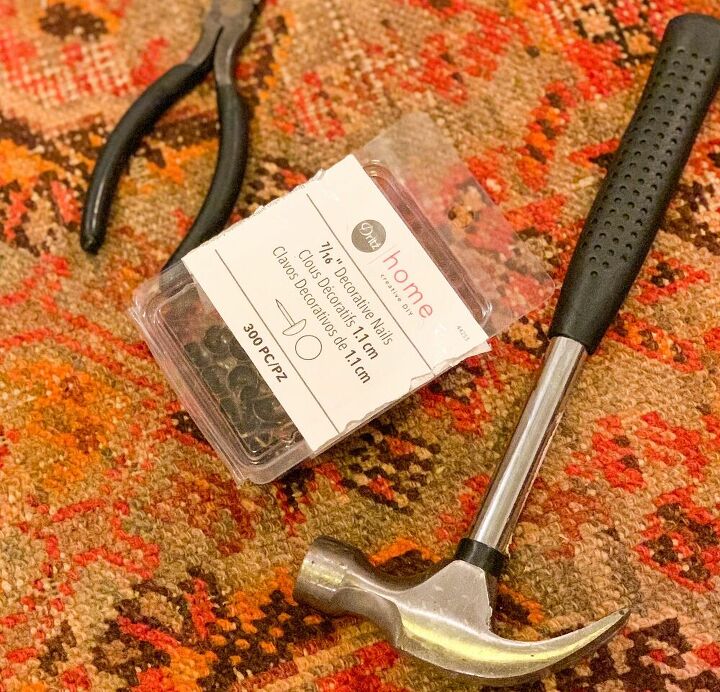
To attach the new back panel onto the frame I used some decorative upholstery nails, hammering them all in individually and cutting away excess fabric.

Almost there.....
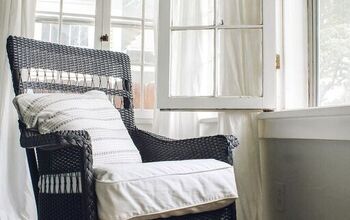
And DONE!
I'm pretty happy with the end result.
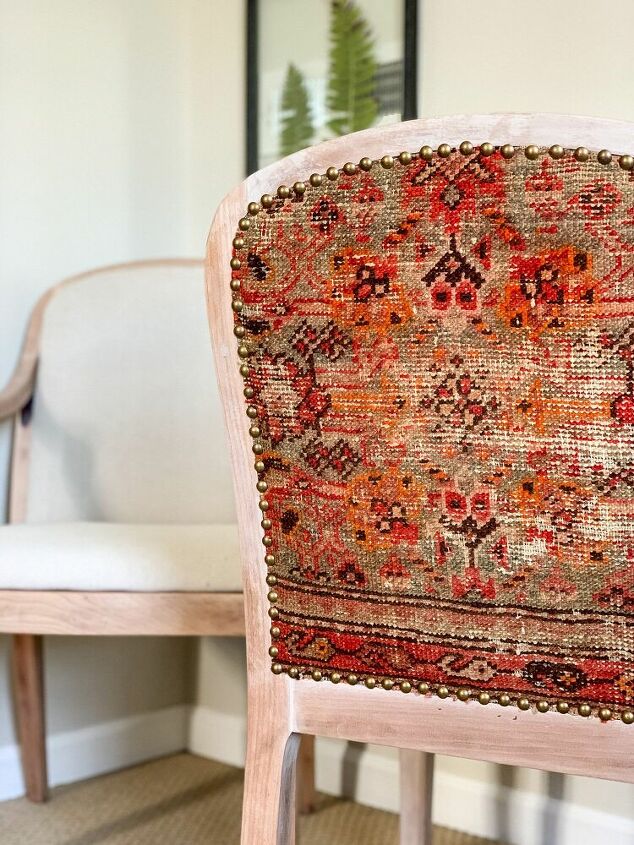
You've got this very neutral chair that could go in any setting and then BAM! You're surprised by the pop of color and pattern in the back!
As my friend put it...
"They are the Mullet of chairs!"

*edited because I wrote Mohawk instead of Mullet*
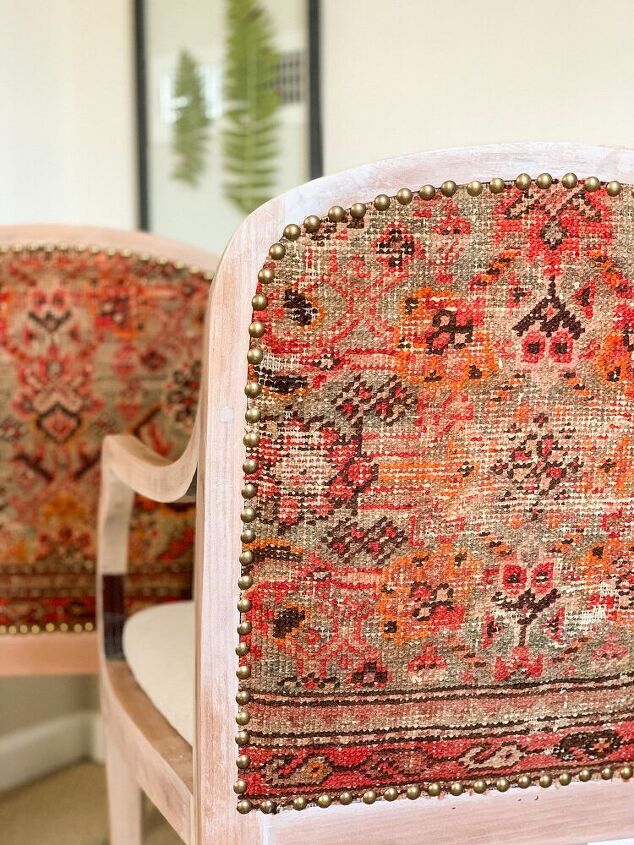
The backs are a little different from each other but that's what you get when you use an old rug that was probably made by hand.
This pair has already sold but I do plan on doing more of these in the future!
Besides....
It's not like I'm going anywhere!
More to come soon!
Make sure to follow me on Insta for daily story updates: amandasmercantile
And you can see more blog post like this and pictures on my website at Amanda'sMercantile.com
Thank you!
Resources for this project:
See all materials


Comments
Join the conversation
-
Gorgeous chairs!! Love your color choices!!! Great vision for those plane Jane chairs!!
-
BEAUTIFUL I ESPECIALLY LIKE THAT YOU USED THE RUG...I AM NOT A PACK RAT. BUT, I DONOT WASTE.


Frequently asked questions
Have a question about this project?
Very nice. I was wondering when I saw the chairs how they would turn out because as you said...they were boring. Just beautiful transformation. And it doesn't really matter if the rug was "expensive", who would put a ripped up rug in their house, expensive or not? Glad you were able to upcycle it.
Couldn't you of done the whole chairs or at least the seats? I do Love it. It it inspiring .
WOW is right!! How awesome do they look?!?! Great job. Really great job!! Thanks for sharing.