


Put Together an Inviting Farmhouse Welcome Sign
Take a moment to create a stunning farmhouse sign to welcome guests into your home! This farmhouse welcome sign sets the tone for your home before you even enter. It’s simple and chic, and easy on the bank account as well. This sign comes with a built in planter box that can easily be customized to match the current season. Fill it with poinsettia in winter, peonies in spring, hydrangeas in summer, and dahlias in fall. Or spice it up and grow a mini herb garden. Let your creativity run wild with the possibilities. Want to make your own? Check out my tutorial below.
Tools and Materials:
- Wooden cut out (mine says “Welcome” but you can use whatever you like)
- Wooden board - 12”x24”
- Wood cut to the size of the box you want to make
- Drop cloth
- Brown paint
- Gloves
- Baby wipes
- Sandpaper
- Black paint
- Wedge sponge
- Nail gun
- Nails
- Wood glue
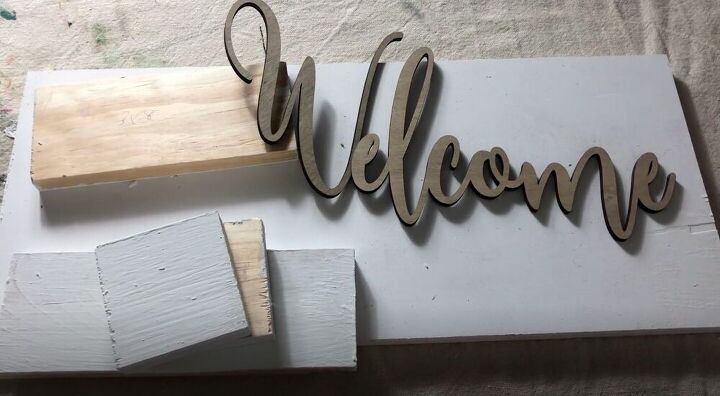
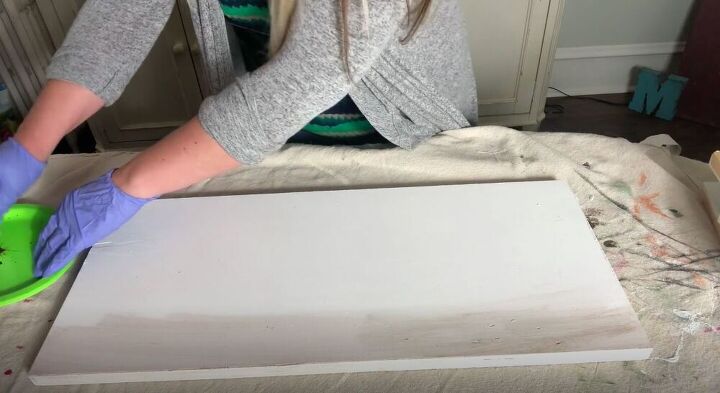
The first thing I did when creating my farmhouse welcome sign was prepare all of my materials. I painted any part of the wood that would be facing out, and therefore be seen. I also cut lumber to size for the box that I wanted to build. This ended up being a piece that was 3 ½”x9 ½”, two pieces that were 3 ½”x3 ½”, and then a piece for the bottom that was 3 ½”x8”. That last piece would become the bottom of the planter box, so if you’re planning on planting real flowers in it make sure to drill drainage holes as well. If you don’t have the tools needed to cut your lumber to size, your local hardware store should be able to help. I also grabbed a wooden cut out that said “Welcome”. You can customize your farmhouse sign to say anything you want, as it’s easy to find a whole bunch of different wooden cut outs on Amazon or in your local craft store.

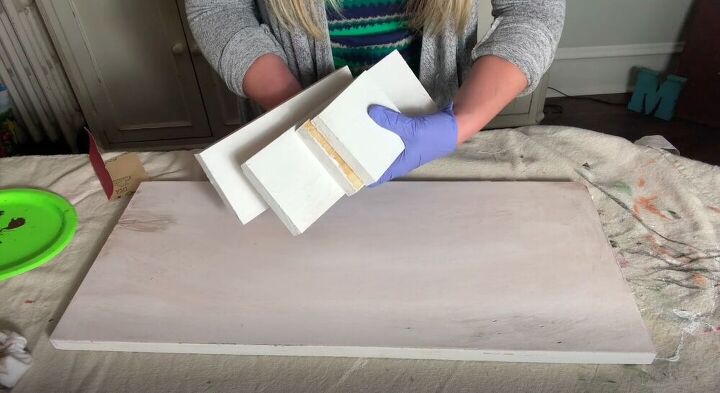
In order to truly capture the farmhouse effect I was going for, I knew that I had to rough my sign up just a bit. I did this by making it look a little antique, and it was a quick and easy process. I started by putting a bit of brown paint on a plate. Then I picked up a bit of the paint with a baby wipe, and rubbed it along the edge of the sign.
Once I had applied it along the edge, I flipped over the baby wipe and rubbed it in.
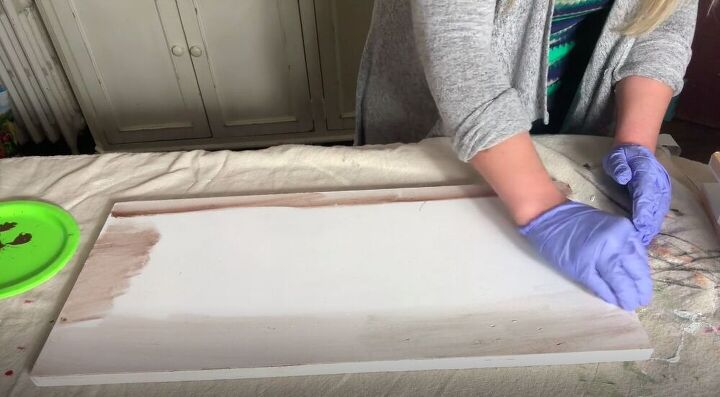
I like my edges a bit darker than the center, so I added more paint along the edges, and continued the process.
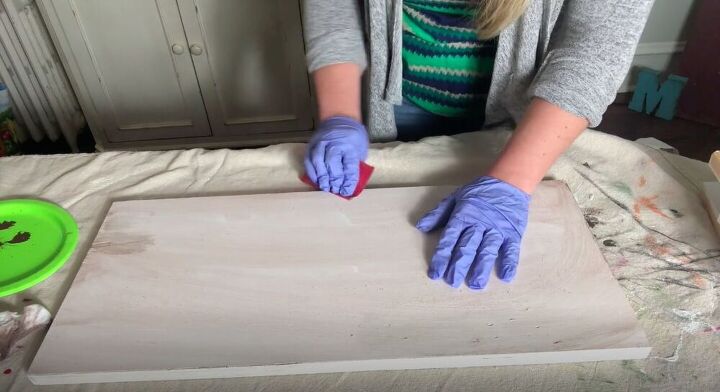
With the paint applied, I moved on to sanding. Whether you chose to use acrylic or chalk paint, it should dry pretty quickly and allow you to move straight into sanding without having to wait. I gave a light sanding to the whole piece of wood, aiming to remove some of the paint here and there. It’s really up to you how vintage you want your piece to feel.
Then I repeated the process with the rest of the wood I had for the planter.
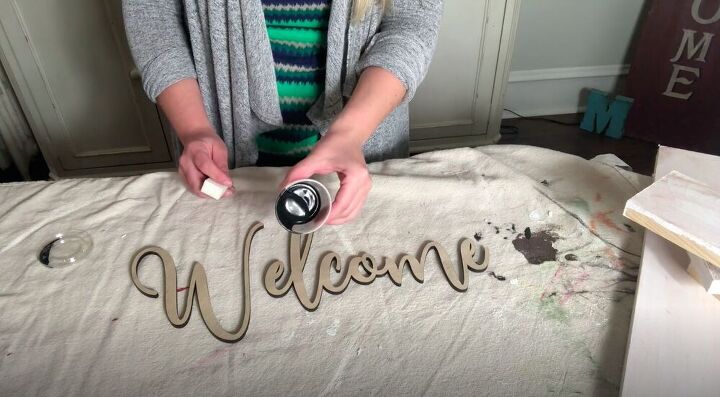
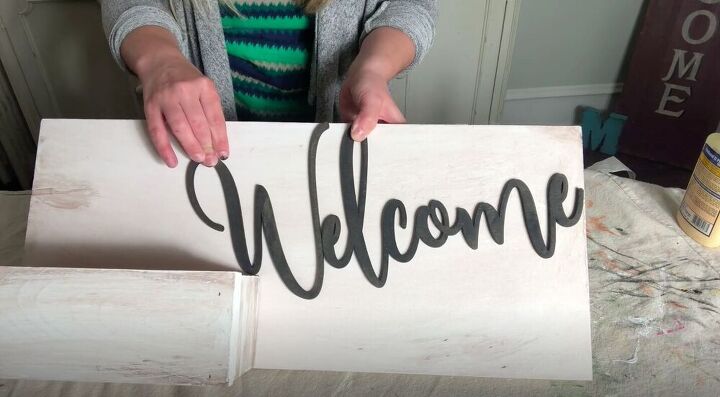
I wanted the word “Welcome” to really show on my sign, so I chose to paint it with black paint.
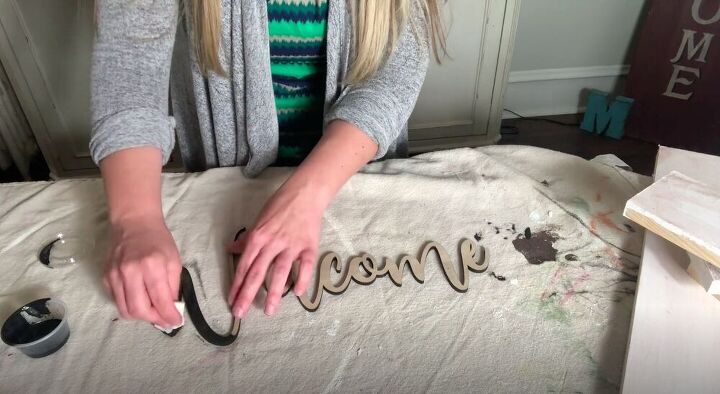
Using a wedge sponge, I picked up a bit of paint, tapped it along the wood, and then swiped it to get good coverage. I chose neutral colors for my welcome sign because I wanted to be able to use it year round and not change it according to the seasons or holidays, but this DIY project is so quick and easy that you could make holiday specific boxes and switch them out for each holiday.
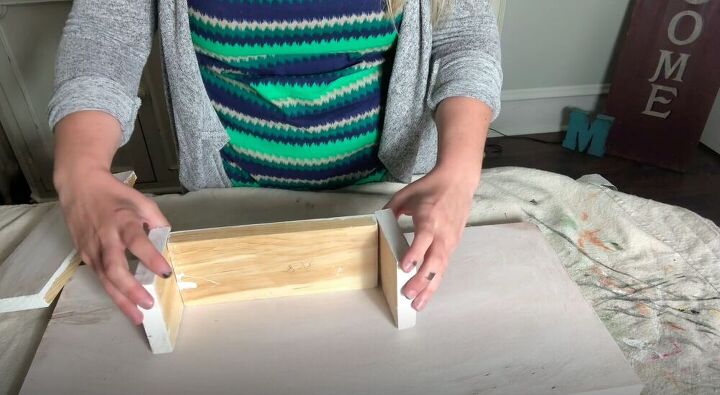
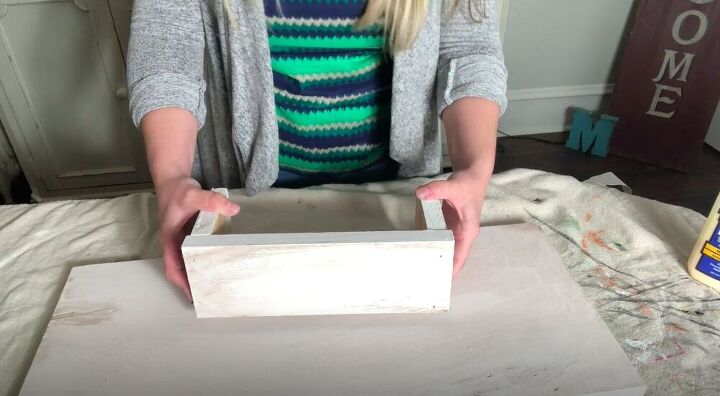
Now I was ready to move on to the planter box. I placed the two smaller pieces of wood on either end of the 3 ½”x8 ½” piece of wood.
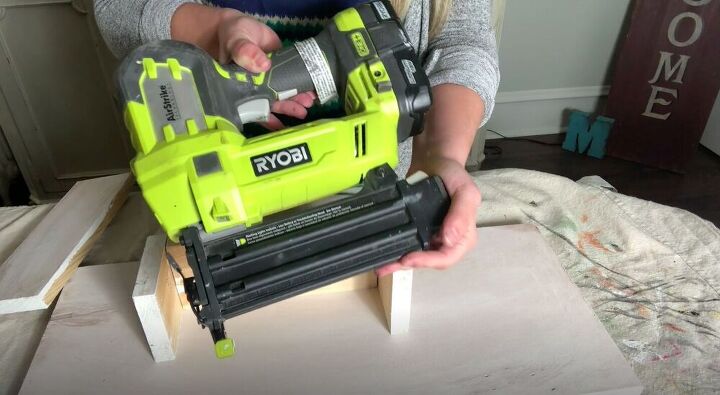
I nailed them together using a nail gun, but you can glue it together with wood glue if you don’t have a nail gun on hand. Then I nailed the longer 3 ½”x9” piece of wood to the front of the box. The box doesn’t need to have a back attached, as the sign will become the back of it when it’s assembled.
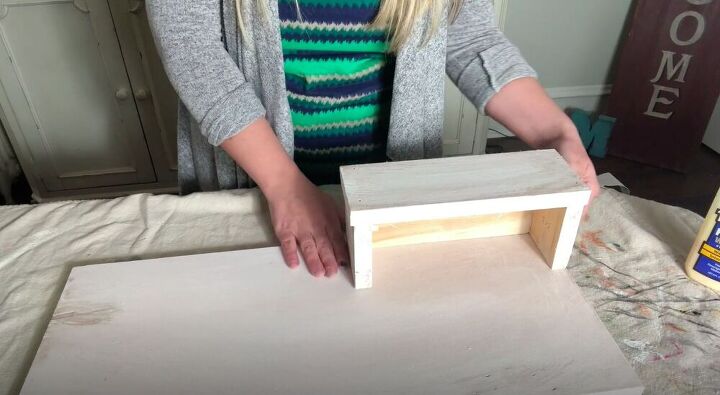
I placed my planter in the bottom left corner of my sign and nailed it in place from behind. Once again, if you don’t have a nail gun you can use wood glue, just make sure that it completely dries before you move on to the next step.
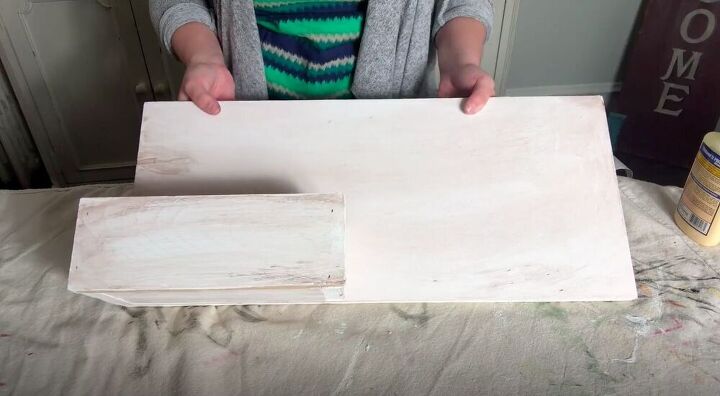
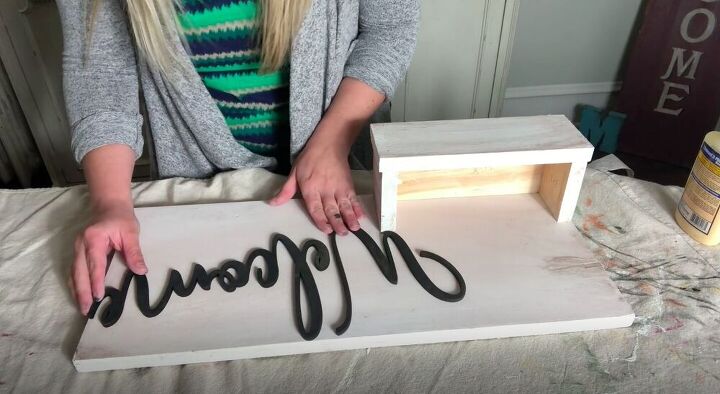
With my sign and planter in place, I was ready to decorate! I lay the word “Welcome” slightly diagonally across the board and nailed it in place. Then I filled it with some flowers and I was done!
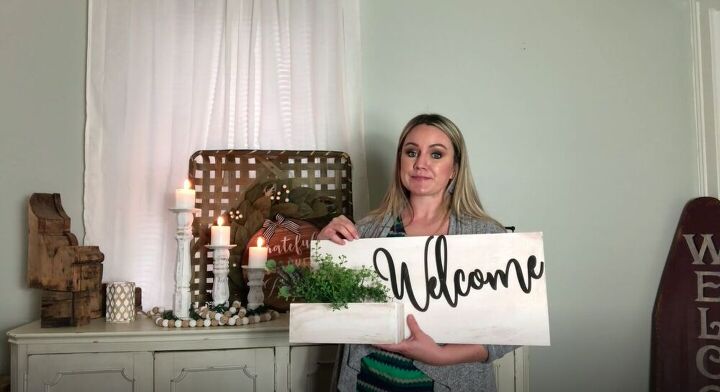
And that’s it! I kept my sign simple but you can jazz yours up any way you like! I plan on changing out the flowers seasonally, so that I’ll always have some bright greenery welcoming my guests! How would you personalize your welcome sign? Let me know in the comments below.
Resources for this project:
See all materials


Comments
Join the conversation
-
I love this! Simple, but pretty! But just FYI for fellow crafters, the "welcome" sign is only $ 6.99 at Hobby Lobby! 😊
-
Adorable! Great job!!!!


Frequently asked questions
Have a question about this project?