


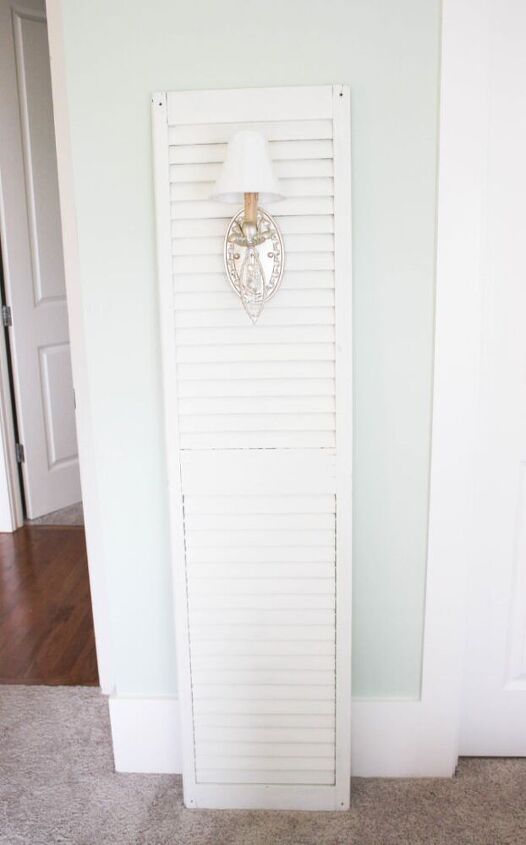
How To Make A Shutter Into Lighting Fixture.
Create pretty lighting fixtures with a shutter. Here is a step by step tutorial on how to do this. You can buy the shutters online or better yet find one at a thrift store, or antique shop.

I used a a shutter that I found at the thrift store. It needed to be stripped of green paint first. I stripped it before I could paint it. It would be better if you could find one in white so you can paint it any color you like. Stripping is alot of work. White shutters would be easier to paint over.
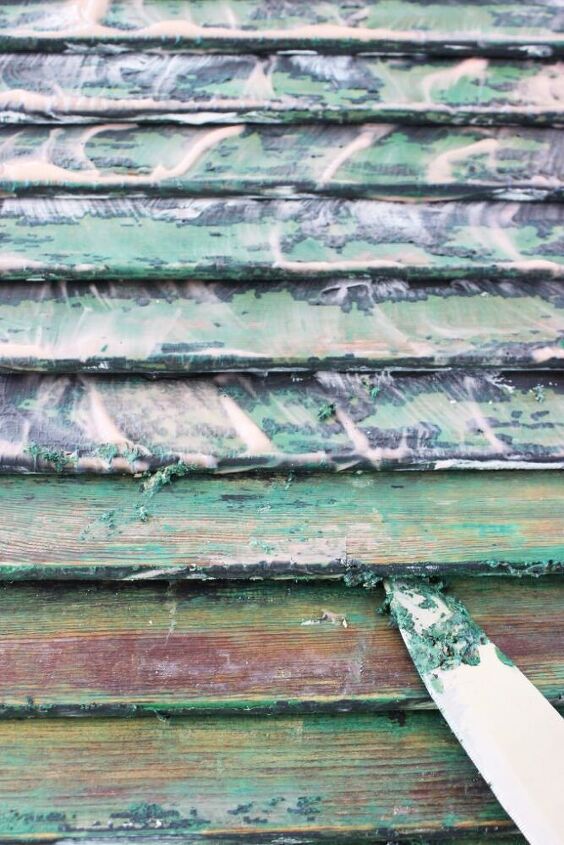
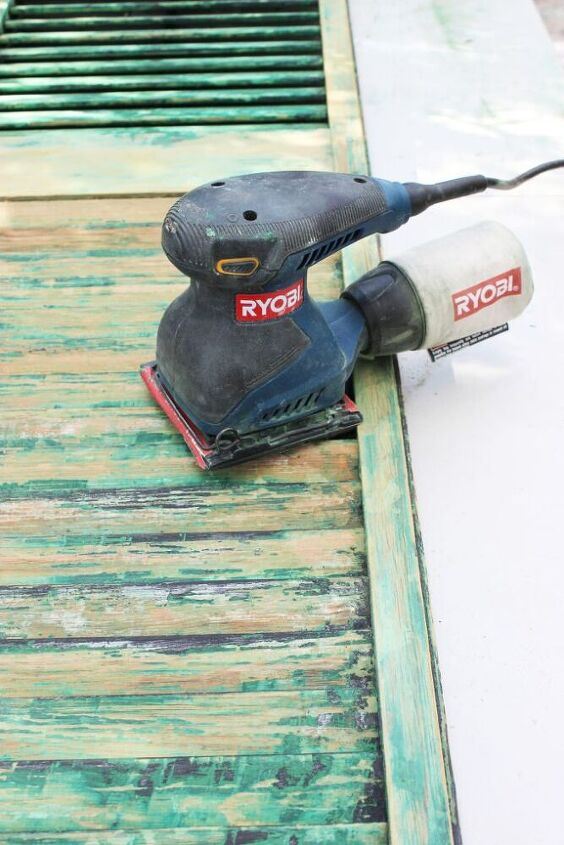
After stripping the paint off. It will have to be sanded before painting it.
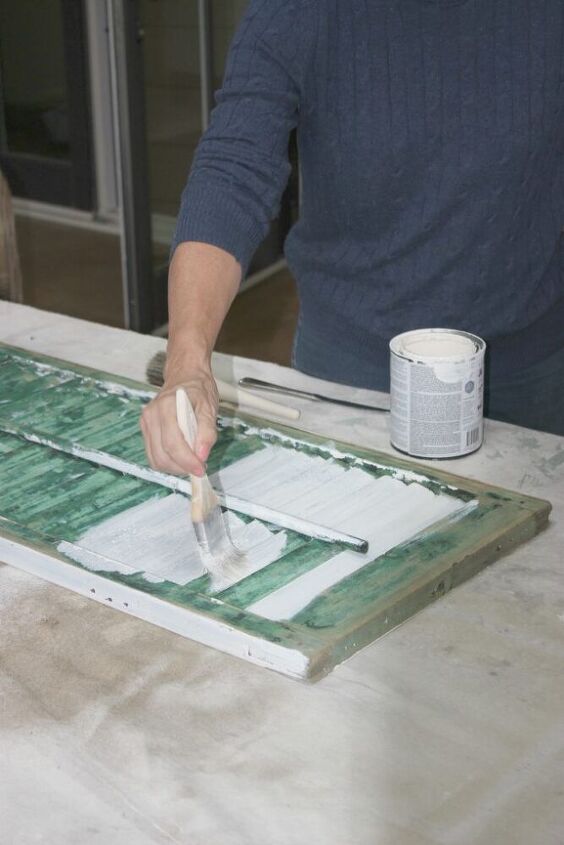
Now you can start painting. I used a paint with a primer. Start with a large paint brush and make sure you paint in the crevices with a small paint brush at the end.
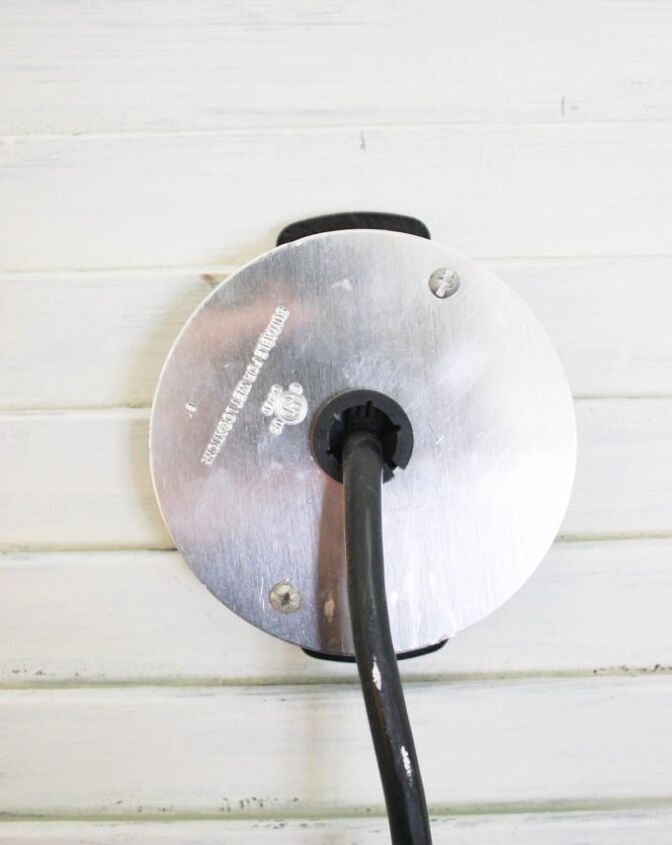
Once you finish painting its time to put the lighting fixture. I am not electrician so i hired a local one who charged me $75 to install the lighting fixture. He had to drill a hole before he attached the fixture. I purchased the lighting fixture online. The electrician attached a electrical cord to the lighting fixture. He then pulled the cord though the hole from the front and secured the lighting fixture so it was attached well.
After the lighting fixture is installed. Now you can place the lighting fixture against the wall or any place you like. Its best by a electrical outlet.


Comments
Join the conversation
-
This is really nice, I do have several shutters.
-
That’s great hope you make it!


Frequently asked questions
Have a question about this project?