


Beautiful DIY Textured Jewelry Box

I love texture, and this project provides lots of it! I’ll show you how to create your own textured jewelry box using products you can easily find at your local craft store. It’s quick and easy, and you can customize yours to match your space. The technique I’ll be showing you isn’t limited to jewelry boxes. You can create a textured piece of artwork for your wall, or use it to personalize a photo frame. So let’s not waste any more time, follow my step by step guide to get started now.
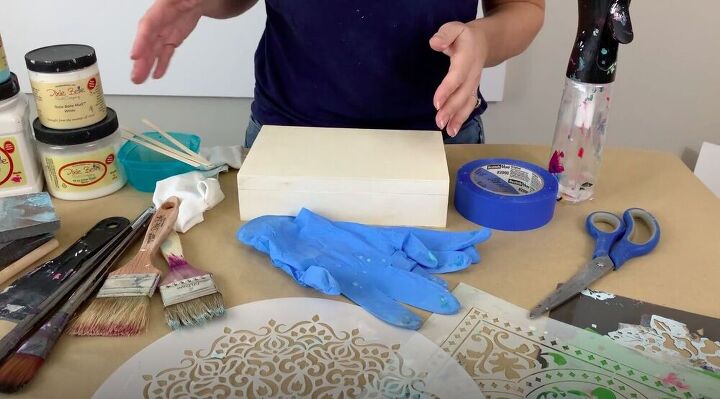
Tools and Materials:
- Water mister
- Painter’s tape
- Scissors
- Gloves
- Stencil
- Wooden box
- Coffee stirrers
- Bowl
- Chip brushes
- Painter’s brushes
- Spackle spreader
- Sponge brush
- Sandpaper
- Cloths
- Dixie Belle paint (chalk paint)
- Dixie Bell mud
- Clear coat

Before I put on my gloves, I wanted to get my stencil in place. I lined up two corners of the design on the corners of the box and lay my scissors on top to hold it in place.
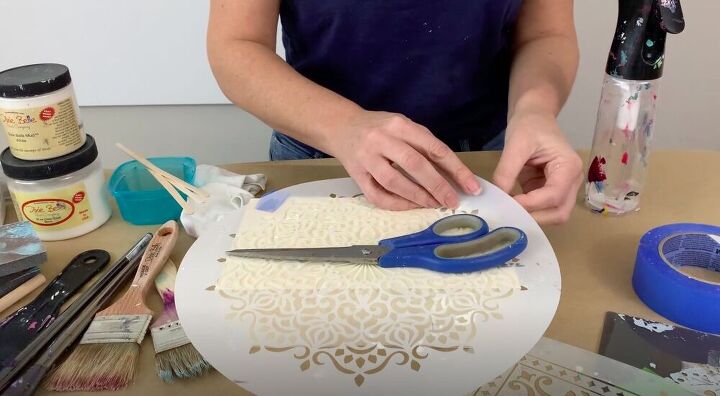
Then, using painter’s tape, I created a bit of double-sided tape and stuck the stencil in place on my box.
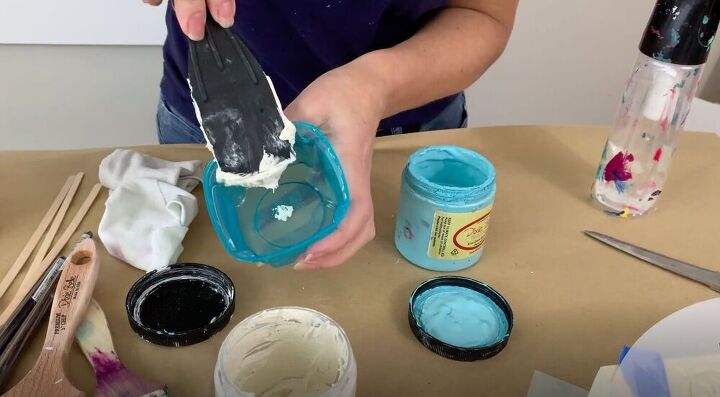
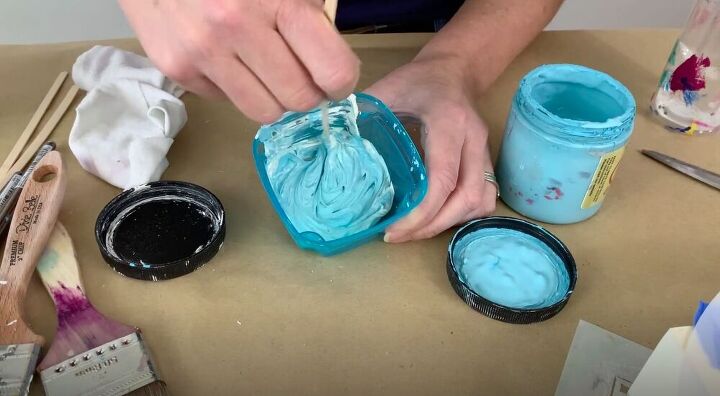
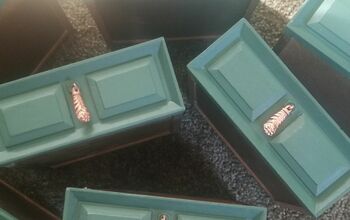
Using a spackle spreader I took some of the Dixie Belle mud and put it into my bowl. You can use the mud in its original color, but for my project I wanted it to be blue. This is easy to do by simply mixing some paint into the mud.
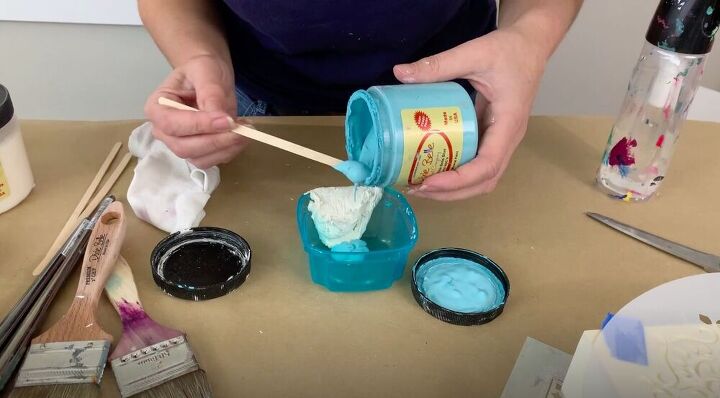
I took a bit of the blue paint and mixed it with the mud with a coffee stirrer. Make sure that it is fully mixed in so that the color is even throughout.
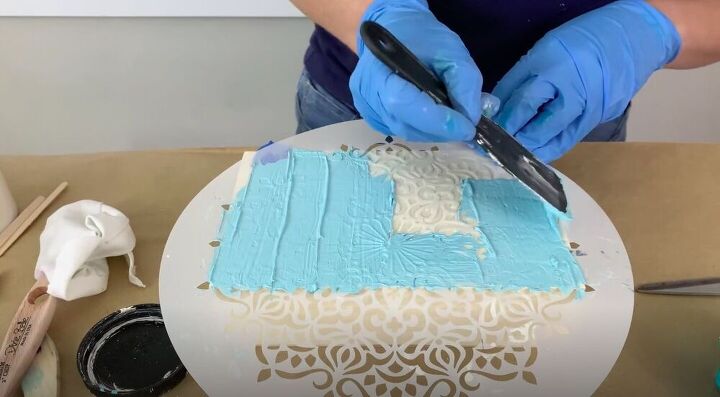
I took my spackle spreader and spread a thin coat of the mud over my stencil. Make sure that the coat you apply is even throughout the entire stencil. If you accidentally leave some texture here or there that you want to remove later, it’s easy to sand it down with some basic sandpaper. Additionally, when it comes to cleaning your stencil, it’s easy to clean it with a bit of soap and water.
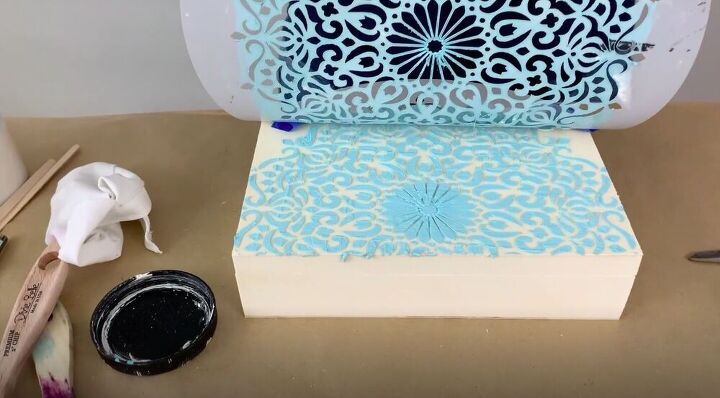
Don’t worry if there is a bit of bleed through when you stencil here, as we’re going to go back and sand once it’s dry. Let it completely dry before moving on to the next step.
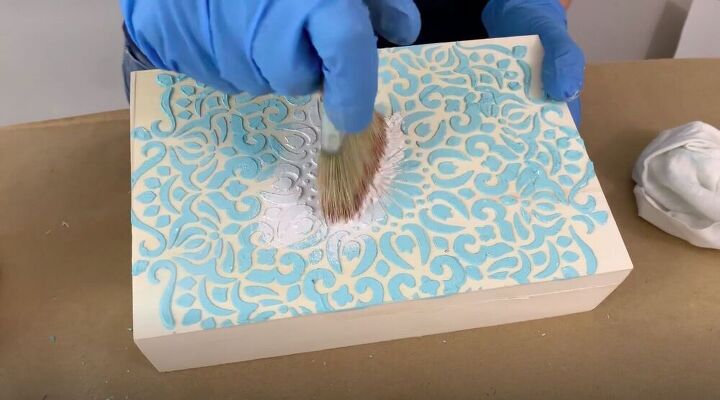
Using white paint and a chip brush, I scrubbed the paint into the design I had just created. I wanted to make sure that the paint not only got on the design, but also onto the bare wood below it.
If you prefer you can go with a dry brush technique here, though you won’t get as good coverage.
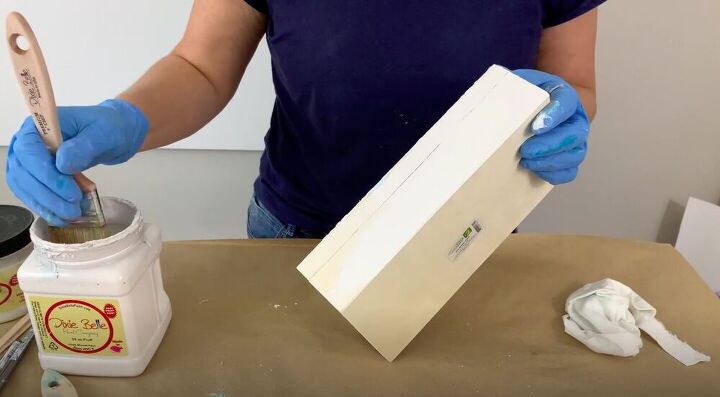
Once I’d applied the first coat, I misted the top of the box and then continued painting. I painted the sides of the box white as well.
Tip: If you’re painting the box with the lid on, make sure to remove the lid before the paint dries as it will make the top stick to the rest of the box.
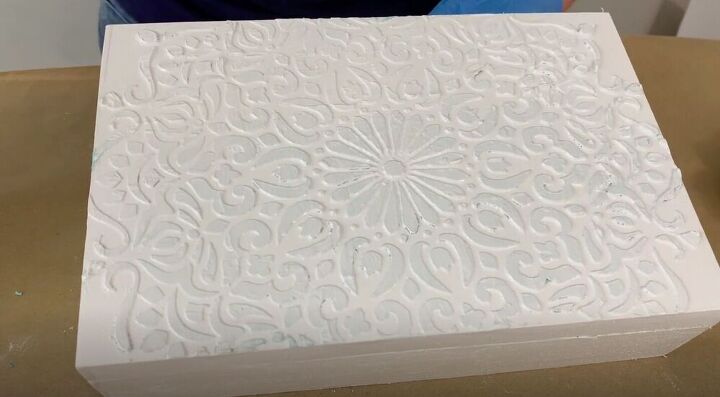
I enjoy working with this chalk paint because it dries quickly, enabling me to move onto the next step without having to wait too long.
Tip:
The higher the grit, the smoother the sandpaper.
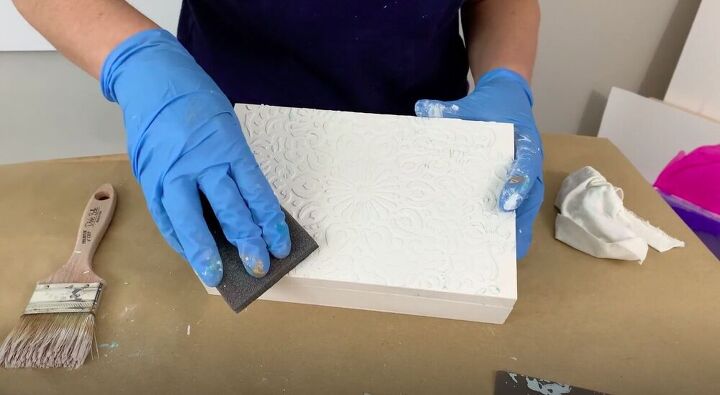
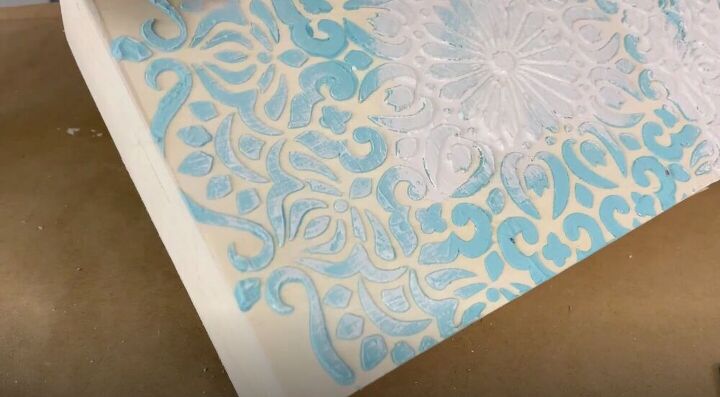
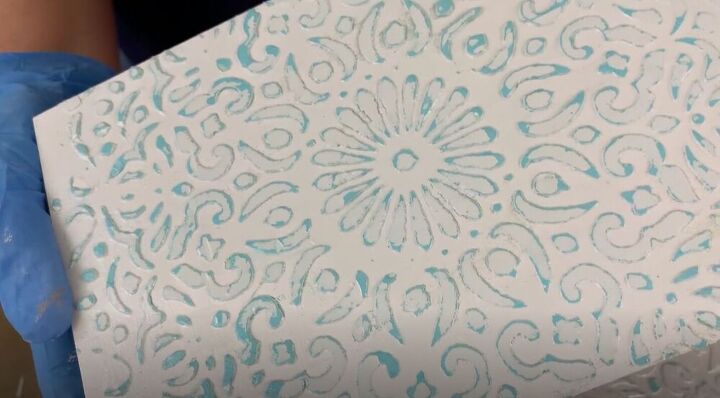
Using a sanding sponge I sanded the top of the wooden box. I wanted to create some peaks and troughs for the blue to show through, but for there still to be enough white paint as well. It’s up to you how much you want to sand away here.
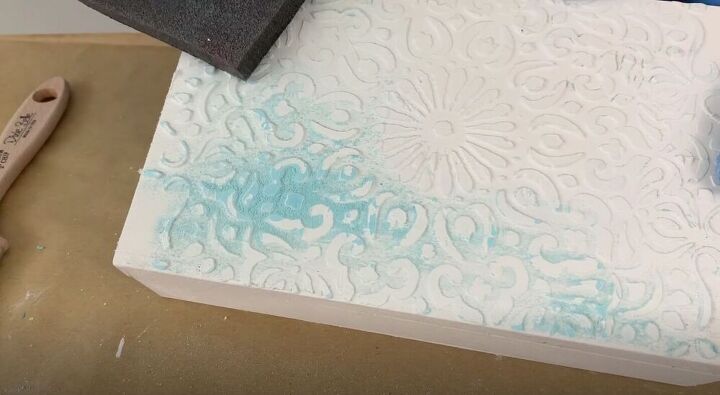
It’s also pretty easy to be exact with where you sand here. Simply scrunch up the sandpaper a bit and sand away.
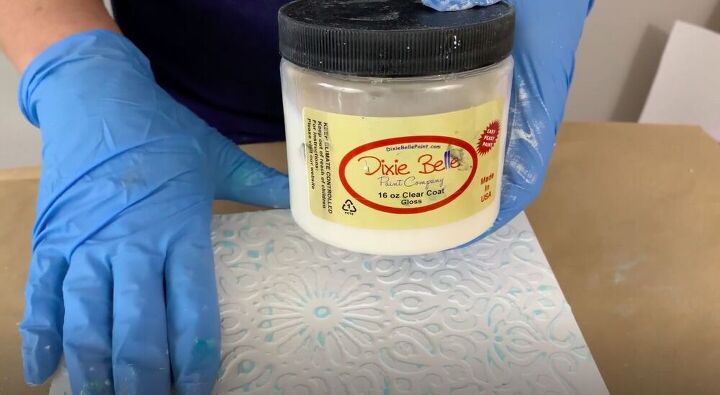
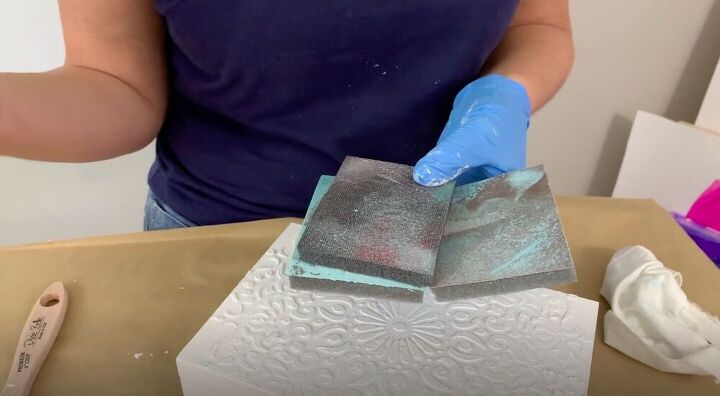
Give your gloss a gentle mix to resolve any separation that may have happened while it’s been sitting on the shelf. Don’t shake it, as you don’t want any bubbles.
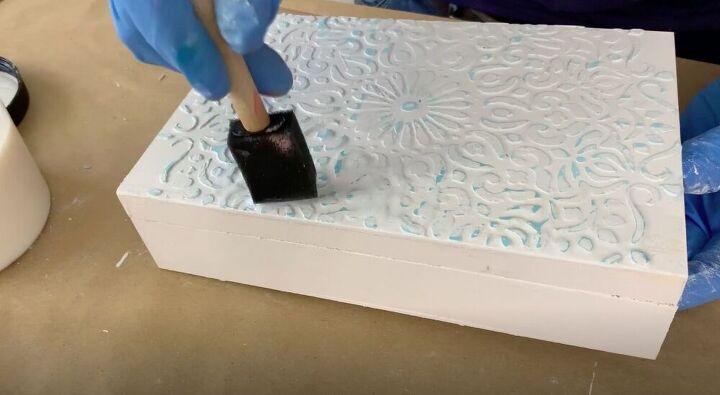
Using a damp sponge brush, I spread a thin coat of the gloss over the entire box. On my first coat I focused on getting the gloss into all of the crevices in the design I had stenciled on the box.
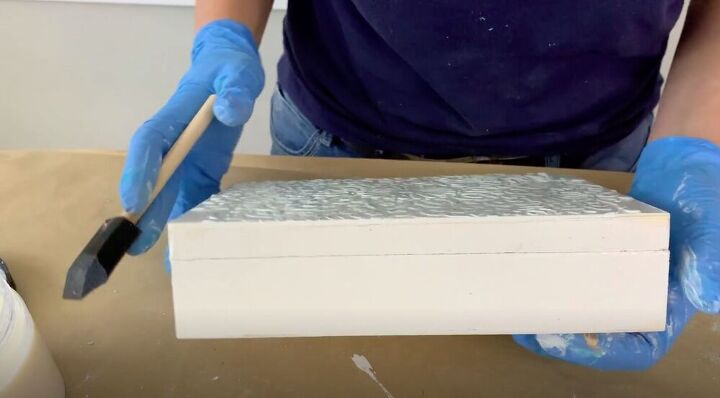
I did a second coat and spread the gloss all over the box.
That’s it! This technique can be used on so many different things! What household items would you like to stencil? Let me know in the comments below!
Resources for this project:
See all materials


Comments
Join the conversation
-
Beautiful!
-
Hi Fiona thank you for showing us this painting technique there’s so many things it can be used on I can’t wait to try it on a dresser i’ve been wanting to. Doing this technique will definitely make it easy. 💜 and for being your first video you did a great job…. 👍🏼


Frequently asked questions
Have a question about this project?
Did you do anything to the inside?
I was thinking about doing this type of thing on the bricks around my small garden out front, would this work?