


Create an Easy, Faux Boxwood Topiary

Topiaries look so cute and unique to me but I never ever made one before. This month to help me get through the isolating I challenged myself to create every day in May! Therefore now was the perfect time to create my very first Topiary, plus you really don't need many supplies to make it...Bonus!
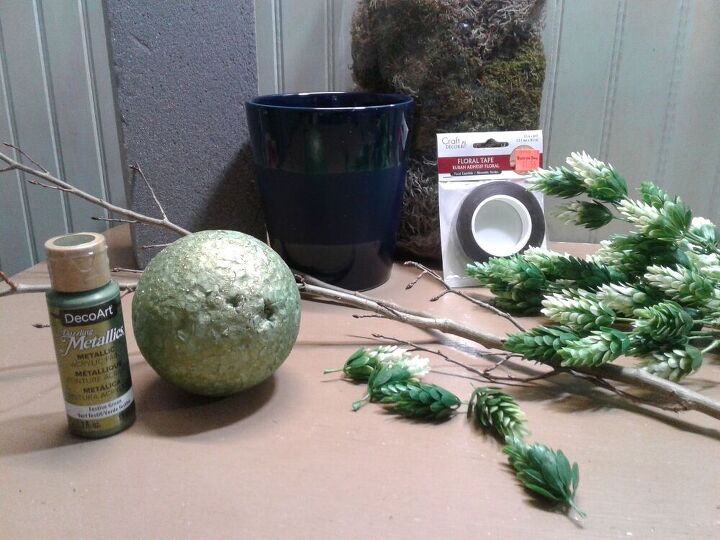
Gathering Supplies
I used everything you see here "except" the floral tape, I didn't need it afterwards! The green paint is optional...I used it but if you cover your ball in foliage really well you won't see the white base.
You will need:
- a small tree branch
- styrofoam ball in scale to the size of your flowerpot
- a flowerpot
- 2-3 bunches of greenery
- dried moss or small pebbles
- floral foam for the pot
- glue gun and glue sticks
- scissors
Summary of Steps
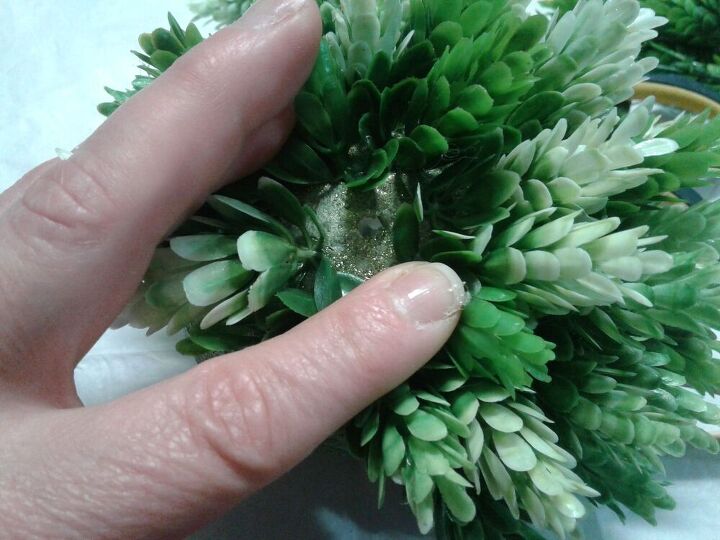
I learned as I went and found it best to make the hole in the styrofoam ball then add in hot glue and place the bud in the hole.
Bare Spot Found
Those pieces I snipped off well they served the purpose of covering the bare spots as seen here.

Bare Spot Covered
Again, poke the hole in the styrofoam, glue in the hole and greenery in place, since these leftover pieces were so tiny I used my skewer to push it in place while the hot glue set up.
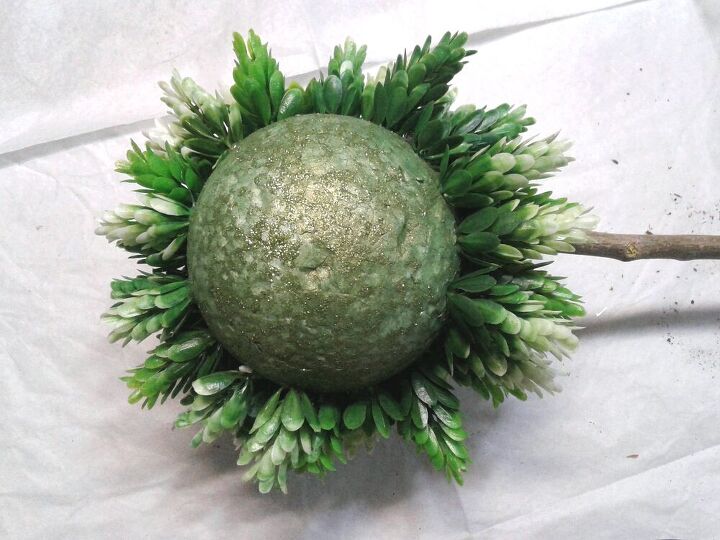
Side Profile
Continue until the ball is covered with greenery shorter ones at the top and longer buds at the bottom so they'll look a little more flowing. I mixed up the solid greens with the variegated and found this gave it more depth and dimension.
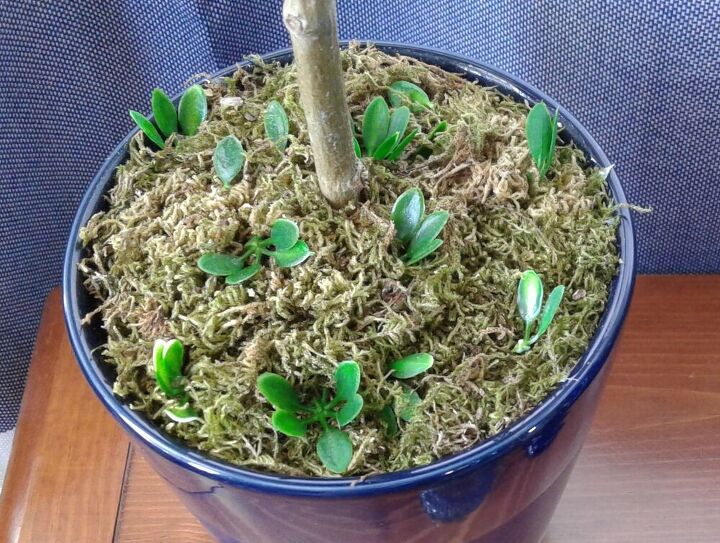
Concealing the Foam
I used hot glue to secure the peat moss to the foam in the flower pot but as I looked at it the base looked blah! Solution....well if you don't water your plants regularly like me....haha some leaves will fall off! So this is a more "natural look" for my house anyways! Some of the snips I cut off to shorter the buds got glued into the moss, maybe they'll take root and grow me some more topiaries?
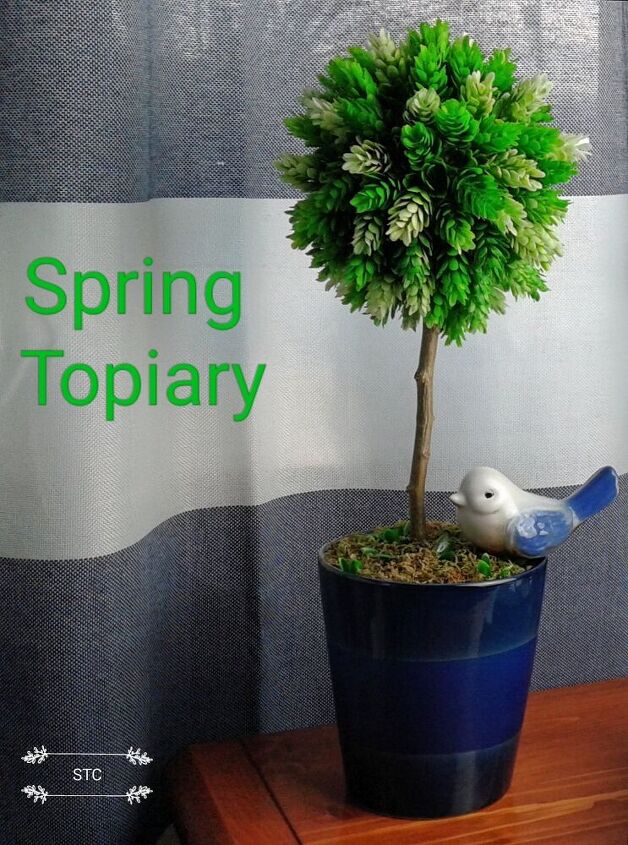
Well if you know me by now, a little bird often finds their way into my displays and this was a perfect opportunity to set one in place! I love, love my topiary and I just have to make another one!

Another View
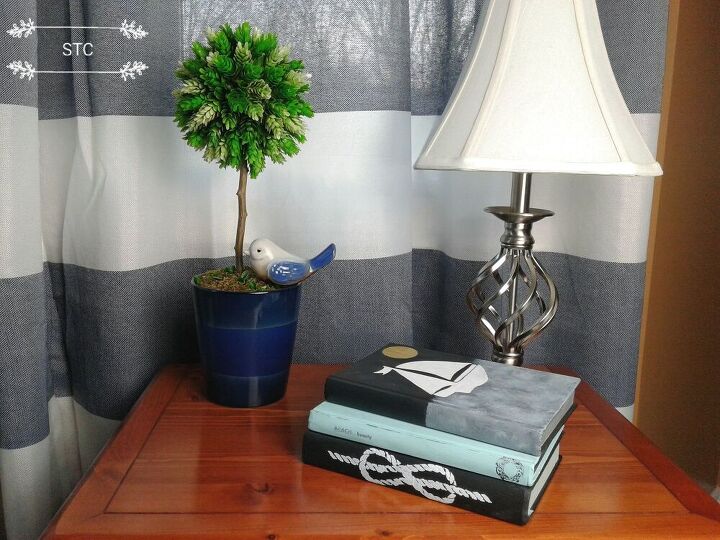
The books seen here are featured in another one of my posts, the navy pot ties in nicely with the other items in my bedroom so I'll display it in here.
Close up
Everything turned out better than I imagined it would and the little blue bird, well he just made it even more cuter! First Topiary completed, anotger thing off my craft bucket list!
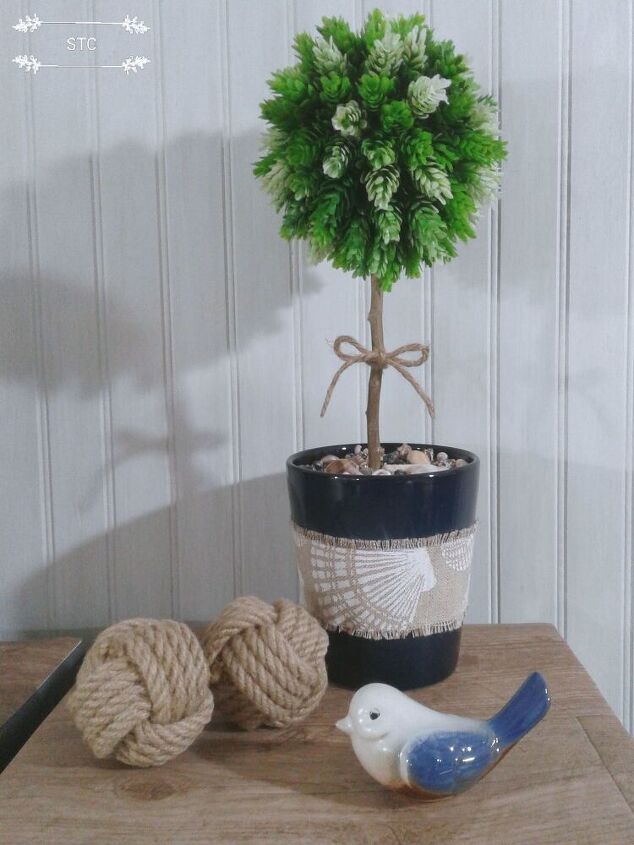
So a year has passed since I made this topiary and I easily get bored with things so I did an update. I loved the topiary itself but I wanted to try something different with it because I decided to put it in my second bathroom. I swapped out the moss and added a bed of seashells from the dollar store and a strip of burlap ribbon with seashells stamped on. Easy peasy and it is a whole new look to last....maybe another full year? Haha....we shall see.
Resources for this project:
See all materials


Comments
Join the conversation
-
It's so sweet! Love the little bird too.
-
Not at all surprised to see the bird. I thought adding some green to the peat moss was genius!


Frequently asked questions
Have a question about this project?