


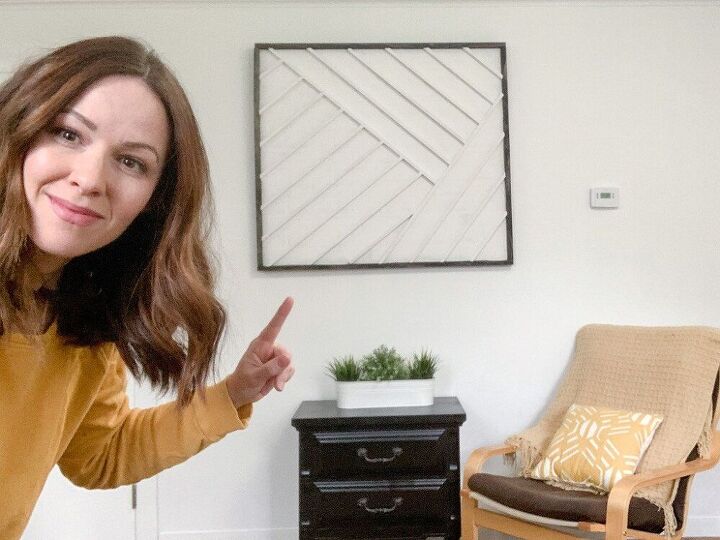
Scrap Wood Wall Art

There is absolutely nothing better than a free project, and if there is, I sure can’t think of it! It is so fun to use leftover scrap wood to create fun new projects and this West Elm wood wall art knockoff is quite possibly my favorite. I’m so thrilled with how this scrap wood wall art turned out and think it is the perfect addition to my guest room refresh.

Now, in a perfect world, I would have had some scrap plywood lying around to use as the backing for this wall art. But, alas, I did not. I did, however, have some faux brick paneling leftover from One Room Challenge Industrial Sports Bedroom last year! It needed to be pieced together a bit but I was able to make it work. 3 strips of paneling were pieced together by adding strips of wood to the back in multiple locations. This not only secures them to each other but also provides some stability. Not pretty but functional.

Given I was using a few stitched together pieces of paneling as my backing, there were a few gaps that needed filling. Using some leftover joint compound from my wood paneling update, I used a german schmere technique to not only fill the gaps but also modernize the look of the faux bricks.
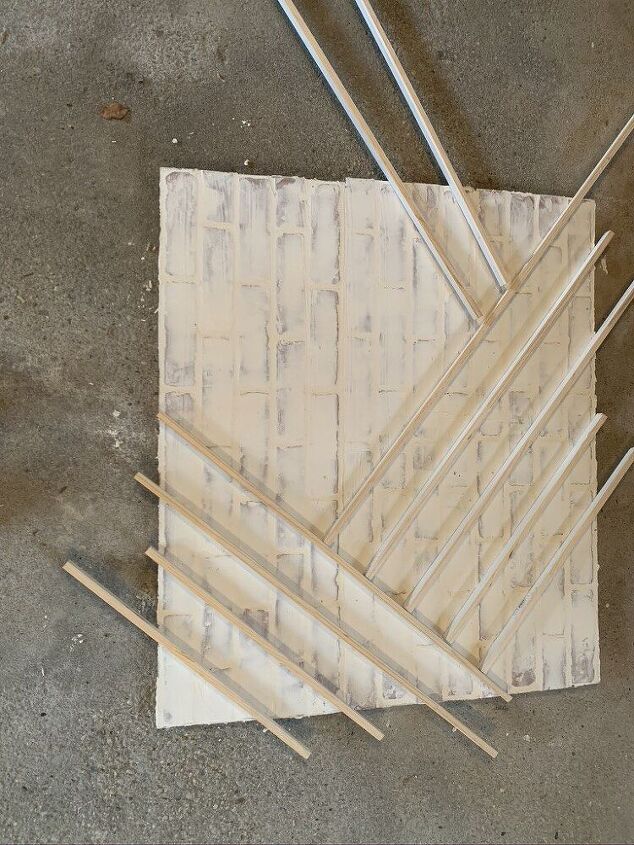
For the strips of wood, I used my table saw to rip down some leftover shiplap I had lying around. If you know me at all, you know that I really do not love using my table saw. But I do like to reuse and repurpose what I have so I made an exception here. That said, if you don’t have a table saw or don’t have scrap wood lying around, these square wooden dowels would be perfect for a project like this!
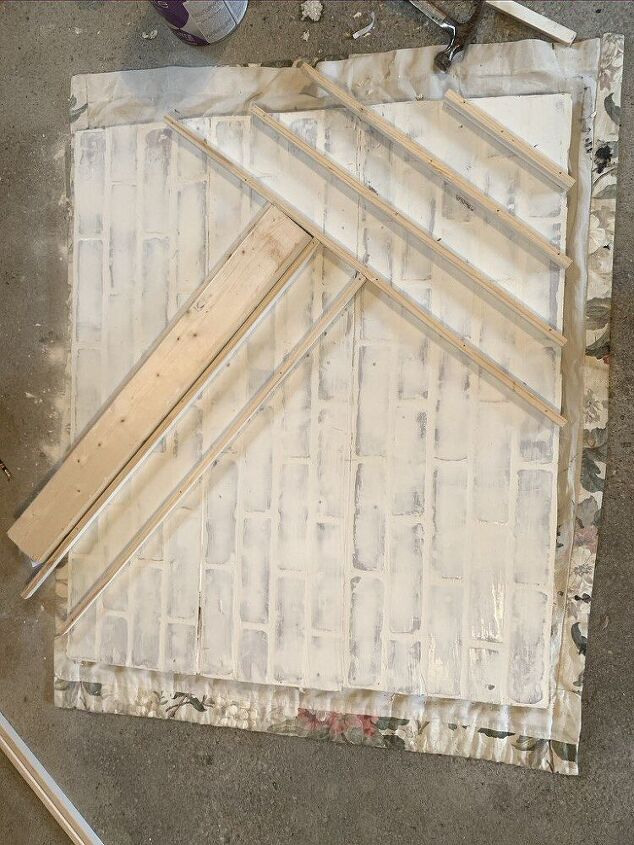
A 2×4 scrap piece of wood was used to make sure the spacing was consistent in between strips. You could literally do any design here that you want! Once the strips were in place, add glue to the back and then secure them with a nail gun. As you can see, the strips aren’t perfect on the edges here…and they don’t need to be. Once it is all secured, take a circular saw or jigsaw and cut off the excess.
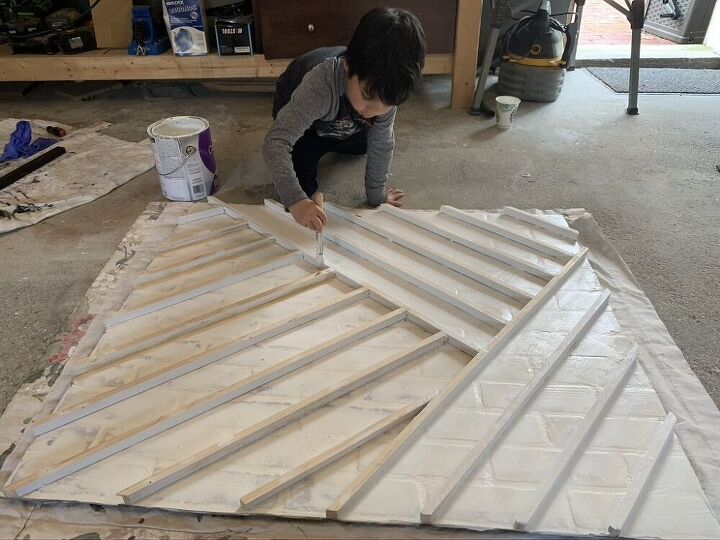
Next I went over the whole piece with white paint to give it a uniform look.
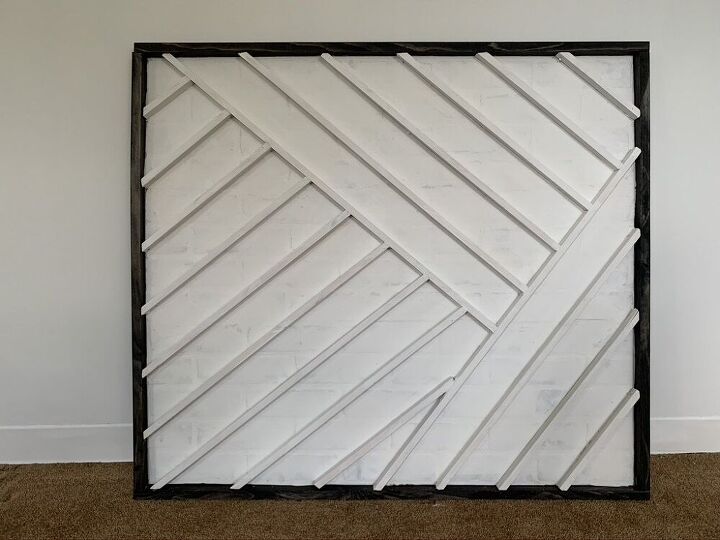
Lastly, attach the frame! I stained mine black but you could leave it raw or paint it as well. Attach the frame using wood glue and a nail gun. I hung this using a picture hanging wire and screws…but if you use plywood I think a french cleat would be perfect.

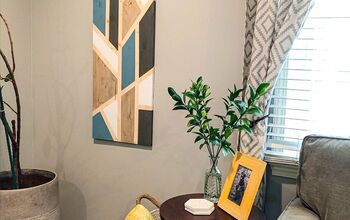
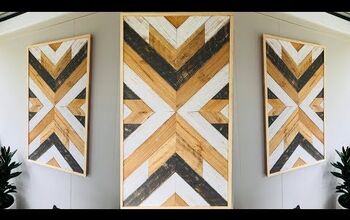
My Inspiration piece
Can you believe this super large scrap wood wall art was free?!!! You can purchase all the pieces if needed (which I priced out to be about $25). Even then it would still be worth it given the inspiration wall art from West Elm retailed for about $1000!


Comments
Join the conversation
-
Even if we are not going to reproduce this kind of project we sometimes learn the most basic things through the process you have documented. I never would have thought to use a piece of board as a spacer to get your pieces evenly spaced. So simple. So easy. So I'm happy to have learned something I will use.


Frequently asked questions
Have a question about this project?
I was wondering if you could have used the back of the panels with the rest of the project and had a flat back to your your art?