


Backrest Instructions for DIY Wood Deck Chairs

Recently we remodeled our deck and wanted patio furniture. I'm sure you know, it's super expensive! So we decided to make our own. We found Ana White's 'Modern Deck Chair' plan and built our chairs exactly as she explained (those plans can be found via Pinterest). They turned out beautifully and we love them!
The original chair plans had a super low back....which we loved the look of, but they were not comfortable for us. We want chairs we can lounge and relax in. So, we decided to create a higher backrest and this is how we made our chairs more functional for us.
Please note- This plan is for 2 backrests for 2 deck chairs.
- Sliding T bevel
- Compound saw
- Deck screws (16 at 2.5" & 4 at 3.5")
- Drill with a 3/16 bit
- Impact drill
- 2x4 treated board (60" total is needed)
- 5 1/4" treated deck boards (100" total needed)
Before you get started making your backrest you'll want to find the perfect angle for you. We took a piece of wood out and played with where we would like our back rest to be. We also used a sliding T bevel to transfer that angle to a degree we could set our compound saw to.
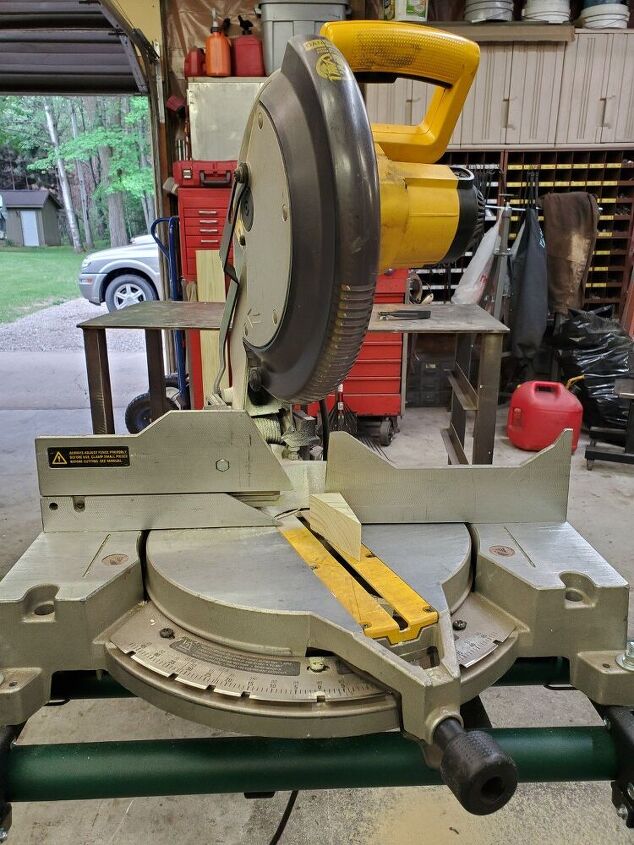
The angle we decided on was 70°. This angle works for us, but you may want to use it as a starting point and find the angle that fits your likes best.

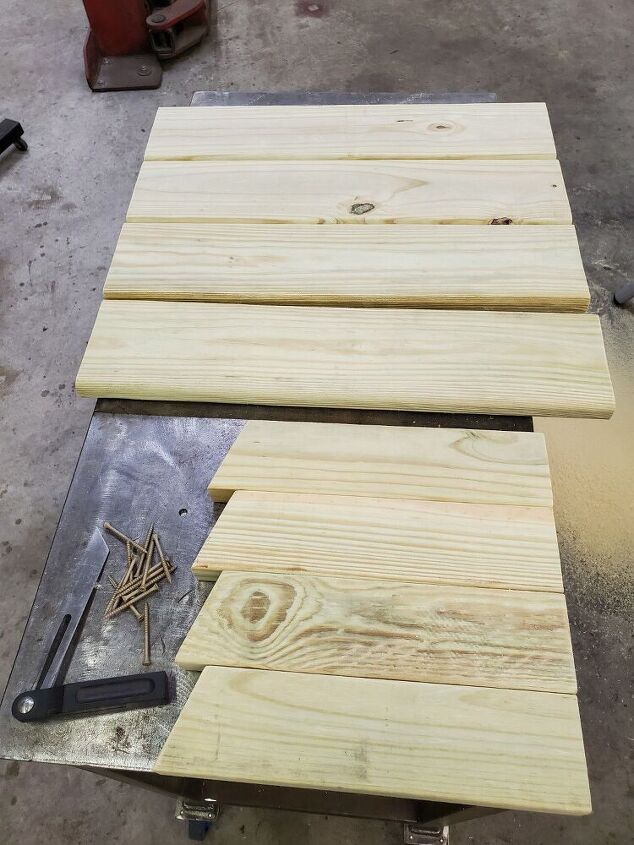
Once we had our angle figured out we were ready to cut everything to length. As you can see in the "Material List" photo.
Our treated 2"x4" boards are cut at a 70° angle & 14 1/4" long. You will need 4 of these.
Our 5 1/4" treated deck boards are cut at 25" long. You will also need 4 of these.
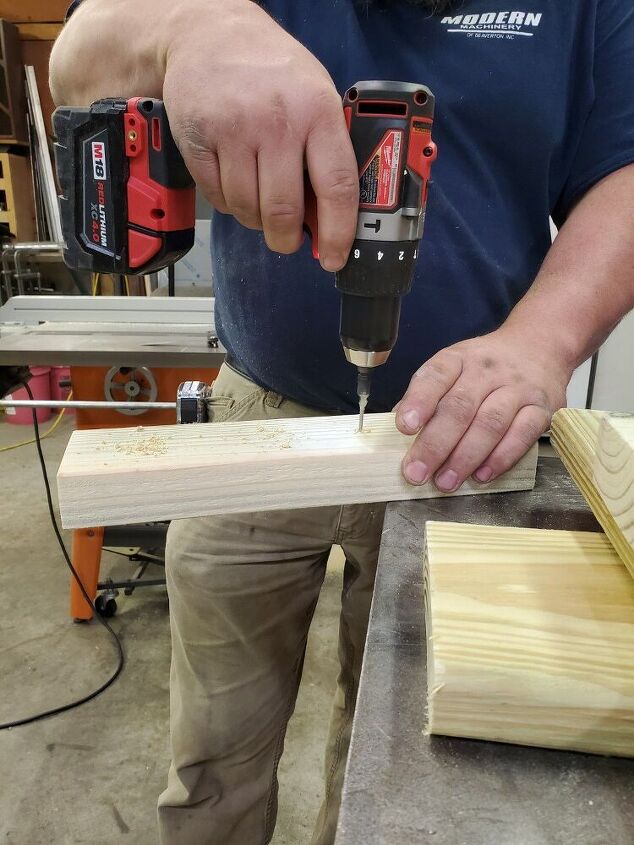
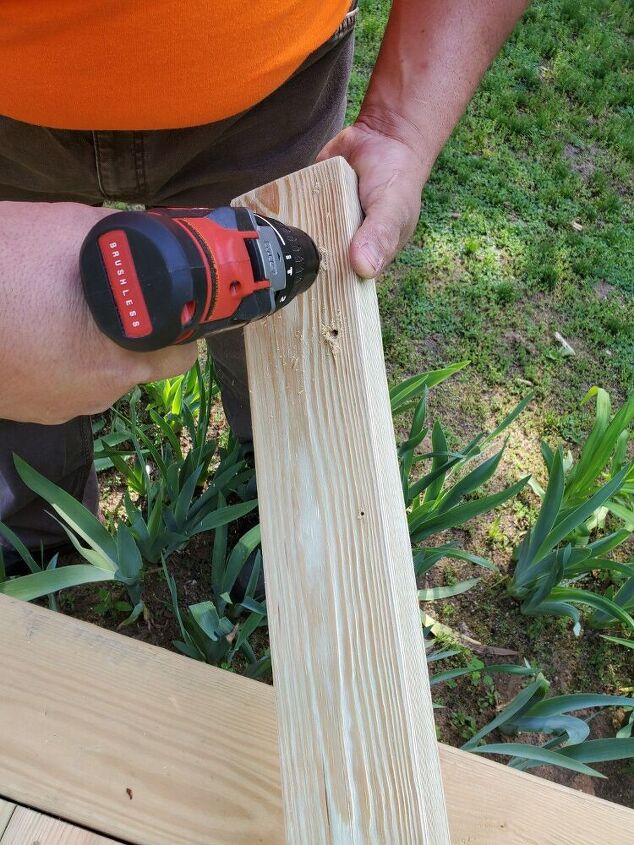
We took the time to pre-drill the screw holes in the 2x4 that will hold the backrest together. This will lessen the chance of the boards splitting.
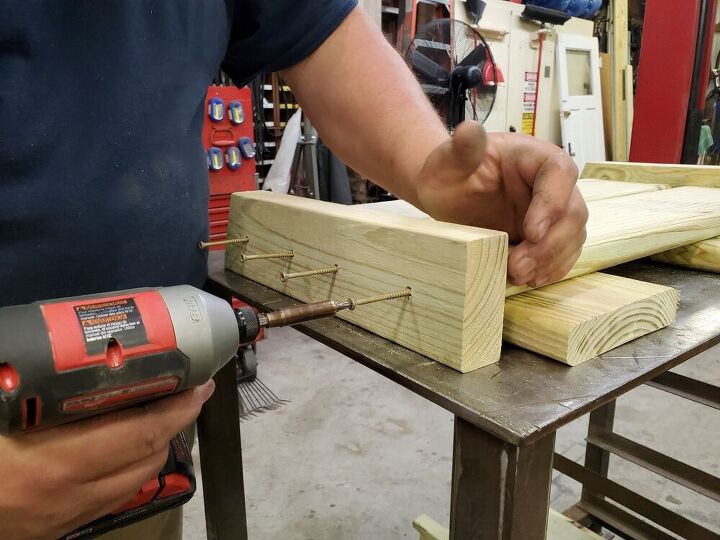
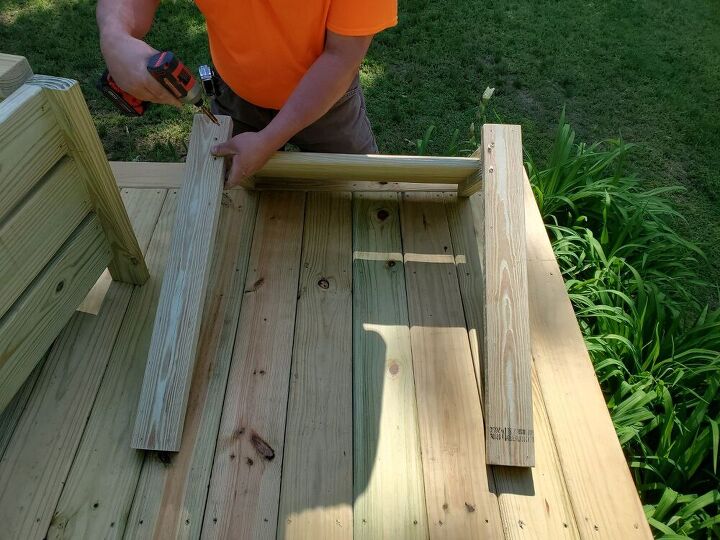
After the screw holes are pre-drilled we set extra pieces of deck boards under our backrest boards. Doing this allows us to make sure the backrest boards are straight and aligned.
We used a measurement of 3/4" as our space from the top of the 2x4 and as the space between the 2 backrest boards.
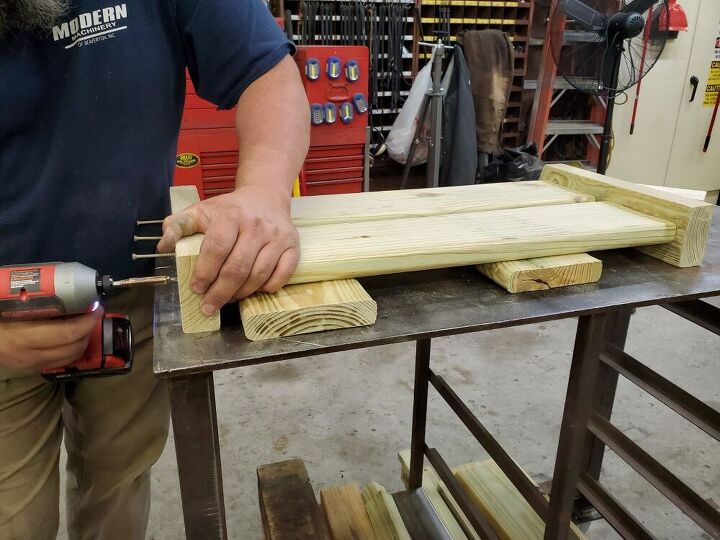
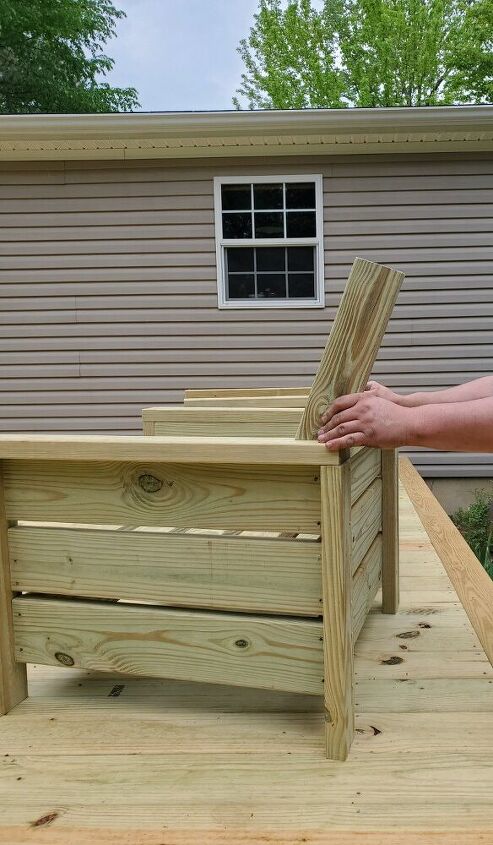
Once you have everything set you are ready to put it all together.
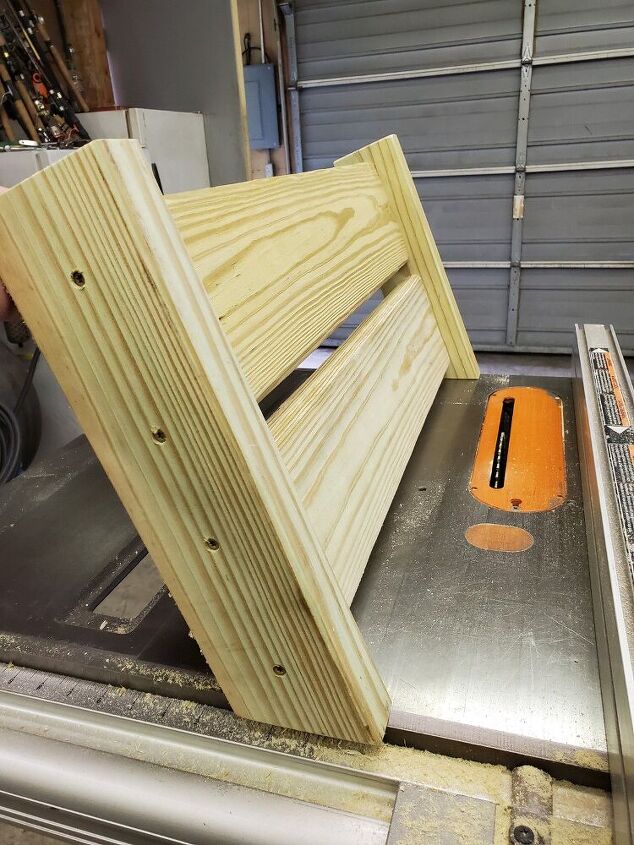
After assembly this is what your backrest should look like. Now it's time to attach it to your deck chair!
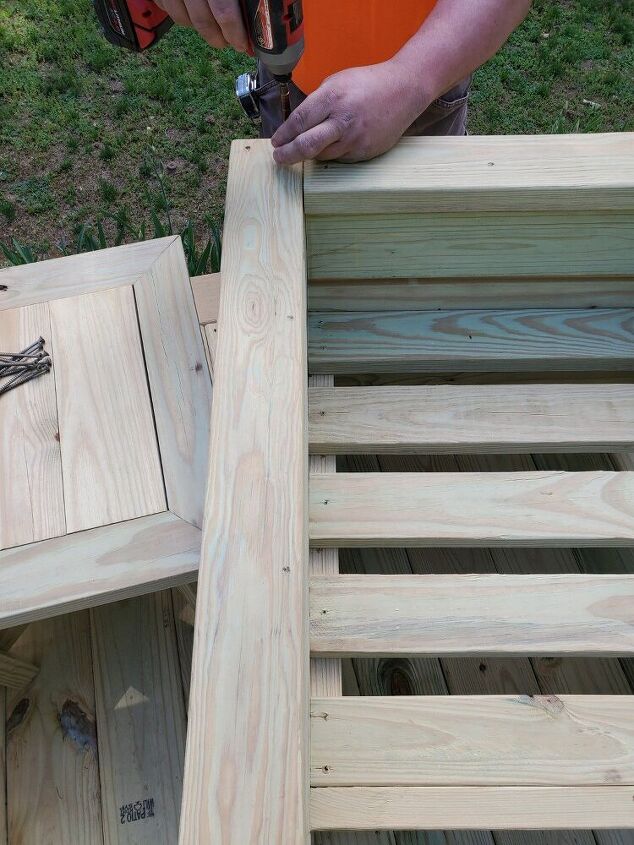
We decided to attach our backrests without using pocket holes. Pocket holes would have been easier...but in my opinion not as nice looking.
So we start by taking off the chair arms.
NOTE- If you make the backrests when building the chair you won't have to take off the arms. You will be able to assemble the backrest right to your chair arms during the build.
We pre-drilled the screw holes since they will be going in on an angle. Drill these pilot holes on the underside of the chair arm.
Once both sides of the backrest are attached to the arms you are ready to put the whole thing back on your chair. Use the same holes and screw the arms back on.
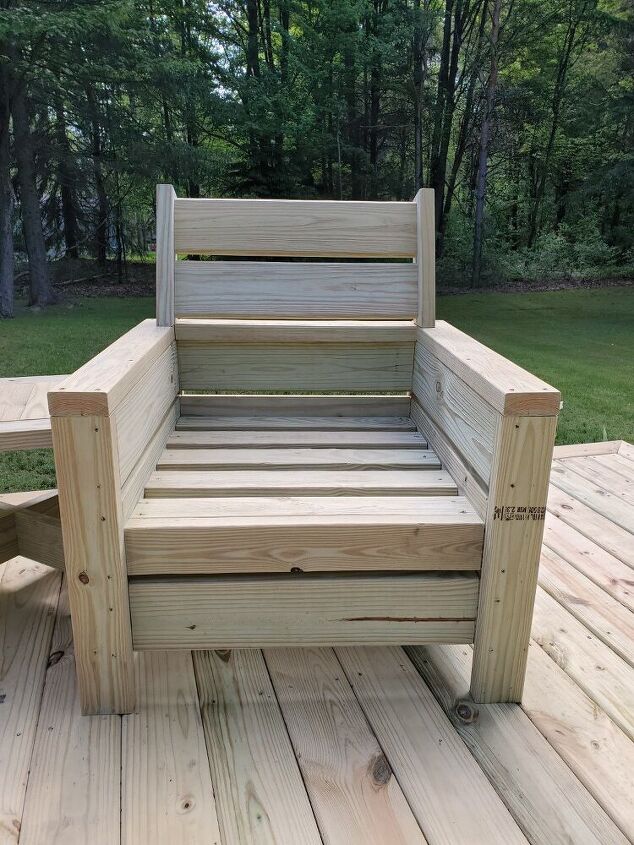
Here is the finished chair with the back rest!
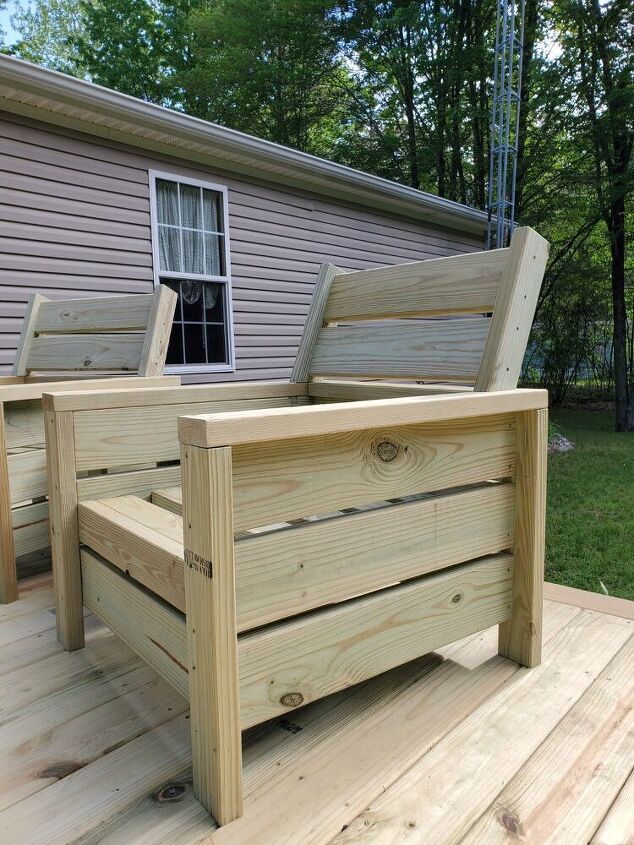

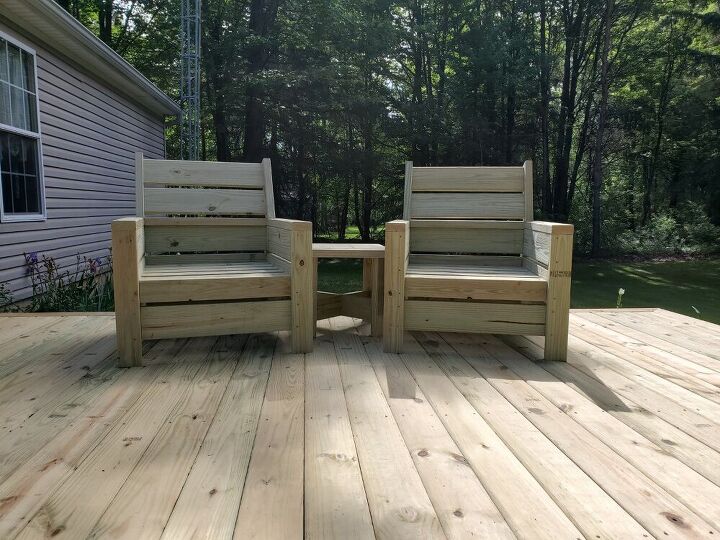
Our new deck chairs WITH backrests!
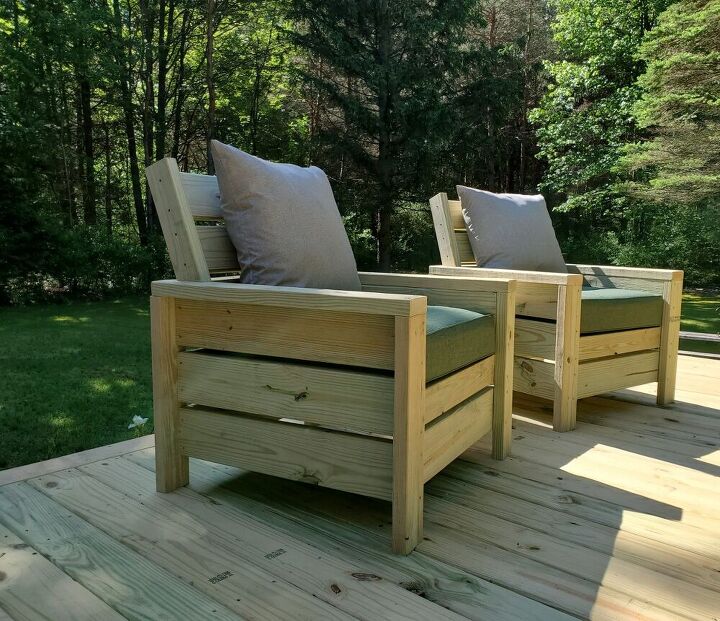
...and a pretty after photo with cushions. We still need to let them dry out, along with the rest of the deck. Then I will sand them and either stain them or seal them with a clear sealer. We haven't decided which way to go yet.
If you have made deck chairs from a popular Pinterest plan like we did, we hope these simple backrest plans help you complete the look and function you're after.


Frequently asked questions
Have a question about this project?