


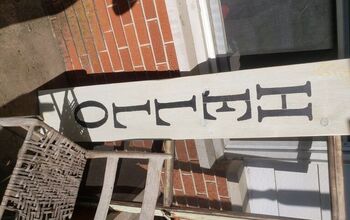
Front Porch Sign (Using Stencils)

It’s so easy to make a beautiful front porch sign, even if you don’t have one of those fancy machines to make stencils on. This budget friendly option looks just as great and will add instant curb appeal to your home. If you would like to make your own porch sign follow my tutorial below 💕
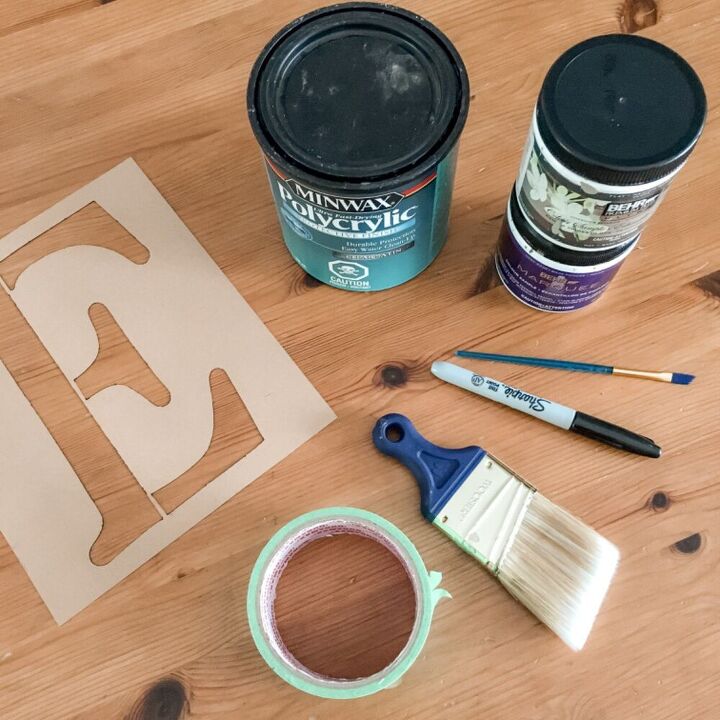
- Alphabet Stencils
- Sharpie
- Paintbrushes (one small and one large)
- Painters Tape
- Paint
- Polycrylic
- A piece of wood
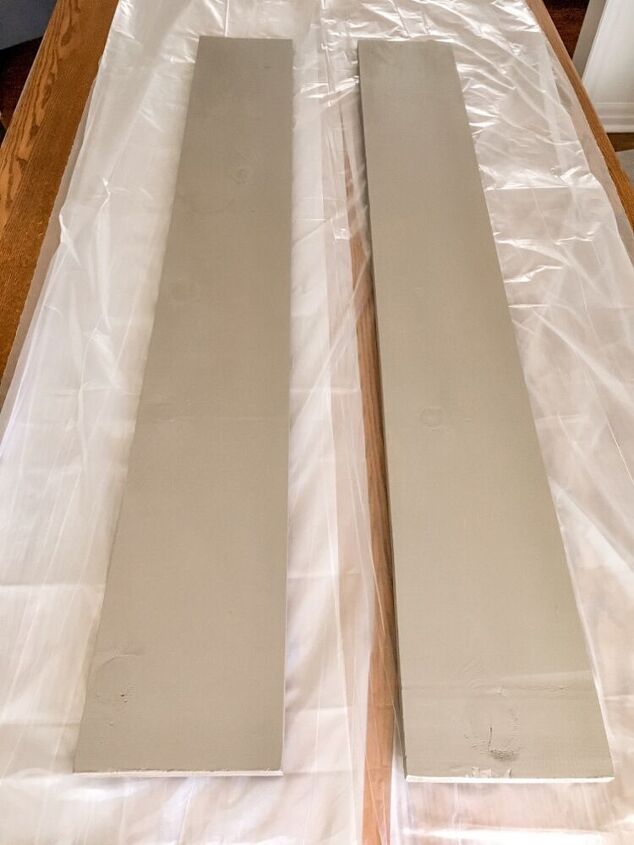
I was going for a weathered wood look for my sign so the first thing I did was to paint the wood using a dark brown/grey shade. You could also choose to use stain which would look equally as nice.
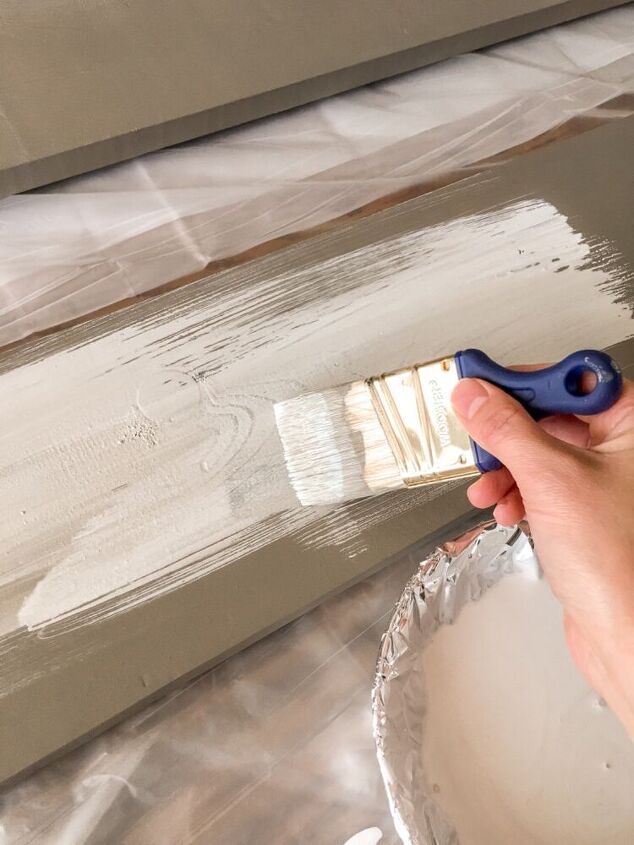
To add a lovely weathered look to your sign all you have to do is water down some white paint and brush it on. This does not have to be done neatly, as you will be wiping most of it off.
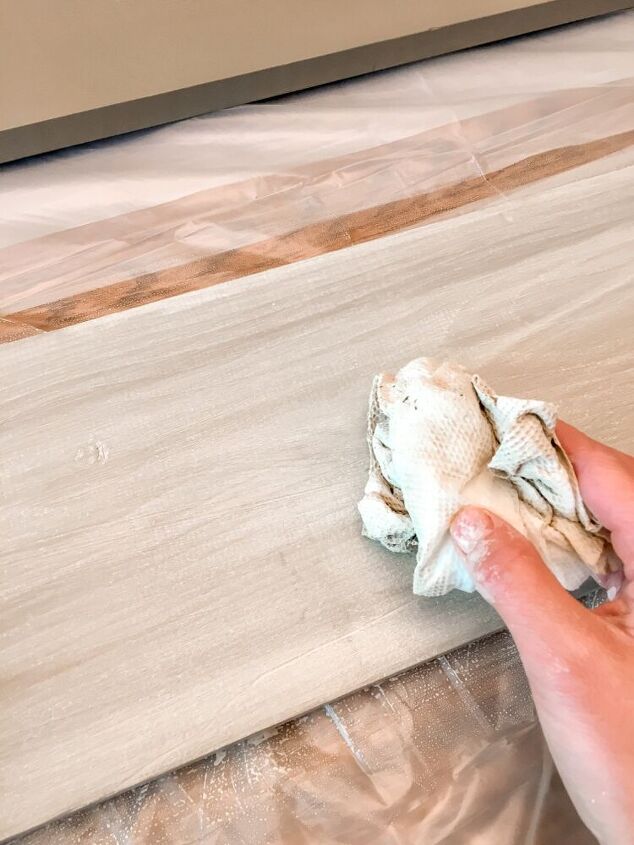
After a few minutes (you don’t want to wait too long) use a damp cloth or paper towel to wipe off any excess paint. This will leave a beautiful weathered wood grain look. Feel free to do this process several times until you achieve the look you desire. I ended up doing two coats of the white wash.
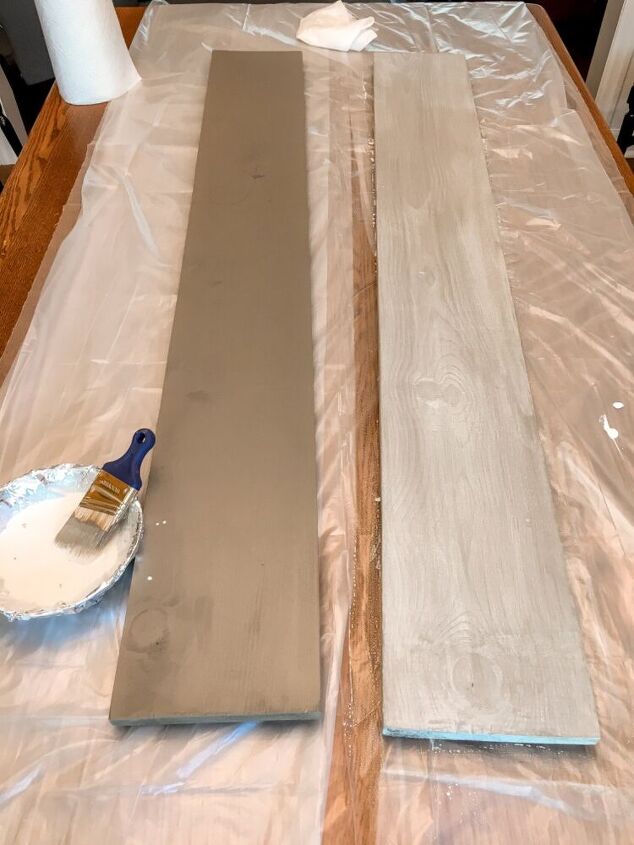
I have included a picture to compare what the sign will look like if you leave it with the solid paint vs. the look the whitewash gives it. I think either one will end up looking beautiful depending on your personal decor style 😊
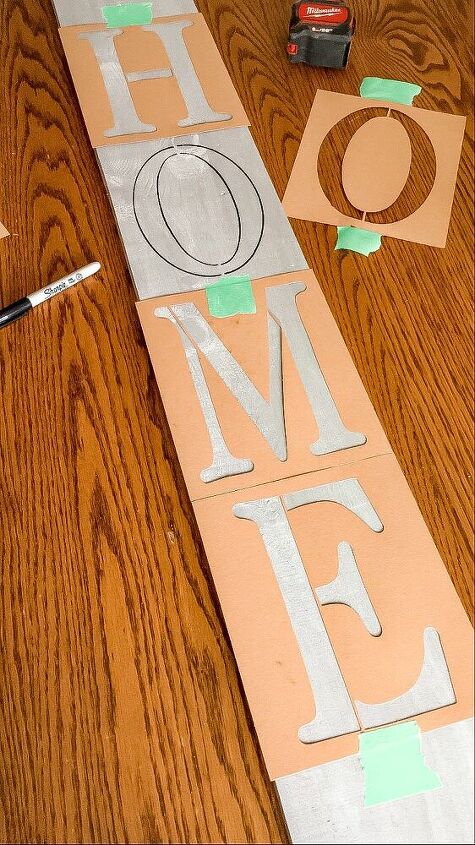
Decide what you would like your sign to say and lay out the stencils on your board. I chose to use the word “HOME” on my sign. It is helpful to use the painters tape to hold the stencils in place to ensure that all of the letters stay in place. Now you have two options.... you could use a sponge and sponge paint the letters on or paint them by hand.
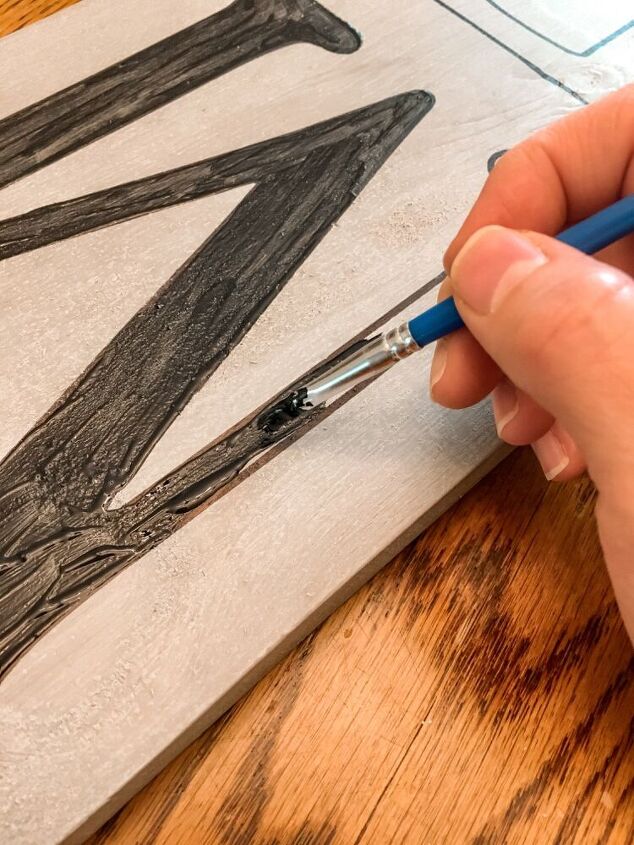
I wanted a nice crisp edge on my letters so I decided to trace the letters using a sharpie and then filling it in by hand using a small paintbrush. This took two coats to achieve the look that I wanted.
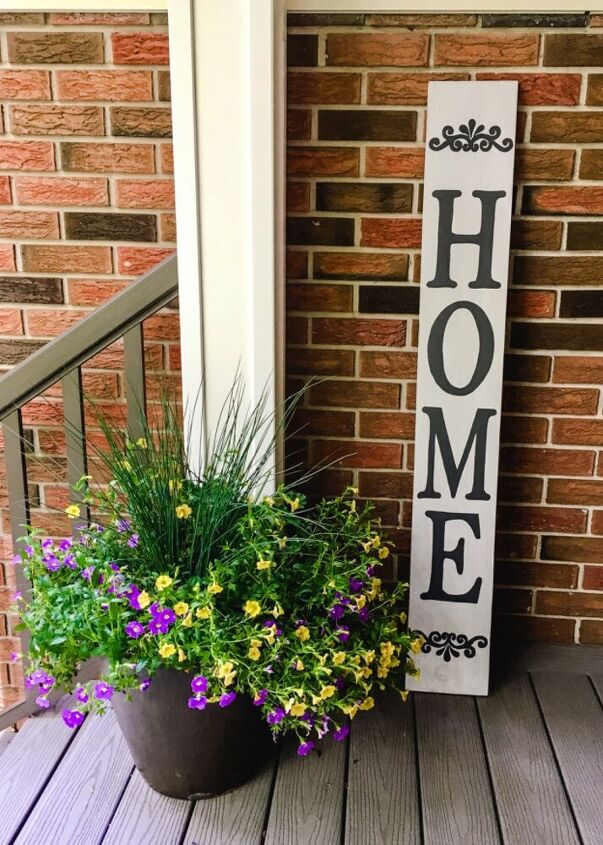
If you will be leaving your sign outside in an area that is not covered I highly recommend using some kind of protective finish meant for outdoor use. Since my sign was going to be under a covered porch I used a basic polycyclic sealer I had on hand. You can add some decorative details on the top and bottom of your sign for a more custom look.
Comments
Join the conversation
-
Yes You made it look so easy!!
what size wood did you use? Width and length?
thank you
-
I made one of these about 5 months ago! Love it and super simple!


Frequently asked questions
Have a question about this project?
What size stencils