


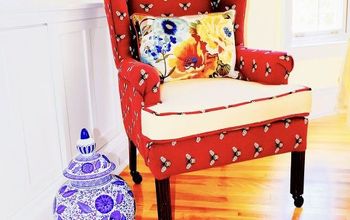
Bring an Old Chair Into the 21st Century With This Chic Chair Redo

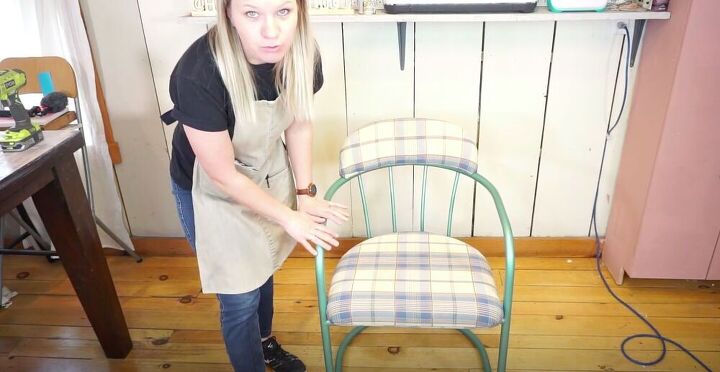
I had been looking for the perfect chair for my office for a while and I just hadn’t been able to find the right fit. Then inspiration struck, why not just make one myself? By doing it myself I would be able to choose the perfect colors and fabrics for my space. I just happened to find the perfect chair for this project at my local thrift store, however you may already have one hanging out at home. Try to find one with arms as I think they really add a lot to this project. Want to make your own? Follow my step-by-step tutorial below!
Tools and Materials:
- Old chair
- Screwdriver
- Spray paint
- Fabric
- Staple gun
- Sheepskin rug
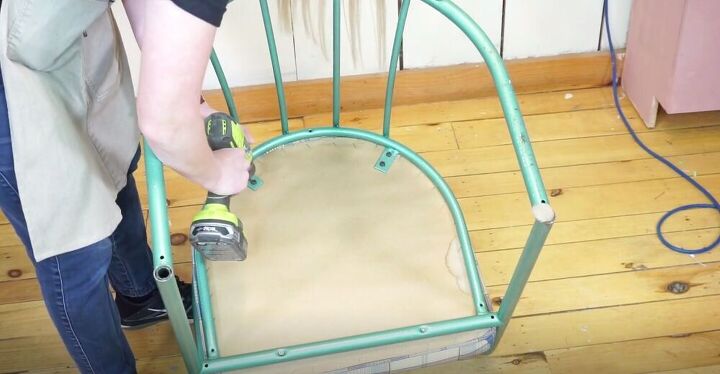
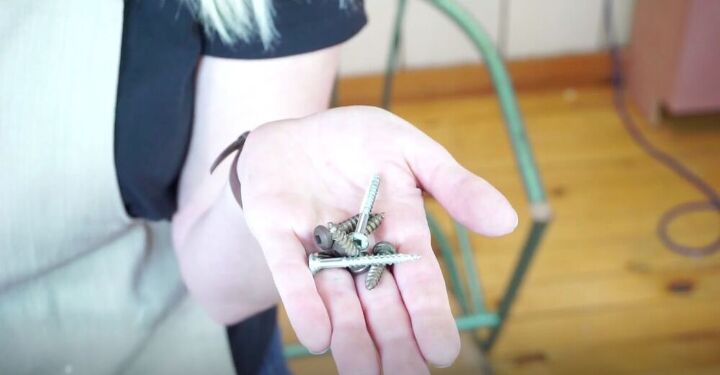
I started off by removing the cushion from the chair frame. Make sure to save the screws as we’ll need them when we put the chair back together at the end.
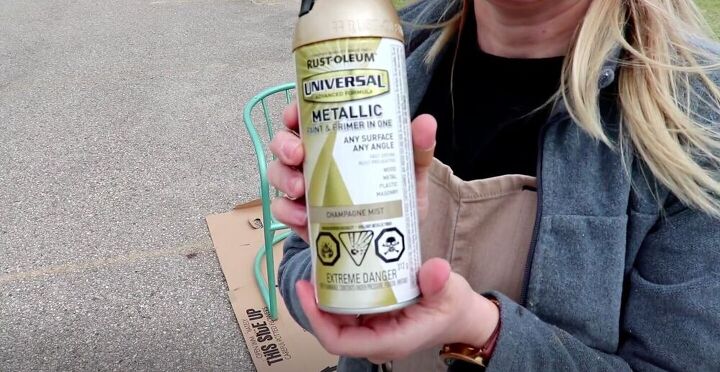
Next I painted the entire frame of the chair. To protect yourself from the fumes, make sure to do this part outside. I used a spray paint that had a primer already incorporated into the paint, which cut my time in half.
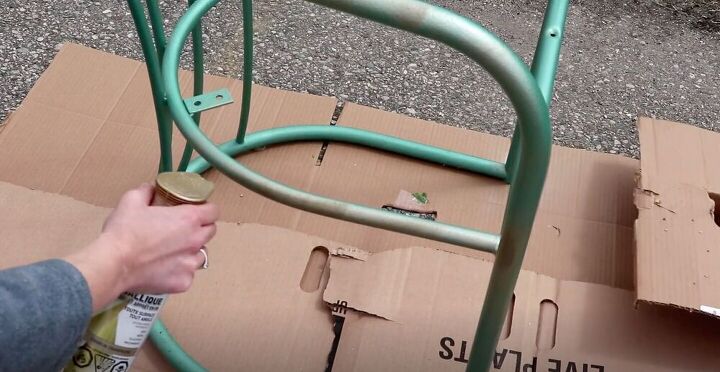
Tip:
In order to prevent drips use short blasts of paint instead of a long continuous spray.
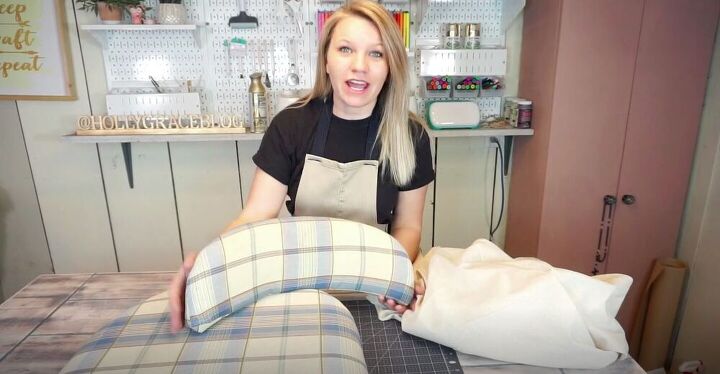
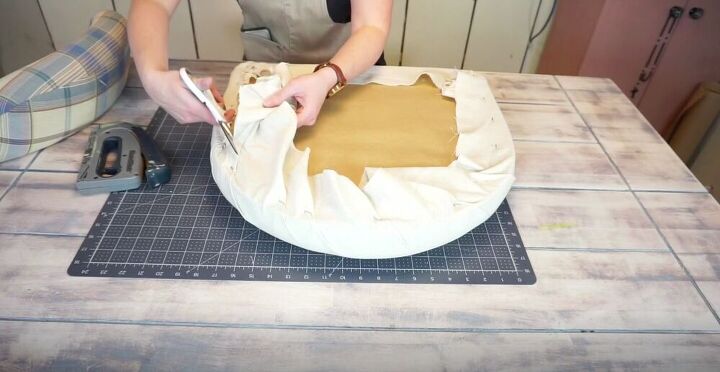
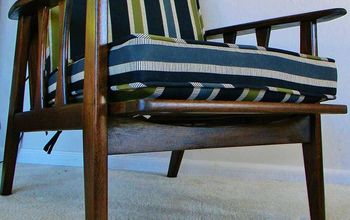
This dated plaid fabric just had to go. I decided to use a plain beige canvas fabric for my chair. This works well with my farmhouse aesthetic.
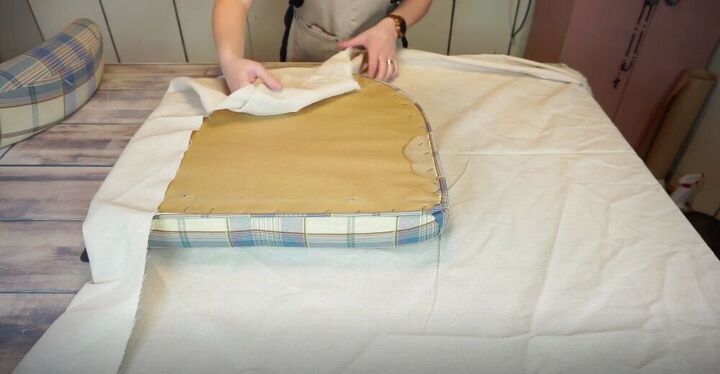
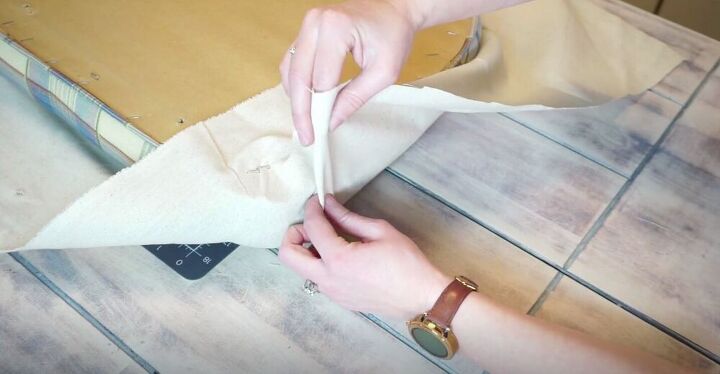
I lay the cushion with the hard side facing up on the fabric and cut off any excess. Make sure you leave enough fabric to completely cover the cushion.
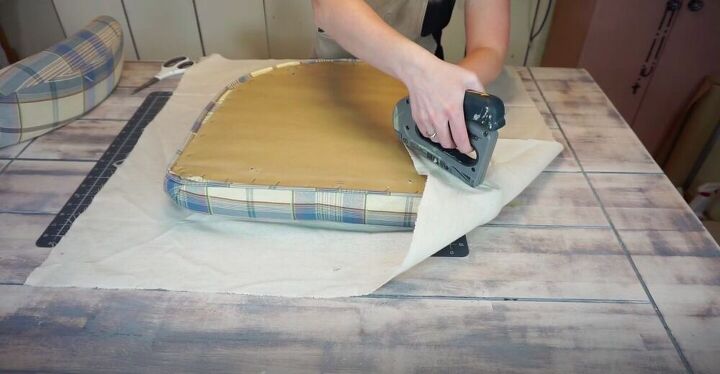
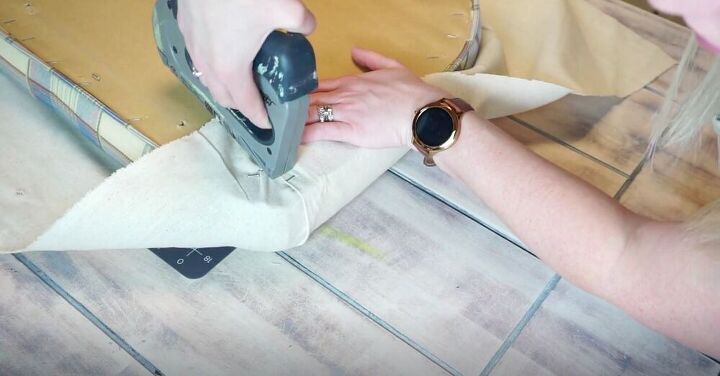
Then I started stapling the fabric in place. I started with one corner, pulling the fabric up straight an over, and stapling it.
Then I worked on each side of the corner, making sure to cleanly fold the fabric, pull it up and over, and staple in place.
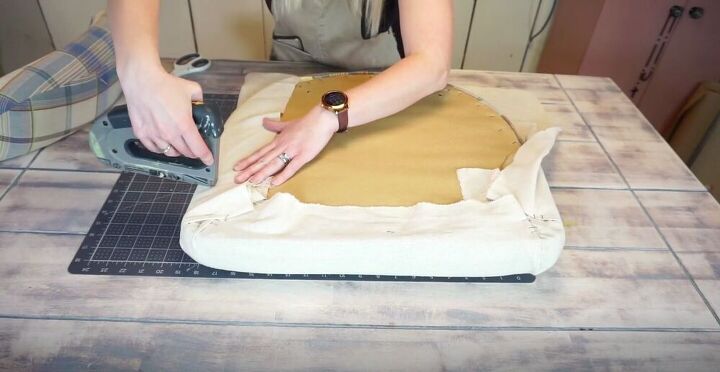
I repeated this with the other corner.
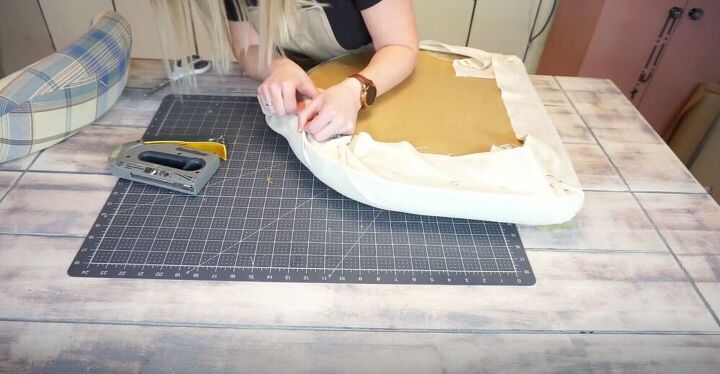
The back of my chair curves, so in order to cover this part cleanly I folded, pulled, and stapled as I went slowly around the chair. Make sure to add any extra staples where needed.
Then I removed the excess fabric. I like to make sure to have a little extra fabric just in case, but this does often mean that I have a bit more waste than some people may like. I’d just rather be safe than sorry.
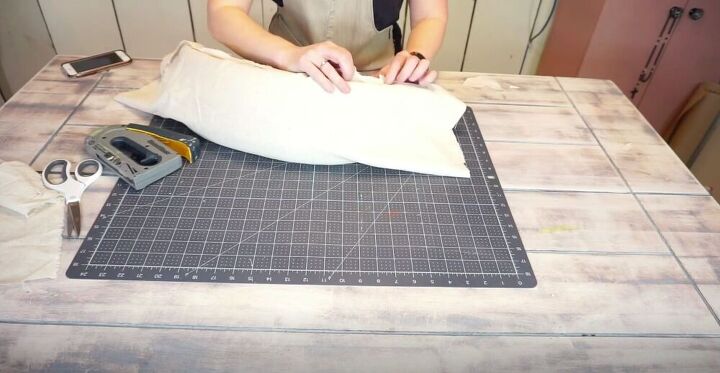
I covered the backrest in the same manner as the seat.
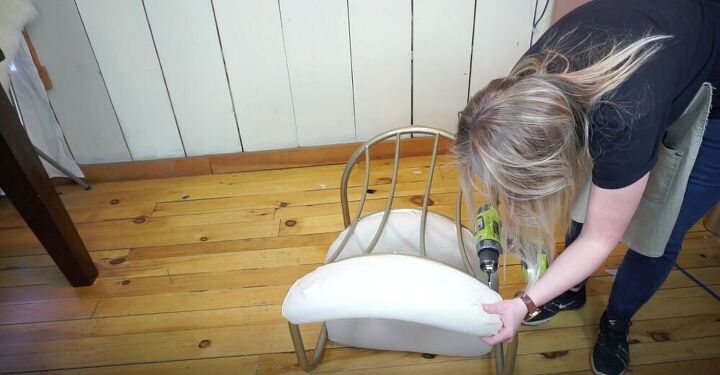
Finally I screwed all of the pieces of the chair back into place.
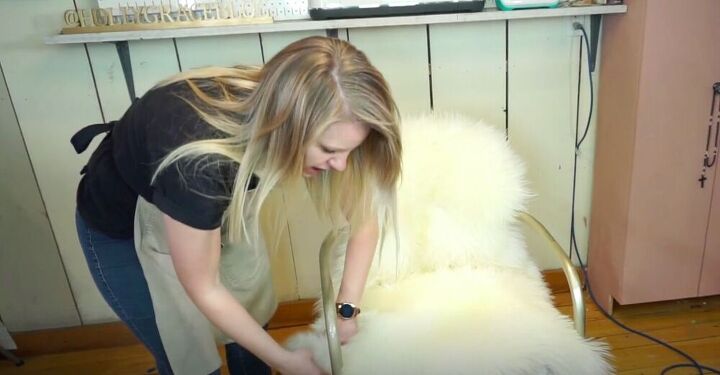
I wanted to add a chic little addition to my chair so I decided to throw on a sheepskin rug. It’s more than enough to just tuck it into place on the chair, but you can staple it in place if you want it to be a bit more permanent.
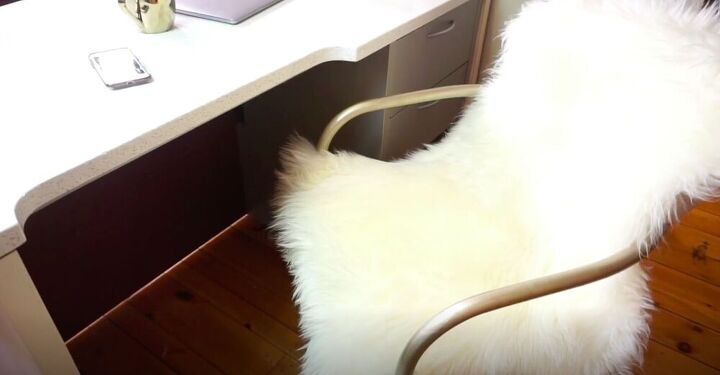
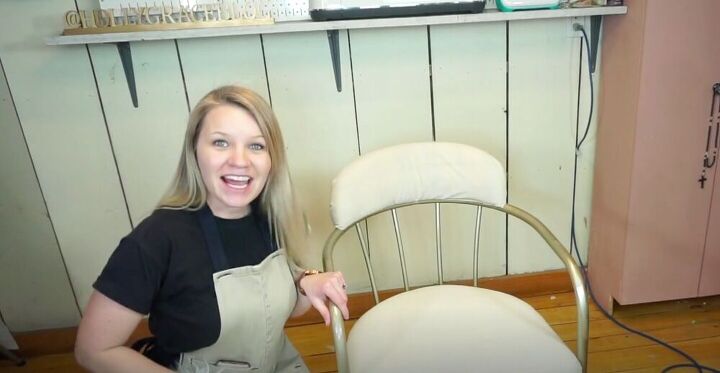
That’s it! This is a simple project that makes something old new again! This chair is the perfect addition to my home office, so that’s where it will live. What fabric would you use on your own chair redo? Let me know in the comments below.
Resources for this project:
See all materials


Comments
Join the conversation
-
A very impressive redo! Thanks for sharing.
-
Looks great!! Any suggestions for an old
would chair?


Frequently asked questions
Have a question about this project?