


DIY Barn Door Baby Gates You Can Make In A Day

Let’s talk baby gates! You know, those necessary safety precautions you need that never seem to go with your decor or style.
We have lived with white, plastic baby gates for years, and I just hate the way they look.
But I never knew there were alternatives that didn’t cost an arm and a leg. I always figured we’d just need them for a few years, why bother.
But ever since I’ve gotten a little more confident with my DIY skills, I’ve been realizing more and more how you can make your own items for way less.
And I’ve been realizing that they’re not all that difficult if you have the right tools on hand.
And with that, I thought why not try my hand at my very own barn door baby gates?
I looked around for some inspiration and found a style I liked. Then I looked at what we had in our garage and realized we had most of what we needed already.
So I got started! And here’s what I did…
START BY MEASURING & GATHERING YOUR MATERIALS
Every stairwell is different, so your measurements might not match up to mine! Plan for how wide you want your gate to be and how tall, then make sure you have a plan for where you’ll attach it to your staircase.
Our railings are 39 inches wide, so we make our gates 37.5″ wide, allowing a little room to secure it to the railings on either side. More on this later.
So our measurements are 37.5″ wide, 30″ tall.
For our materials, we used (per gate)…
- 6 1x3s
- 2 1x4s
- 1 2×4
- Drywall screws
- Wood filler
- White chalk paint
- Gate hardware 2 tee hinges 1 gate latch
Tools you need…
- Power drill
- Miter saw
- Tape measure
Once you have your materials, it’s time to get to work!
Take your 1x3s and cut them down to 30″ lengths. I got 3 out of every piece of wood.
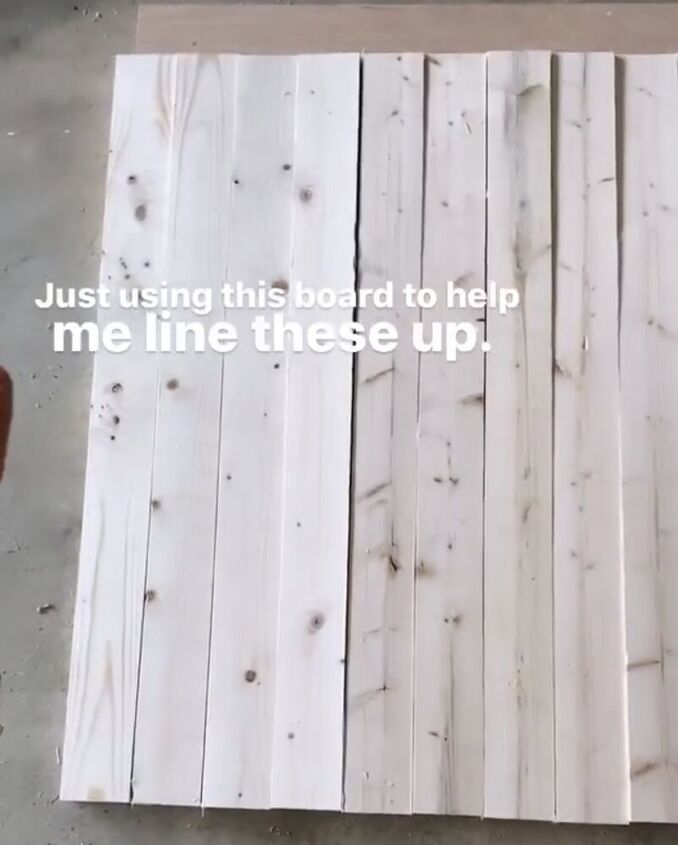
Lay them out on the ground as you go, and stop once you have the length you want! We used 15 30″ 1×3 boards.
Make sure you push them together and line up the ends so they’re nice and even. Then move on to your frame.
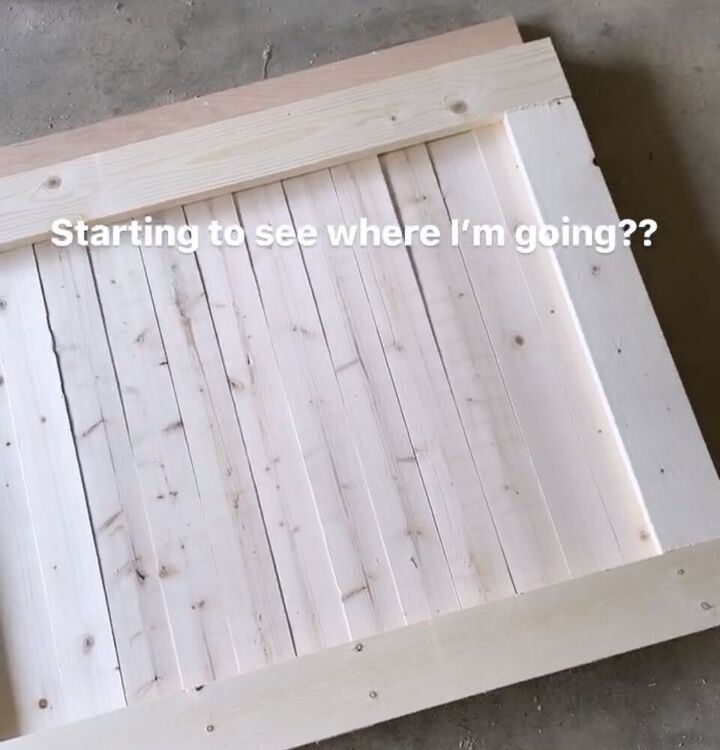
Take your 1x4s and measure the pieces for your horizontal top and bottom frames first. Make those cuts.
Then measure what the vertical pieces need to be and cut those.
That way your top and bottom frame pieces go all the way across. Use an angle to make sure all your boards line up at a 90 degree angle, then start screwing in your boards.
Using your drill and drywall screws, screw your frame into your 1×3 backbone, making sure you have a screw going into each 1×3 board since they haven’t been secured to anything yet.
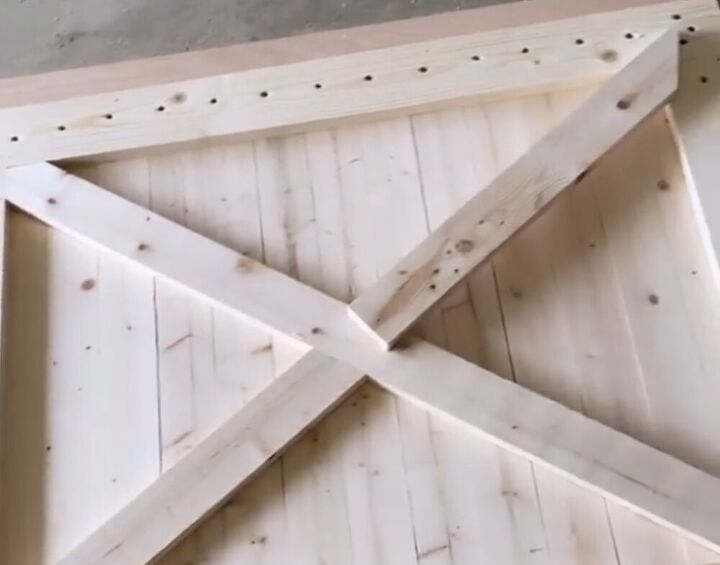
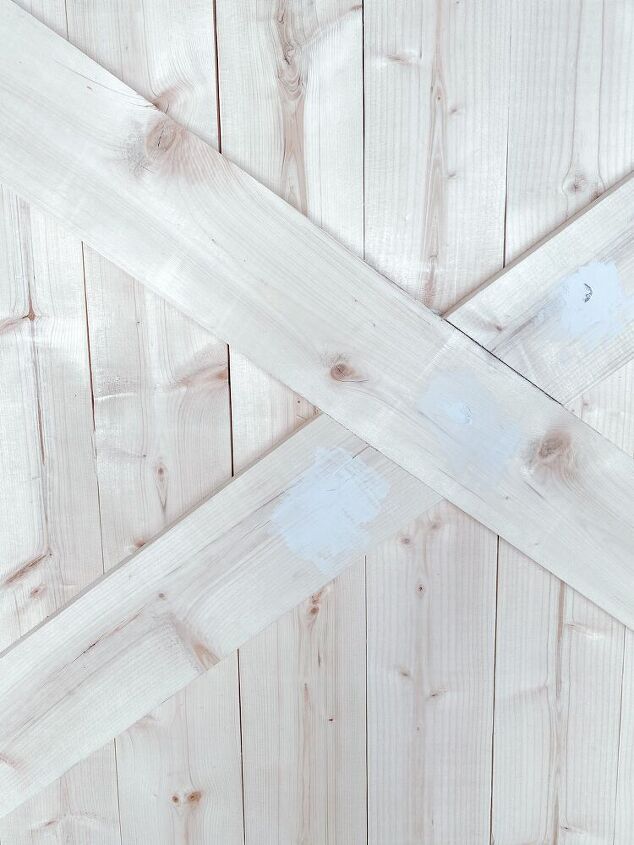
Lay out some 1x3s across your frame and mark where you need to cut for the corners with a pencil or marker. Make those cuts, then screw them in too!
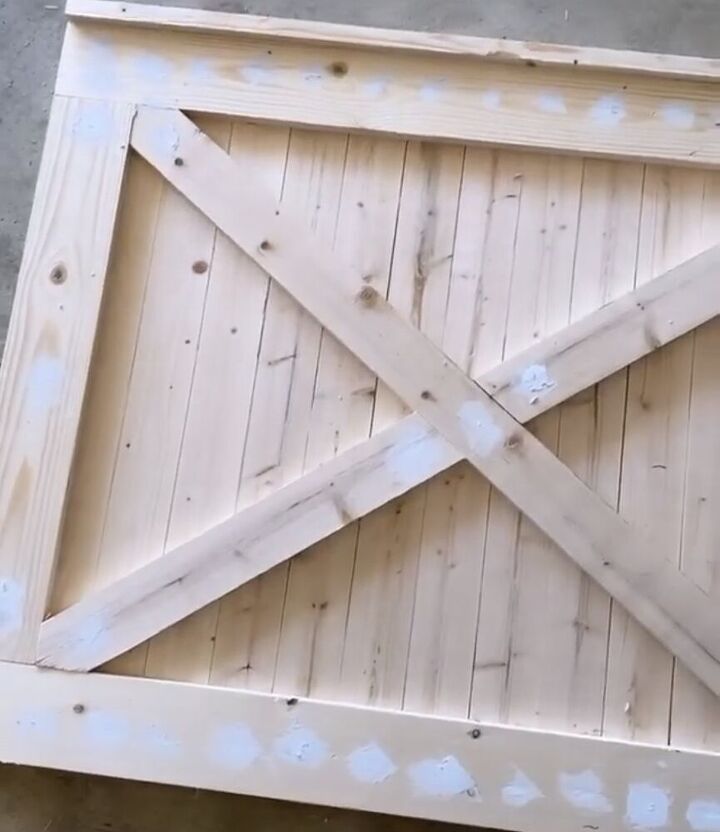
Grab a 1×3 and cut it down the length of your gate, then secure it on the top with a few screws for a little extra trim.
Once everything is secured, use some wood filler to fill in the screw holes. Leave a little extra on the top and allow it to dry completely.
Once it’s dry, use a sanding block to sand down the filler so it’s even with the wood.
Then, grab your chalk paint and get to painting! I did 2 coats of paint per gate.
Then, screw on your gate hardware with the screws provided. I just eyeballed where I wanted the hardware to go – simple!
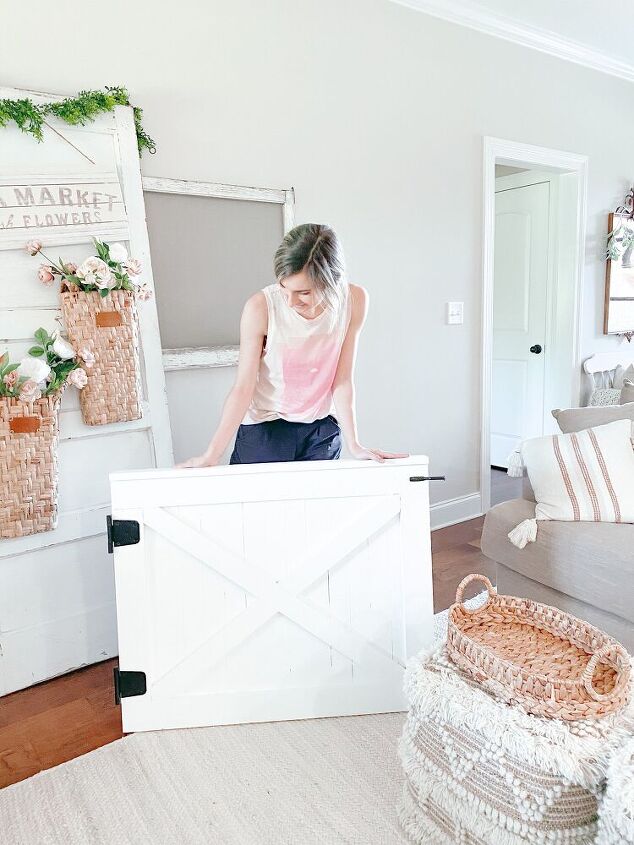
And that’s truly it. This looks like it would have been a much more involved project, but it was nice and simple!
To install in our stairwell, we will secure some 2x4s (that we will paint to match the gate) to our banisters and attach the coordinating gate hardware to those 2x4s so we can fasten the gate!
Every stairwell will be a little different with the installation, but you'll just want to cut your 2x4s down to the height of your gate so it looks uniform, secure them to your banisters or wall with screws or heavy duty zip ties if you don't want to screw into your banister, then screw in the rest of the gate hardware so it latches and does the job it's meant to!
Comments
Join the conversation
-
LOVE how you did this! I am sure it will look so good when you install it.


Frequently asked questions
Have a question about this project?