


How to Build a Wooden Crate

Recently I found a pile of wood scraps on the side of the road. I often find trim scraps sticking out of garbage cans and I can't help myself... I pull over every time!
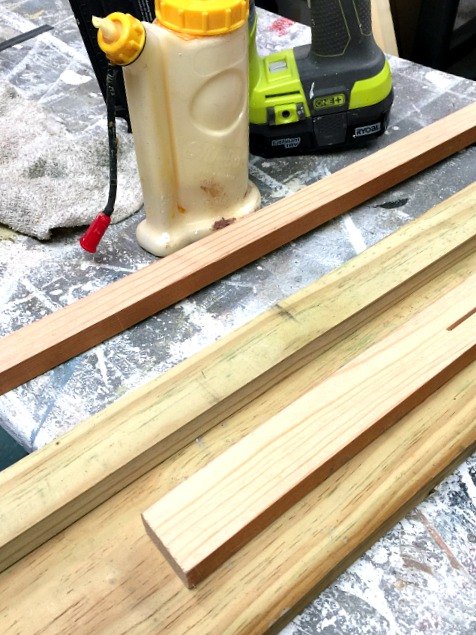
There were some great pieces in this pile, 1"x1" pressure treated pieces as well as a whole pile of extra large paint sticks. I try not to buy wood at the lumber store. Homeroad is all about repurposing so found wood is what I love to use.
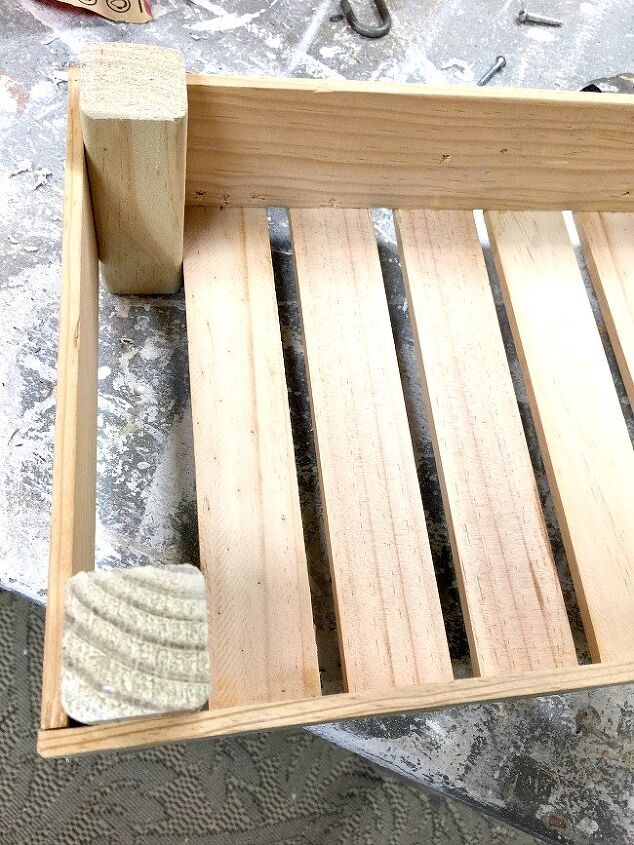
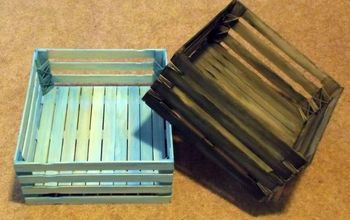
I cut the 1"x1" pieces as my corners then attached thin flat pieces as the sides of the crate.
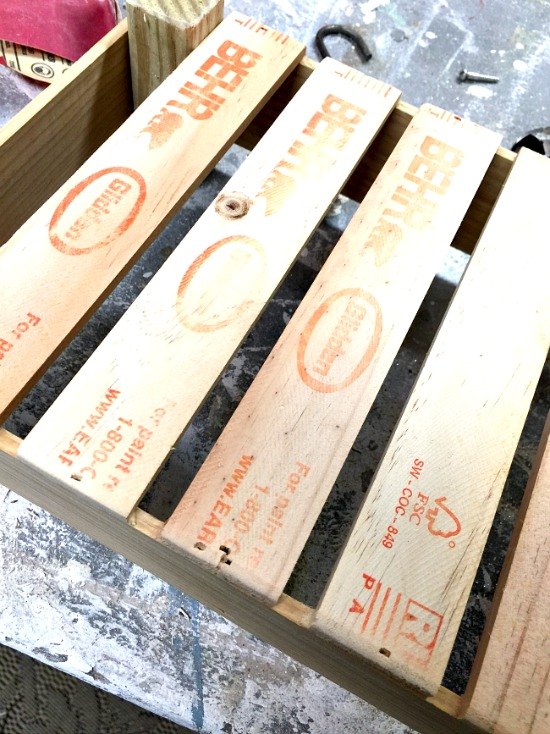
The bottom was easy, I just cut several extra large paint sticks to size and using wood glue and my awesome Ryobi nail gun, attached the sticks to the bottom of the crate.

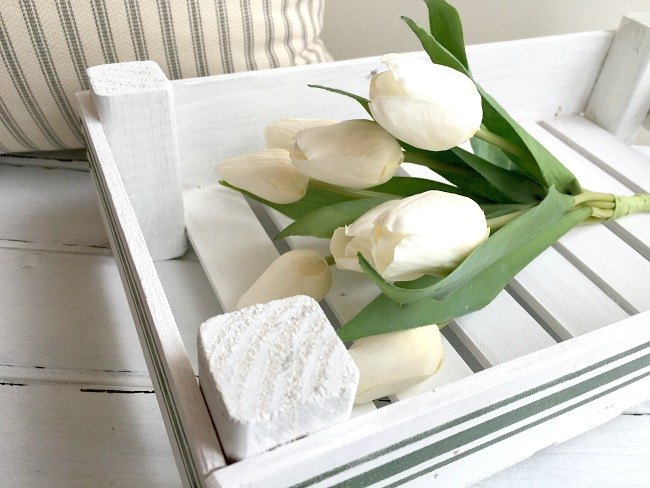
The tulip crate can be stained with added chicken wire like this French Vegetable Crate I made years ago. Or like this one that I'm painting with white milk paint. I'm trying Folk Art Milk Paint, it comes in a whole bunch of colors and it works great. The last step was to paint a grain sack stripe along the outside of the crate. I used Old Sign Stencils but you could also use masking tape.
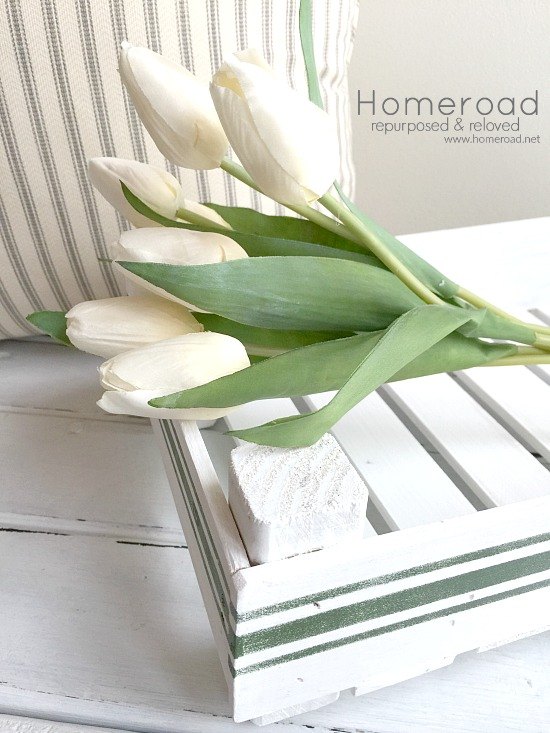
This beauty reminds me of Spring as I'm writing this post while a Blizzard is hitting our area. I guess I will be sticking with the faux tulips for a while!
Thanks for visiting Homeroad and please take a minute to sign up below for the Homeroad emails so my latest DIY post can be sent straight to you! For more DIY crate projects please visit the GO box below to go to Homeroad.


Comments
Join the conversation
-
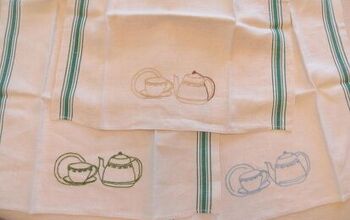
The soft green stripe gives a vintage tea-towel look to the crate.
-
I SO love the stripes.


Frequently asked questions
Have a question about this project?
A Blizzard in July? Where do you live - Alberta?