


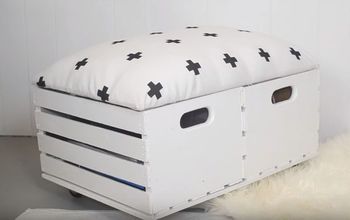
How to Build a Stunning DIY Crate Shelf in 8 Easy Steps!

Transforming your home with a touch of rustic charm has never been easier and more affordable!
With a DIY crate shelf, you can effortlessly infuse a farmhouse vibe into your living space and add a unique touch to your home decor.
This post was transcribed by a member of the Hometalk editorial team from the original HometalkTV episode.
This project's beauty lies in its simplicity and versatility. With basic materials, you can create a customized shelf that complements your personal style. You have the freedom to choose the size, color, and design of the shelf, and it also serves as a perfect showcase for your other decorative items.
The combination of the wooden crates' finish with the natural texture of the plywood creates a timeless aesthetic that complements any room beautifully.
Tools and Materials
So, collect your materials, grab a coffee, and let's get started!
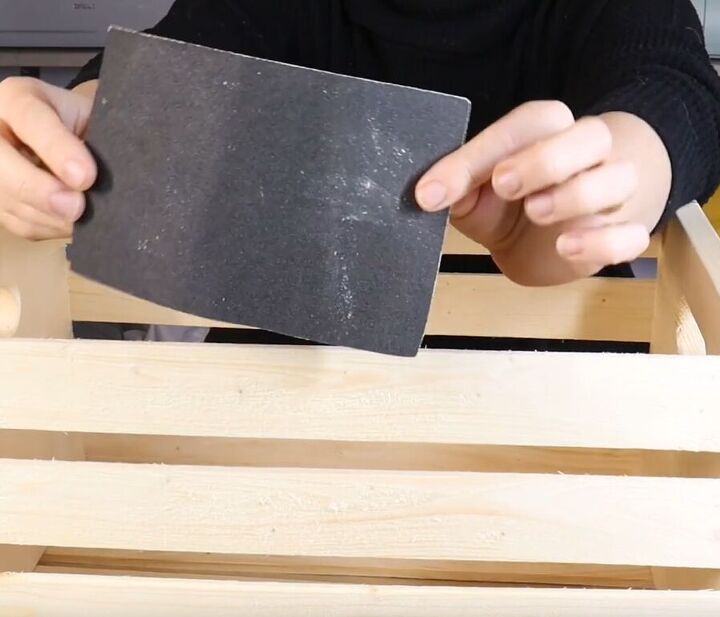
1. Sand the Crate
Begin the wooden crate shelves DIY by sanding your crates with 100-grit sandpaper. This will smooth out any rough edges and chipping.
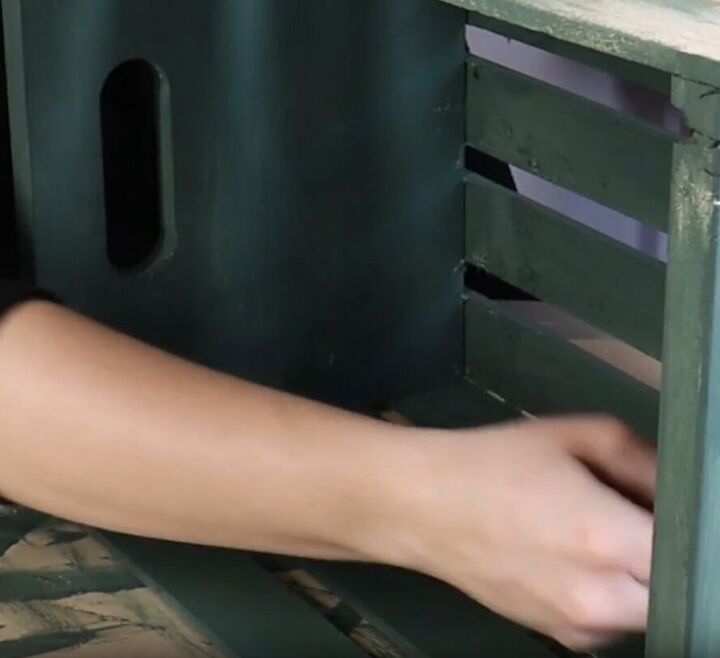
2. Paint the Crate
Paint the crate using Country Chic Paint in "Halo Hill" to give it a gorgeous green color. Ensure that you paint the insides and outsides of the crate. Let it dry.
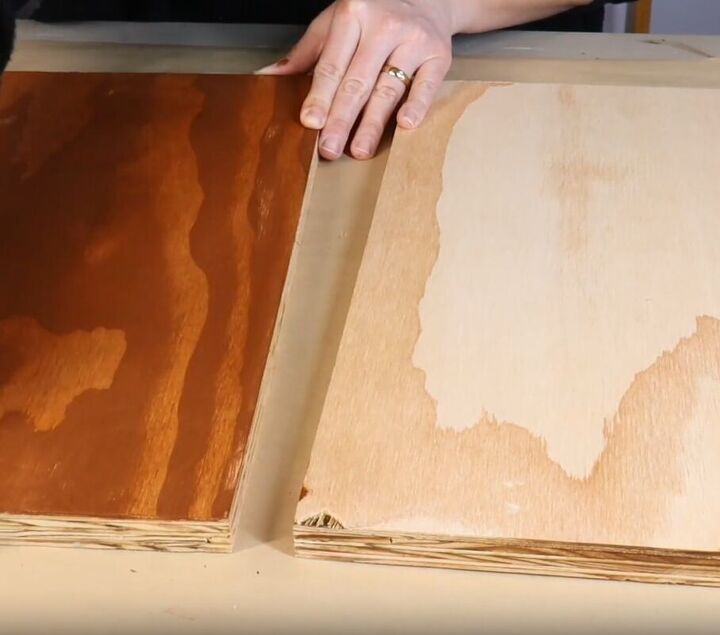
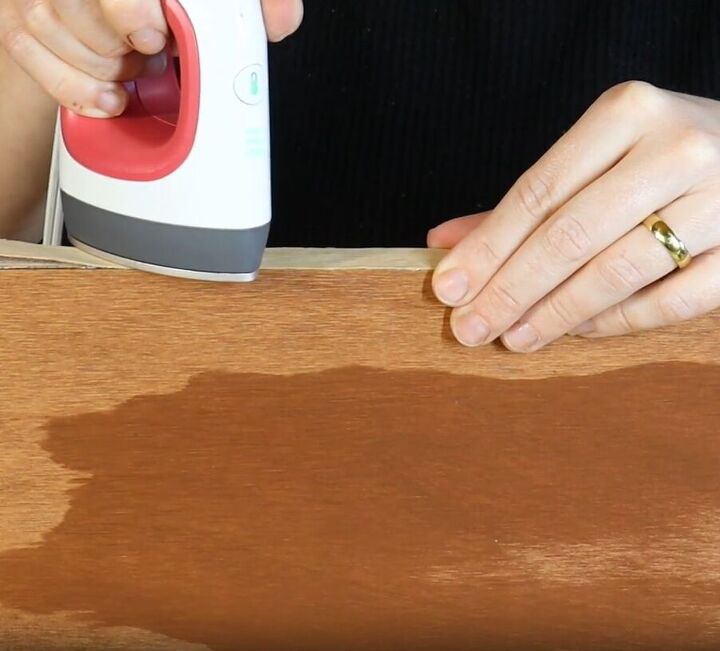
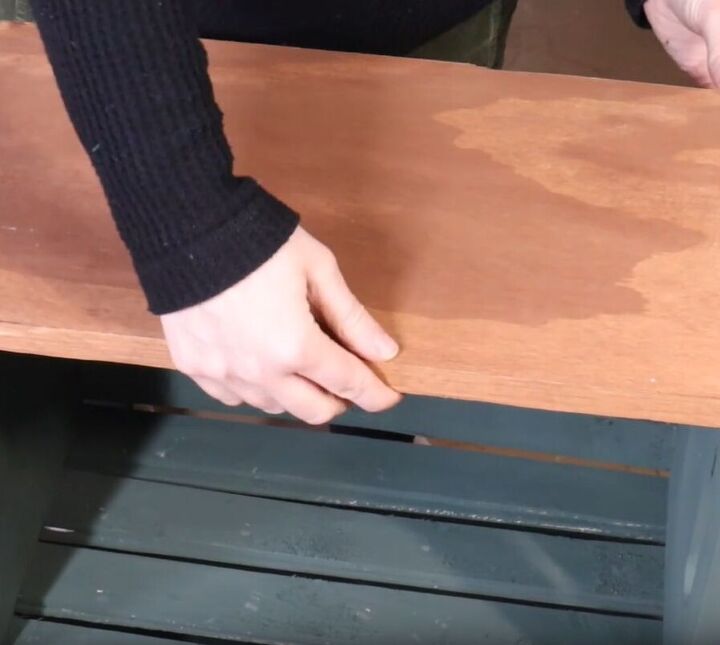
3. Stain the Plywood
Take the plywood that you have pre-cut to fit the size of the bottom part of the crate and give it a stain color using Maple gel stain from DecoArt. Do this on both pieces.
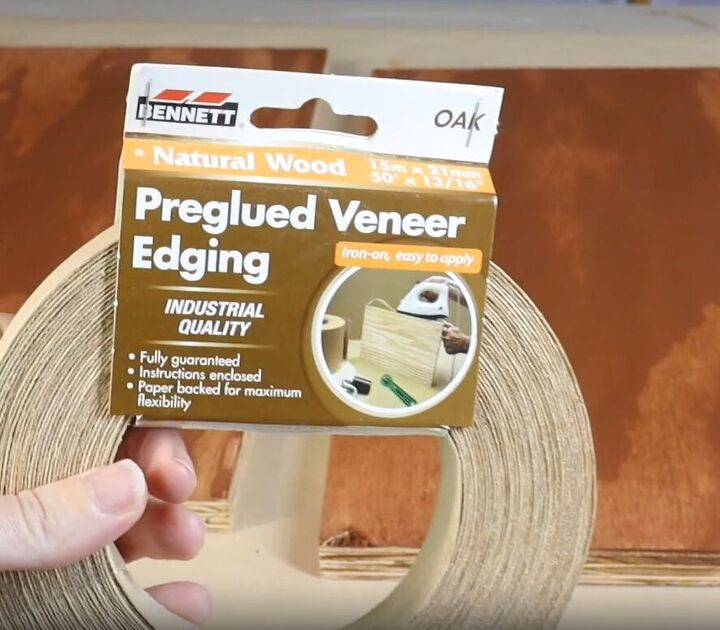
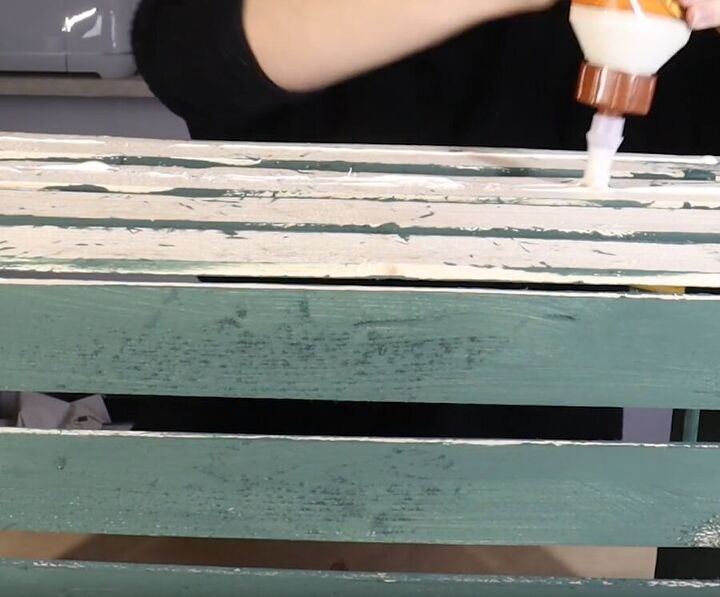
4. Cover and stain the Unfinished Edges
Using pre-glued veneer edging and a mini iron, cover the unfinished edge of the plywood.
This bonds directly to the wood.
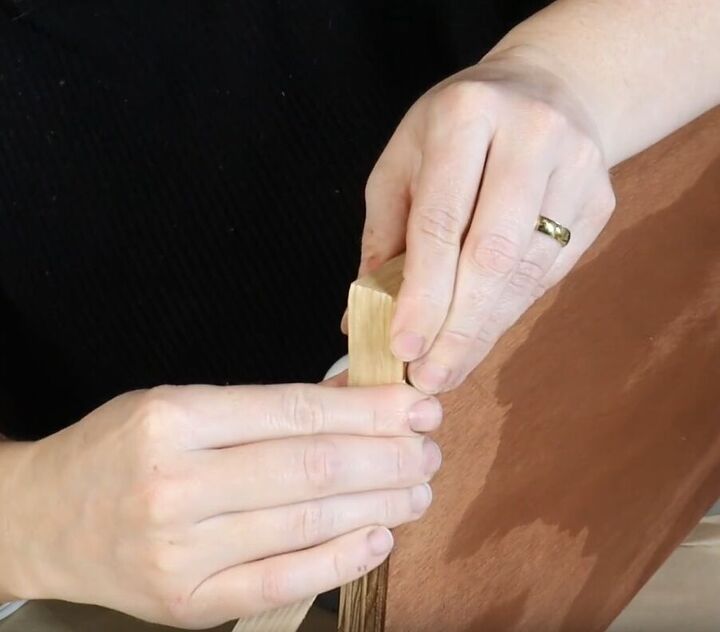
The pre-glued veneer easily molds around corners as well.
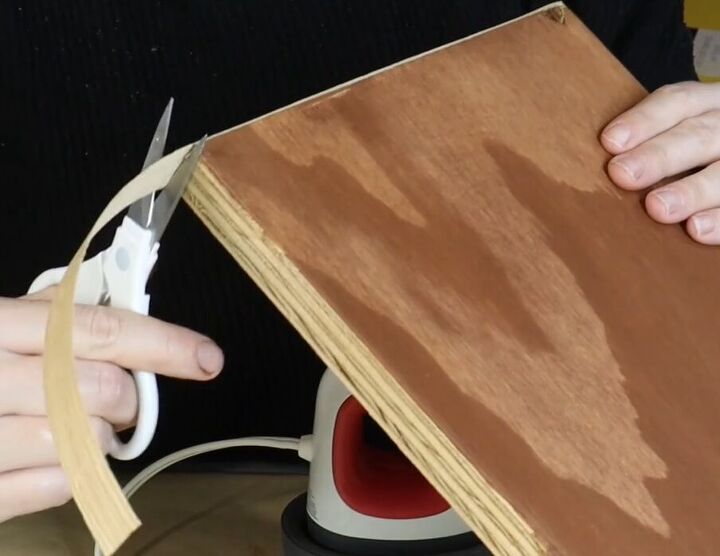
Once it's done, cut off the excess. Do this on both pieces of plywood so that you have a nice finished edge.
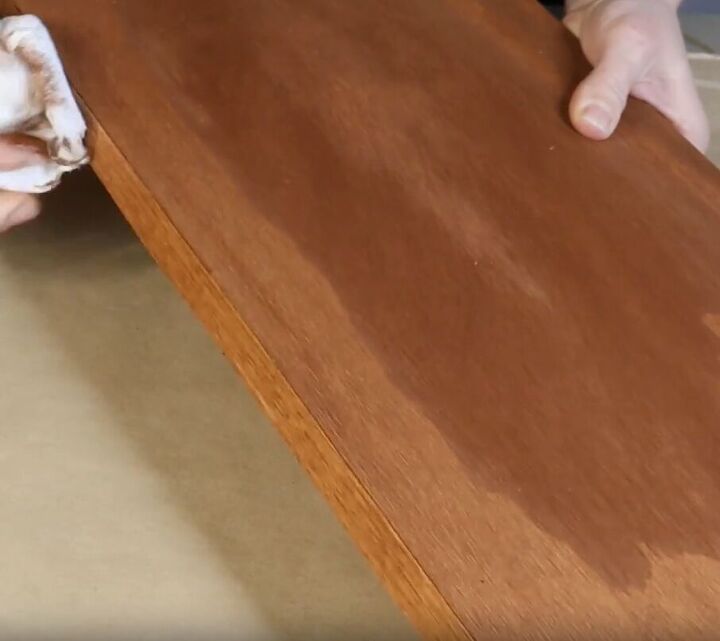
Stain the veneer sides with the same gel stain you used previously for the top of the plywood, this will give the shelf a polished and uniform look.
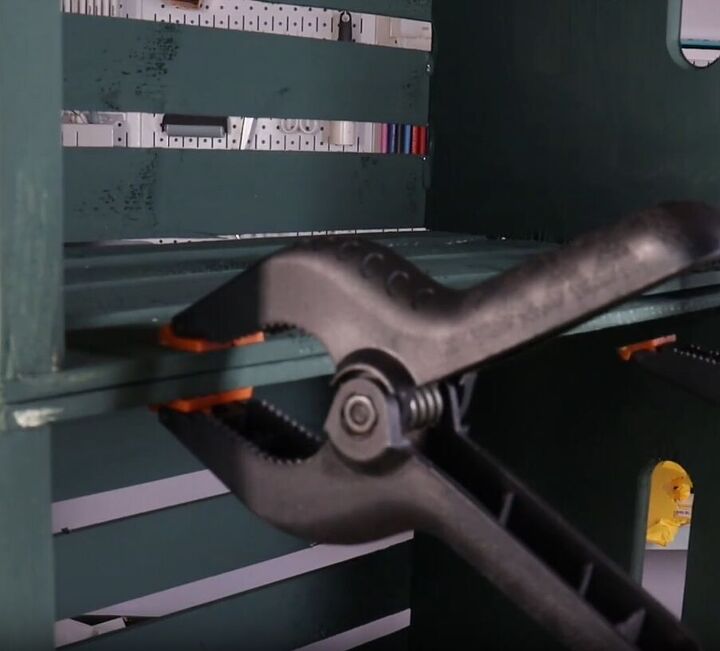
5. Attach the Plywood to the Crate
When you start building the display shelves, position the first crate on its side so that its opening is facing outward. Apply wood glue to what is now the top side of the crate.
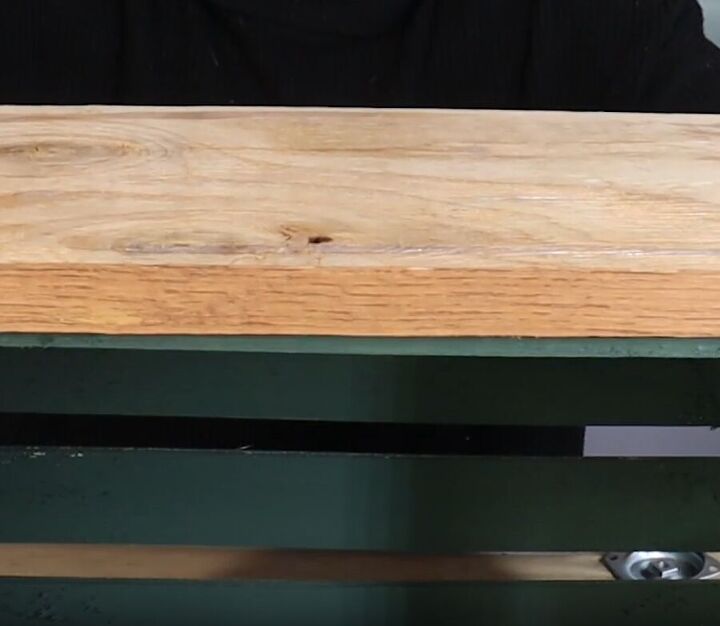
Then, put your wood piece on it.

Use clamps to hold the plywood to the crate while the glue sets.
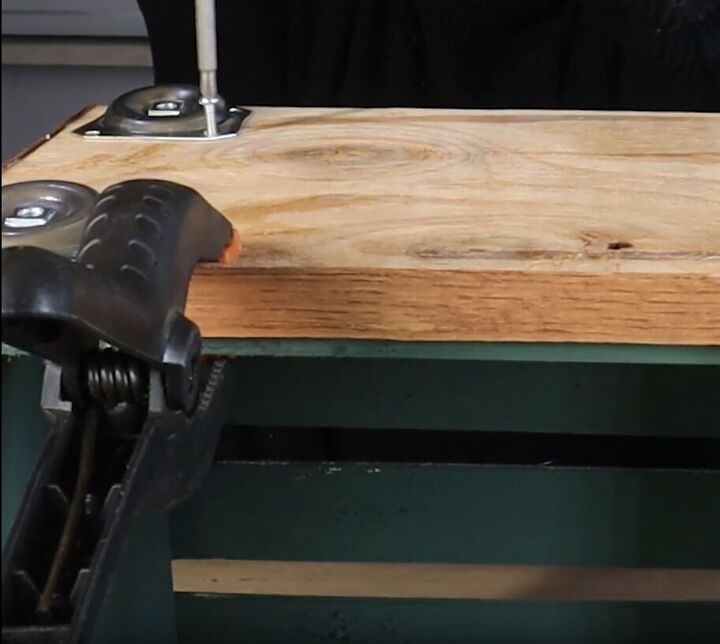
6. Attach the Angle Plates and Legs
Attach the angle plates to all four corners of the plywood. Then, screw on the legs that you bought.
Flip your crate over.
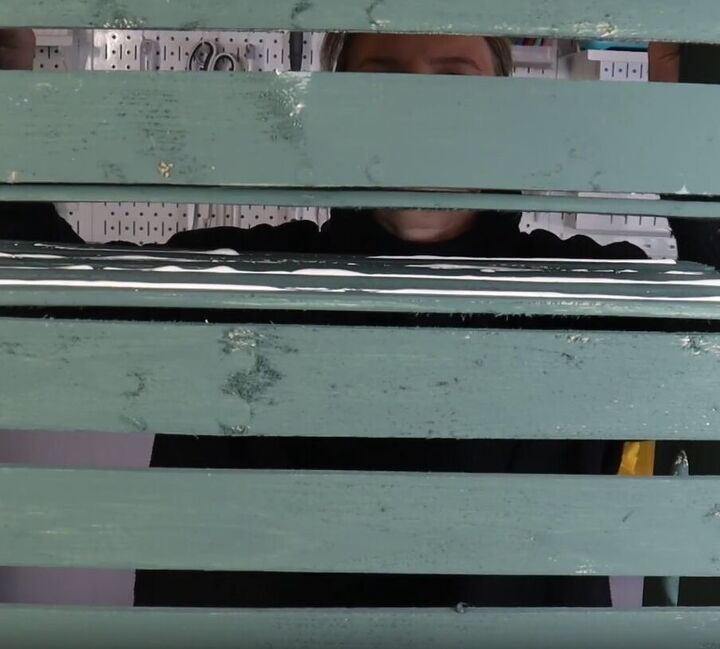
7. Attach the Second Crate
Take the second crate and add some Gorilla Wood Glue to it. Place it on top, making sure that the backs are on the same side.
Clamp them together and let the shelving unit fully set for about 12 hours.
8. Attach the Second Piece of Plywood
End off the wooden crate shelf by attaching the second piece of plywood to the top of the second crate using small finishing nails to tap it into place.
More Wooden Crate Ideas
Wood Crate Project
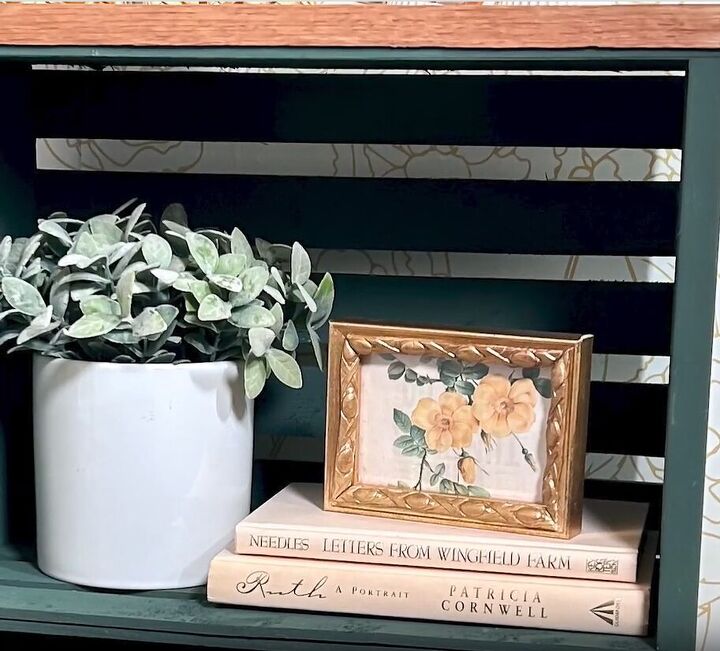
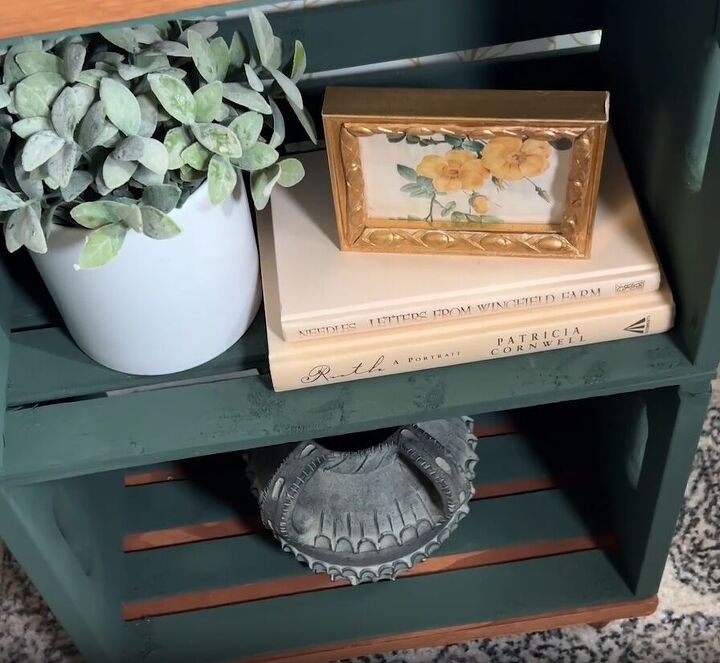
Congratulations! You've now completed your very own DIY Crate Shelf!
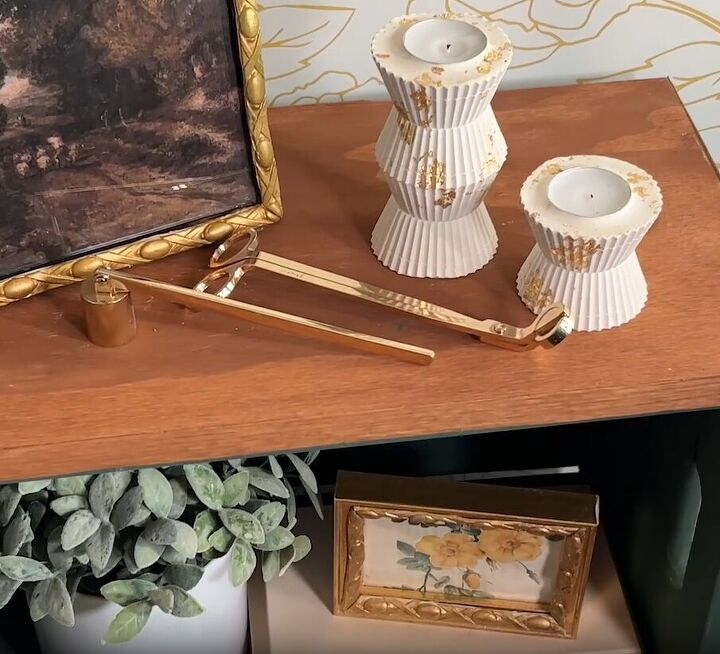
Place it in your home office, living room or anywhere else you need a display shelf. Use it to exhibit your favorite books, plants, or decorative pieces, and watch as it becomes the focal point of your space.
Gather your materials, follow my step-by-step tutorial, and get crafting!
Share a picture of your finished project in the comments below and inspire others to add some rustic charm to their homes too!
Comments
Join the conversation
-
Need to make a TV stand for the corner
-
Love this! For future projects, will you please take a photo from further away. It is difficult to visualize and appreciate the entire piece with pictures so close. Thanks!


Frequently asked questions
Have a question about this project?