


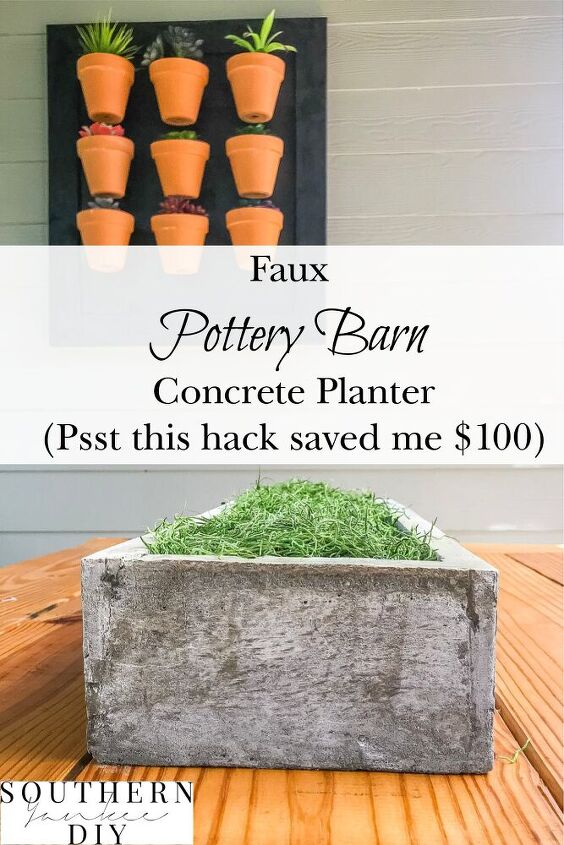
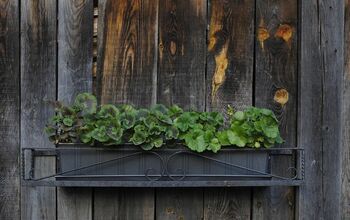
Concrete Planter Box DIY
Anyone else creating super expensive decor for way less? It's like a fun game for me to see how much I can save by recreating designer sequels decor. This project inspiration comes from Pottery Barn. As soon as I saw their version of a long concrete planter box I know I needed it for my patio makeover!
The only time I have worked with concrete is when I made a workbench for our garage renovation. So this project felt like a little extra challenge but I am so glad I went for it & you will be too! Did I mention it saved me $100 😉
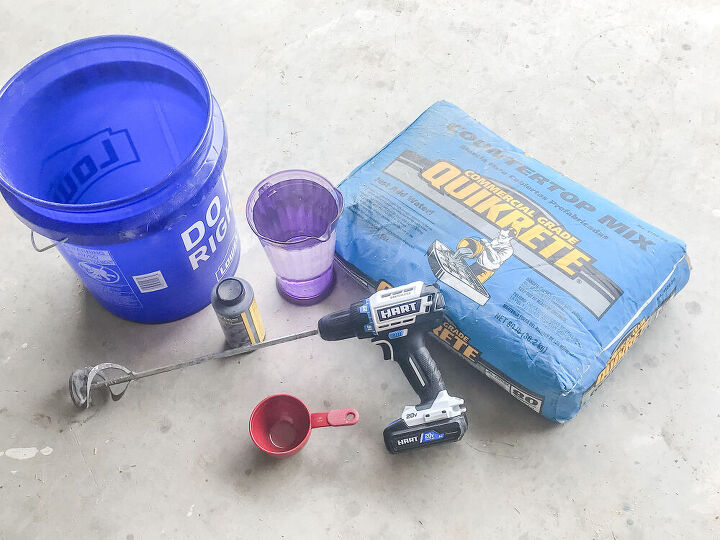
- 1 Bag of Quikrete Concrete Mix
- WD40
- Scrap Plywood
- Black Silicone Caulk
- Garbage bag
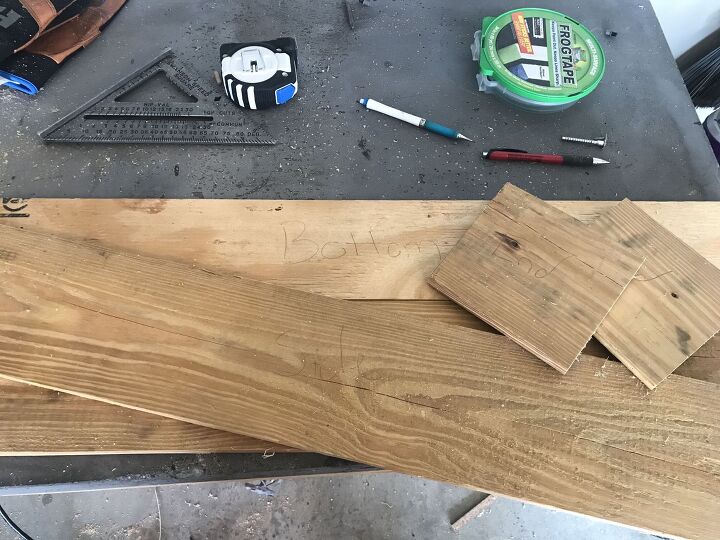
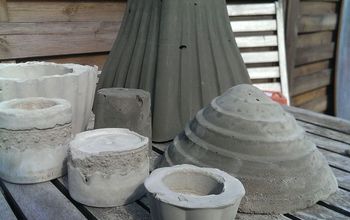
First, the molds need to be made. You will need to make 2, one for the main mold & the second will create the middle planter portion.
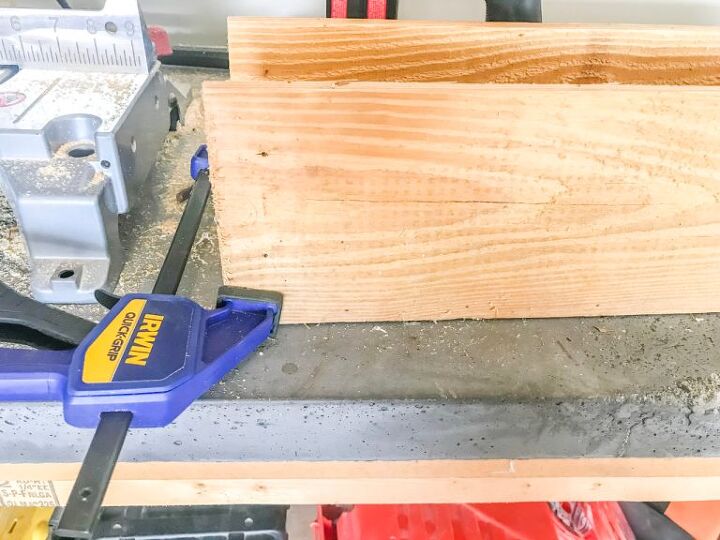
Start by making the large box. Mine is 3′ long & 5″ wide 6″ tall. The second smaller box should be 2 inches shorter in length & width than your first box.
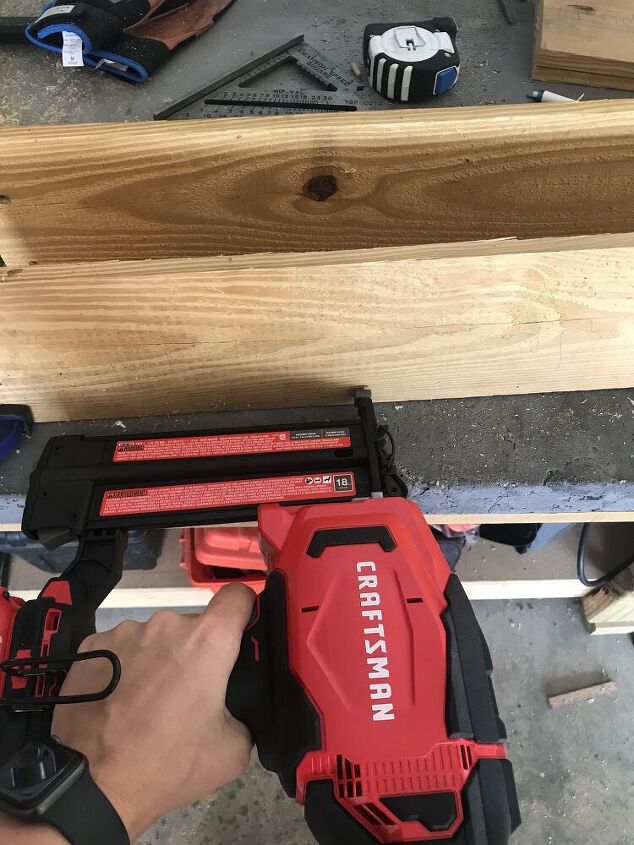
These boxes are made out of scrap wood & held together with nails.
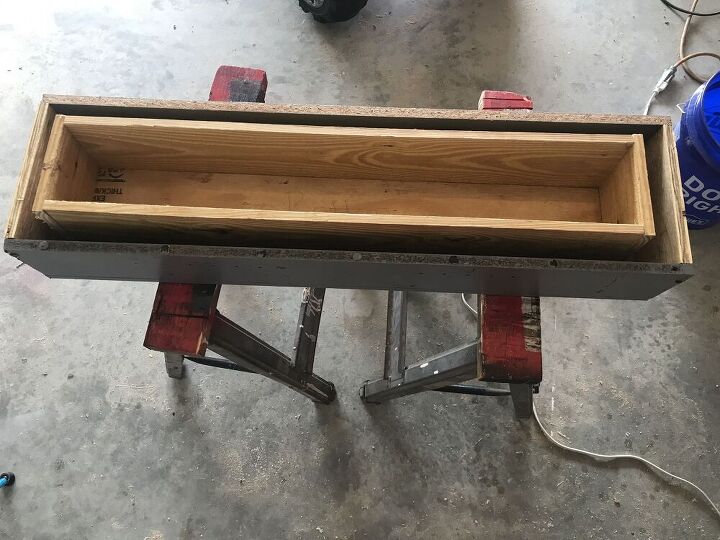
This is how your two molds should look!
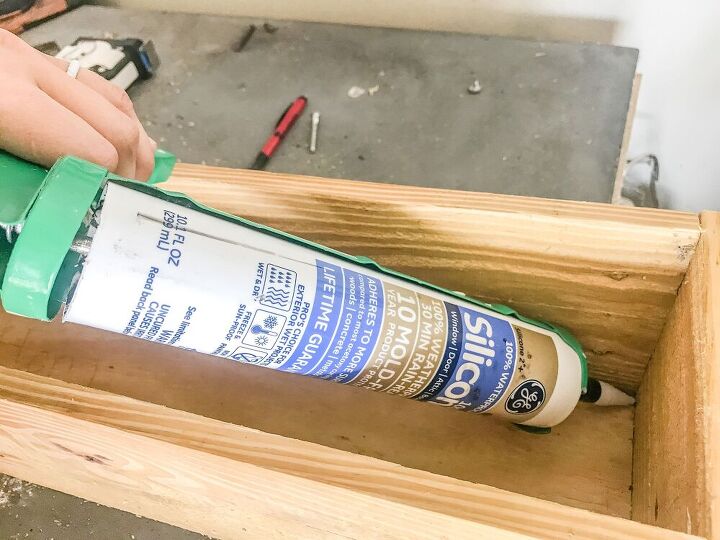
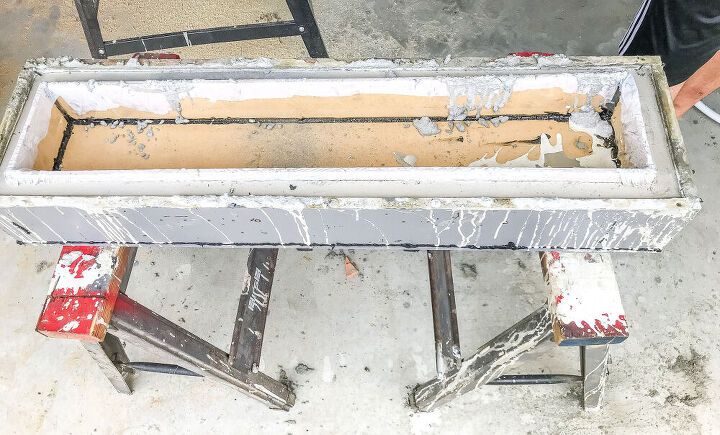
After the boxes are made its time to seal all the edges with caulk.
TIP: Make sure the caulk is 100% silicone, this is super important for the concrete to turn out correctly.
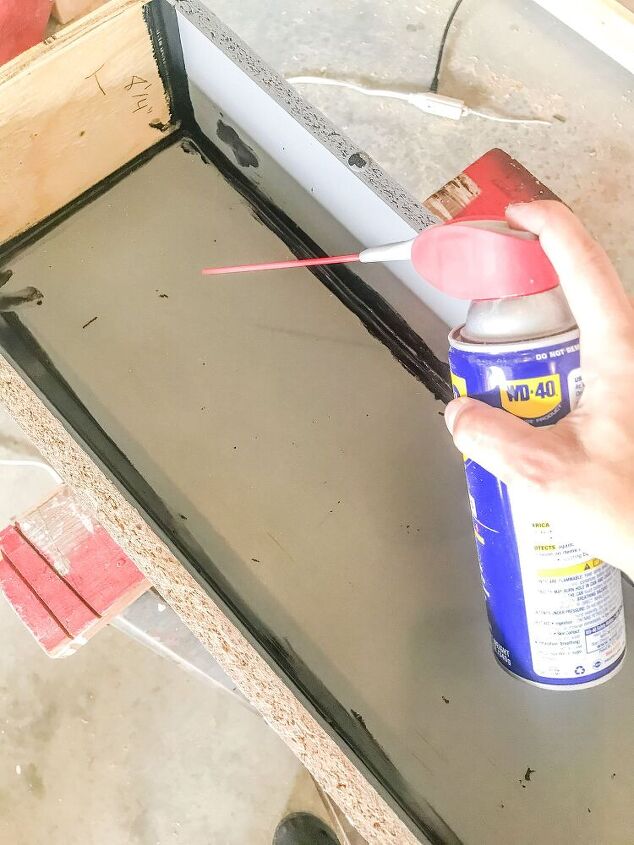
Once the caulk dries spray the mold with WD40. This will keep the concrete from sticking to the mold.
Wrap the second mold in a garbage bag to help it unbox easier.
Follow the instruction on the bag when mixing the concrete. Using a plastic bucket is the easiest way to mix large batches at one time. For the amount, I needed it took an entire 80-pound bag of Quikrete.
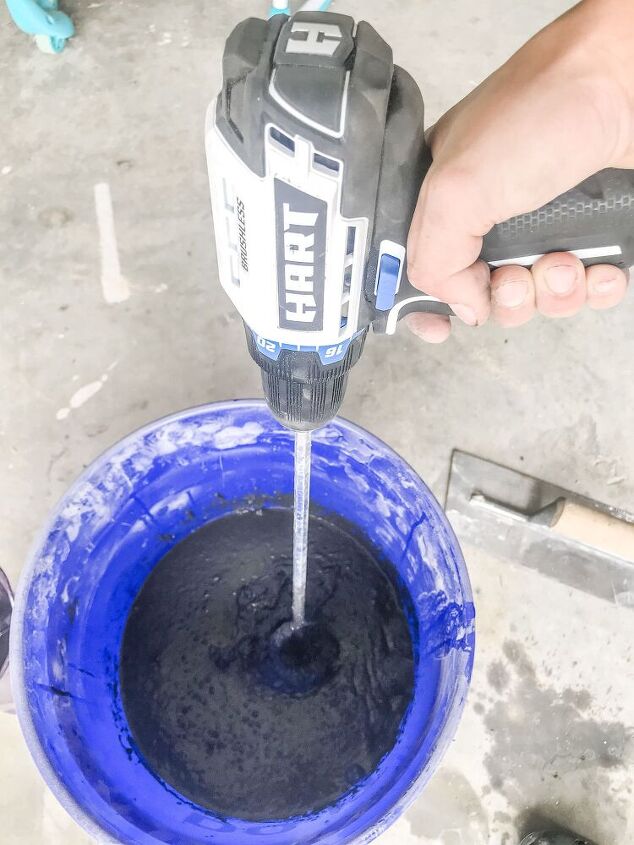
The consistency should be similar to pancake mix & yes I absolutely did FaceTime my dad to make sure it looked right to him 😅
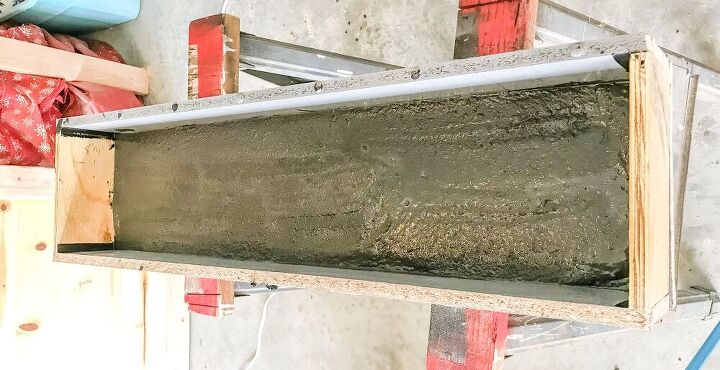
Start by adding the first layer into the big mold. It should be about 1″ deep.
Once the initial layer is poured, add your second smaller box & fill in the edges with concrete. It looks messy because it is messy. Honestly, this is about how it looks when I try & make pancakes too 😆
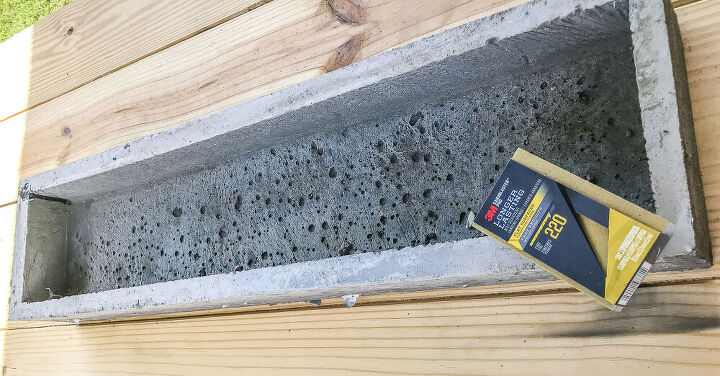
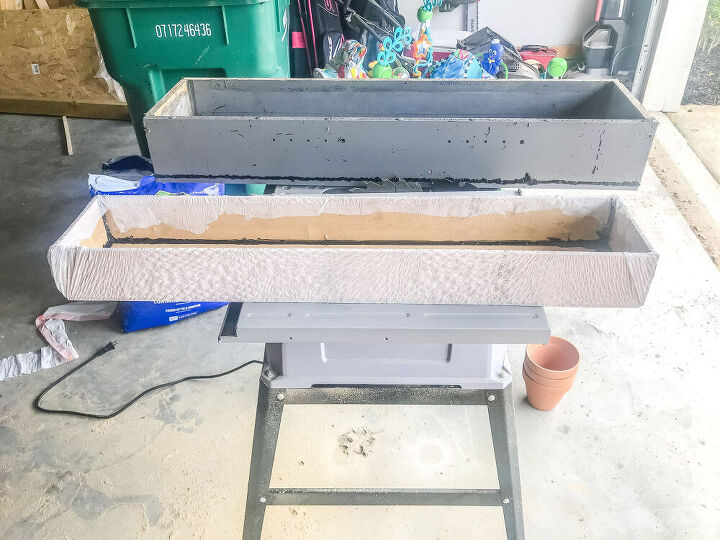
After you unbox your mold its time for the fun part, sanding. Use a 220 grit sanding block to knock off any imperfections or extra concrete.

Once its nice & smooth, seal it according to how you are going to use it. Mine will be used outdoors so I am using Helmsman Spar Urethane.
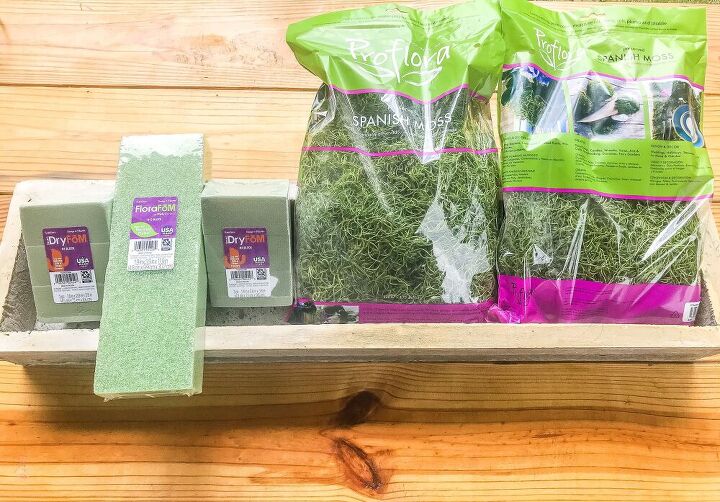
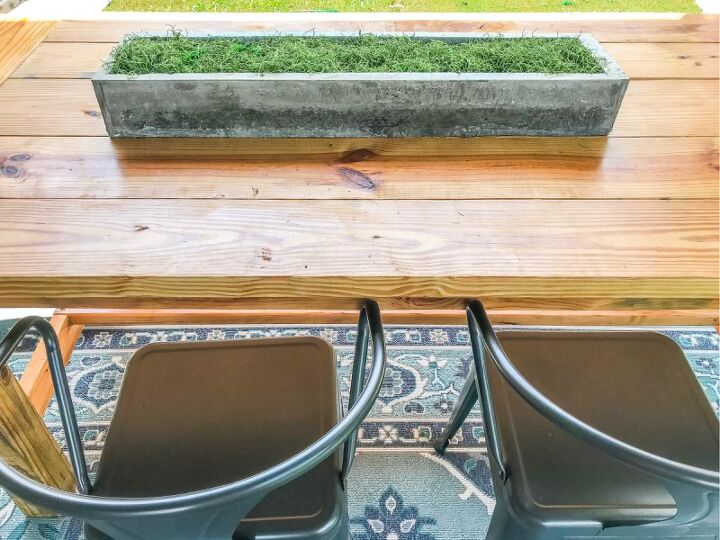
This concrete planter is going to be so versatile & can be filled with lots of fun stuff! My first plan is to add moss to it & display it on the $100 outdoor dining table we just built!
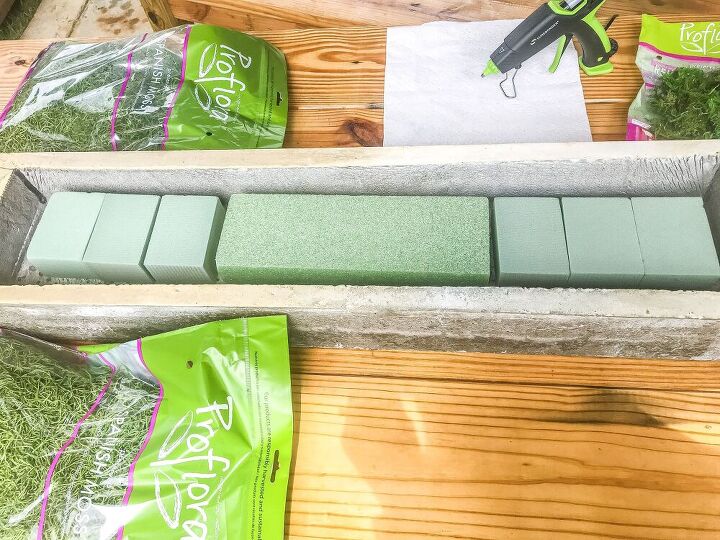
These foam plant blocks are perfect for hot gluing these sheets of moss onto. Plus they will be easy to remove later when I am ready to add something new.
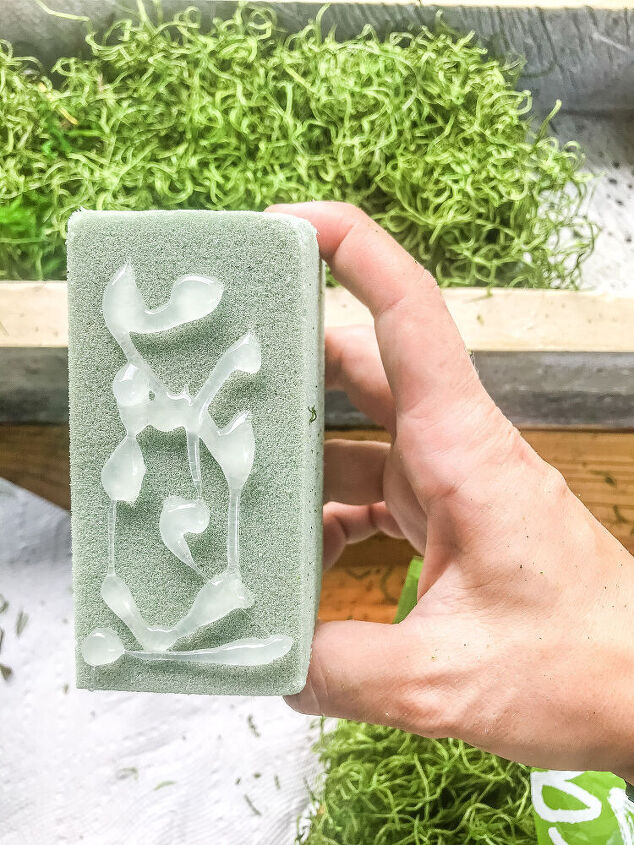
Start by adding hot glue to the sides of the foam blocks to connect them all together.
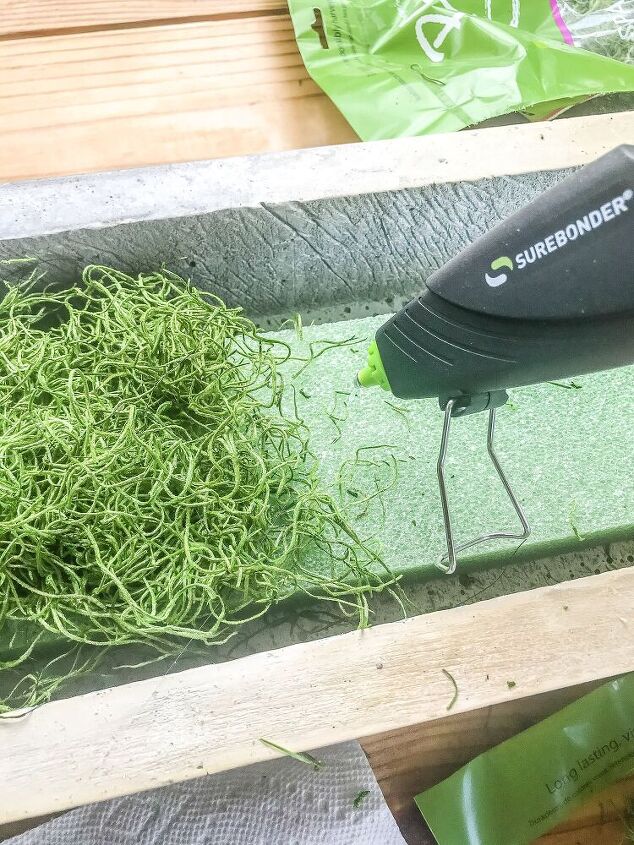
Next, add hot glue to the top & apply moss. Be careful not to burn your fingers when pressing down on the moss!
Completed Planter
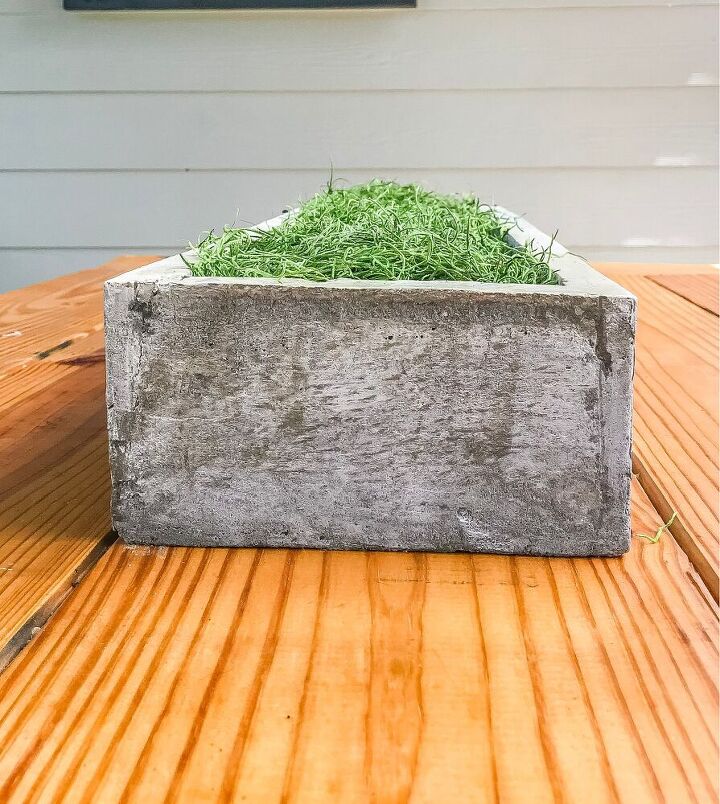
How cool is this planter y'all! It is exactly what I had envisioned for this tables centerpiece & even though we had 1 failed attempt it was totally worth it! I can't wait to dress it up with different things for the holidays & seasons.
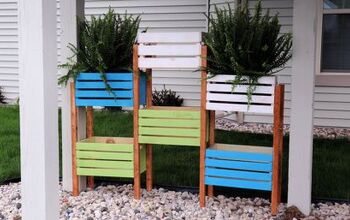
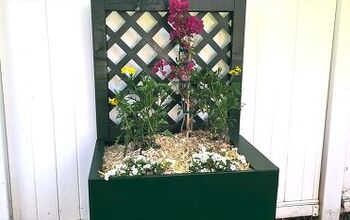
Want to see more of my DIY outdoor projects?! Head this way!
Resources for this project:
See all materials


Comments
Join the conversation
-
Just a DYI concrete tip! Once you pour your concrete you need to vibrate it in order to get the air out and avoid all those bubbles. They make a concrete vibrator tool but you don't need to spend money on one and unless you plan to do a lot of concrete work it's money not well spent. All you have to do is use any power tool in your arsenal that vibrates or a rubber mallet to get the job done. Just either place your vibrating tool, say a sander without sandpaper attached against your outside wood and let it do the work for you or tap your outer frame with a rubber mallet as your normally would use hammer. Don't be dainty just smack it all over and you will see bubbles and excess water rising to the surface of your wet concrete letting that nasty air our of your concrete that creates all those holes in your finished concrete creations. Also in your case you can make a simple smoothing tool using any tip plastic, say an old credit care or smooth section of a milk carton cut to the size of your planter wall. This will cut down on how much sanding you need to do on your finished edges. Hope this helps!
-
I really like this idea. Since you will display it outside, a few holes in the bottom would keep rain water from collecting.


Frequently asked questions
Have a question about this project?
Can you reuse your molds? If so, how do you clean them for subsequent uses? This is awesome! I love it, but want several 😜