


Chair With Built-in Cookbook Rack

Finding a space for cookbooks can be challenging.
You want to have them at easy reach, but sometimes you just don't have the space. If you have a thrift store chair, why not create a cookbook rack on the back?
This DIY is easy and simple and creates storage for cookbooks that you can create in an afternoon.
Want to know how to make one?
Here's the step-by-step to add a cookbook rack to a thrift store chair.
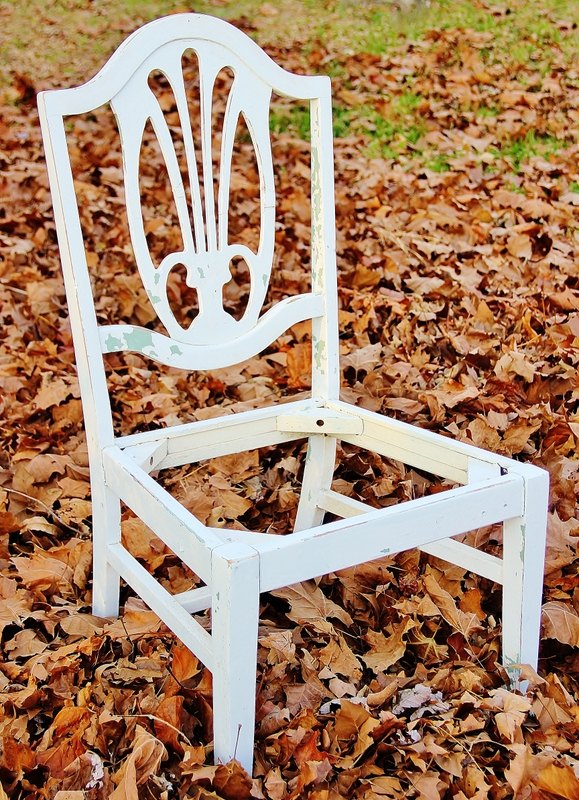
Any size chair will work, but you want to choose a chair with a straight back.
It truly makes the rest of the steps so much easier.
Clean off the back of the chair with a tack rag and remove any dust and dirt before you start the project.
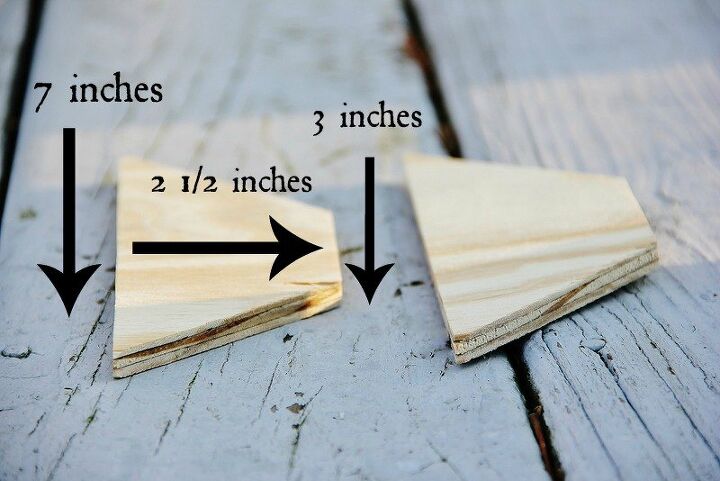
Using scrap pine, cut each piece to measure 7 inches on the long side 3 inches on the short side and 2 1.2 inches wide.
Cut the ends at 45 degree angles.
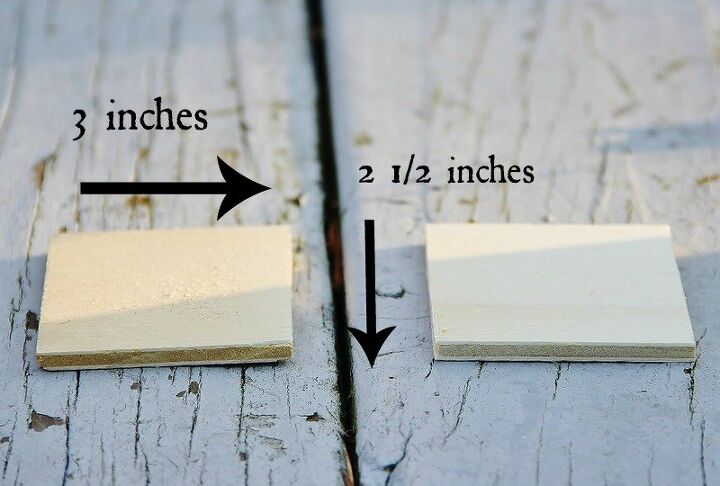
Using scrap pine for the end pieces, cut each piece to measure 3 inches by 2 1/2 inches.
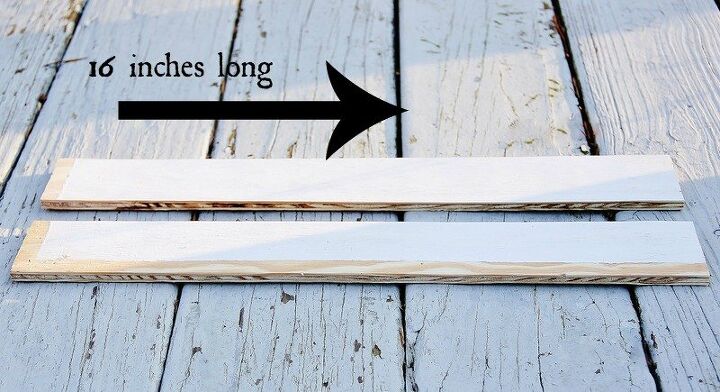
Cut each piece 16 inches long, one for the front and one for the back out of scrap wood.
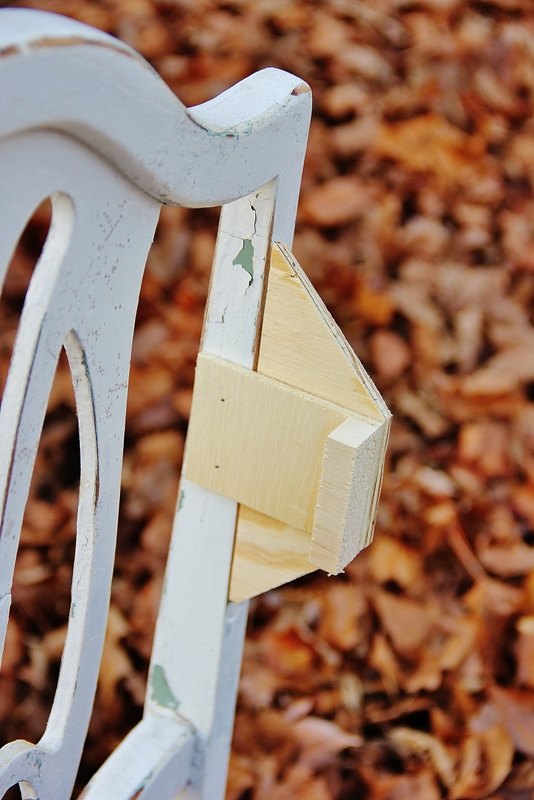
You want to create the sides for your cookbook shelf by nailing the side piece and end piece onto the chair.
Attach end piece first and then angled side piece next.
Cut small block of wood 3 inches long by 1 inch wide as a base to attach the front pieces of the cookbook rack to.
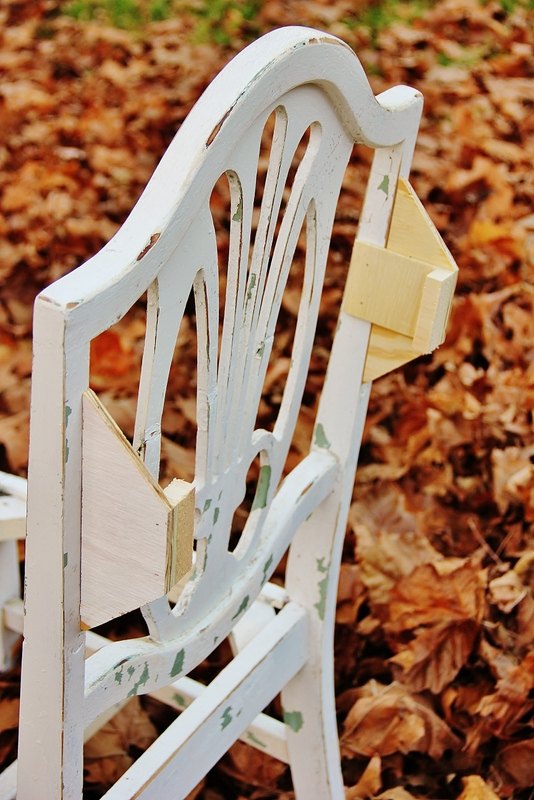
Repeat the same process for the other side. These two side pieces are the foundation of the shelf to nail the top and bottom of the cookbook rack to.
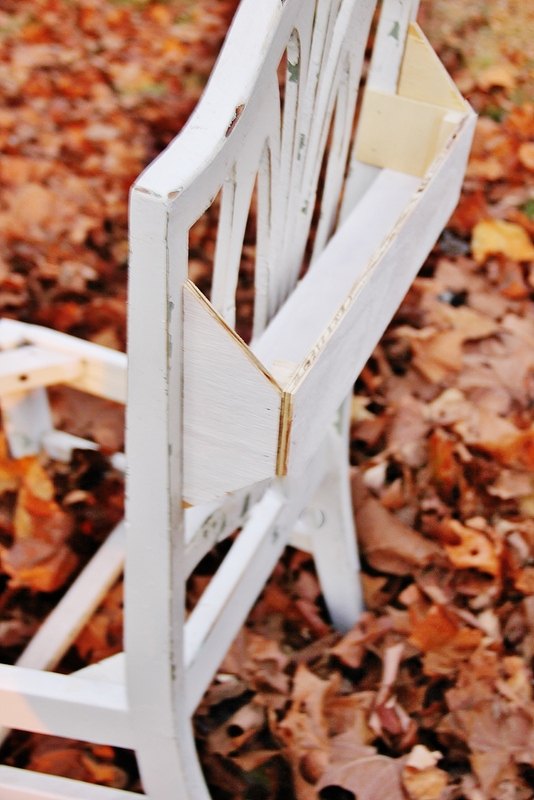
Nail one slat to the front of the end pieces and one piece to the back. This is the front and bottom of the cookbook rack.
Sand any rough edges or joints.
Next, fill in the holes with wood putty.
Lastly, caulk and paint the legs and back of the entire chair, including the cookbook shelf. After the paint dried, I lightly sanded and distressed the entire chair to recreate the look of a vintage piece.
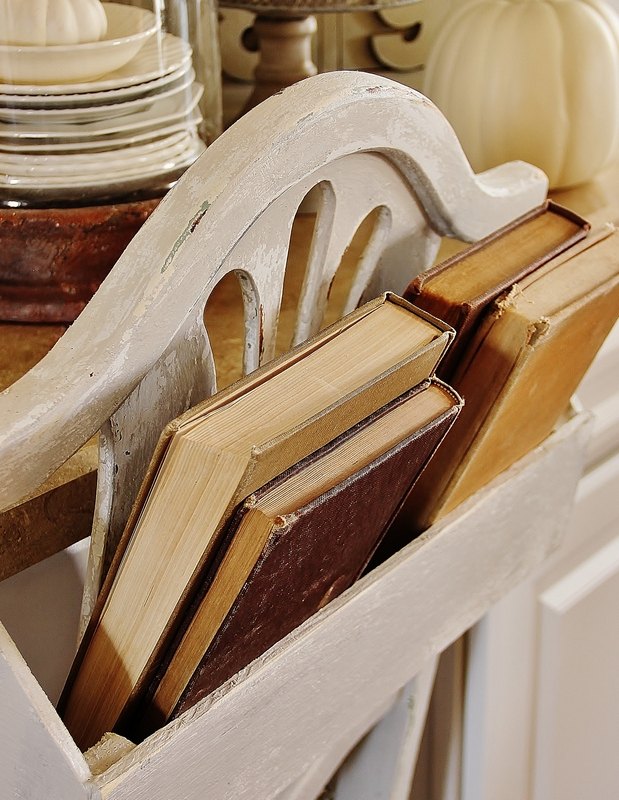
Here's the finished cookbook rack on the chair. It's the perfect place to organize cookbooks and have them at easy reach when inspiration strikes.
And now?
Next time you need a recipe?
You don't have to look any farther than the back of your chair.
If you liked this furniture makeovers, here are two more thrift store before and afters:


Comments
Join the conversation
-
Cute idea! Wondering if you could build storage into the seat to accommodate more cookbooks? That would also add weight to the front to prevent tipping from too much weight on the back. Great job!!
-
I like this idea!


Frequently asked questions
Have a question about this project?
what did you do with the chair bottom ? did you recover? Cute idea but I have way more cookbooks all sizes this would not work for me.
Just wondering -- doesn't anyone remember church chairs being made like this? I grew up going to a little Southern country church, and our Sunday School chairs had these for hymnals and Sunday School materials on the backs of them.
What do you do with the front of the chair?