


DIY Tobacco Basket

These baskets are super popular right now, but they can also be quite pricy. I love the look of them, but I needed a fairly large one so I figured I would try to make one my self. It was actually a very simple project and it only cost about $10! I am so pleased with how it turned out.
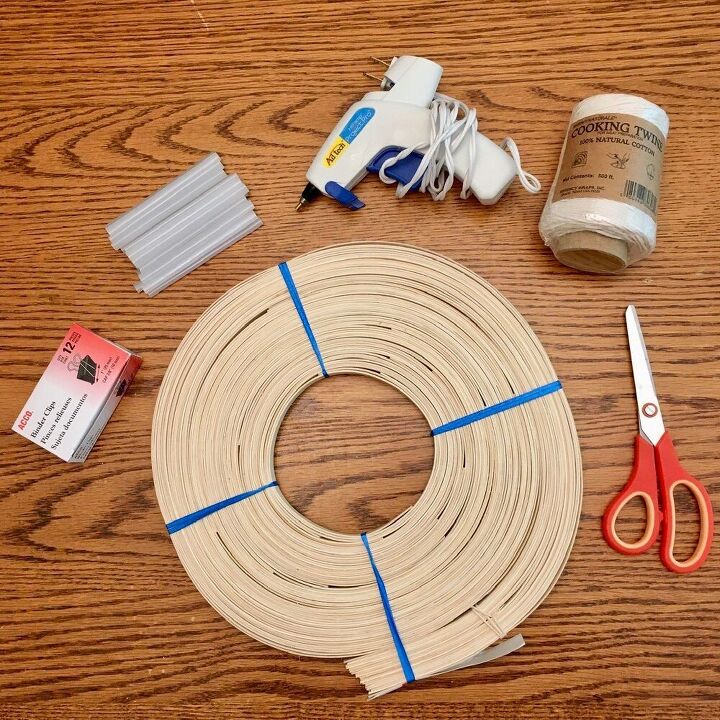
- 5/8” flat basket reed.
- scissors
- binder clips
- cotton twine
- glue ( I ended up switching to wood glue as I found that it provided a much stronger hold. The only downside to using wood glue is that I had to wait for it to dry in between each step)
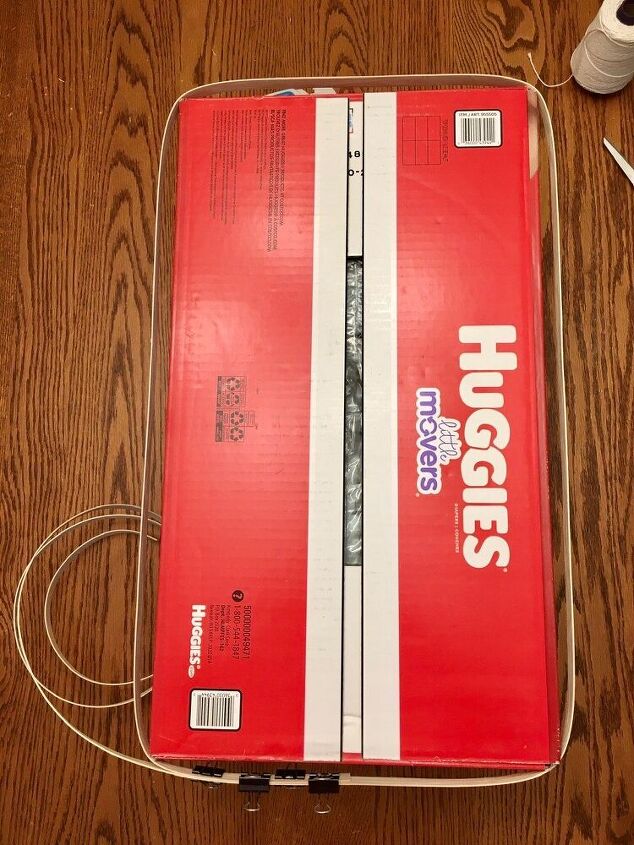
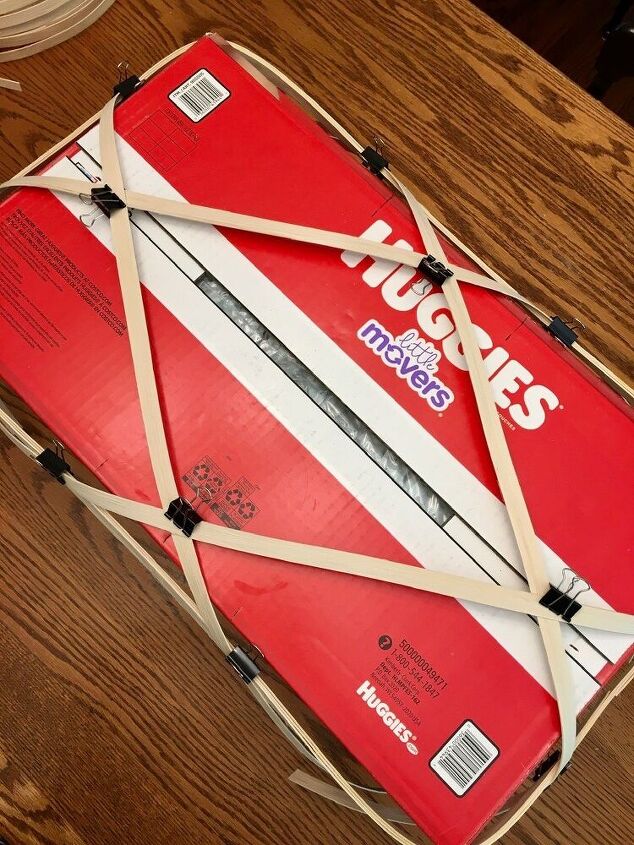
Find a box similar to the size you want your tobacco basket to be. A diaper box ended up working perfectly for the size of basket I needed. You will begin by wrapping your reed around the box and clamping it using the binder clips.
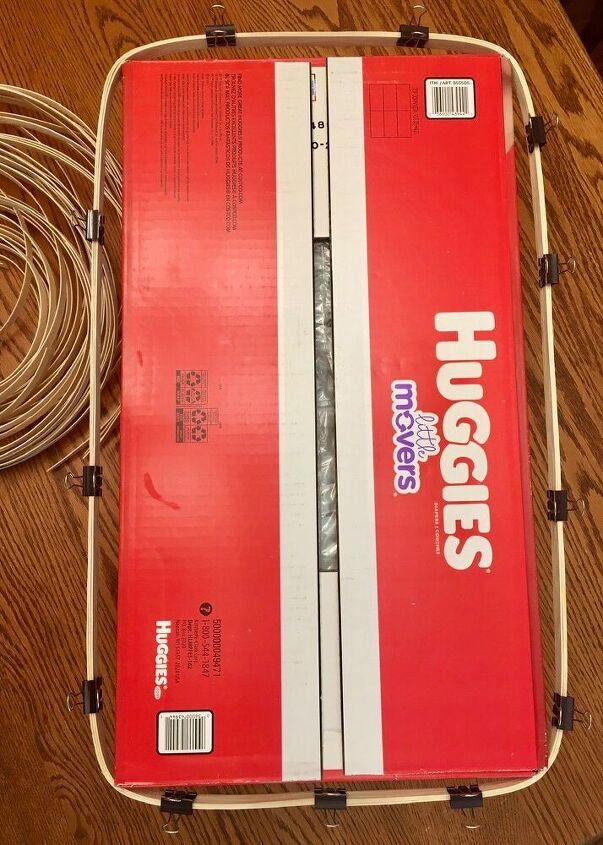
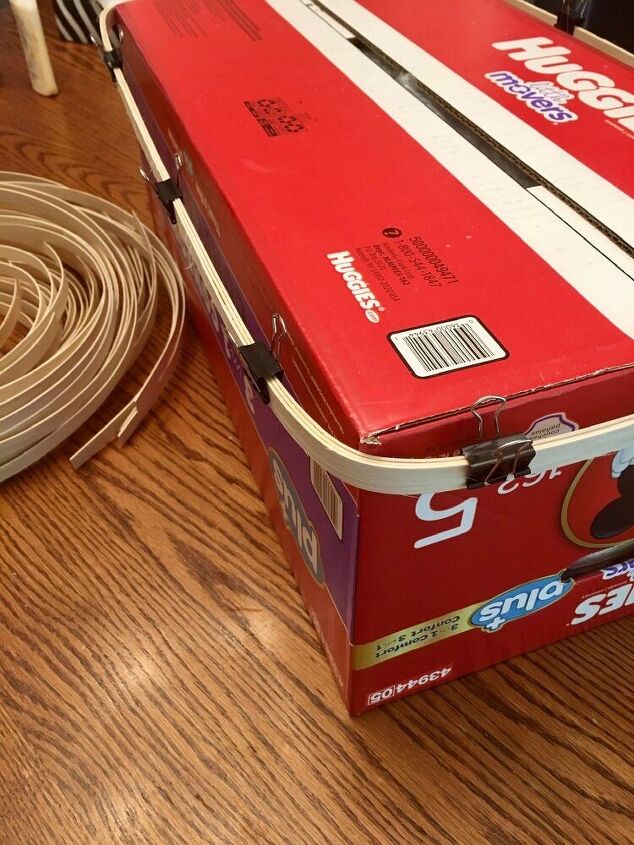
To make the frame of my basket I wrapped three layers of the basket reed around the box, making sure to add a good amount of wood glue in between each layer. I used the binder clips to hold the reeds together until the glue was completely dry.
At this point the three layers of the basket reed should look like this.
Arrange four pieces of basket reed in a diamond pattern. Once you are happy with the placement glue and clamp the reed down until dry. You can easily trim off any excess pieces using scissors.
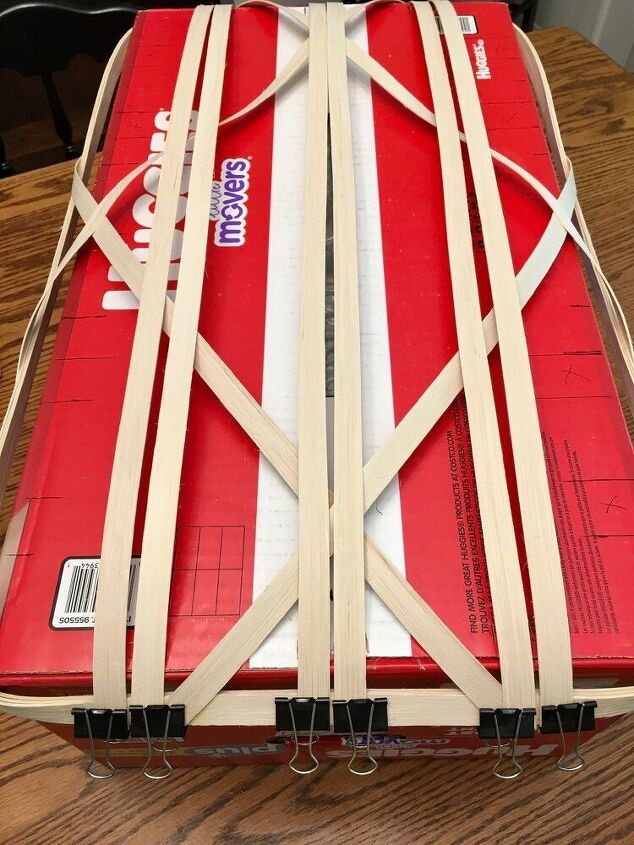
Next arrange the pieces of reed lengthwise and repeat the process of glueing and clamping the reed down until dry. I found it much easier waiting for each layer to dry, that way I knew the pieces were placed exactly where I wanted them and I didn’t need to worry about them shifting.
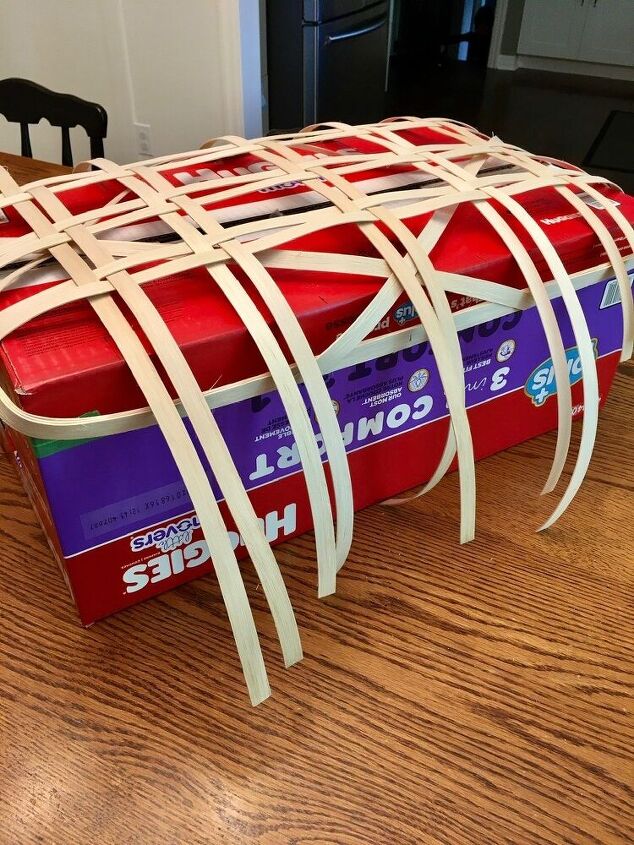
This last layer is slightly more complicated as you have to weave the basket reed perpendicular to the previous layer, but once you get the hang of it it’s quite easy. Do not weave the basket reed through the diagonal pieces.

I found it much easier to trim the pieces of reed before glueing and clamping them, but you can wait until the end to trim everything at once too.
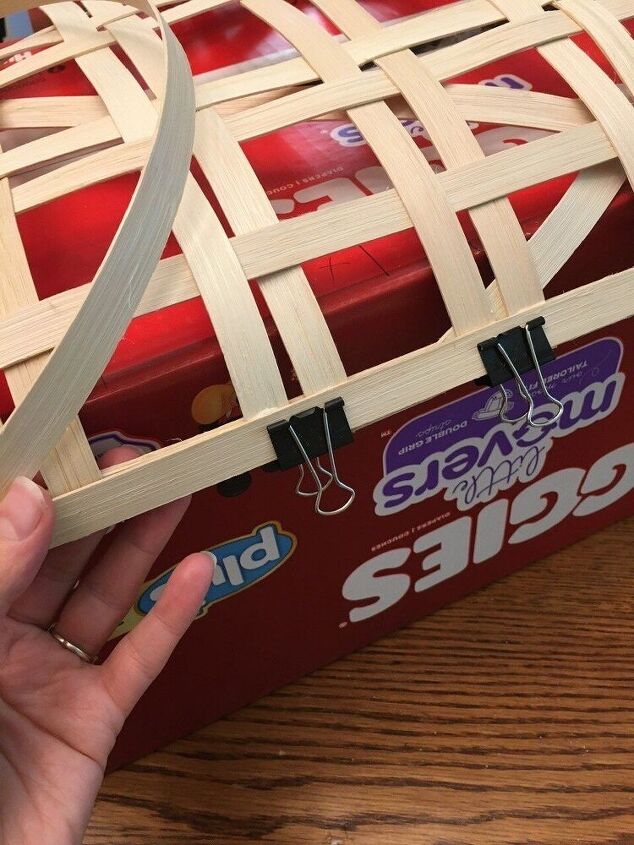
To neaten up the edges and add more strength to my basket I added two more layers of the basket reed all along the outside, again making sure to use plenty of glue between each layer.
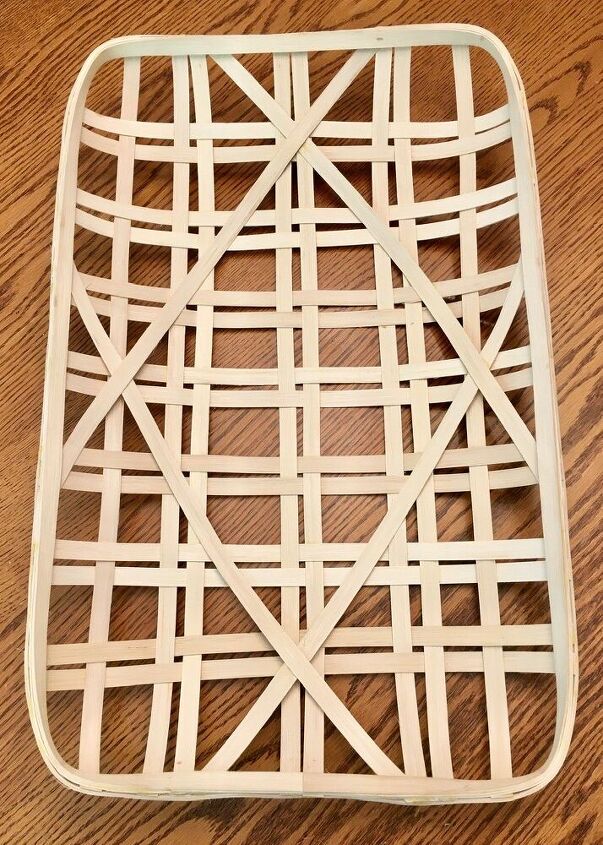
I was so happy with how my basket turned out! When I removed it from the box I was pleasantly surprised at how sturdy it actually was. For this reason I highly recommend using the wood glue, if you don’t mind waiting for it to dry in between.
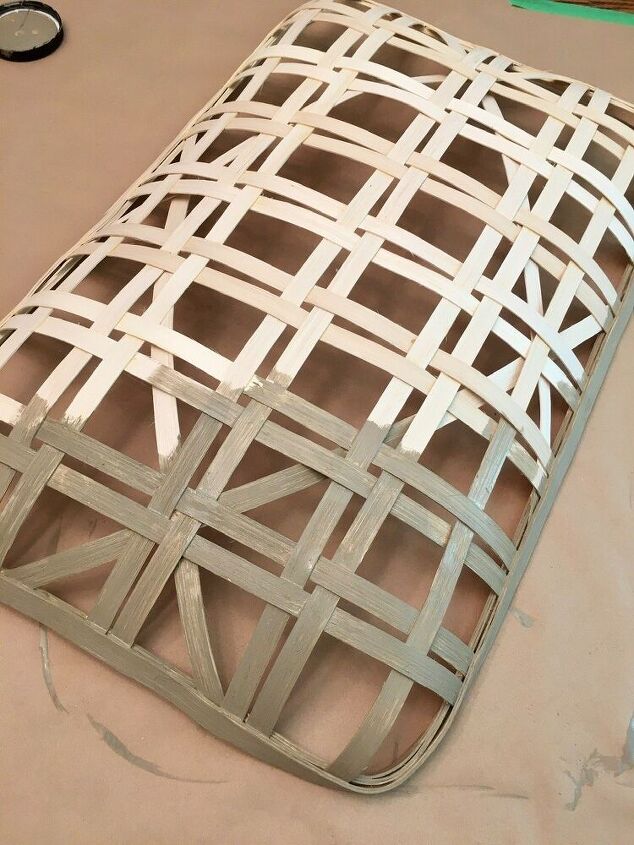
You can now either paint or stain the basket how ever you like! I used some very watered down paint I already had on hand. You don’t need to be neat and precise when you do this. I wanted my basket to look aged so I wasn’t concerned with it having a very even coat of paint.
Since the paint was so watered down the basket reed absorbed most of it, leaving a weathered wood look. This is exactly what I was going and thrilled with how it was coming together so far.
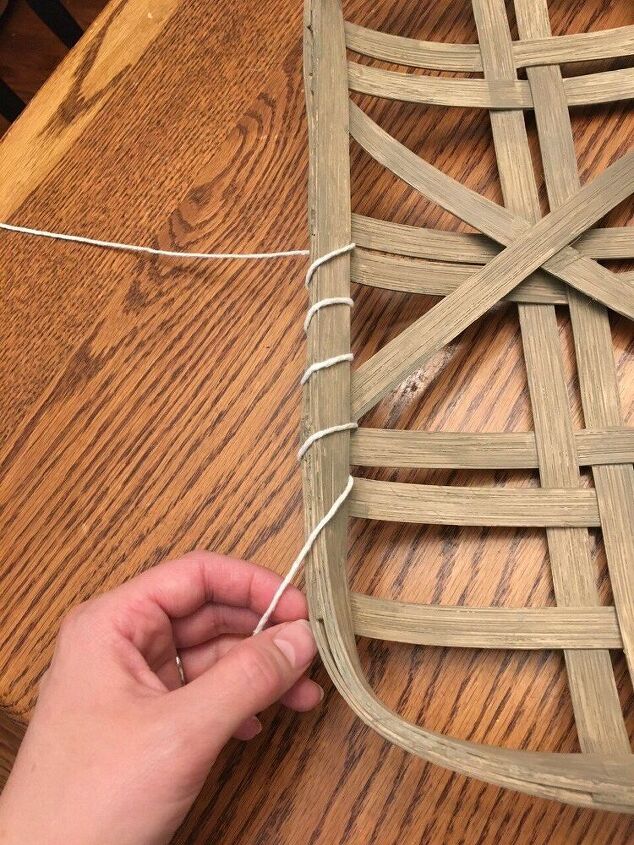
To finish everything off I wrapped cotton twine around the whole basket and secured it with a knot at the back.
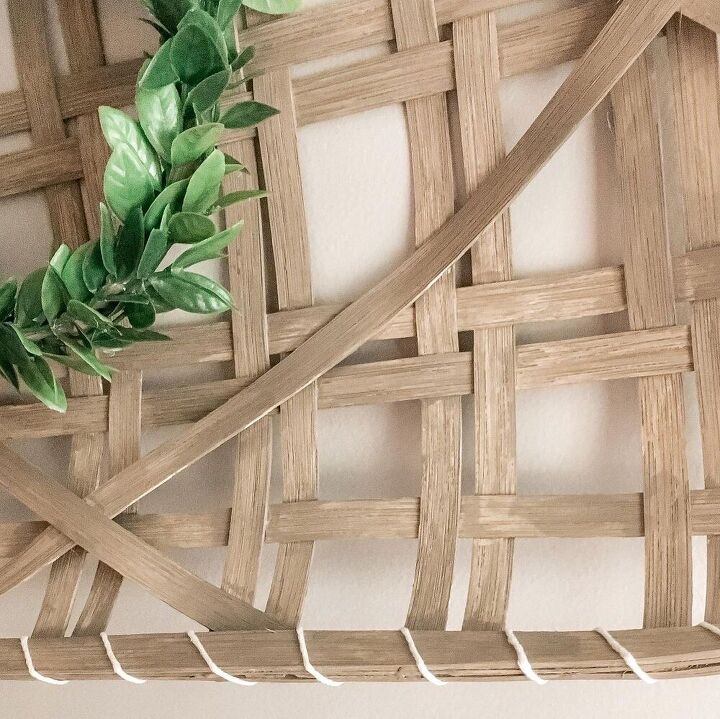
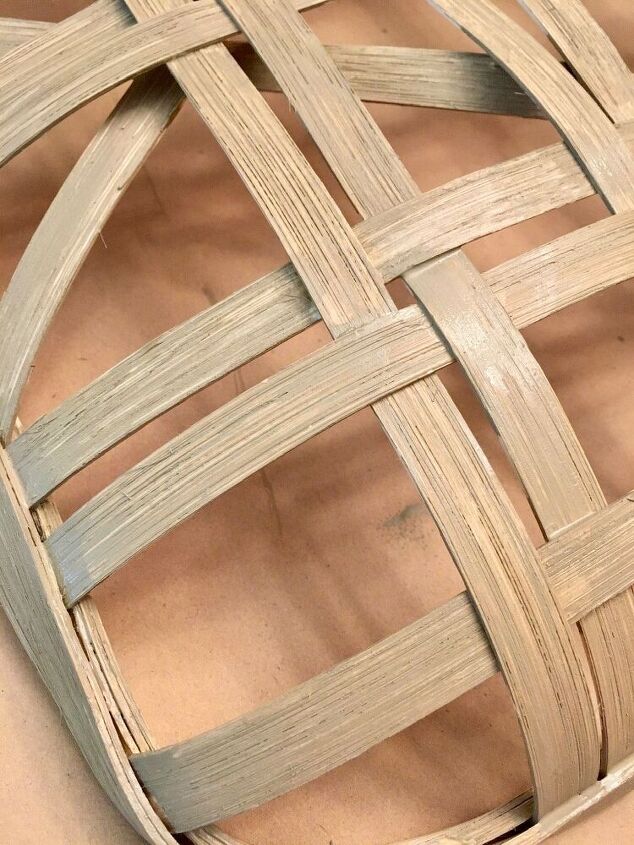
This is what the basket looks like up close.
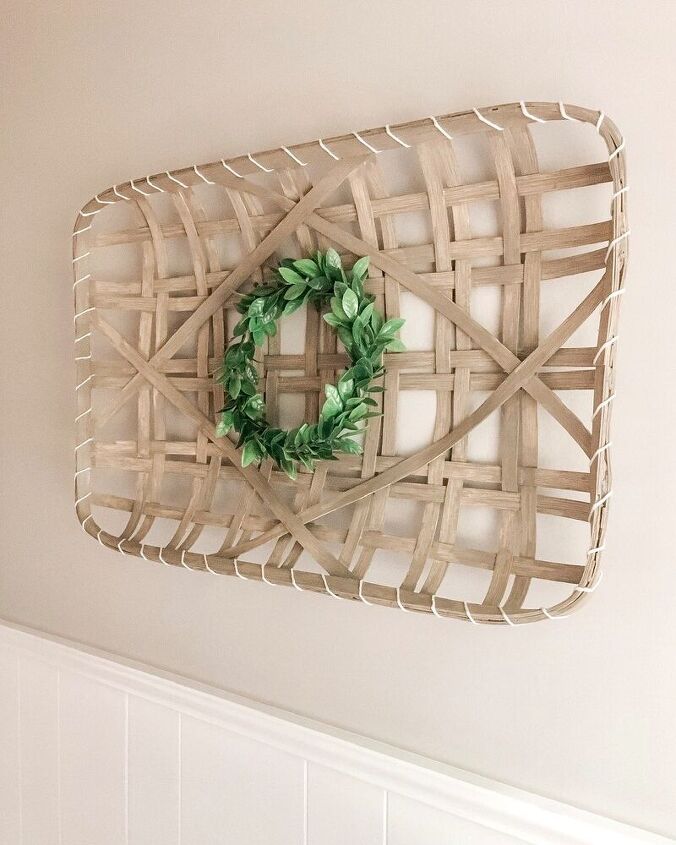
I added a small green wreath to the middle of my basket and I am so happy with how it turned out. I am already planning on making more of different shapes and sizes.
Resources for this project:
See all materials


Comments
Join the conversation
-
It is indeed a very nice basket and you did a fantastic job of making it.The work came out really well,however,you called it a tobacco basket,or rather that was the heading of the article and being old enough to remember what tobacco baskets(burley here in Ky.)actually looked like,I must say they were square and not rectangle.If one were to endeavor to make a replica of a 'tobacco basket'for here,I think a square one would be more representative.Now,who will be the first to volunteer to make one for us old Kentucky grouches,ha.
-
BEAUTIFUL!!! So well done and great instructions. Thank you so much for sharing.


Frequently asked questions
Have a question about this project?
Very very beautiful. Think I’d like to try one. I know you said to use 5/8 wide n I found some on Amazon but also saw one that said “thin”. What thickness is yours? But again so love yours n your instructions are very clear to understand. Thanks for sharing.
I bought 118 feet on Amazon 5/8 inch. I do not have Huggies box and need to know how big I can make it using a different box. You do not have dimensions. Did you have some leftover so I could make a larger one? I can’t. Wait to make it!
it is lovely!
This is gorgeous. Copying asap. I went online to buy the reed. Did you use the 5/8th inch 1 lb or 1/2 lb?