


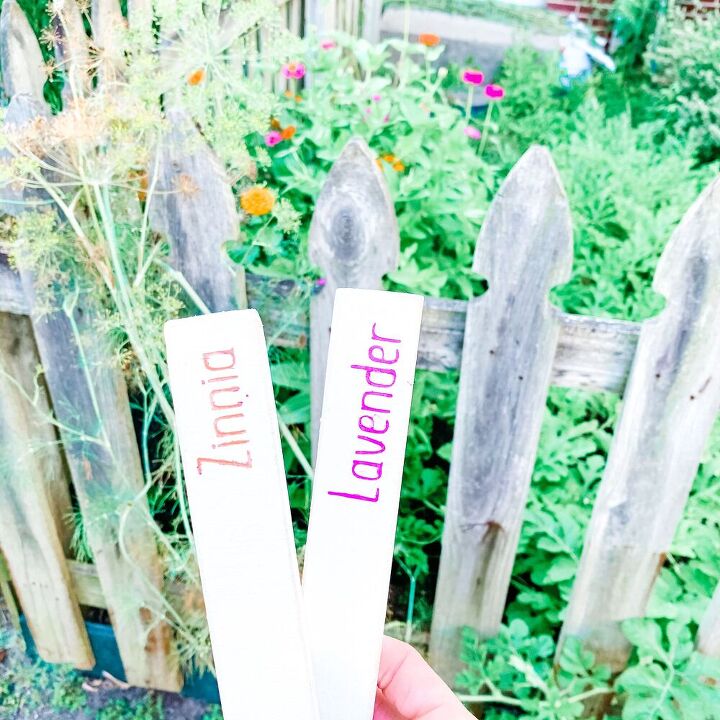
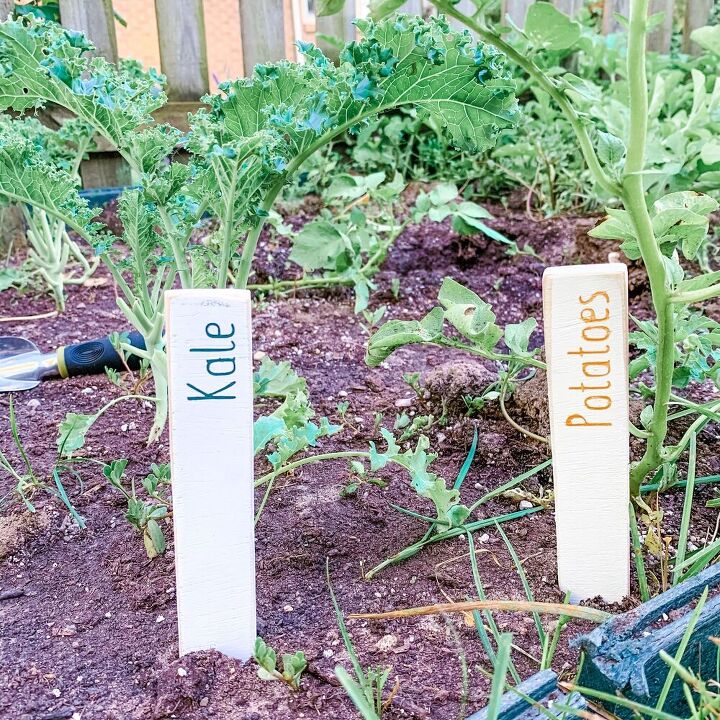
Garden Plant Markers

If you're anything like me, you may be newer to gardening and have no idea what you're looking at when seeds start to grow if you haven't labeled them. Of course I paid attention to where I planted each variety of seeds but I wanted more than that. And, I like when things are cute! I imagine once you gain some expertise in gardening, you wouldn't even have to pay attention and weeks later could go to your garden and know what is what just by looking at it. Before I begin, I just have to get something off my chest and please don't judge me... this year was my first year planting a garden. This year I bought a potato seed... okay, go ahead, laugh. I know, I know, a potato seed is in fact, you guessed it, a potato. So now that we have that established (that I am new to this), I want to share what I used to cutesy up and mark my newly growing veggies and flowers. So while I was venturing into uncharted territory, for me anyway, I decided to go where I had been many times before, my craft room! So for this tutorial, I will discuss how to make the adorable garden plant markers.
I recommend 1/2-inch plywood so it will be strong and hold up better outdoors. You could probably go a little thinner, but not too much before it becomes easier to bend and break. You will be putting a lot pf pressure on these when you push or pound these into the ground.
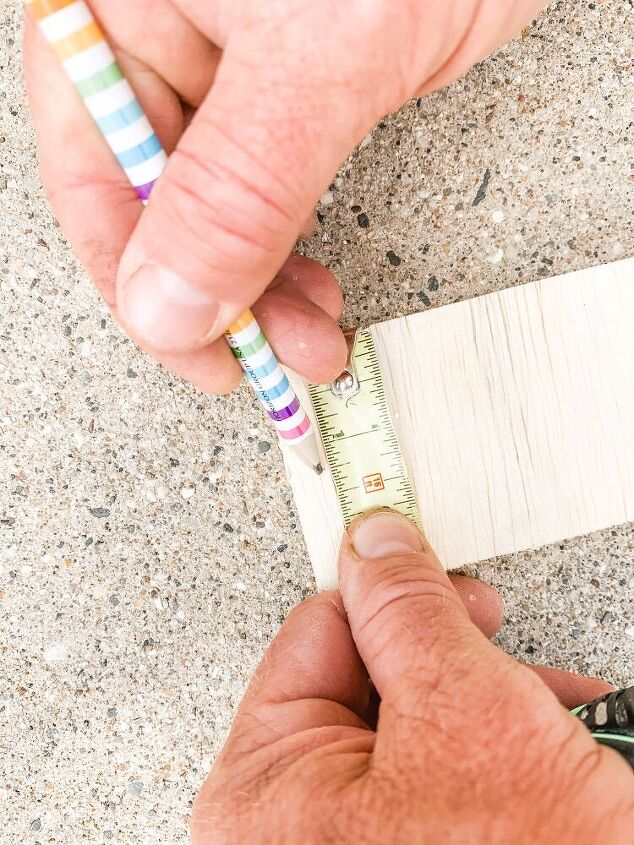
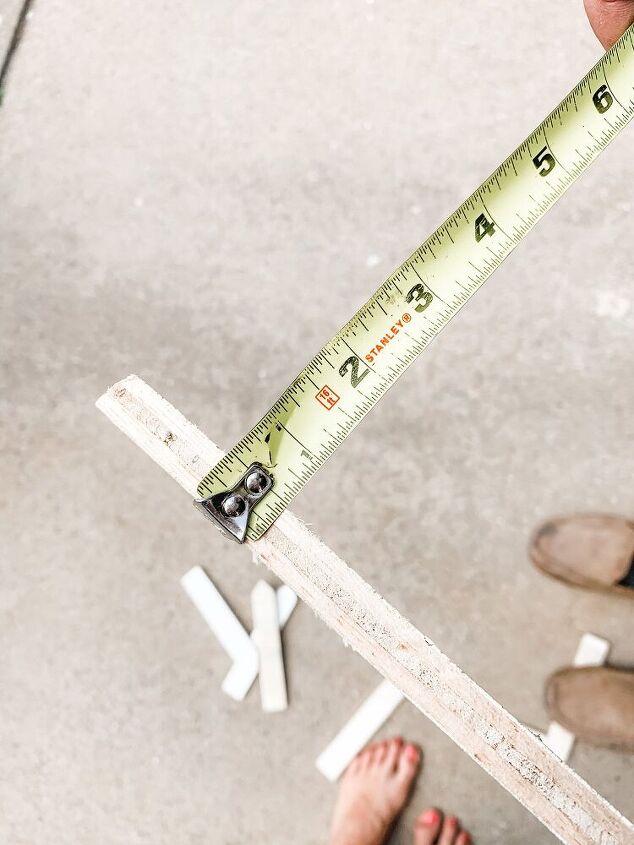
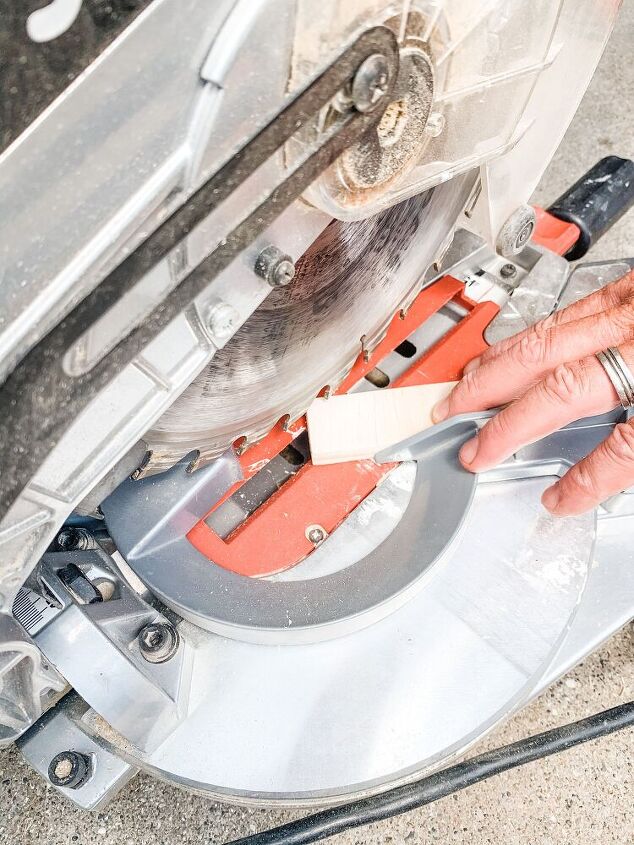
To start you will need to cut your plywood into small strips. I cut mine into 7.5 inches long by 1.25 inches wide sticks. If you’re not as comfortable with this, you can get sticks of wood at your local craft store and then you’d only have to make a few smaller cuts.

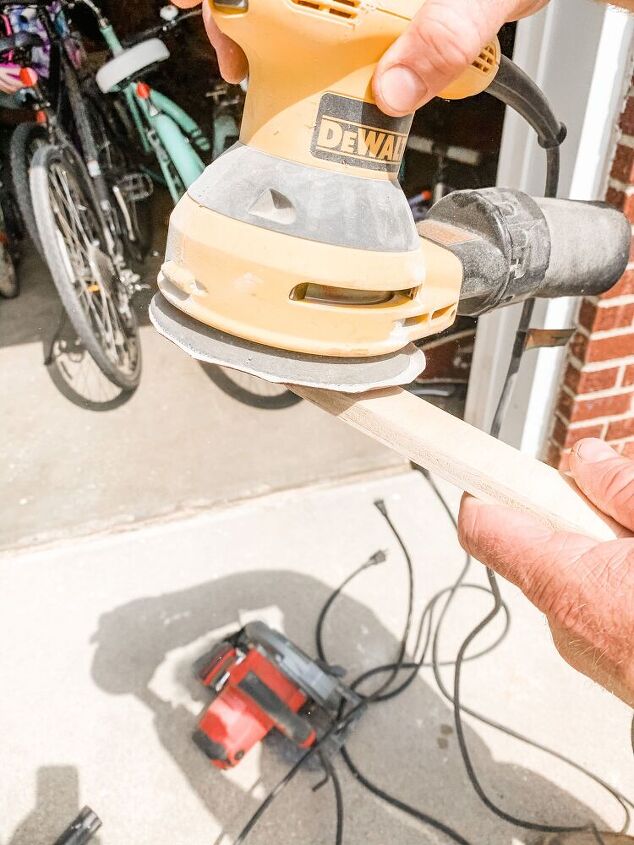
After you’ve made all of your cuts, you’ll want to sand all of the edges and corners to make them look a bit more worn as it adds to the look.
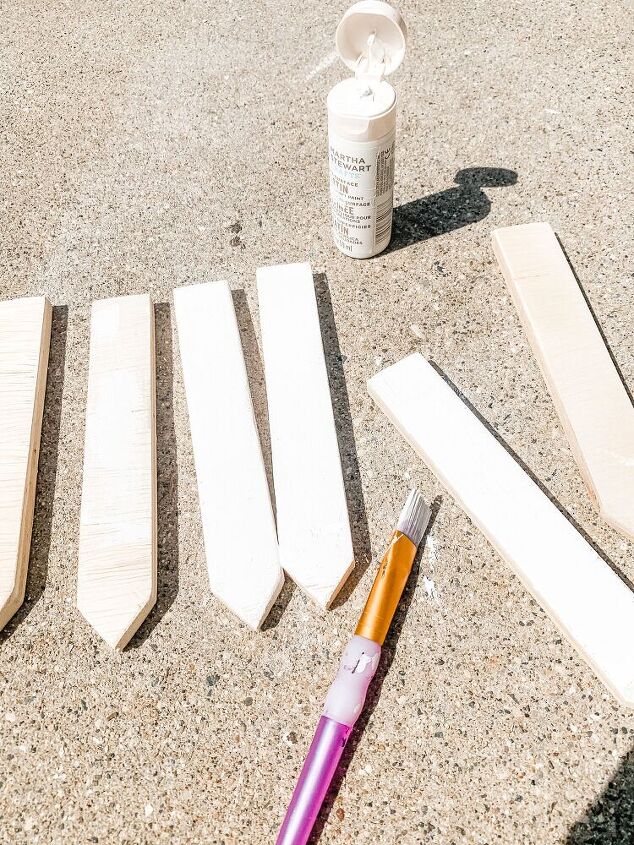
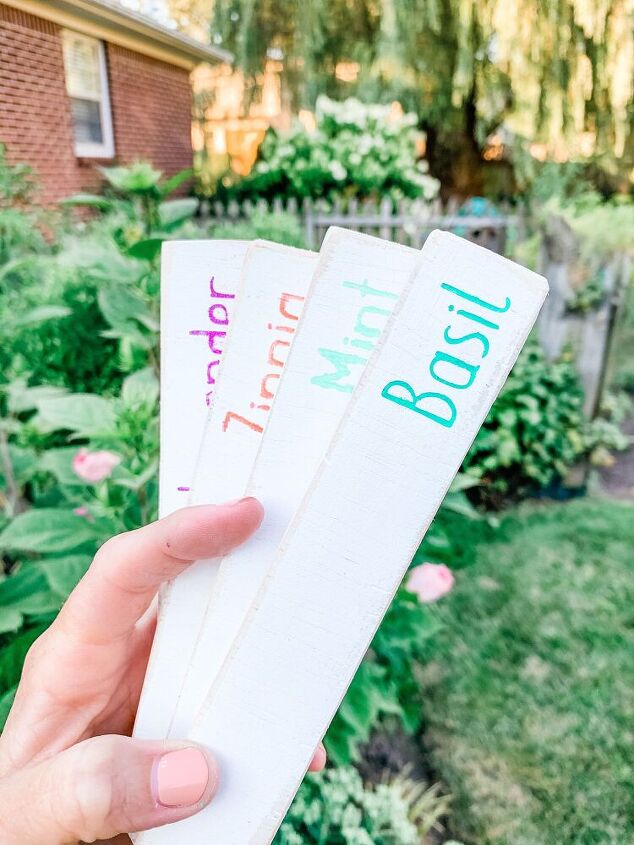
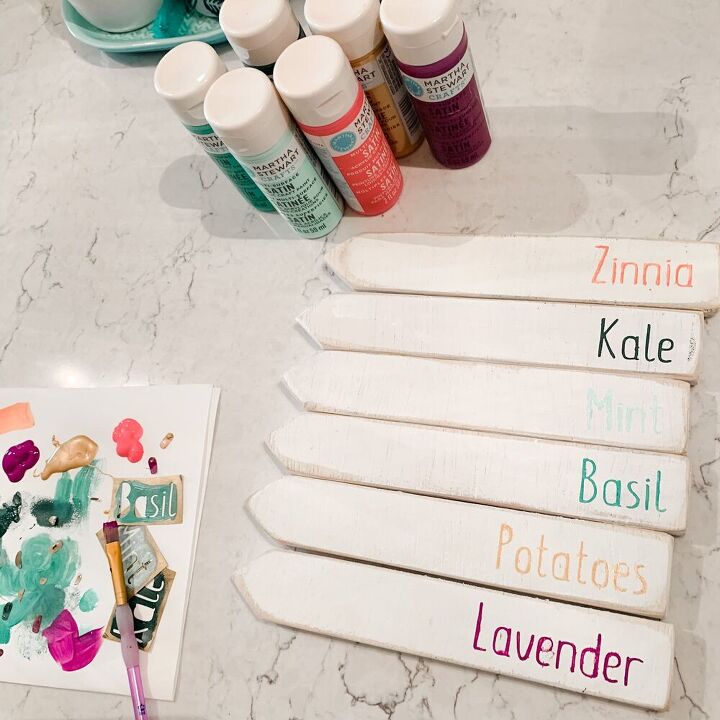
Then you’ll want to paint them their base color. I chose white. Whatever you pick, make sure the base color and the font color are contrasting colors so you can easily read the words.
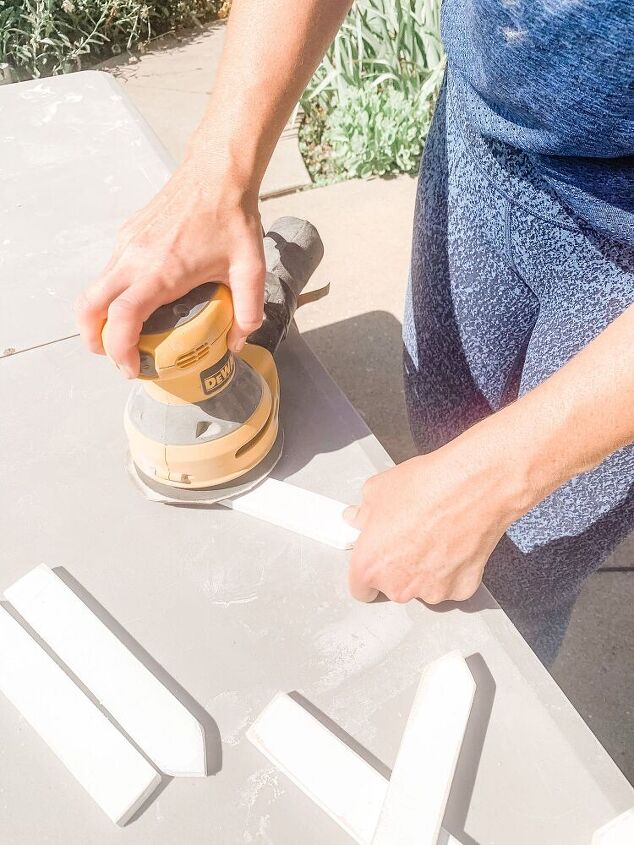
After the paint has dried, you’ll lightly sand all of the edges and corners again. This is to give them a worn look. I do this in two stages so I can achieve the worn look I want without removing too much of the paint, which is what would happen if I did all of the sanding at the end.
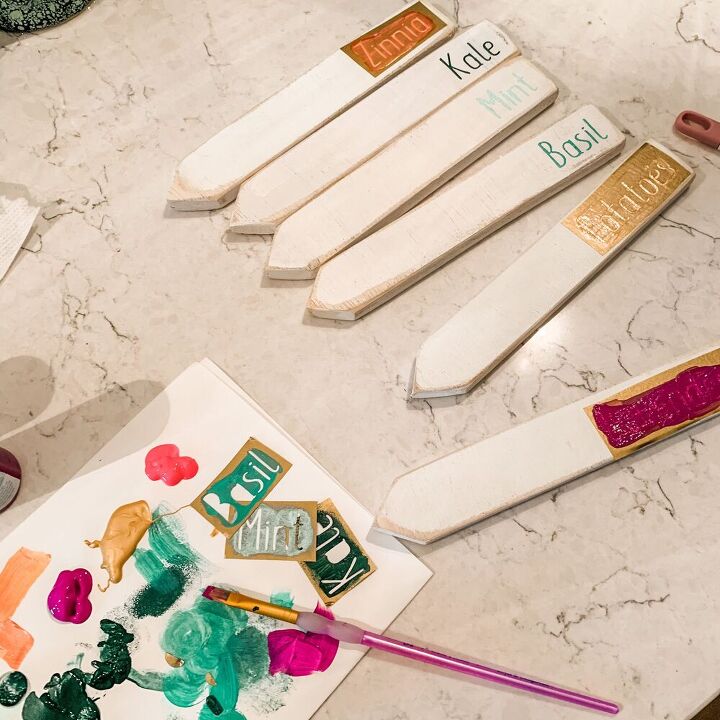
You’ll then stencil on the words and wait for those to dry.
Resources for this project:
See all materials


Comments
Join the conversation
-
They are adorable!
-
These are cute, but using plywood isn't the best choice for the material. The plywood will wick up soil moisture, causing it to swell, warp, and split. A better choice would be a piece of solid wood.


Frequently asked questions
Have a question about this project?
How waterproof/fadeproof is the paint you used for the names?