


Trash to Treasure Writing Desk Makeover
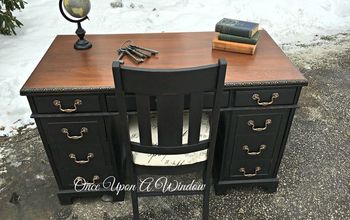
My husband did it again! He took this old writing desk (I think it is a writing desk, am I right??) off the side of the road, which was meant for the garbage trucks, and brought it home for me. You can see all the other goodies he has brought home for me and their trash to treasure makeovers here. This piece was very cute, but was also very beat up! The top had some bubbled up water damage, and the rest of the piece was severely scratched up. But, you know what they say…”One man’s trash is another man’s treasure.” Here is what I did to make this into a treasure.
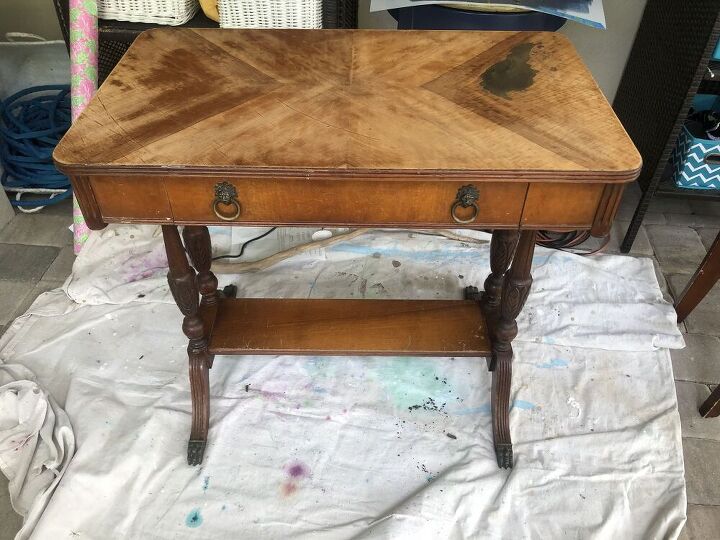
I started by using my hand sander to try to sand down the bubbled up water stain. It wasn’t working. The veneer literally just peeled away and what I found underneath was moldy, damaged wood. I cleaned it up as best as I could, but it left a hole on the top of the table that I needed to fill in.
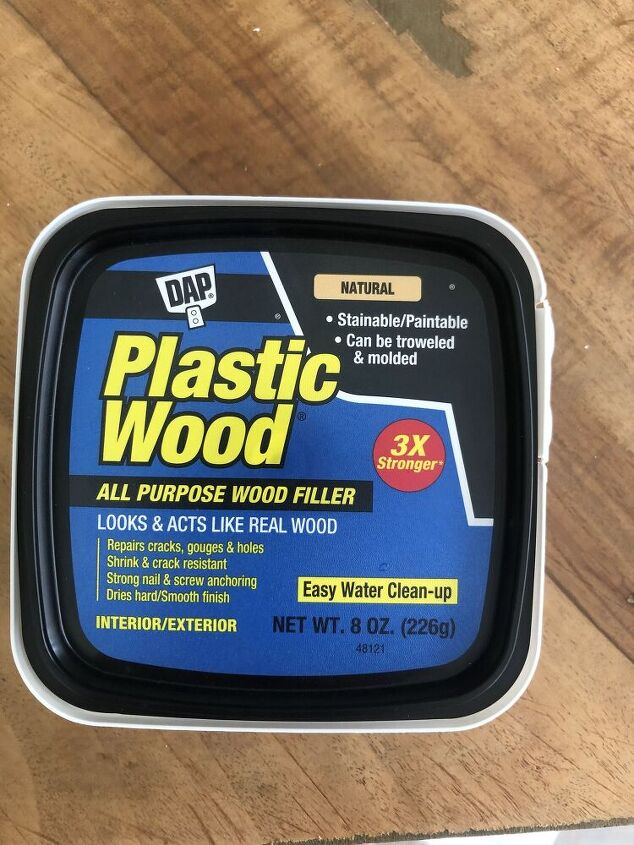
I used this Plastic Wood All Purpose Wood Filler that I found at Home Depot to fill in the hole.
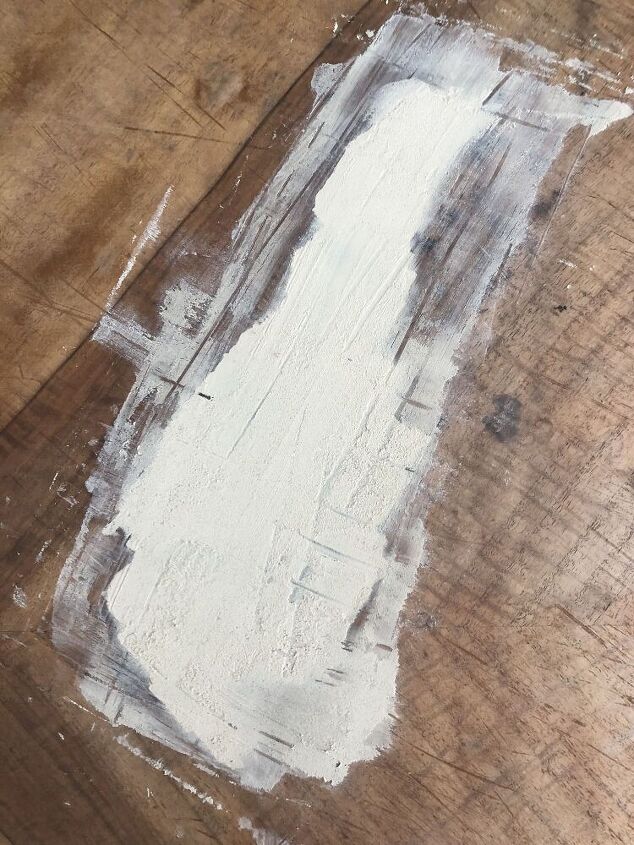
Once it dried, I sanded it down to make it even with the top.
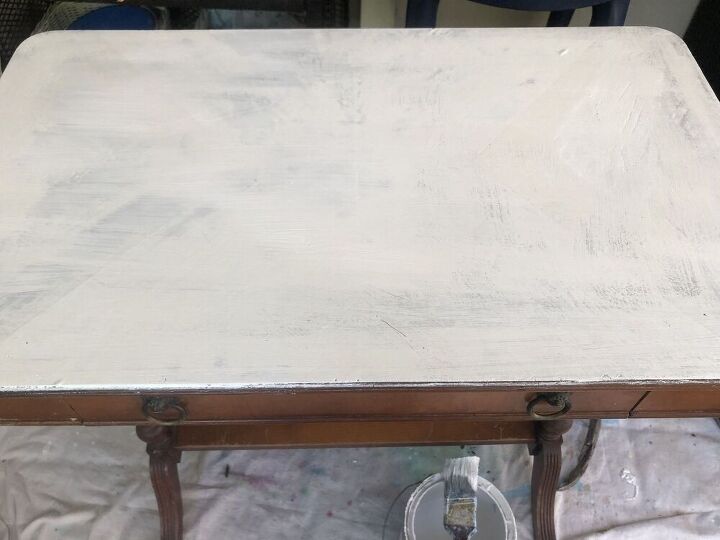
This entire piece was very beat up and was scratched all over. It was beyond repair in my mind, so I decided to paint it instead of trying to sand and re-stain it. This piece was not an antique and not worth any significant money, so I figured I’d go for it. So first I painted the top white.

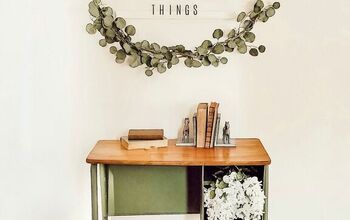
For the legs, I checked out my paint stash in the garage and had about 1/2 gallon of this color that we used on the Tiki Bar called Tropical Lagoon.
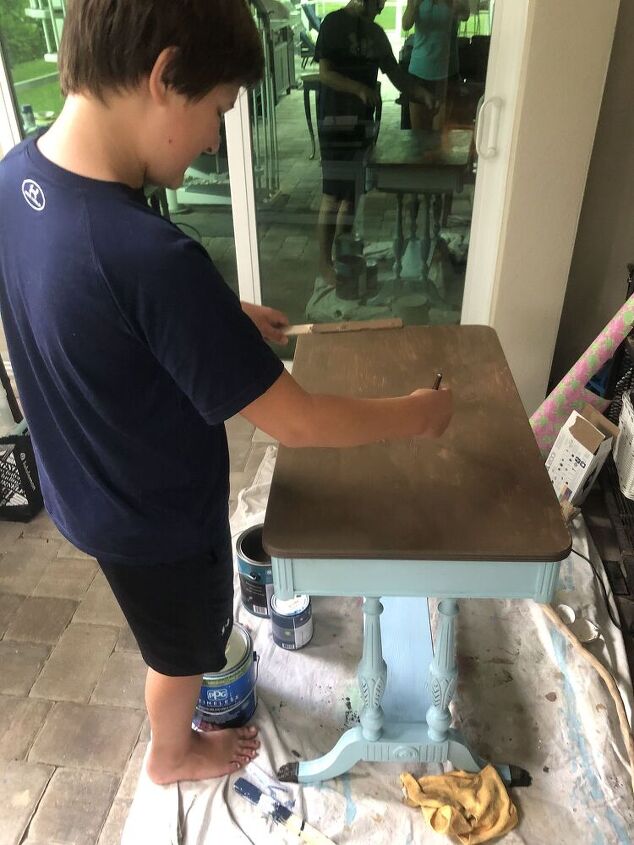
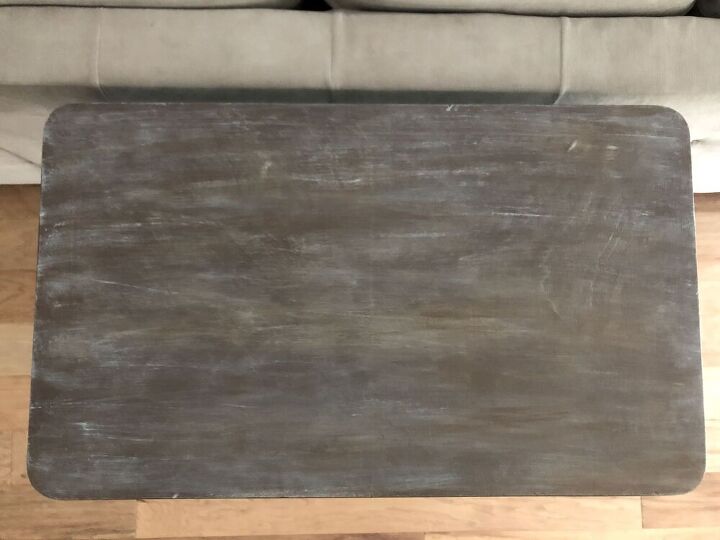
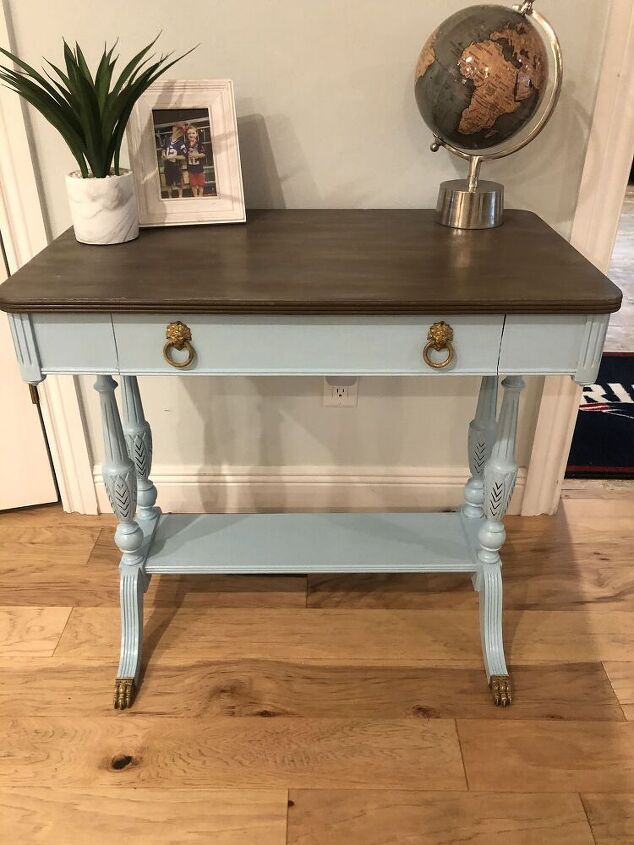
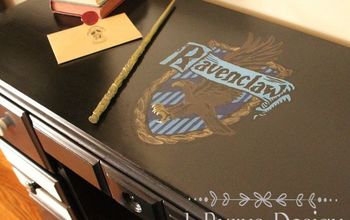
For the top I choose a chocolate brown color. My son helped with this. After I painted the top, I decided to do a bit of an antiqued look. To achieve this, I dipped a dry brush in the Tropical Lagoon color that I used for the legs, and lightly painted it on the top. Any spots I wasn’t happy with I added more brown to, until I was satisfied with the look. And lastly I used some MinWax polyurethane on the entire piece to protect the paint.
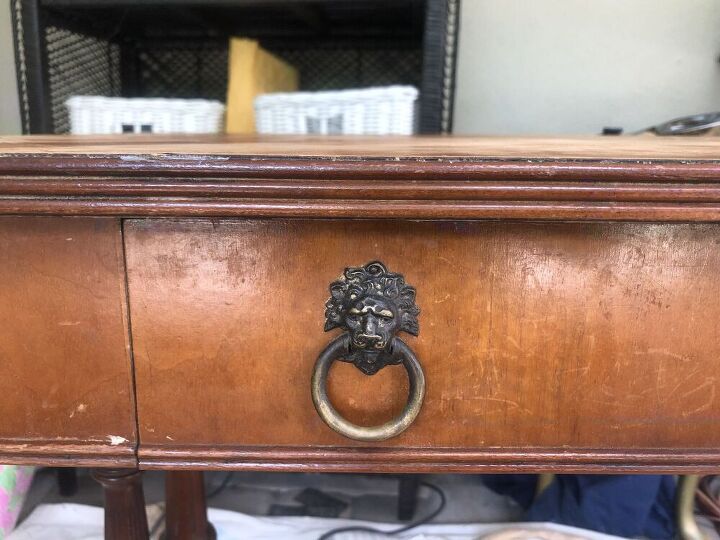
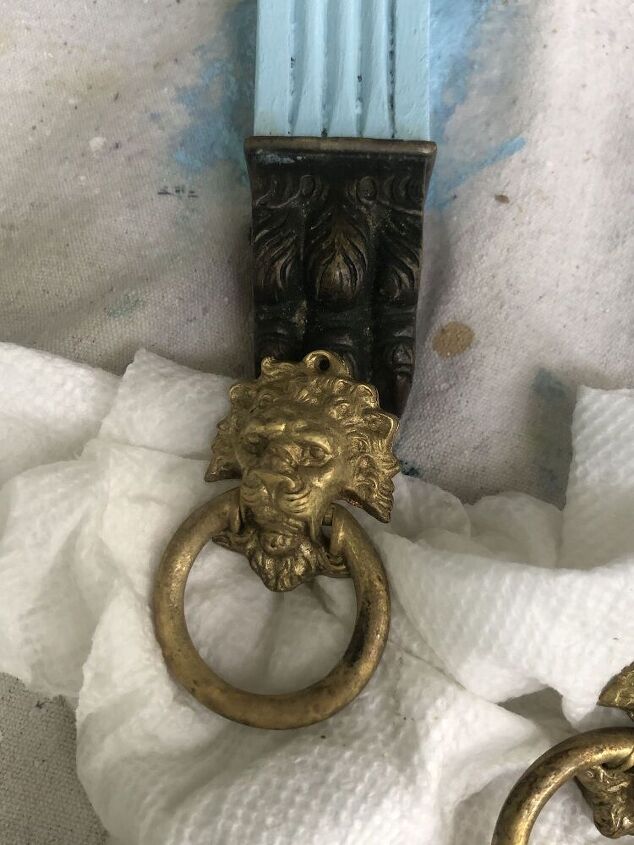
I love the details of the knobs and the claw feet of the legs, but my goodness were they dirty and tarnished! I found some tarnish remover in our garage and decided to see if this stuff would clean them up. To clean the knobs I unscrewed them from the drawer, and used an old toothbrush to scrub them. This stuff really worked great. Once the knobs were down I scrubbed the feet until they matched the knobs.
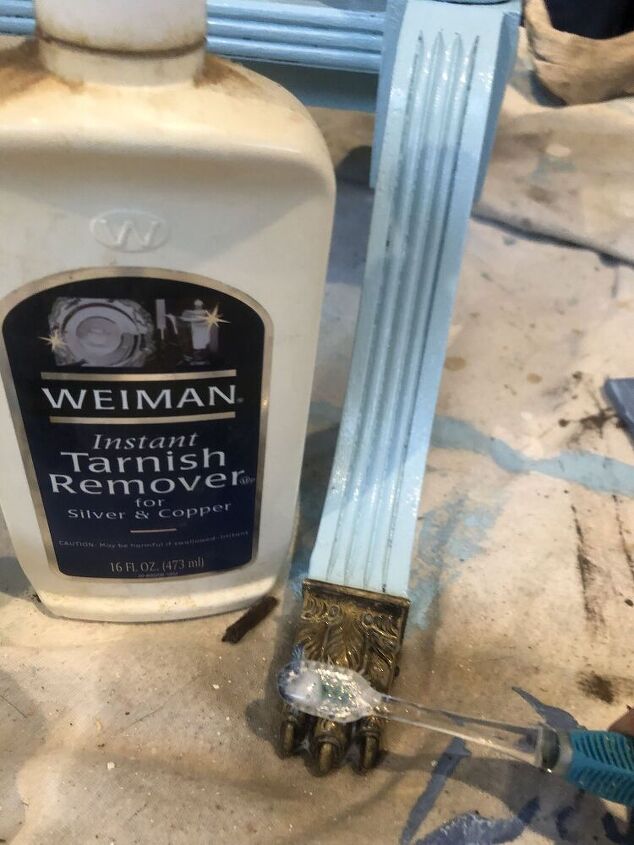
Check out the difference!
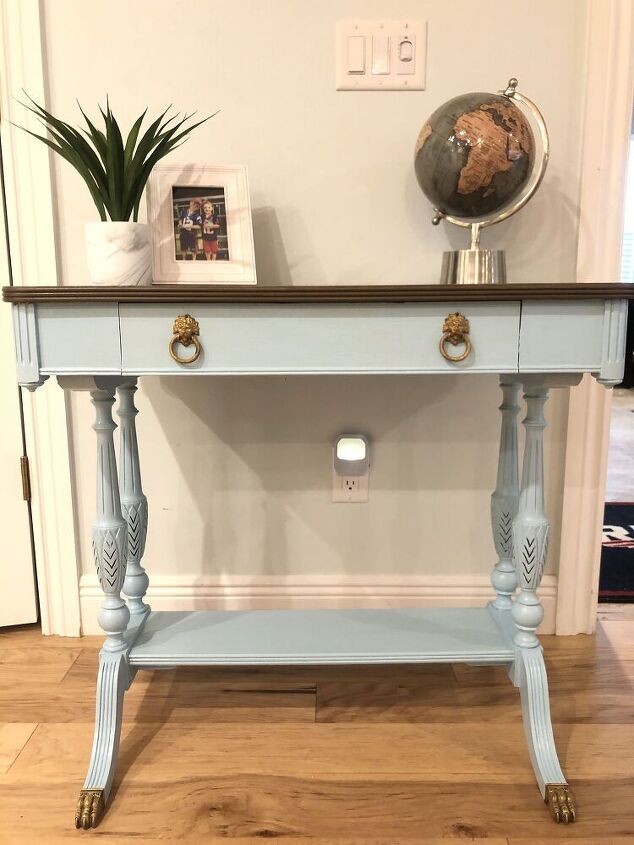
And here is the final product…I ended up selling this to a sweet woman who was opening up her own salon suite for her hair business. It looks great in her space!
Click the link below to see more of my trash to treasure makeovers.
Resources for this project:
See all materials


Comments
Join the conversation
-
Super, super cute! I love the detail of the brown in the crevices on the legs - and the whisking technique on the top tied it all together! It's just so doggone PRETTY!!! I LOVE that this could go in a salon - she could store rolled up towels on the little ledge underneath, or hair products available for sale. Maybe a couple of dark woven baskets to hold them? SUPER cute!!!
-
Nice old piece, 1890s or late 19th century walnut veneer, bookmatched. A restorer with skills could have reattached veneer, patched a few places, and given it a deep glowing finish. That didn't happen.


Frequently asked questions
Have a question about this project?
This is so cool! Love the knobs and the feet! Great job!
I’ve seen the wax available everywhere but I have no idea how or when to use it
Beautiful job! Do you recall what brand of paint that was, in Tropical Lagoon?