


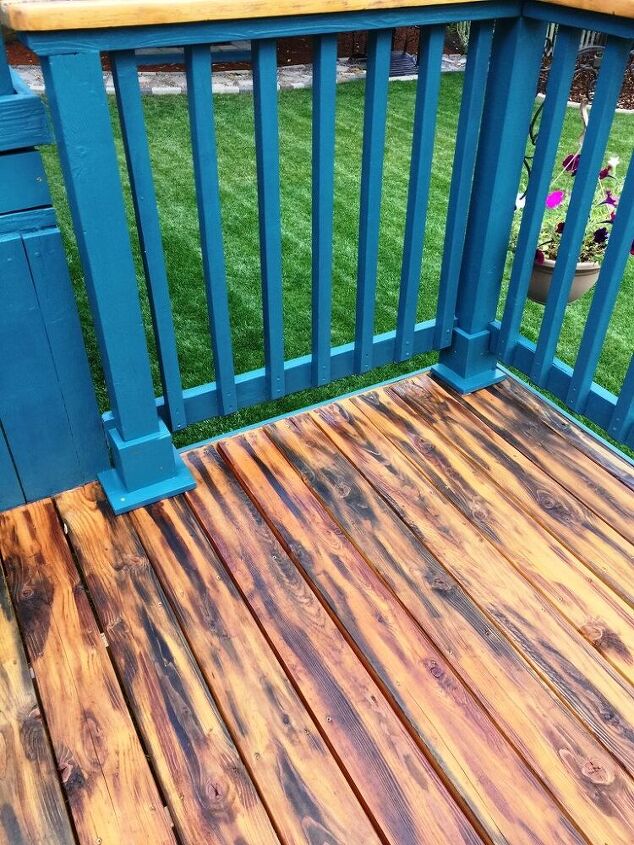
Let's Make Post Boxes for the Deck

Or maybe I should say boxes for the deck posts. Some of our posts on the deck have been less sturdy than I'd like. We recently had work done on our deck and our Contractor added some support to the posts that were a bit loose. I had previously been using angle irons on them.
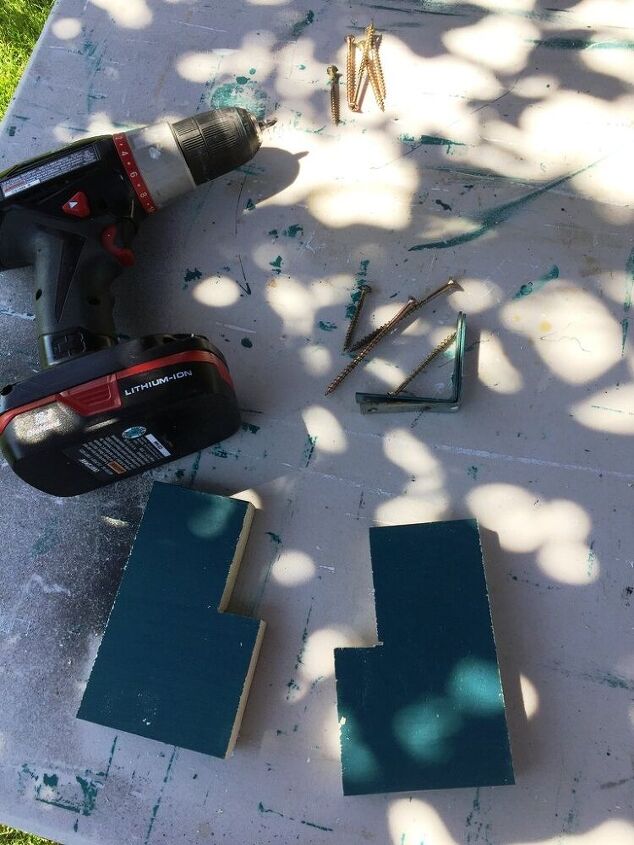
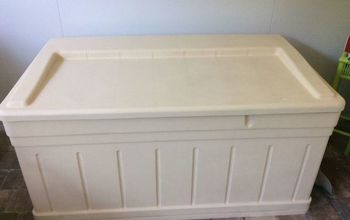
Here are a couple of the angle irons that were removed from the posts when the new deck floor was installed. Even though James, our Contractor, said the posts were sturdy, I wanted to add even more support to them.
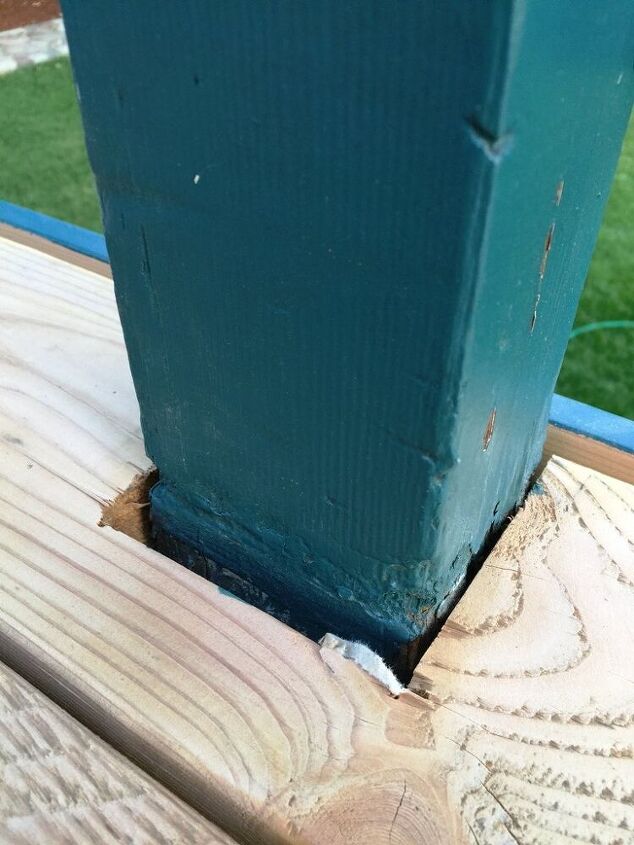
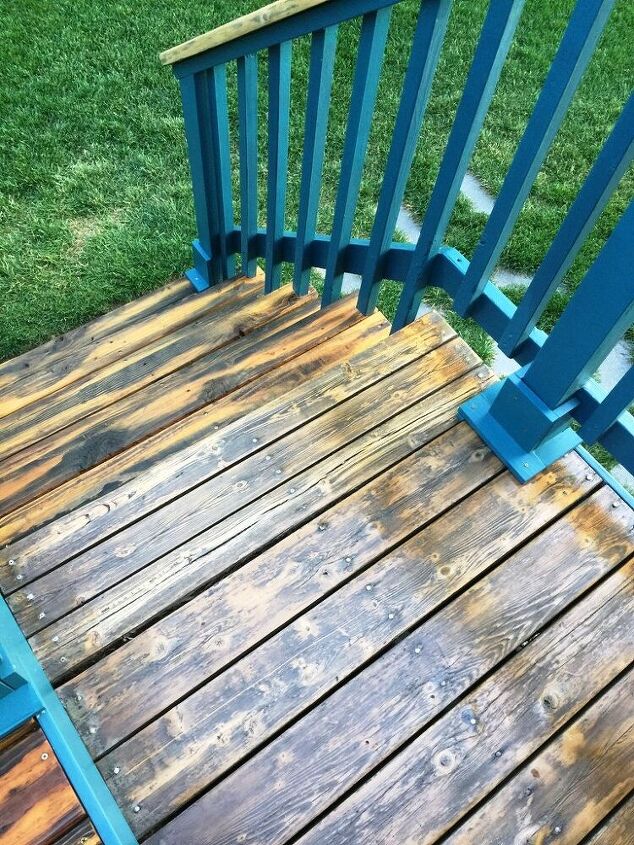
I also wanted to cover up the damage I had done to the bottom of the posts with the sander. I sanded the old deck floor several times and the posts have taken a beating!
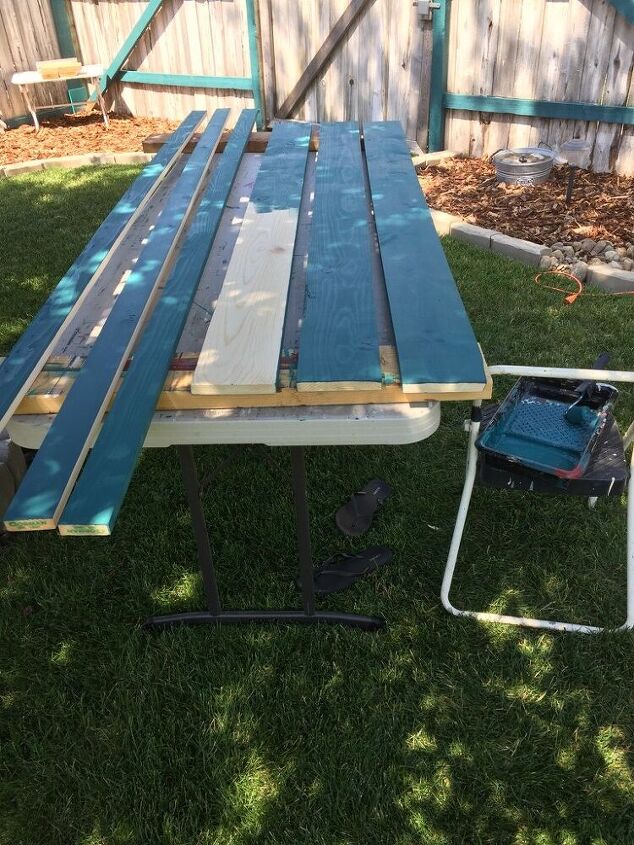
While I've not built 'footings' like this before, I had all the tools I needed to make them so I decided to give it a try. I bought 1" x 6" & 1" x 3" boards for the little boxes. Since these were pretty smooth, they just needed a light sanding. I applied two coats of paint to all sides before cutting them to the sizes that I needed.
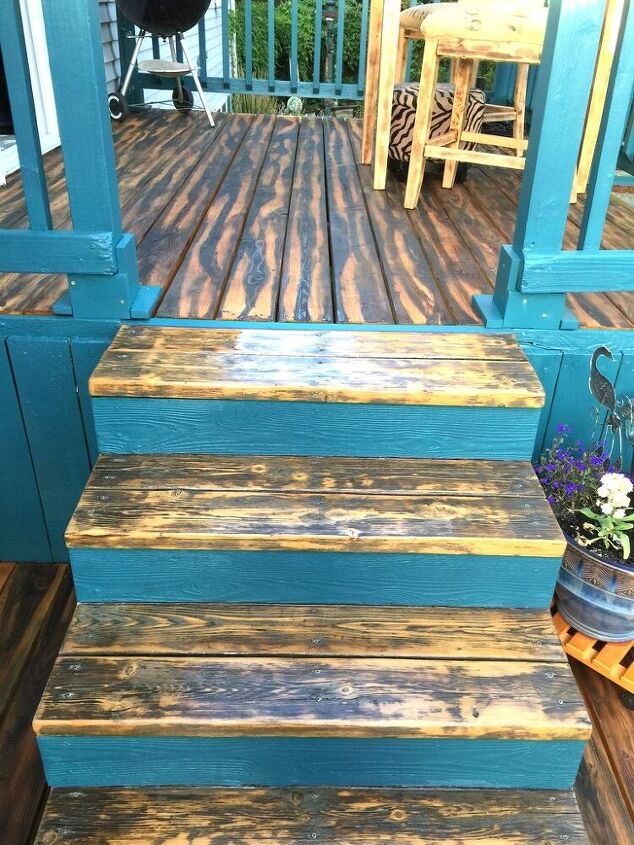
There are 15 posts between the two decks & the bottom set of stairs. You'd think they were all the same size, right? Nope! I had to measure each post several times while cutting the pieces.
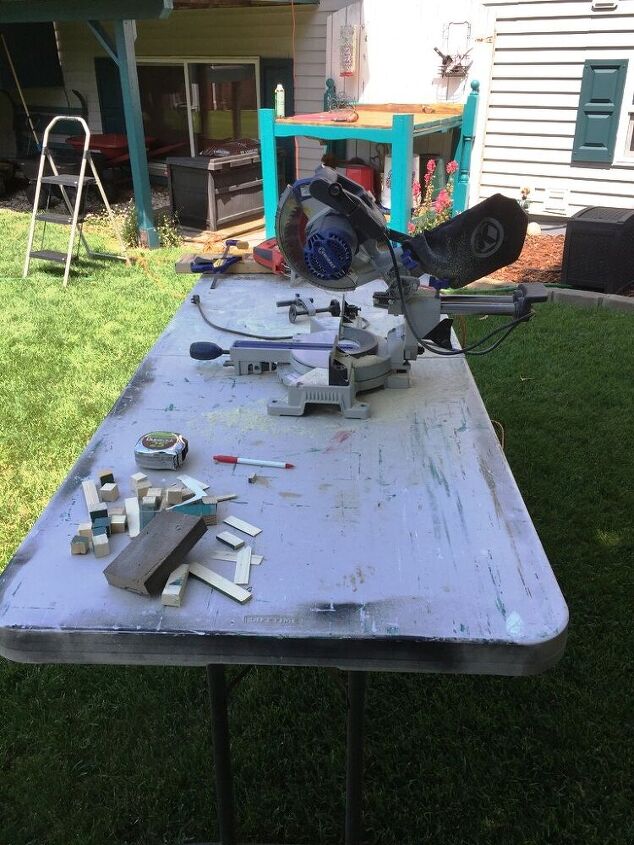
Since the post locations on the deck are different, the number of pieces per post ranged from 4 to 7. I used both my miter and jig saws for this task.

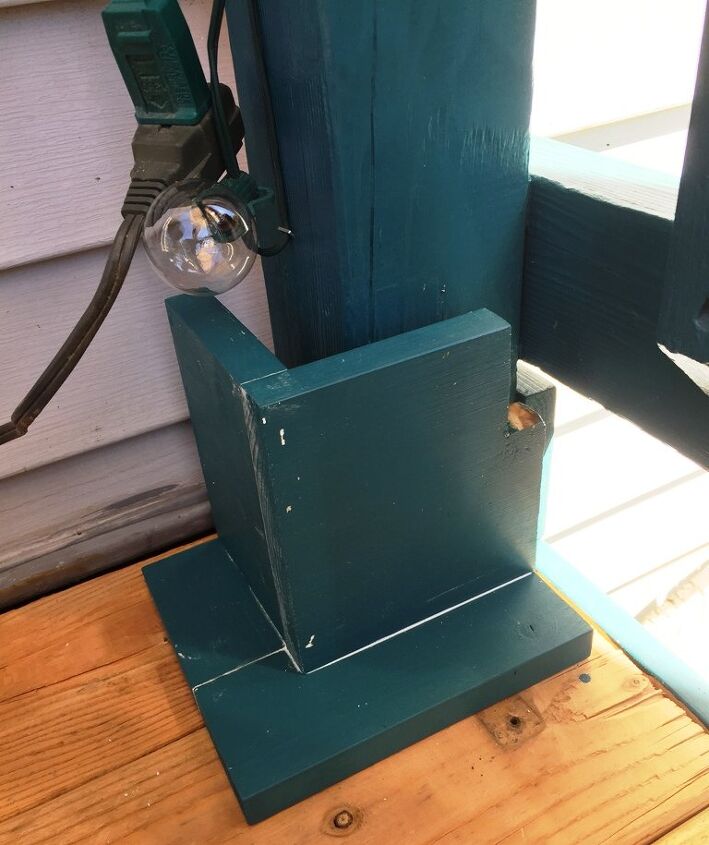
Once all the pieces were cut, I assembled the boxes. To attach the pieces, I used Elmer's Wood Glue then secured the pieces with my nail gun.
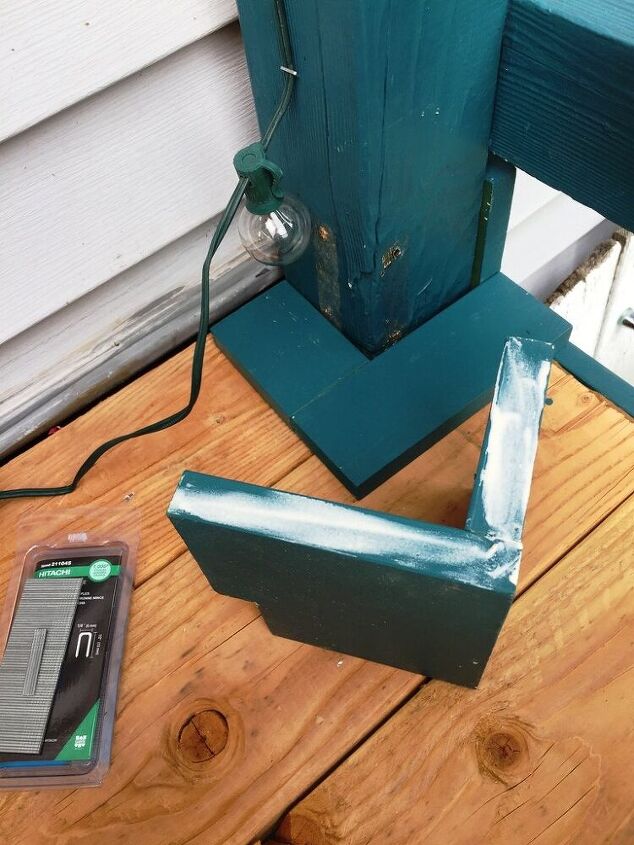
I first attached the 1" x 3" boards that would be at the base of each box and the 1" x 6" boards that would go around the post. I used clamps to hold the pieces together as the glue dried.
After the glue dried firmly on both sections, I glued & nailed the top of the box to the base.
Once each box was assembled, I filled in the nail holes & gaps with wood putty then did touch up paint.
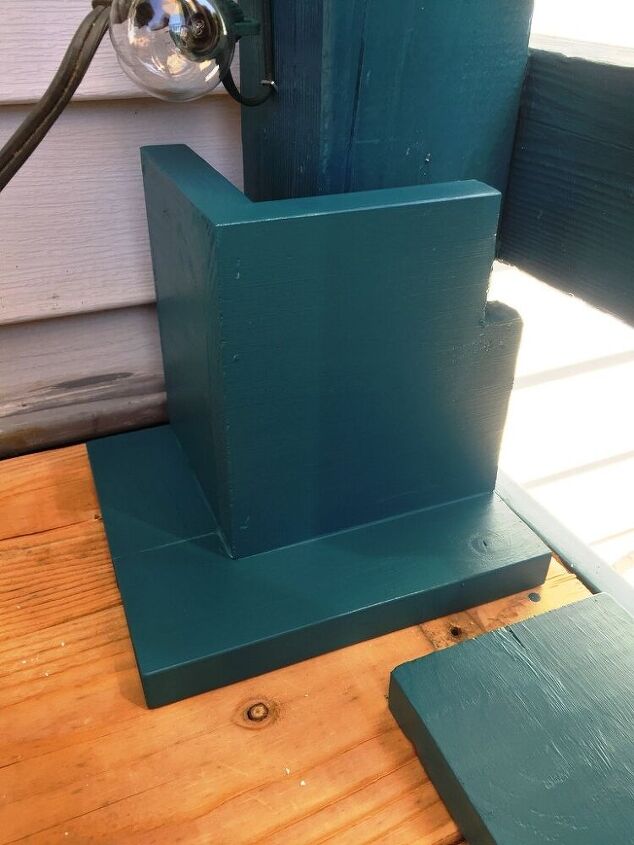
I numbered each box to know which box went to which post, then set them aside to be installed after the staining was done.
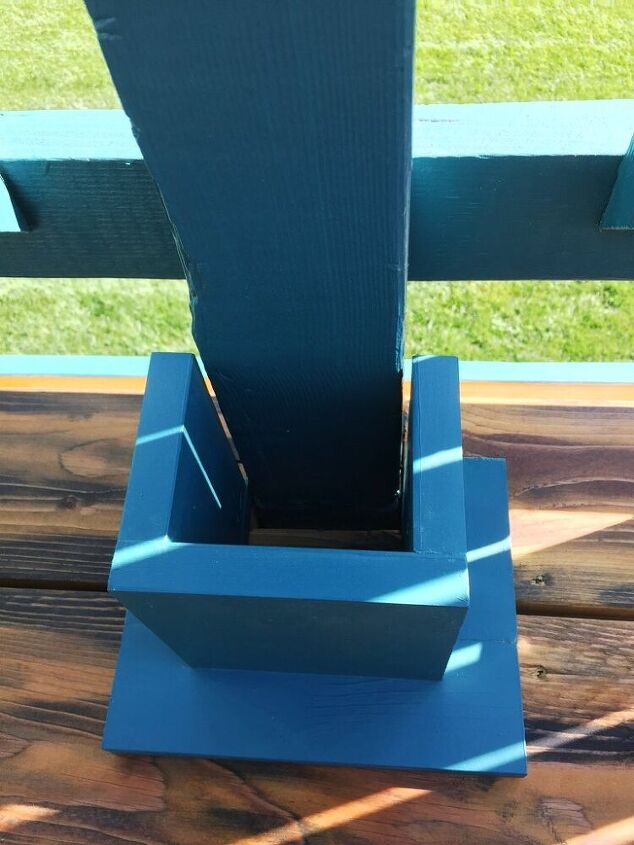
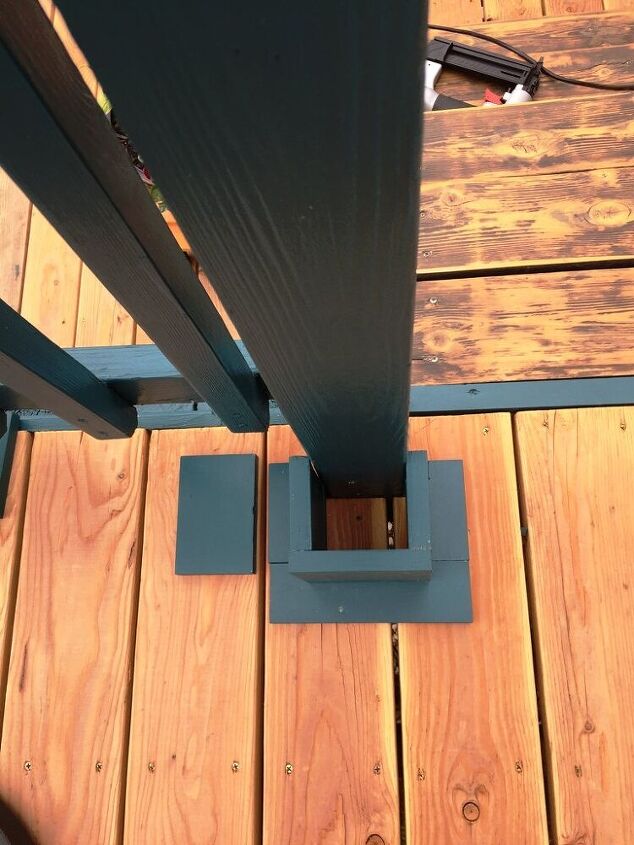
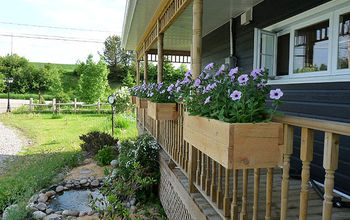
After allowing a few days for the new stain to dry really well, I installed the boxes I had built for the bottom of each post. I was so thankful that I had numbered the boxes!

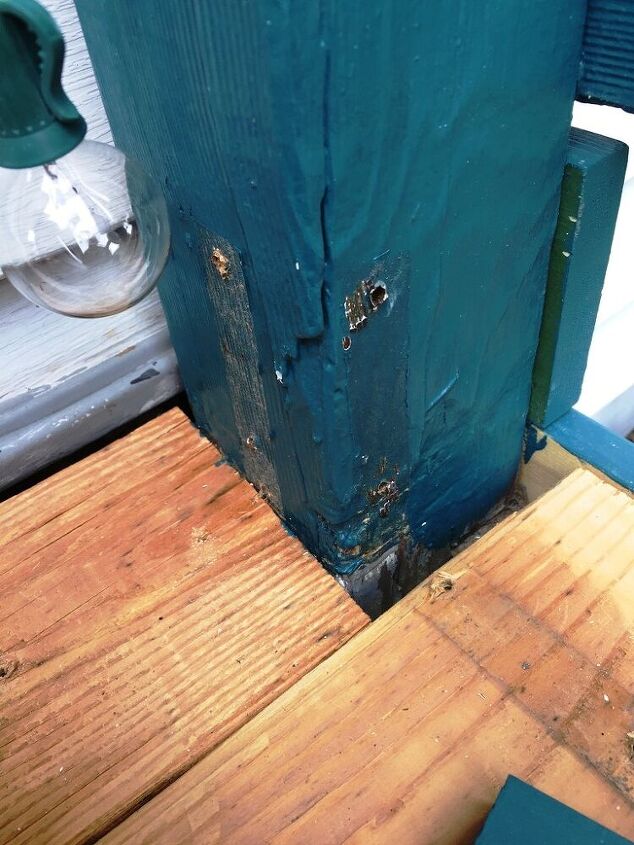
To install them, I used screws in case I want to remove them next time I work on the deck.
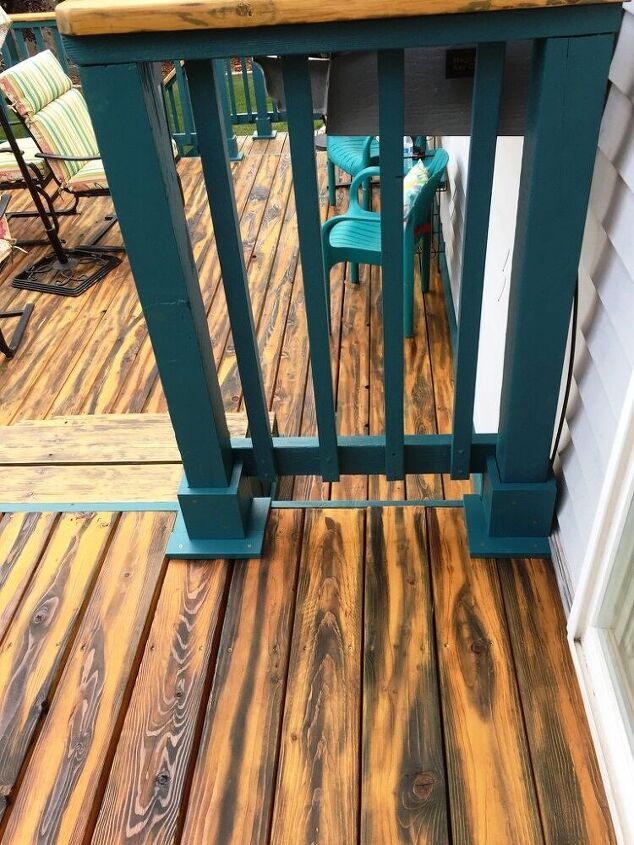
Hubby thinks I used a bit too many screws per box and he is probably right but I wanted to make sure they held the posts firmly.
For most of the boxes, I used 2 screws on each side of the post and 2-3 to secure the base to the deck floor.
The 4th side of each box was not glued or nailed to the rest of the box. I attached them to the outside of each post with screws.
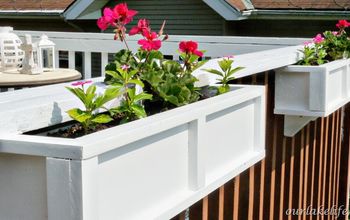
It is amazing how stable these posts are now! Both of us love the finished look these boxes give to the deck! I had all the tools, glue, screws, paint for this project. I bought 6 boards for a cost of $22.00
Resources for this project:
See all materials


Comments
Join the conversation
-
That is gorgeous‼️ Love the blue with the deck floor. Perfect😊
-
Gorgeous deck! ❤️


Frequently asked questions
Have a question about this project?
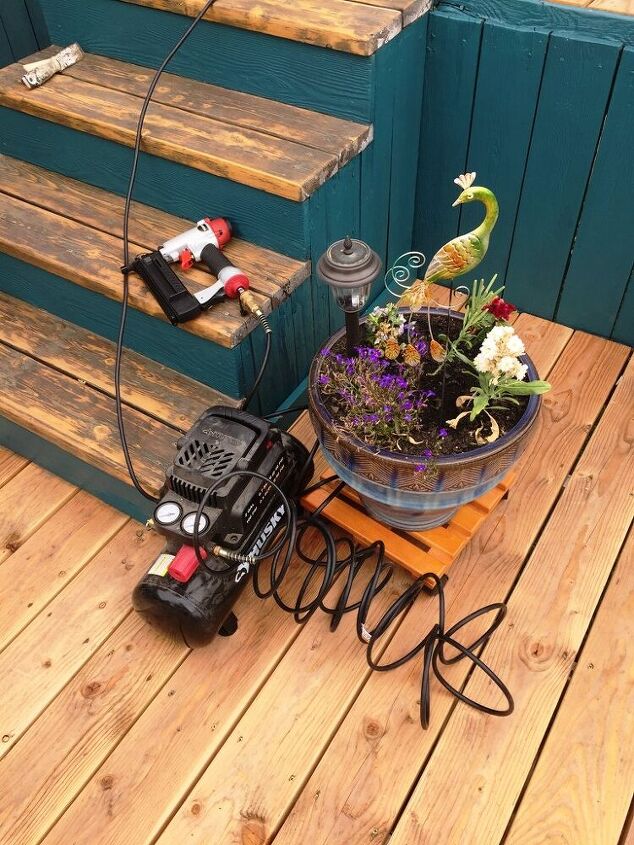
What brand is that small air compressor?
Did you torch your deck boards?? They look REALLY GOOD!!
did you install a vapour gasket under those? If not, this is a really bad idea that will rot out the deck around the post under them.