


A Garden for My Patio ... Chair

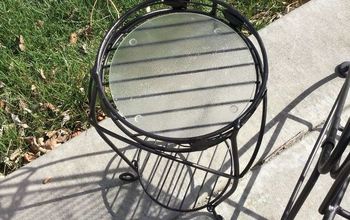
Life circumstances had halted my ability to creatively upcycle for several years, so you can imagine my excitement when I found this old abandoned chair in my new home where I could finally unpack my tools and crafts again. The chair was very comfortable, and I had a patio that needed furniture. But how to make it pretty and unique and still functional? My creativity had been dormant for too long.
Some time later I was visiting my sister and found myself staring at her lawn chairs—ones I had seen for years. “That mesh looks just like even-weave fabric,” I thought this time. “I could cross stitch on that.” Inspiration had struck! I could hardly wait to begin my own chair.
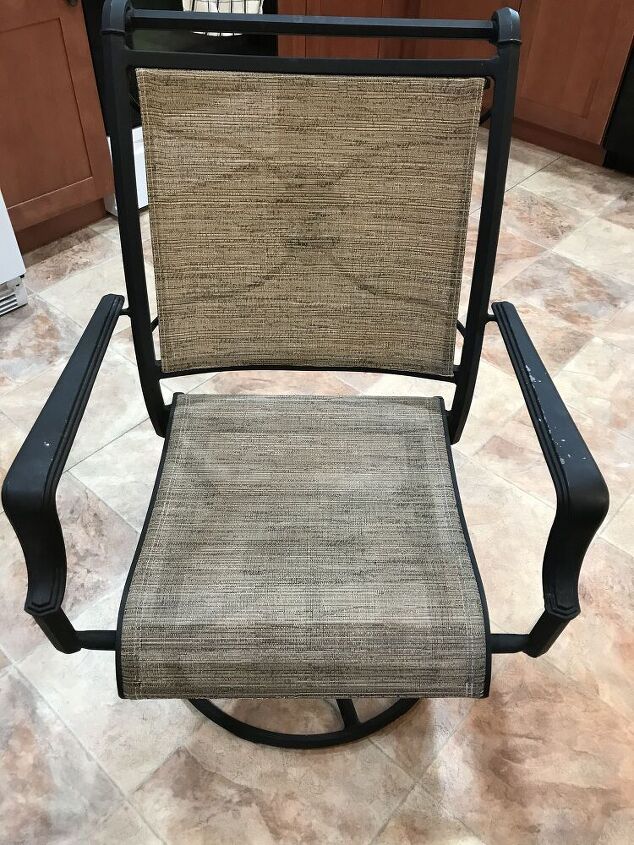
This abandoned chair needed some sprucing up, and my patio needed some bright colors. I could have just spray painted it, but I wanted something unique and fun to catch my eye when I opened the curtains.
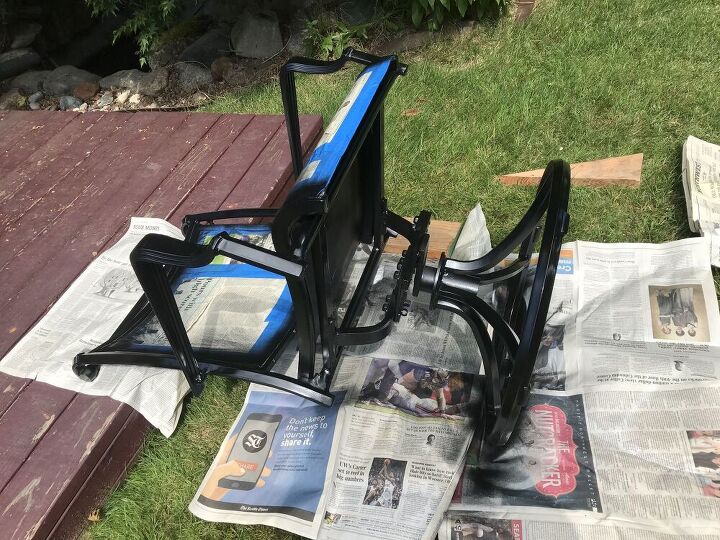
After a good sanding and wash, it was time to prep for paint. Since the color would be provided elsewhere, I decided to match the original color, but bling it up with a high-gloss spray paint. The frame looks so much better with its new coat.
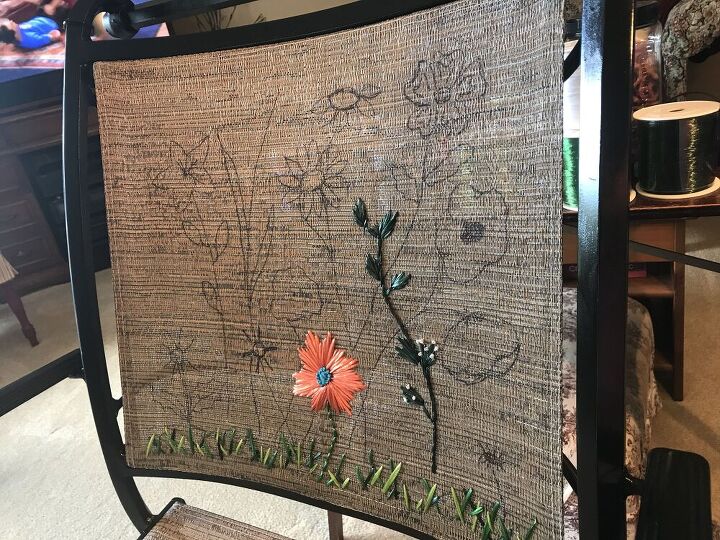
I spent some happy hours looking up ribbon-embroidery tutorials online while planning the project. But since the chair would be living outside in our damp and cool Pacific Northwest fall/winter/springs, I wanted to do something that would resist mold and could withstand rain without the color running. I chose to embroider a colorful flower scene on the back of the chair using pearlized raffia. I sketched out a plan on graph paper and then free-handed the outlines on the back of the chair with a Sharpie pen. Then it was a matter of choosing colors and stitches to bring the scene to life.
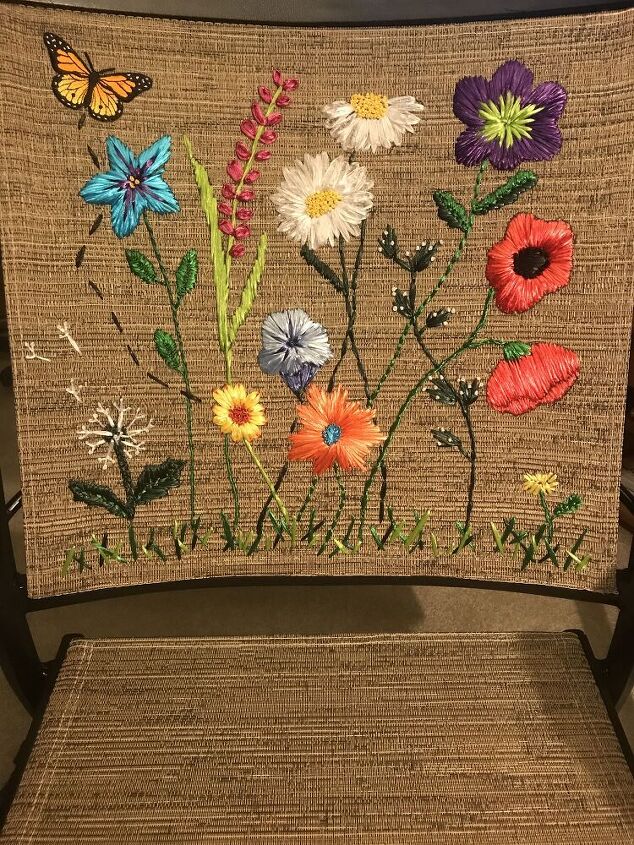
I was planning to embroider a butterfly, but as I was searching for a pattern, I found a butterfly patch in a drawer. It added just the right touch of realism--and saved my aching fingers! I then covered the untidy back by attaching a square of burlap across the back with invisible thread. And I finished the project off with a wandering bee on the front of the seat.
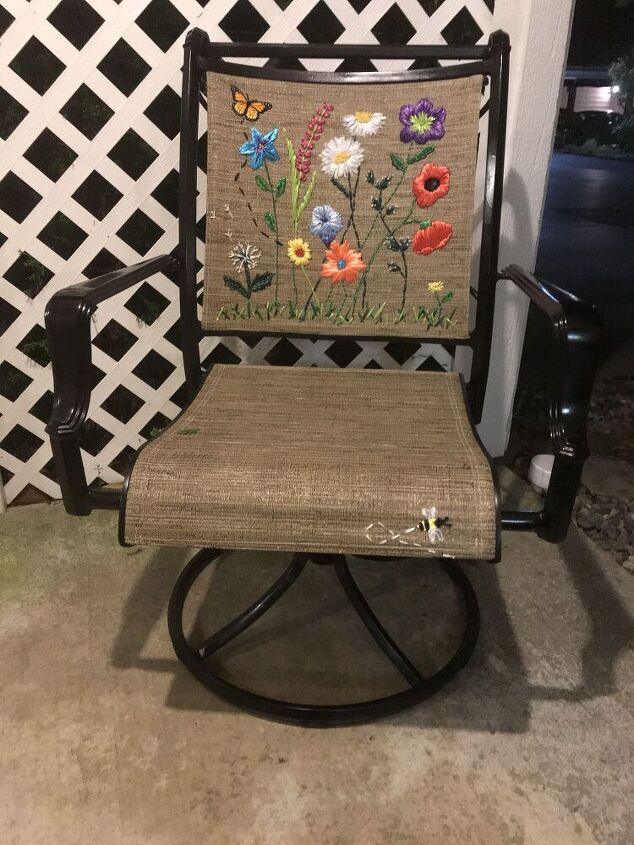
The project took a total of 2 months to finish, but that is because I could only work on it a couple hours at a time on weekends. The biggest challenge was pulling the needle with raffia through the mesh (needle-nosed pliers helped) without breaking the raffia and leaning over the chair to reach the back. The pain in my fingers and back/neck would tell me when it was time to quit for the night.
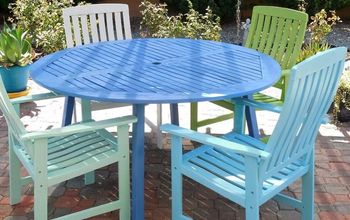
Though there is still much to add to the front patio, the chair is a beautiful beginning! I can't wait to add a patio table--upcycled from a thrift store candlestick and picture frame, of course!
Resources for this project:
See all materials


Comments
Join the conversation
-
This looks so fresh and beautiful. Great look !!!!
-
So beautiful and unique. I really like the design.


Frequently asked questions
Have a question about this project?
This is very pretty. Is it comfortable to lean back against? What about the back? The seams must be very noticeable.
what type of raffia is waterproof? is it real raffia or plastic? i’m curious if the colors will run when it rains or will fade over time.
Absolutely out of this world! If it were mine, NO ONE would every sit in it. I be afraid a person's back would rub too much and mess up that gorgeous picture!!!! Thanks for sharing.