


How I Built a Gallery Wall Above My New Desk

Hello from my office!
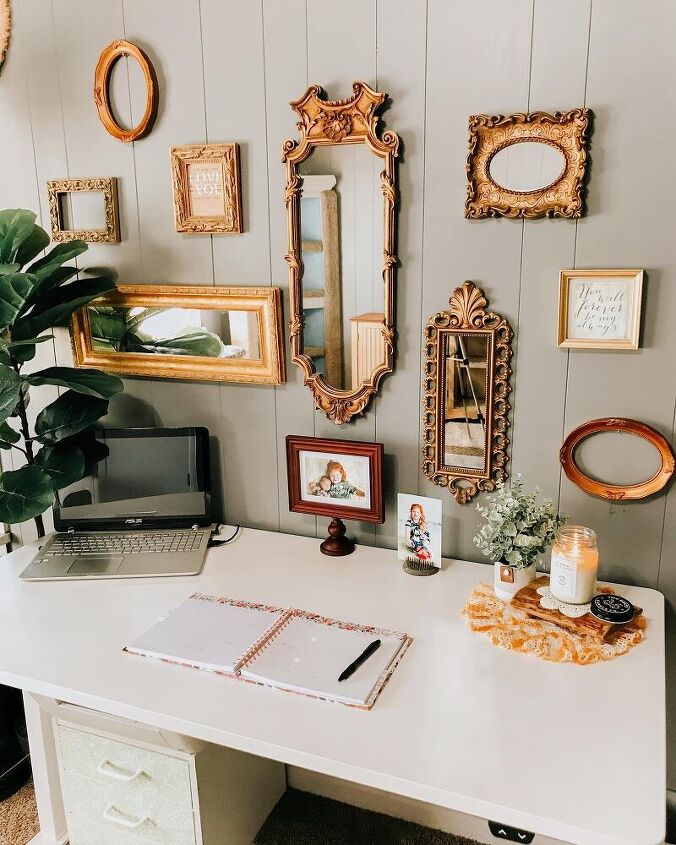
After we built the new desk (details on my blog), I wanted to decorate my work area and make it pretty to look at. We are still unpacking so I had to go search up my gold frames because that's what I knew I wanted to use. They were in two separate places, but I found them!
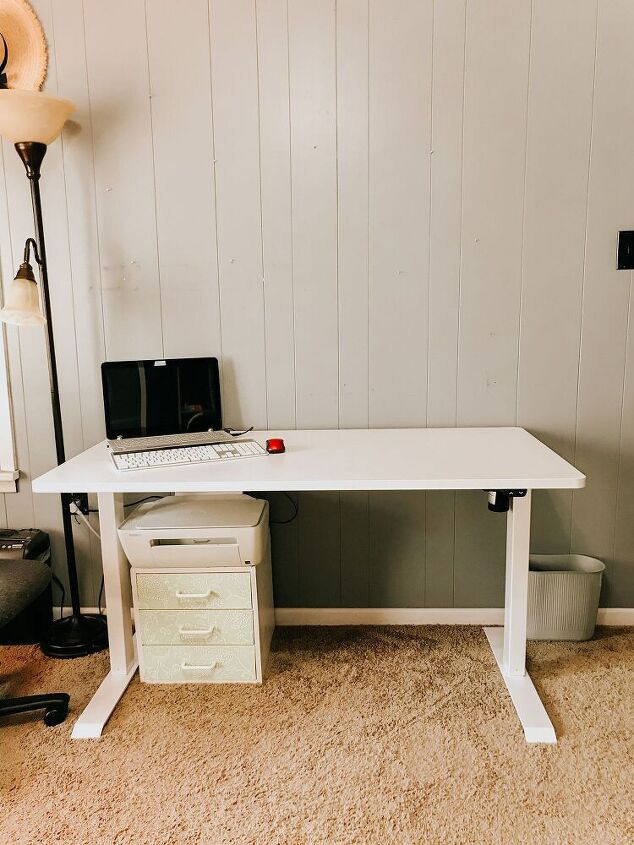
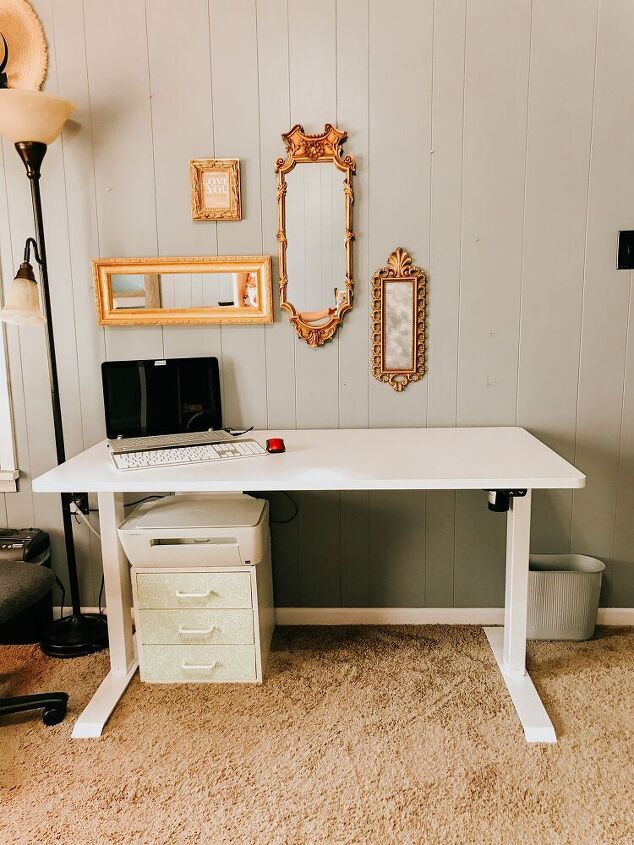
That wall is a blank canvas! Lets get started!
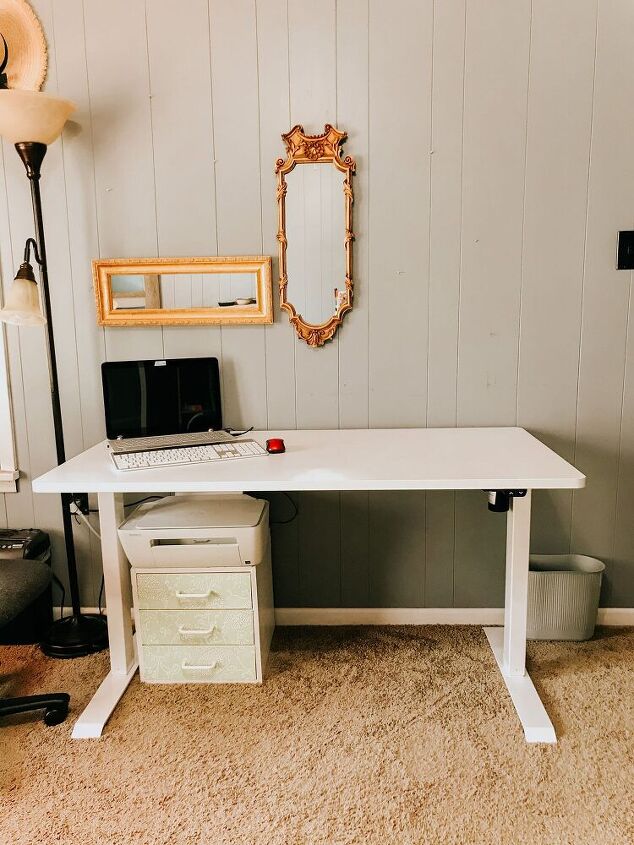
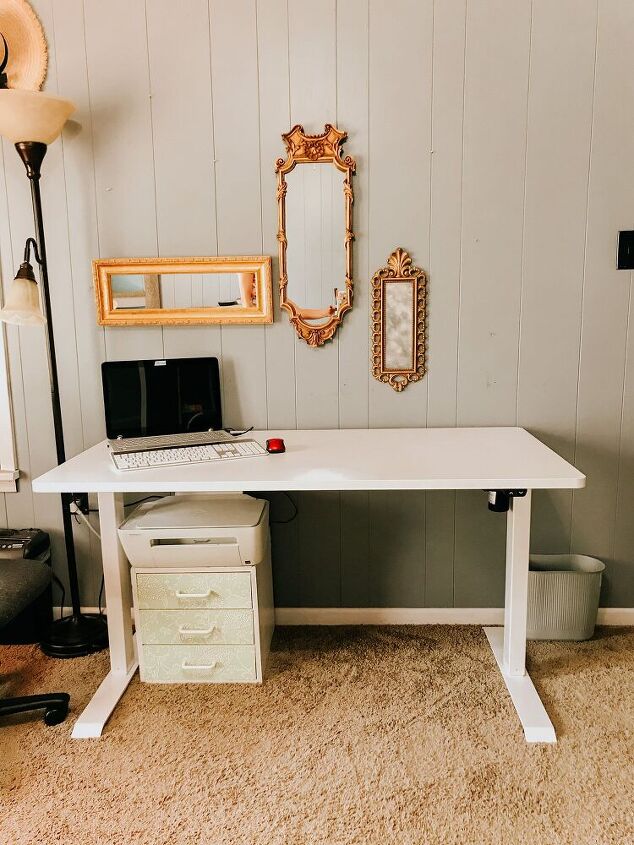
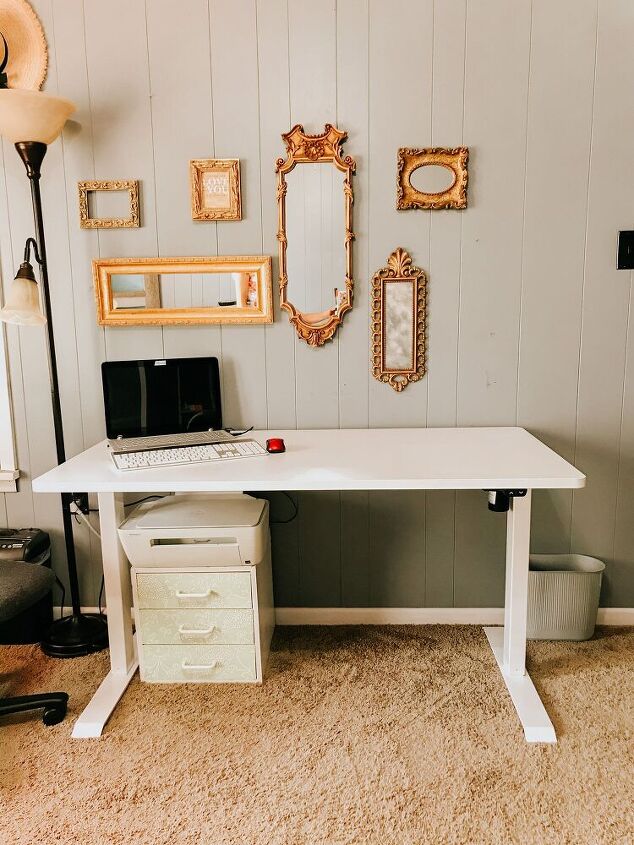
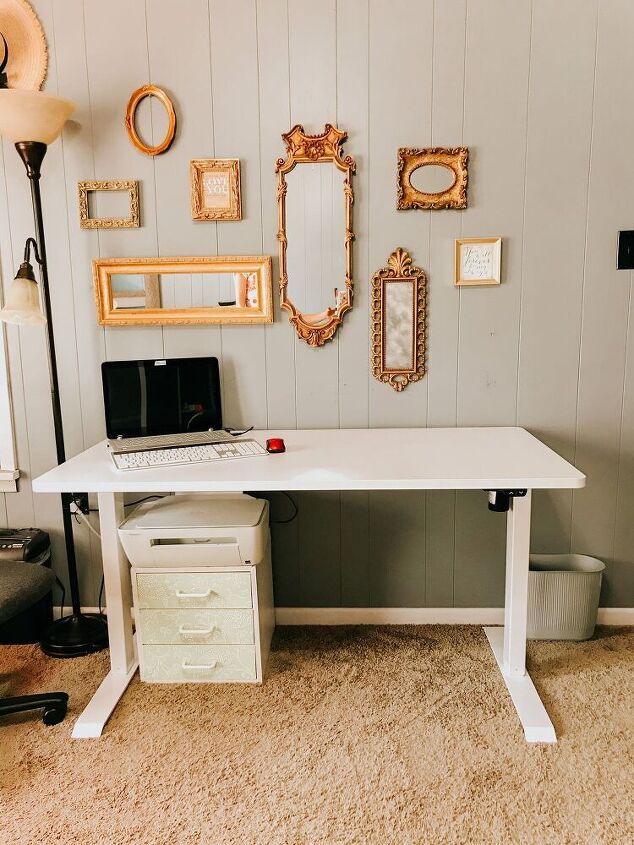
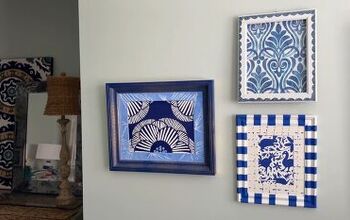
The following photos show you how I placed each mirror and frame to create my gallery wall. Its probably more than you need to see, but it gives you the idea of how I placed each piece.
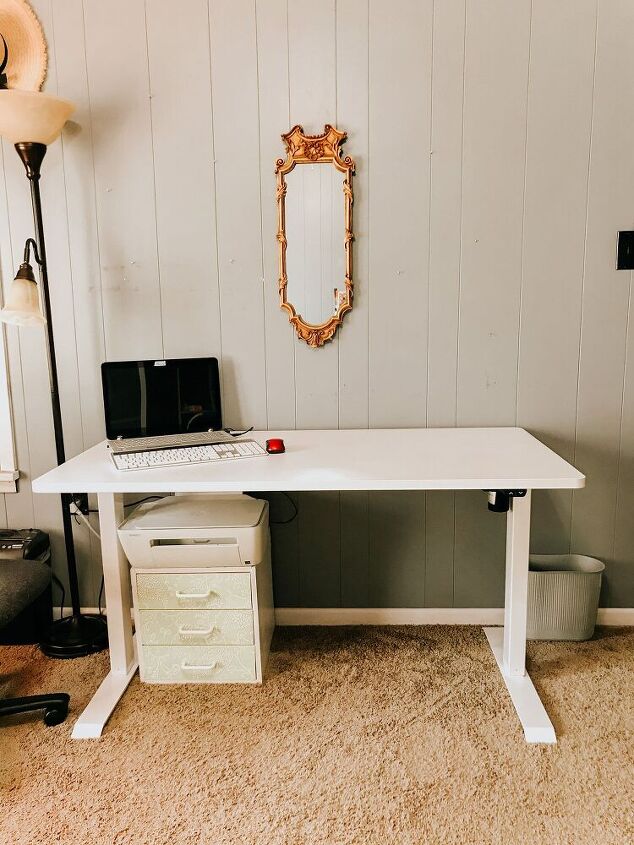
When creating a gallery wall, I like to start with my largest pieces and work down to the smaller ones. Obviously you aren't going to have the same items I do, so just place yours like you think they look nice to YOU.
What I used:
Gallery Wall pieces
Hammer
Nails
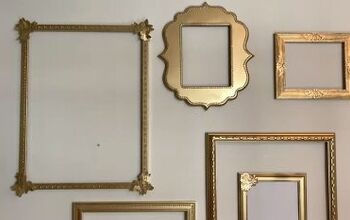
STEP 1: Before I started, I laid my frames on the floor and arranged them how I liked them, snapped a picture on my phone and then transferred the design to the wall.
STEP 2: I used the width of my desk for my border line and tried not to go past that.
STEP 3: Keep adding your pieces until you fill the border space you've allowed.


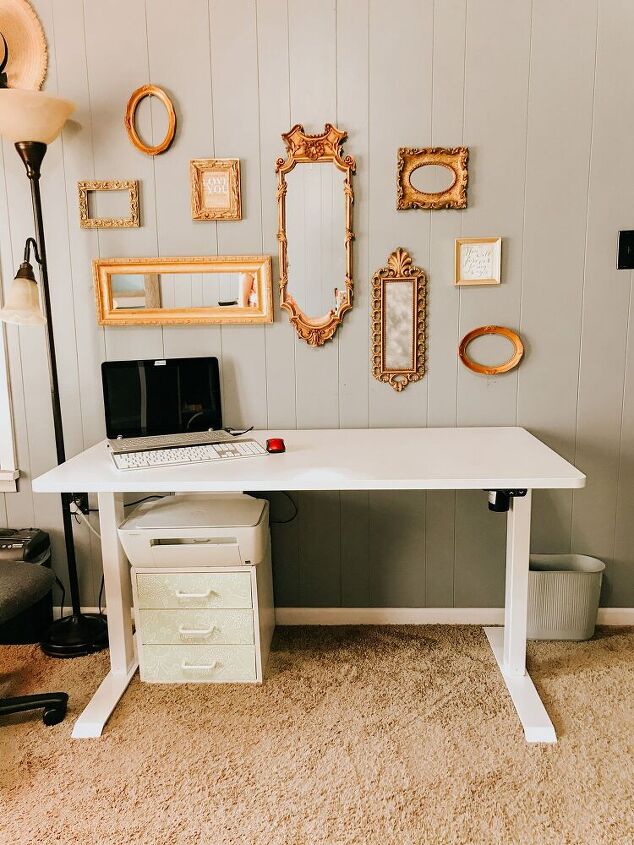
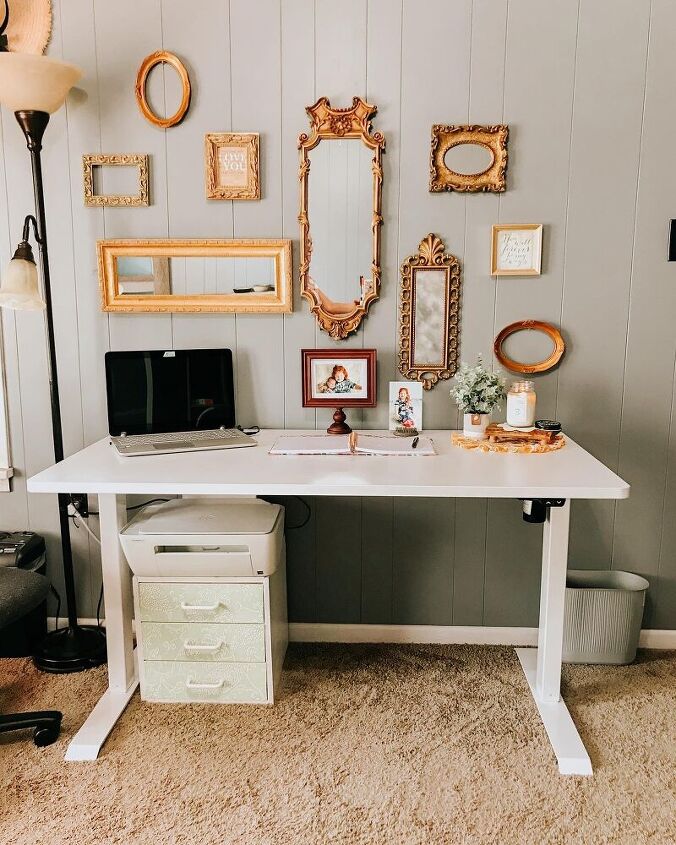
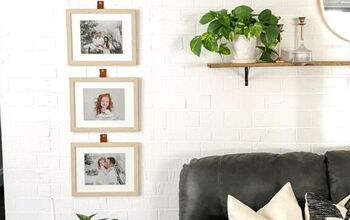
STEP 4: Decorate the remainder of your space if needed. In this case, I decorated my desk top with a few items I love!
There is no wrong or right way to create a gallery wall. These are items you love and put together and want to display in YOUR home. Have fun with it!
Thanks for looking! :)


Comments
Join the conversation
-
The green plant adds a nice touch or elegance to your already beautiful wall!
-
Gave me some inspiration!


Frequently asked questions
Have a question about this project?
I love your gallery wall! How did you attach your pictures to the wall?
Thanks
Love it! Well done! Thanks for sharing. I’ve been wanting to do this for awhile but just cant find the right wall.
p s where did you get your desk?