


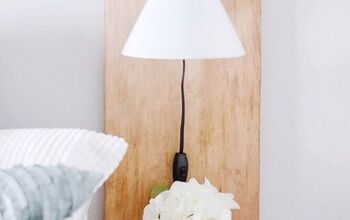
Modern Floating Nightstands

We have a small house and our master bedroom isn’t huge. We had the same layout with our furniture for about 2 years and I never loved the flow of the rooms and I refuse to give up our king sized bed 😆. So when I rearranged my bedroom, I did not have room for my traditional nightstands. I loved the layout so much more than the previous one that I decided to forgo my nightstands and build small floating ones so that I would have exactly enough space for our glasses, and a book, remote or drink. Not only would it look more modern and sleek, it would give us more floor space and reduce the areas where I could store useless clutter.
These sleek, modern floating nightstands will elevate your small space and reduce clutter.
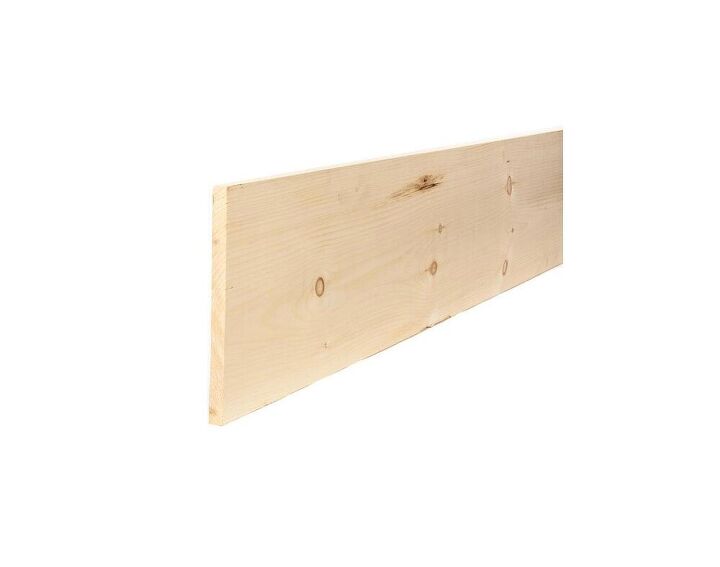
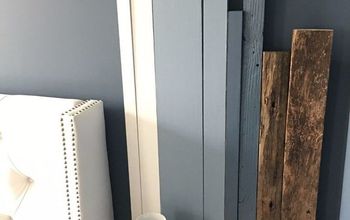
I had 14 inches on each side of my bed so I knew that I wanted my nightstands to be about 12 inches wide. I had a 1x12 x6 on hand but these cost about $15 at Home Depot.
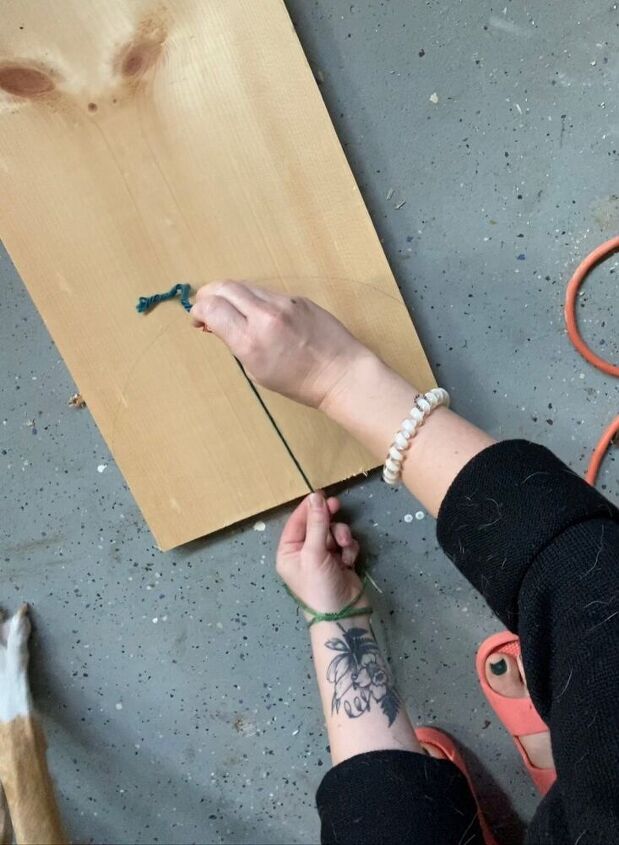
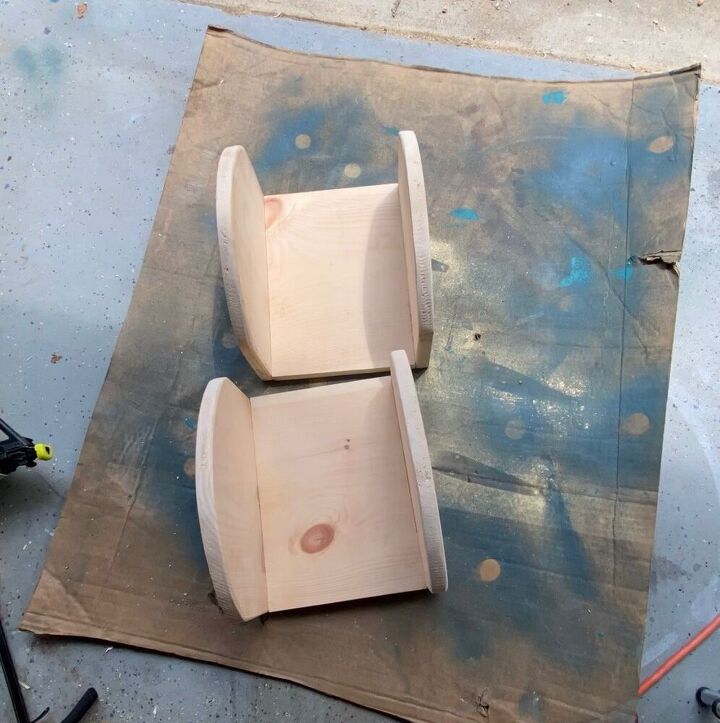
I wanted my nightstands to be about 12 inches wide, 10 nches long and to come out from the wall about 8 inches. I also wanted them to be a curved shape as to add more interest and be a bit more modern. This would also keep me from bruising my hips as I walk by them 😂.
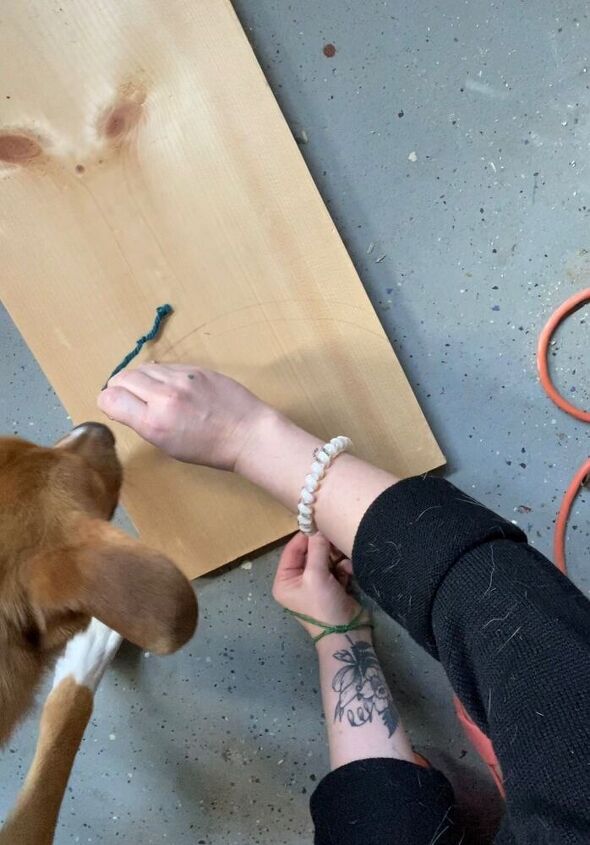
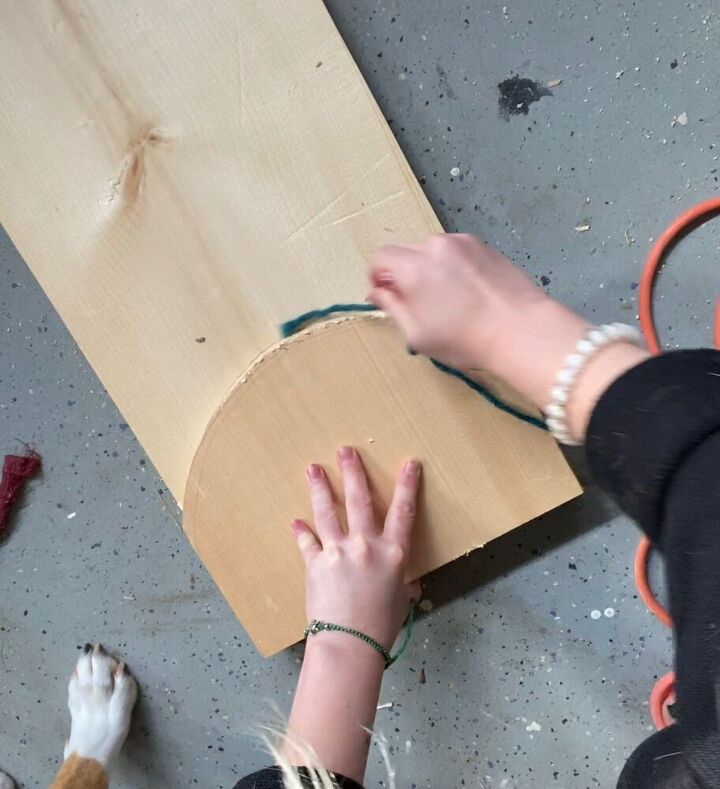
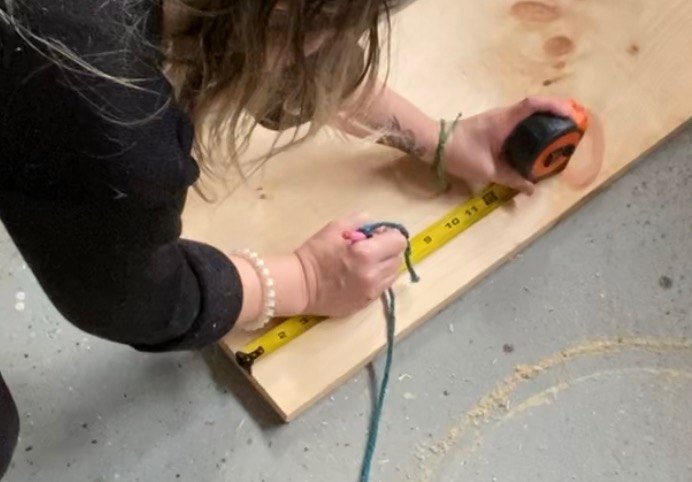
Measure a piece of string or yarn and cut to the length you want your surface to be. Mine is 8inches. Hold or tack it to the center of the bottom of your piece, and draw an arch on your wood. Be sure to keep the string taut so that your arch is even.
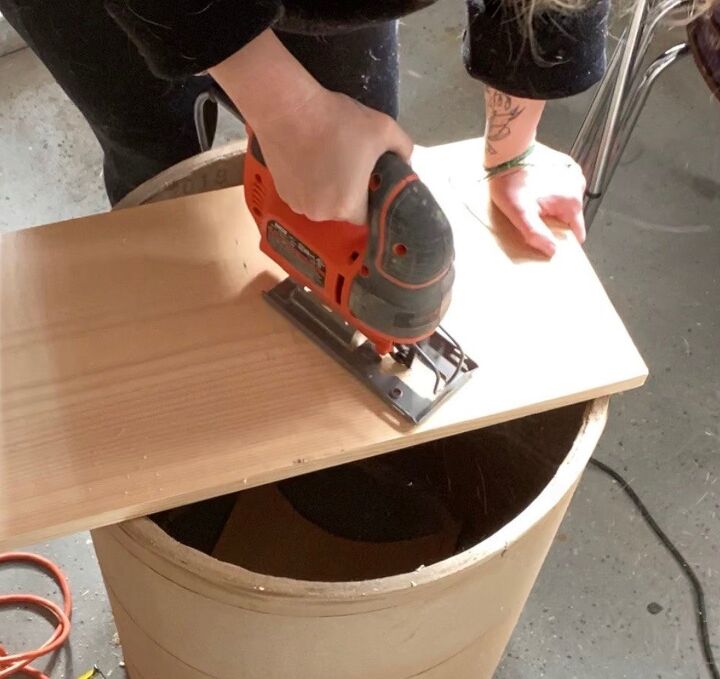
Cut your first piece with a jigsaw
Use your first piece as a guide to cut 3 more arches. You will have 4 total. Sand all of these smooth- especially the arch.
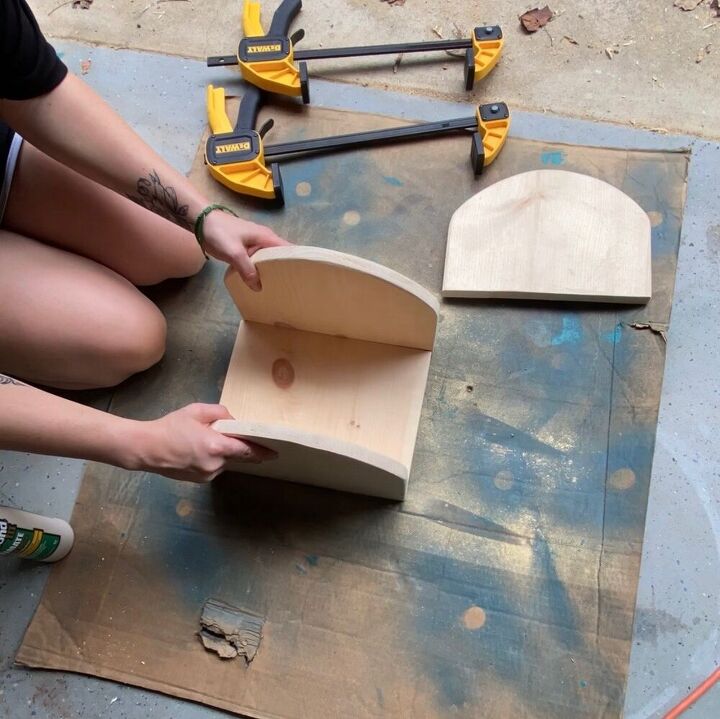
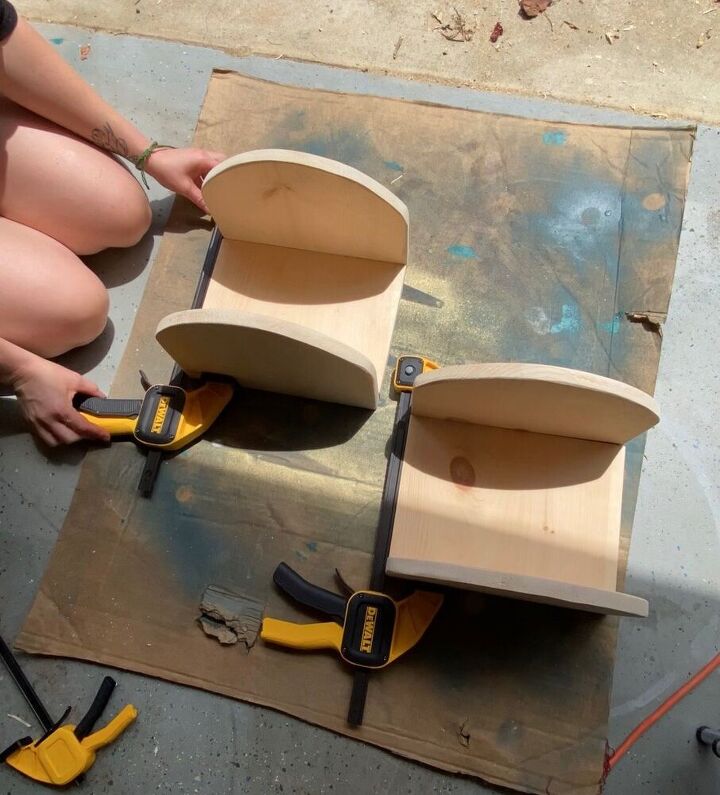
I wanted my back piece to be 8 inches long so that when I attach my top and bottom, it is about 10 inches total. Measure these and cut straight across with a table saw. Sand smooth
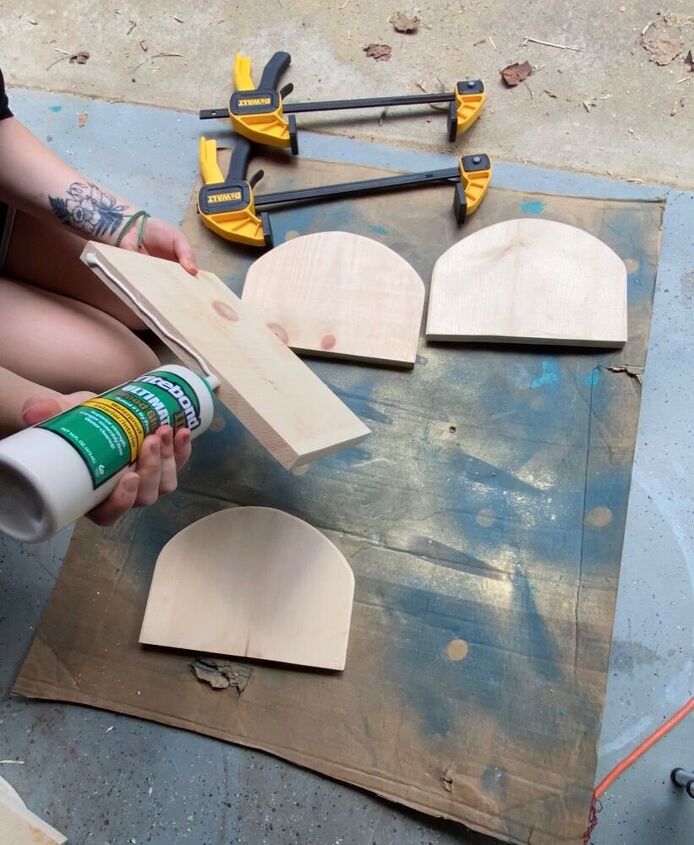
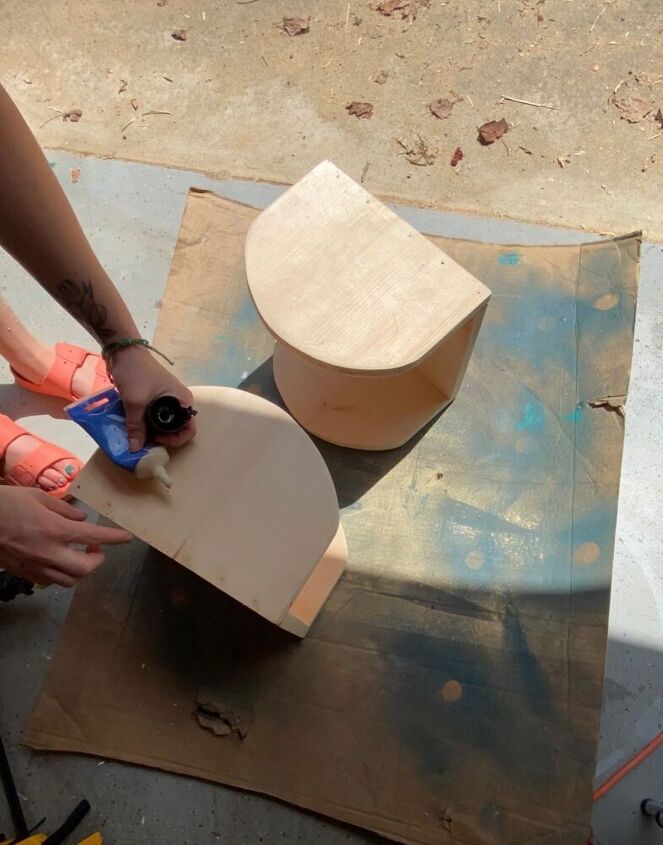
I used Titebond to glue my pieces together. I then clamped them and used my nail gun for extra stability.
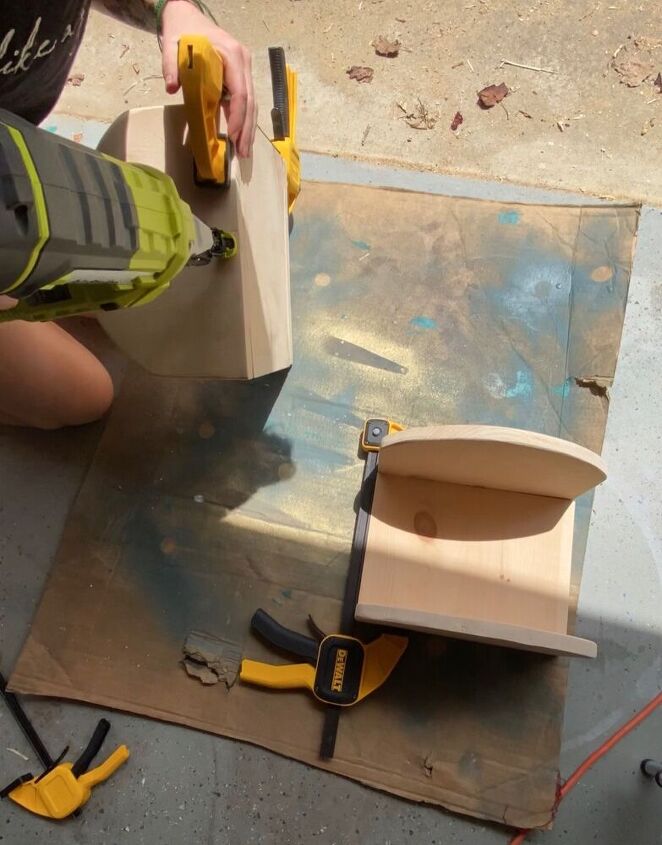
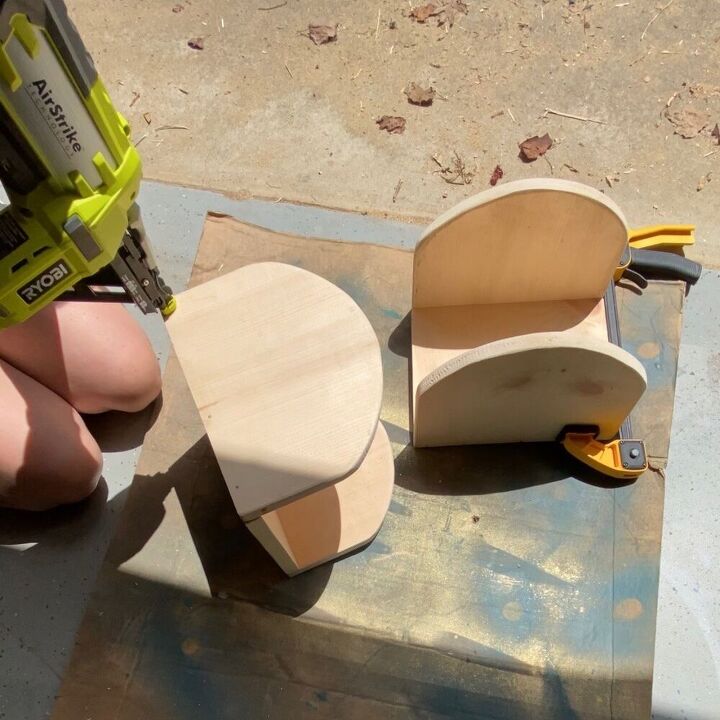
Use wood filler to fill any nail holes and seams and sand smooth.
I chose to leave my wood natural and just did 2 coats of polycrylic spray for protection.
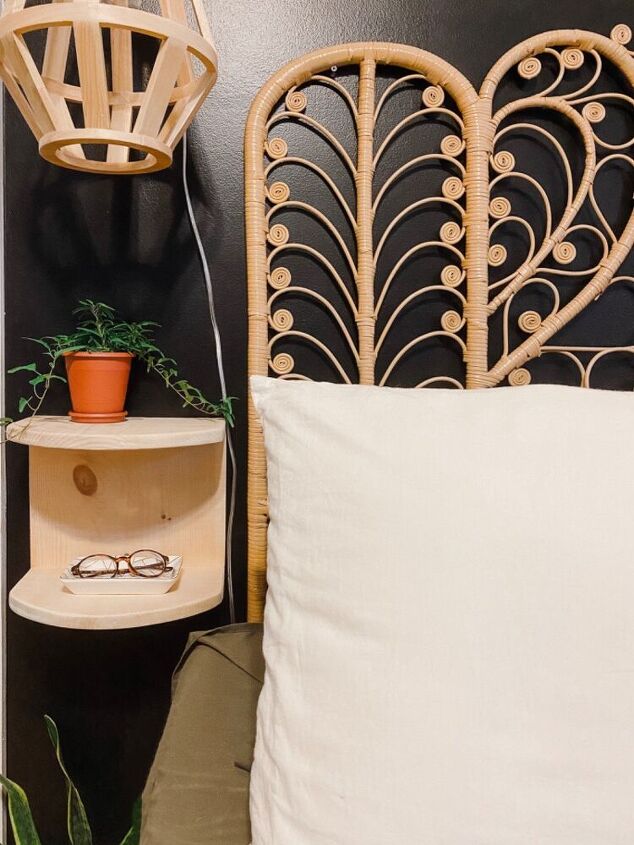
I just screwed my nightstands straight into the studs using 2 screws directly in the middle of the back piece of my nightstand. If you aren’t able to locate a stud, use anchors and pre drill your holes.
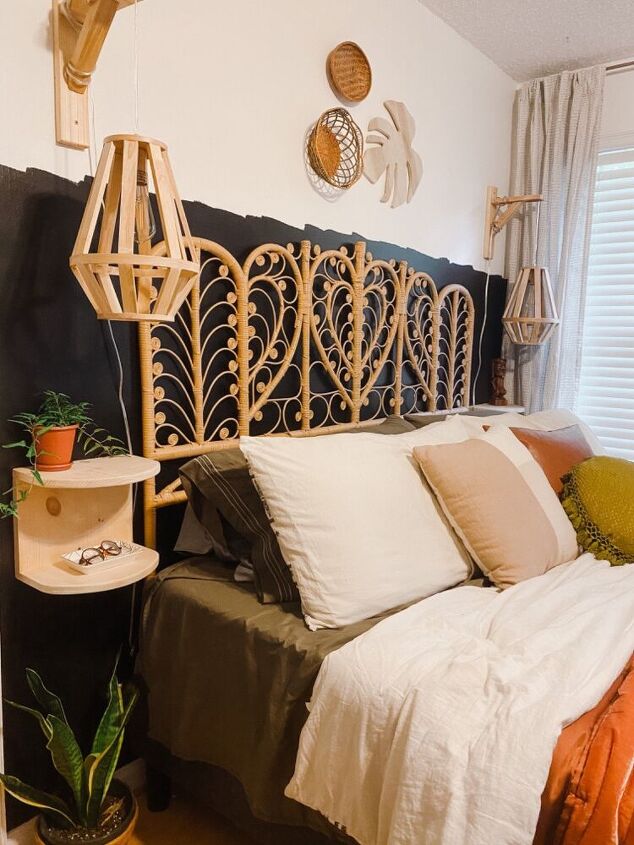

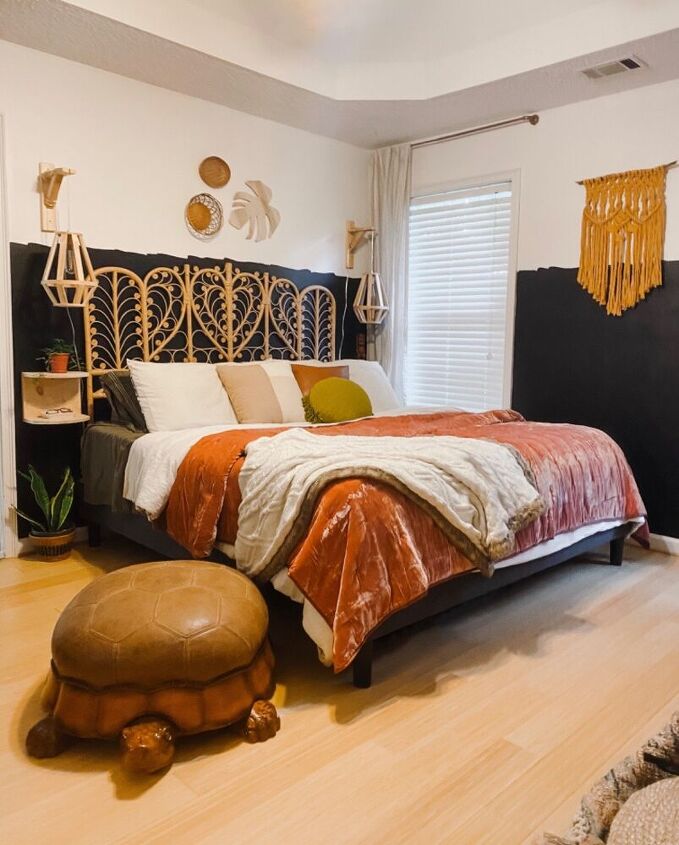
This has been the perfect solution for us in our small space. I placed a small basket under the bed to hold my hand lotion, chapstick, etc that I normally would have inside a nightstand. Not having an extra place to shove clutter has been such a freeing feeling.
Visit my instagram www.instagram.com/baker.blooms
for the videos and more views.
Resources for this project:
See all materials


Comments
Join the conversation
-
Now, this idea is perfect for our country house because they are easy, small, cheap and very comfortable and effective!!!!!
-
What a clever idea for space saving nightstands!! Your bedroom may be small but it is beautiful. All of the decor fits together as if it was done by a designer and the turtle is the perfect touch!! I love it ❤️ thanks for sharing.


Frequently asked questions
Have a question about this project?
You pulled the room together beautifully, I love your style especially the turtle, where did you find him ?
Would love to know where you got the footstool. That is so cool.
Did you also make the lights hanging from each side of the bed? I love them. Would you please share the instructions or where you purchased them? Thank you!