


Transforming IKEA Dressers to Chic Furniture With O'verlays
We needed white furniture but had the darker finish. To keep the makeover budget friendly, we decided to makeover 2 old dressers and give them a facelift.
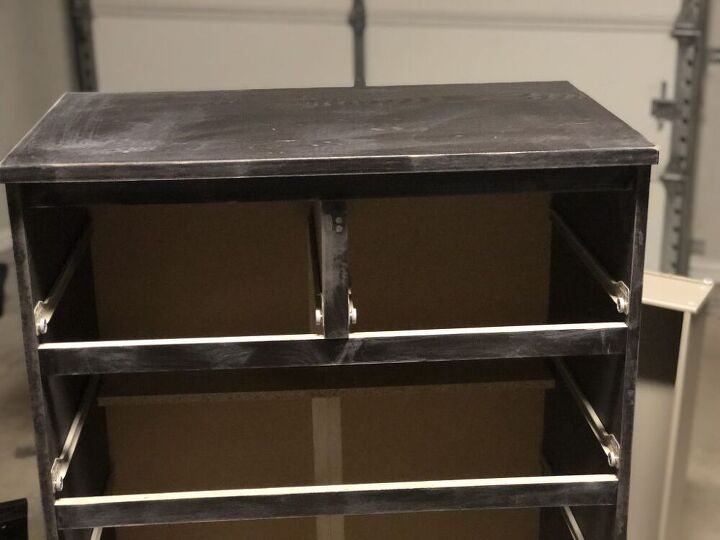
I began by sanding down the the pieces. I highly recommend painting each piece prior to assembly, with an orbital sander.
I began by sanding down the the pieces.
I used Tack Cloths and water to wipe down residue.
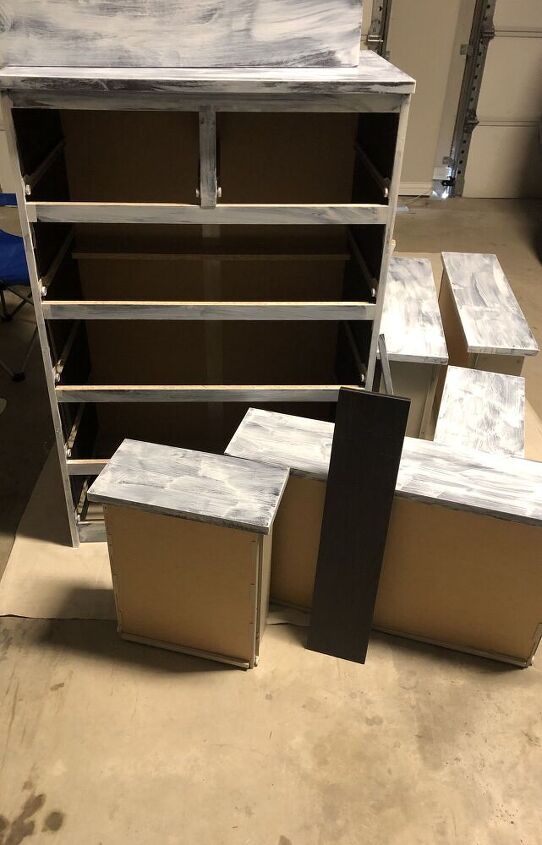
Due to the coating on IKEA furniture. It is important to select the right primer for the job. In this case BIN primer was what would work best. I applied using a paint brush but highly recommend a roller instead. I left to dry over night and sanded down with 220 Grit sand paper. The next step is to clean using the same method as mentioned above.
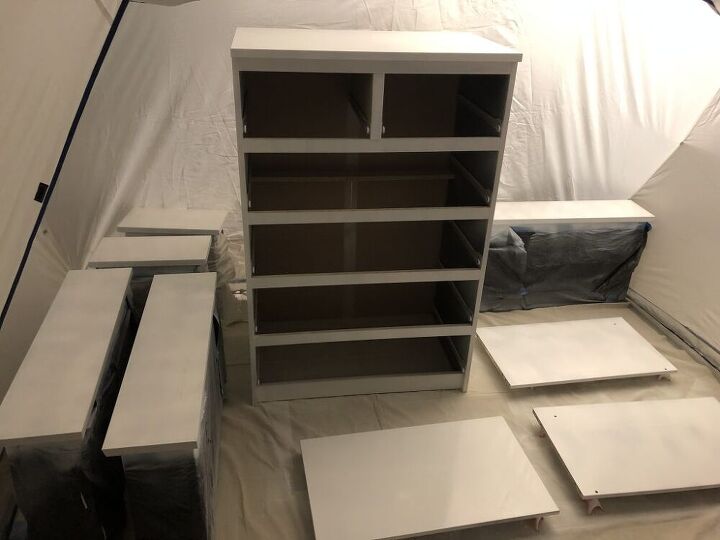
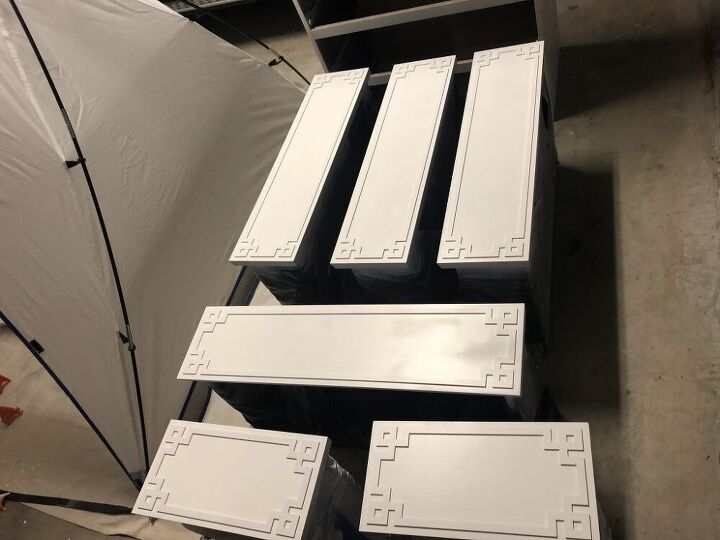
The next step was to paint. I applied the paint using a paint sprayer. Using a paint sprayer applies the coats evenly across your project. My paint of choice was a white furniture paint from my local home improvement store.
The spray tent also came in handy to set to be able to work in my garage after dusk.
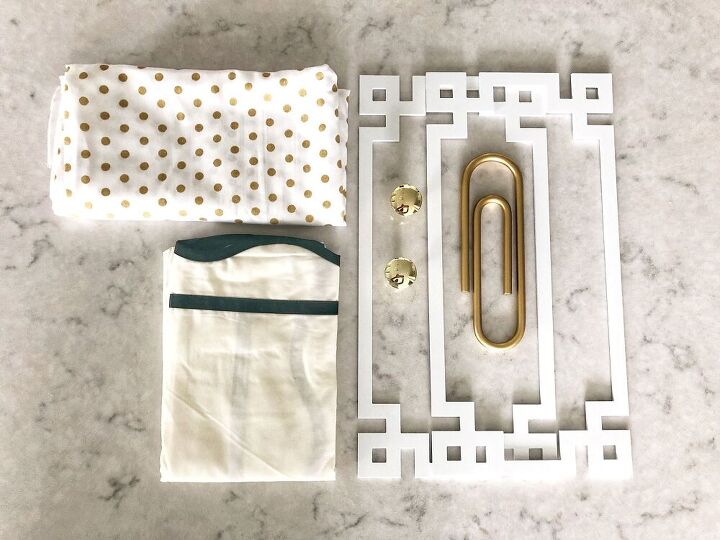
I applied a coat of paint to the O'verlays application as well.
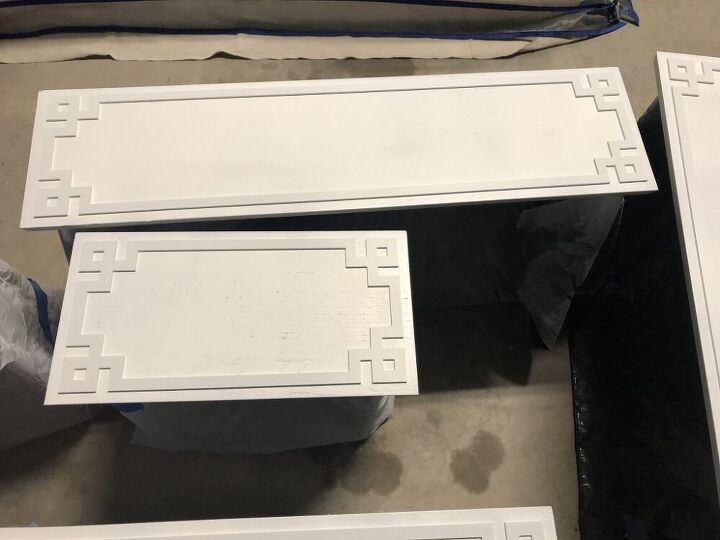
Once dried, it was time to attach. Using, liquid nails, I attached each O'verlay to the drawer fronts. I recommend laying it out first to make sure that you have optimal symmetry in placement.
The final steps involved a second coat of paint. Letting it dry for 24 hours. Once dried, I applied a polyacrylic sealer. This is important especially if furniture is used frequently or in high traffic areas. The next step was attaching the brass knobs to give it the chic look I was was going for.
This project was about a 4 day project due to the dry time between priming, 2 coats of paint and sealer.
The final look is exactly what I have imagined.


Frequently asked questions
Have a question about this project?