


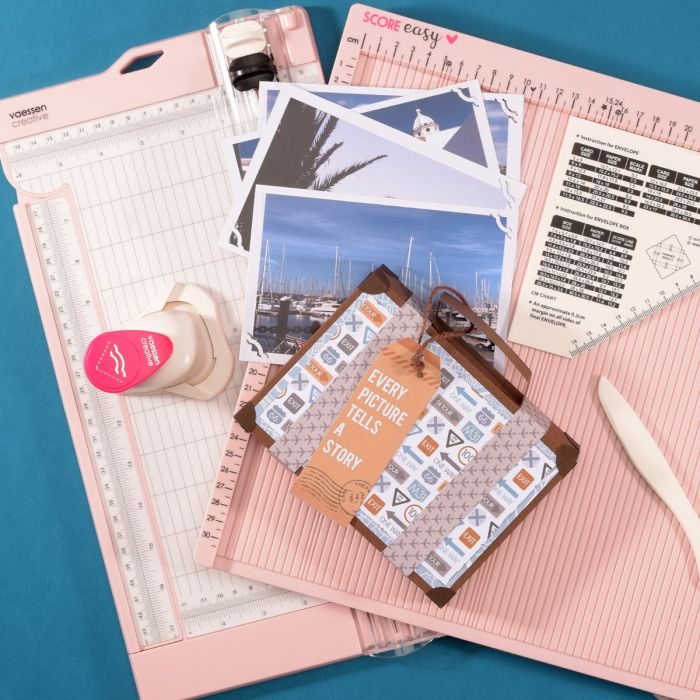
Handy Holiday-photo Case
The summer holidays create memories that we capture in the photos we take. In this age of digital photography, why not print out some of your favourite photos to keep in a home-made paper case. What a fantastic way to remember a great summer! Decorate your case with a meaningful quote and embellish it with personal details made of scrap paper, tags and stamps, etc.

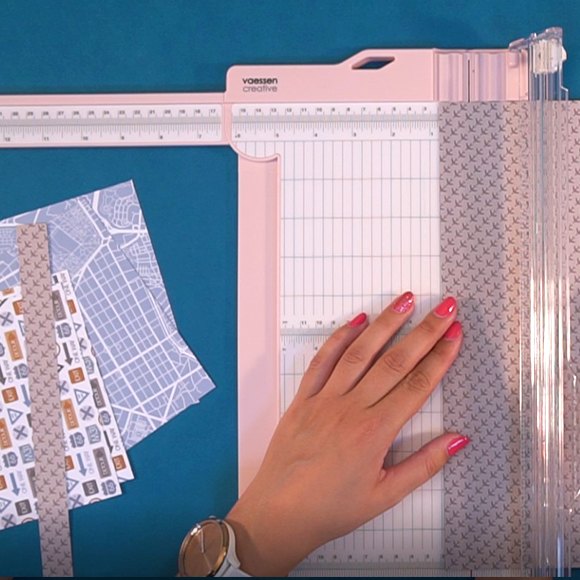
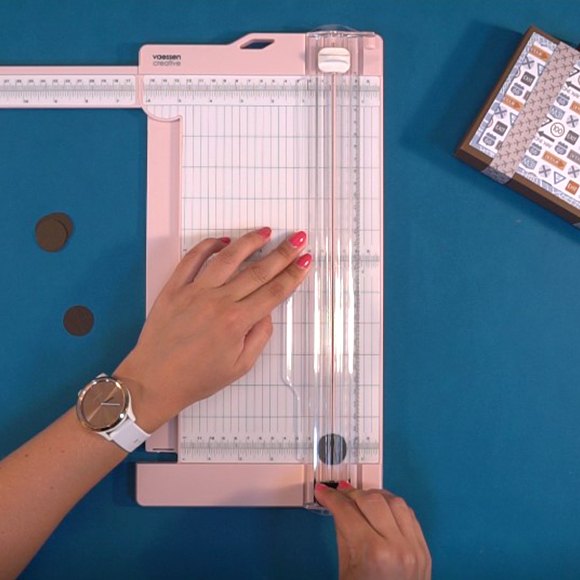
Start by using a cutting rule to cut out the paper for your case; it needs to measure 28 x 28 cm. Next, take the Score Easy scoring board and score the paper at 11.3 cm and 15.5 cm.
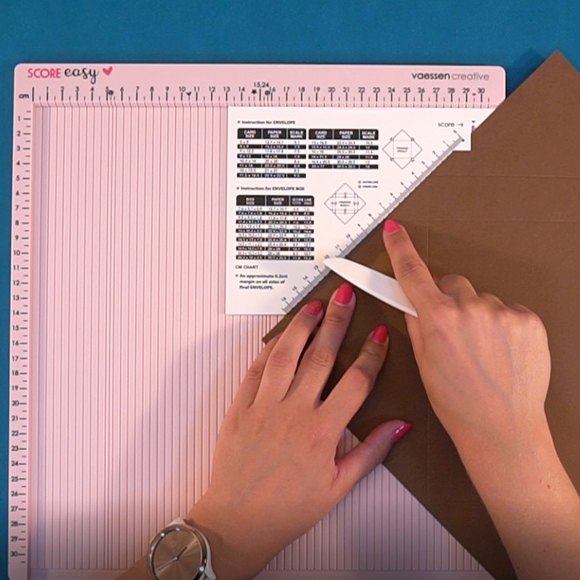
Then, rotate the paper a quarter turn and score at 14.8 cm. Finally, move on to the line scored at 15.5 cm in the previous step; align it at 7.5 cm and then score. Repeat the steps above until there are eight scored lines on the paper.

Fold the scored lines and cut the paper as shown on this photo.
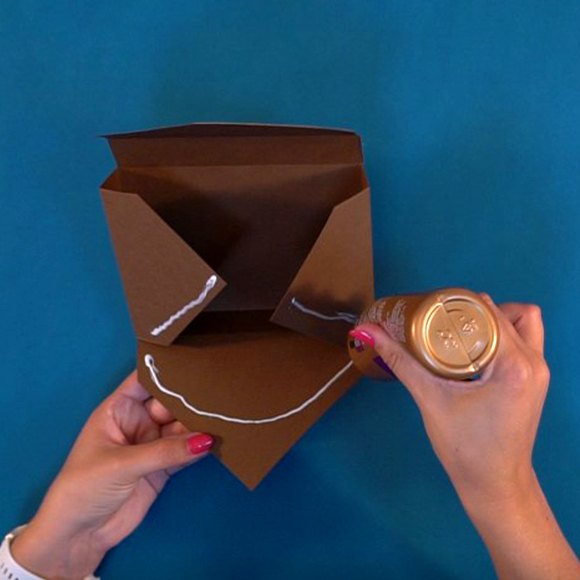
Glue down the flaps to create an envelope box.
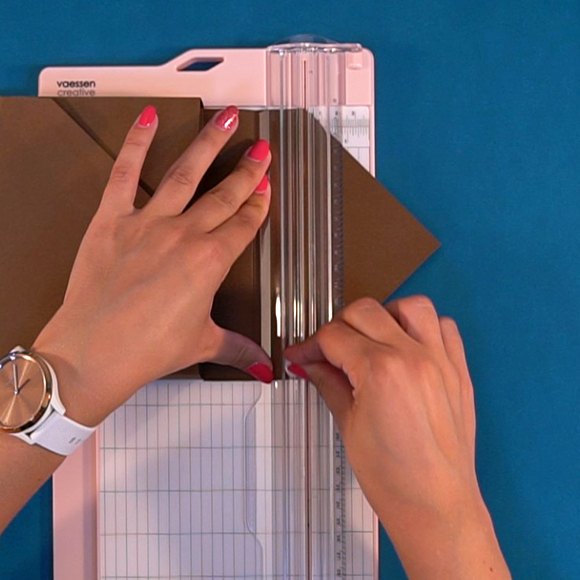
Cut the tip off the lid to make sure that you are able to shut your case.
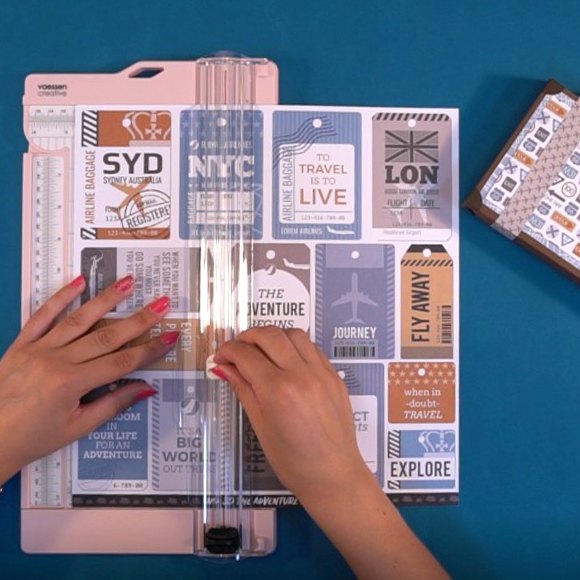
Cut two types of paper: one measuring 15.5 x 10.5 cm and the other 14.5 x 9.5 cm. Select a third sheet of paper and cut two strips measuring 2 x 30.5 cm.
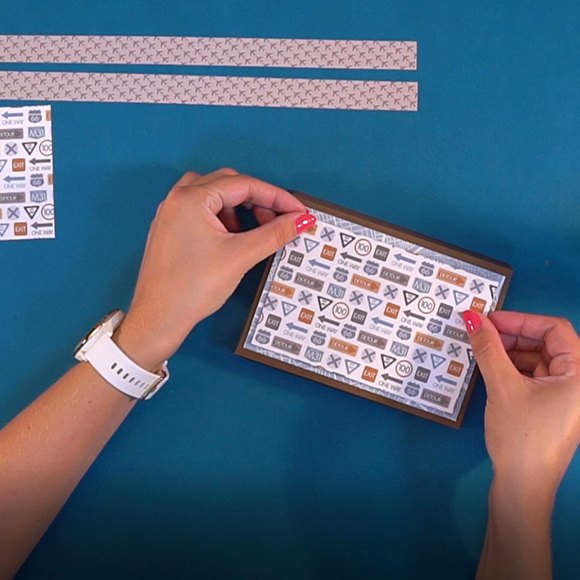
Stick the biggest piece of paper to the front and back of the envelop box. Next, stick the smaller piece of paper on top of it.
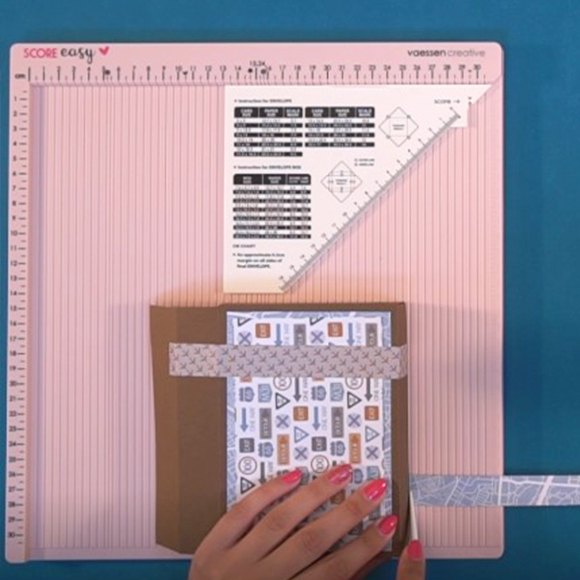
Take the scoring board and the strips of paper. Score and fold each strip at 0.5 cm and then stick to the inside of the envelope box. Use the scoring board to fold each strip of paper around the envelope box, gluing as you go.
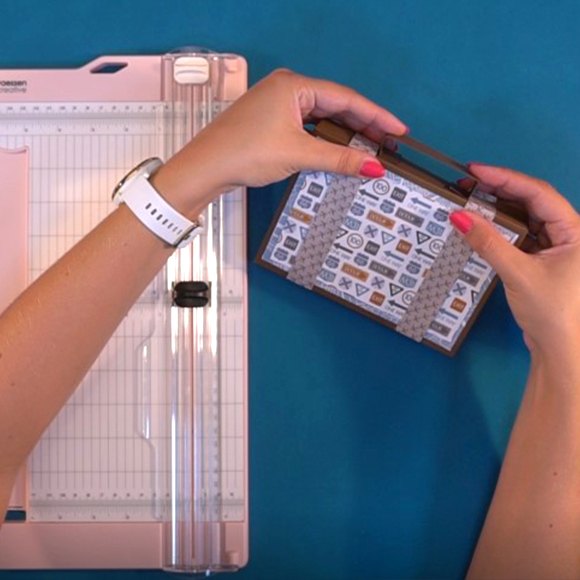
Now, create a handle for your case. Take a strip of paper measuring 13 x 2.5 cm and use the cutting ruler to create scored lines at 1.5 cm and 3 cm at each end. Fold and glue to the top of your case.
Punch circles from darker-coloured paper and score them in the middle, so that a cross is created on each.
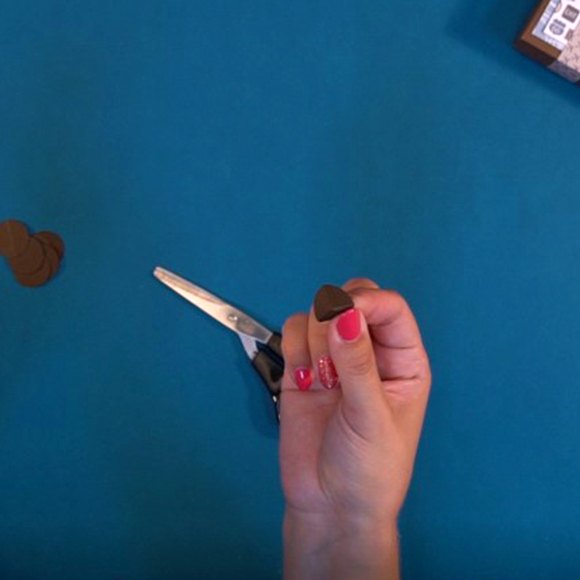
Cut into the middle of each scored line and fold it into a triangle, as shown on the photo above. Glue together the overlapping pieces. Next, glue each triangle to the corners of your case. Tip: cut the circles to be used on your lid in half and then glue in place so that you are still able to open your lid.
Cut out a label and hang it from your case with a piece of twine (hessian, for example).
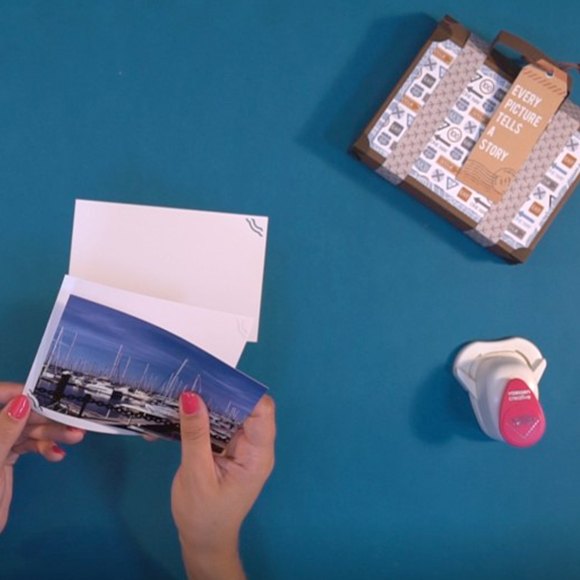
Take some white pieces of paper that are a little bigger than the photo you want to use. Next, use a photo corner punch to punch holes in two opposite corners of the paper. These holes will hold your holiday photos in place.


Frequently asked questions
Have a question about this project?