


Revamping Dollar Tree Frames and Wall Decals

Wall decals can be a fun addition to a room, but if you have textured walls, decals won’t stay. Also, if you like to change out your decor seasonally, the decals will lose their sticky and won’t stay the next time. Here’s a solution to both problems, that also makes the decals a little more classy.

Materials:
-Dollar Tree frames
-Wall decals
-Glue gun and sticks
OPTIONAL:
-3M Command Small Picture Hanging Strips
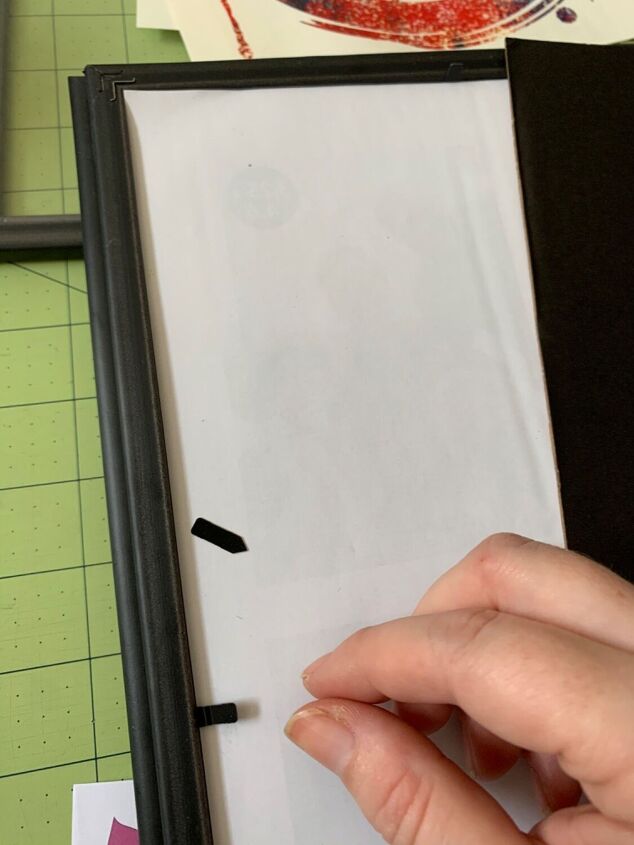
Remove the tabs along the back of the frames. Most of these come out easily by wiggling back and forth gently, a few may need to be pulled with pliers.
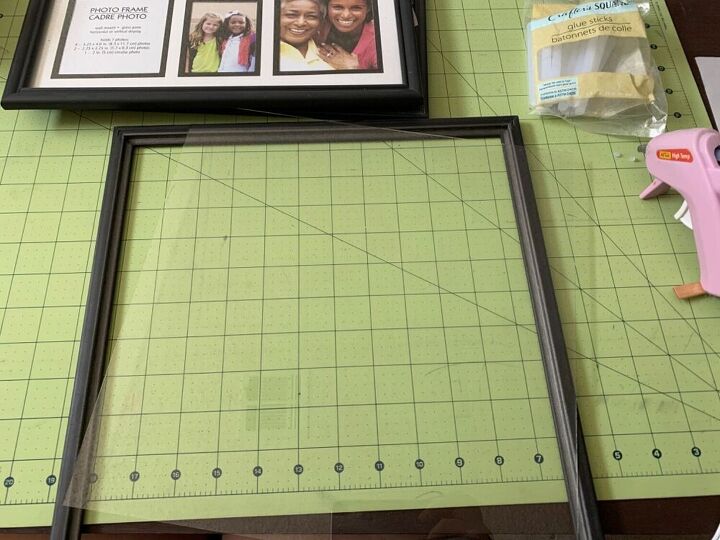
Remove all pieces, including the glass. Run a very thin line of hot glue along the inside edge of the frame and replace the glass.
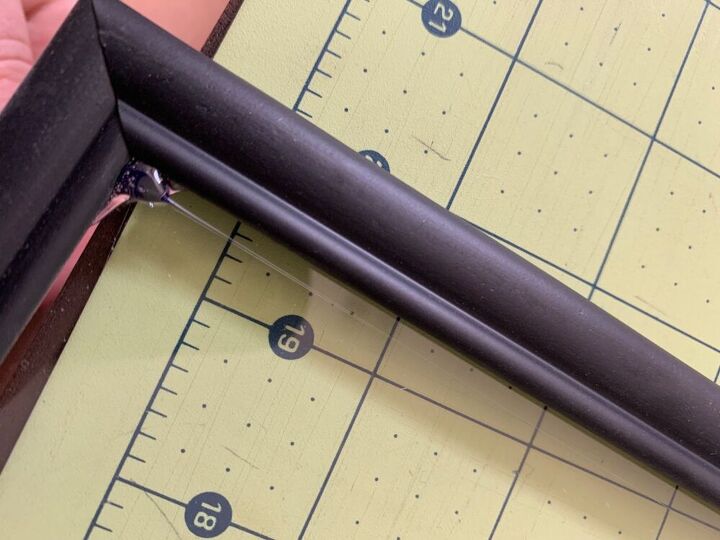
Try not to get the glue thick, or it will glob through to the front. Not a big deal if it happens, just use an exacto knife and cut the glob out after the glue hardens.
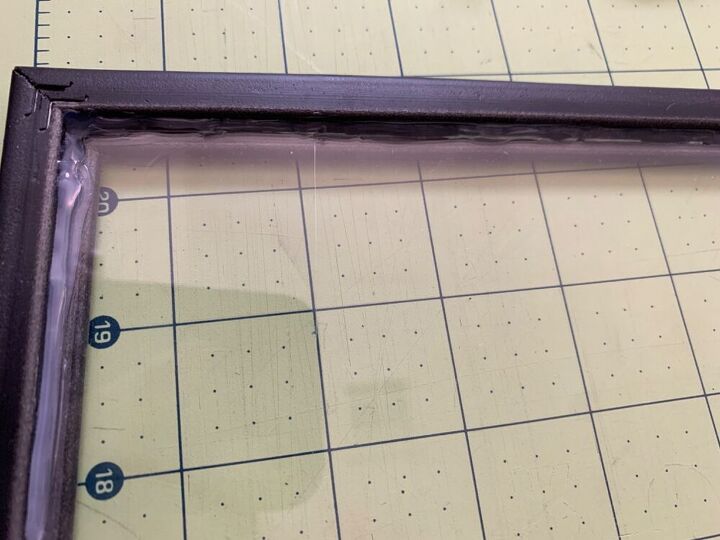
After the glass is in, run glue around the frame again, covering the glass edges.
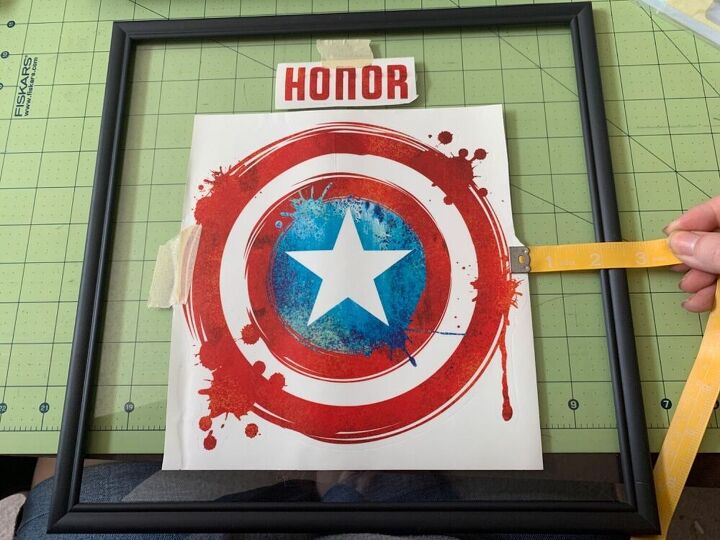
Flip the frame and glass over so the front is facing up. Line up your decals and tape in place along one side.
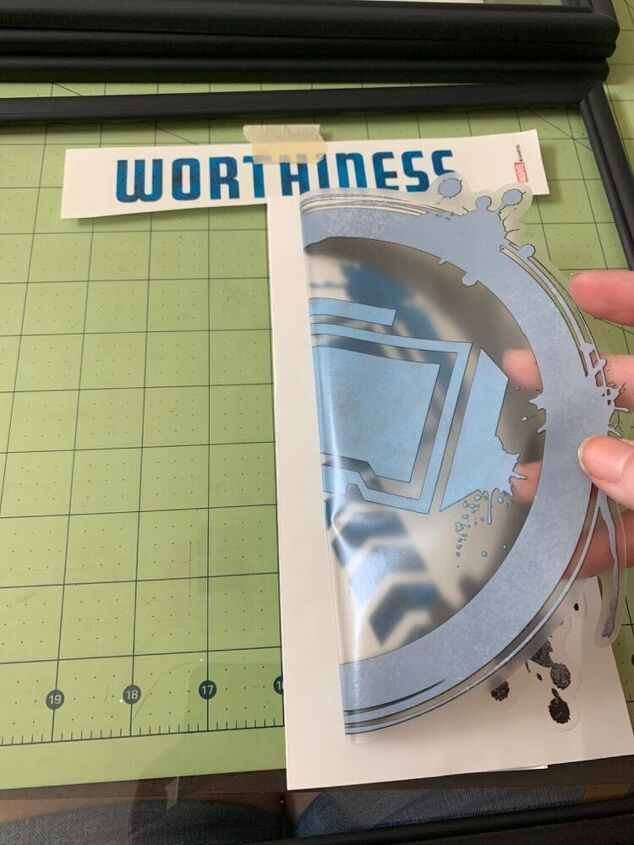
To place the decals, peel back part of the sticker portion and fold the backer underneath. Carefully stick the unpeeled portion in place, remove the tape and apply the rest of the decal. Go slow and try not to trap any air bubbles. Luckily, most decals can be removed and replaced, so if you do need to lift and adjust them, you can.
***Another option if you do not want the decal on the front of the glass: place the decal on a second piece of glass, then glue it inside the frame behind the first. You could also leave the tabs in the frame if you go this route, as the added glass will add enough thickness to replace the cardboard backing. Another piece of glass will also add weight to the frame, so keep this in mind when you hang them!
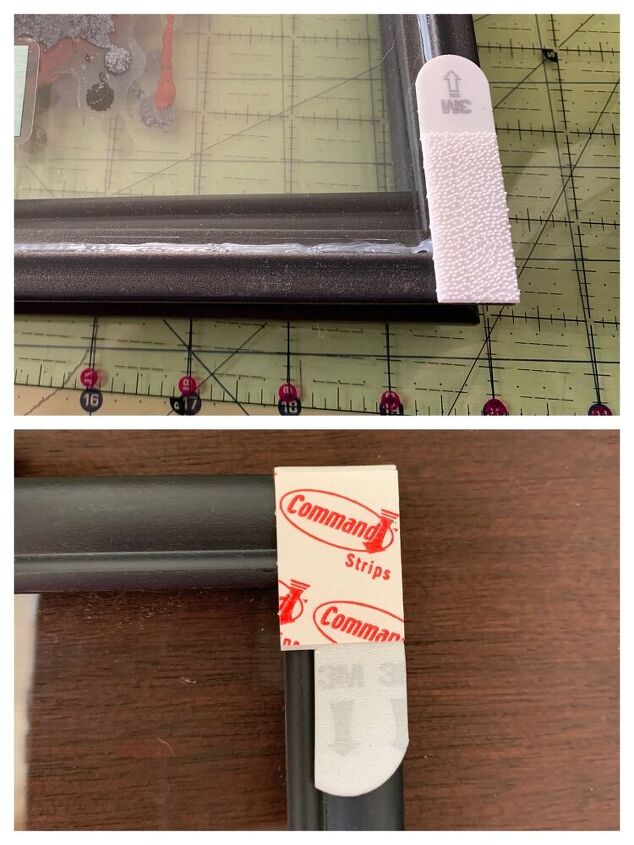
I like to use 3M Command Small Picture Hanging Strips on lightweight frames like this. They work like Velcro so you can easily take the pictures down and reposition. This option is great if you live in a rental or change your mind a lot and don’t want to put new holes in the wall.
Because these frames are very narrow, I did cut a small bit of the tab out so it wasn’t visible from the front after hanging the frames up.
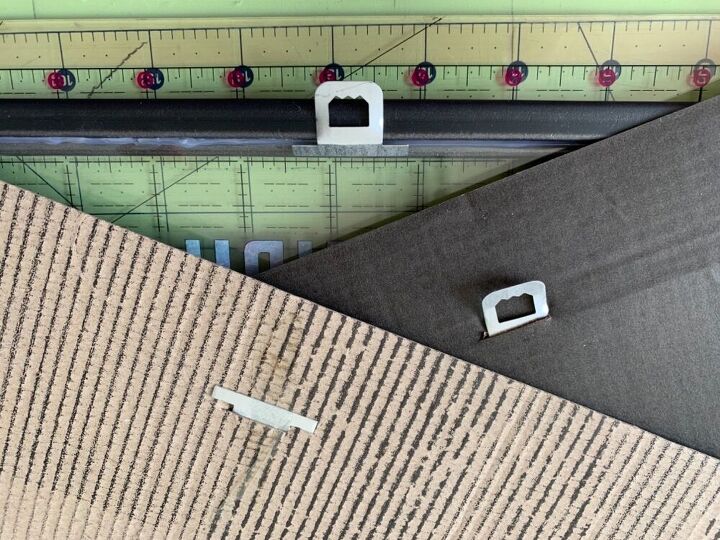
Another option is to take the hanging hardware out of the cardboard backing and glue it in place. On the Dollar Tree frames this piece is usually taped in, so it comes out easily.
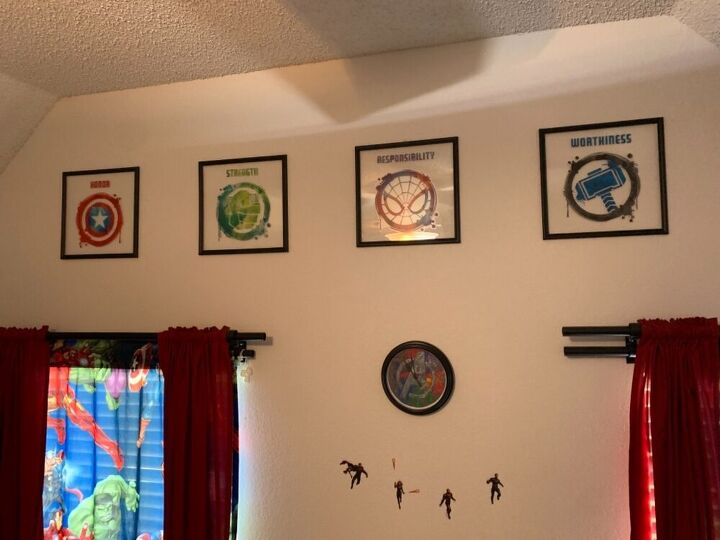
Hang up your new artwork and enjoy!
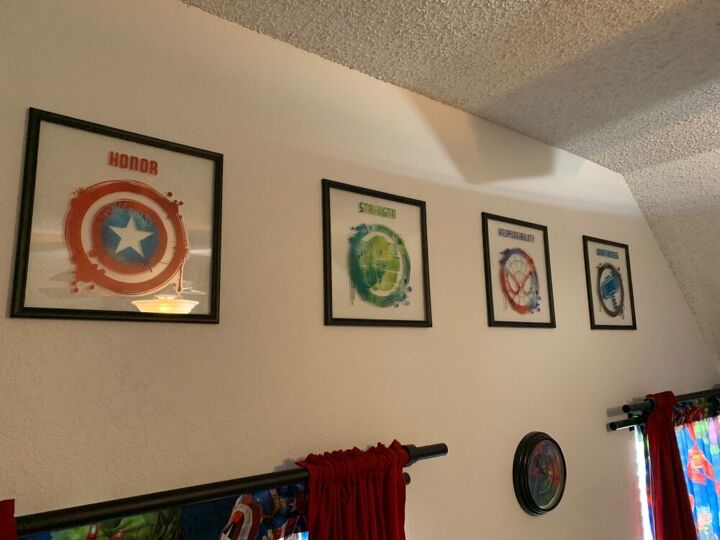
This looks particularly nice when your walls are painted and you can still see the wall color through the glass.


Comments
Join the conversation
-
 very inspired! Great idea and so easy.
 -
Yes, I agree, great idea and it turned out very cool looking as a "collection" on the wall.


Frequently asked questions
Have a question about this project?
I love this. Easy but creative. What size are the frames you used? I ordered decals. I want to get frames so I can have them ready for Christmas.
Thanks