


Drying Flowers and Mickey and Minnie

Today I am going to show you how I dried flowers and formed them into Mickey and Minnie! You know how I feel about Disney! I had never dried flowers before, and it is so easy!
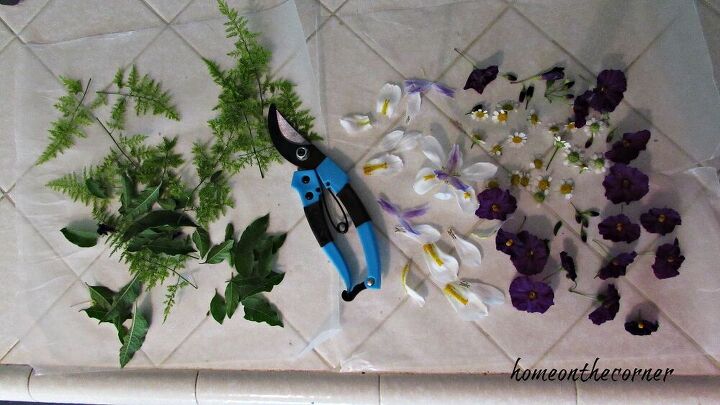
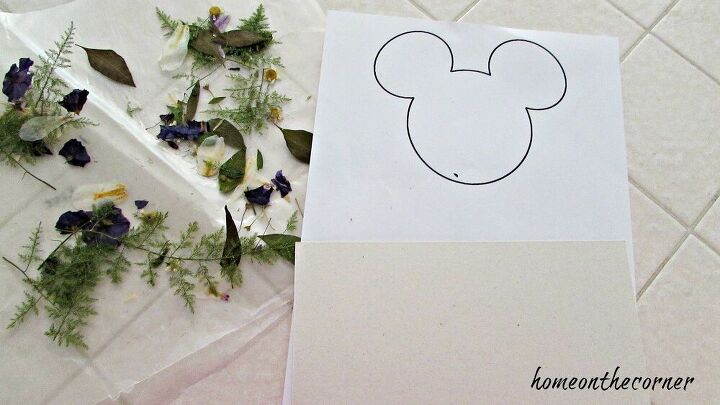
I went into my yard and cut a few different types of leaves and flowers from various plants. I cut some ferns, leaves, feverfew, blue potato vine, and some white petals of a flower I don’t know.
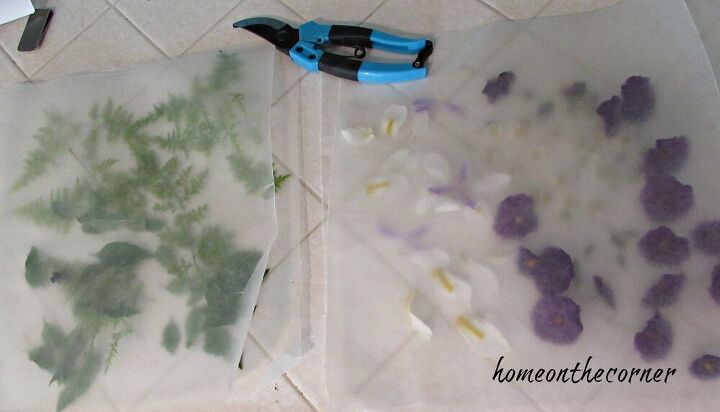
I laid out the leaves and flowers on some pieces of wax paper and covered them with another piece.
I carefully laid them in a large heavy book, between the pages. I also stacked a few more books on top just in case.
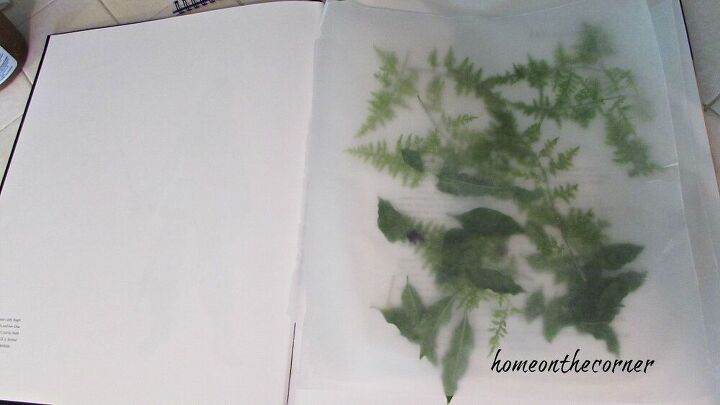
I carefully laid them in a large heavy book, between the pages. I also stacked a few more books on top just in case.
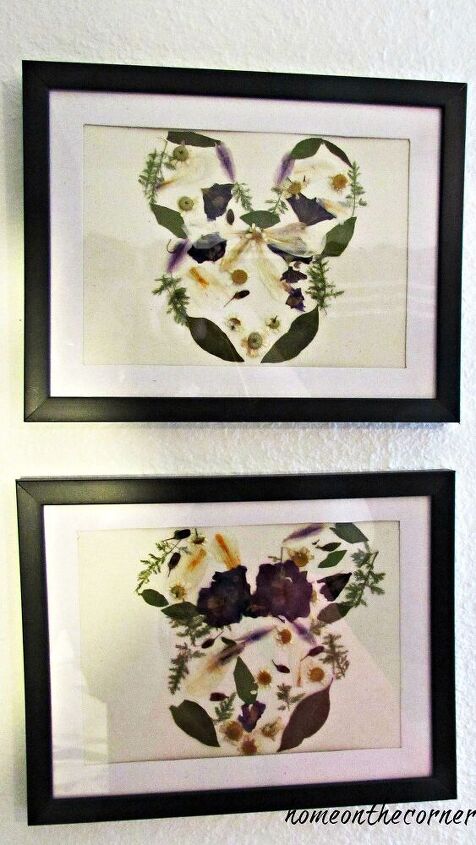
I printed out a Mickey head shape just to help me figure out the shape and size. I knew my paper would be a 5 x 7 so my printout was small enough to fit on the paper
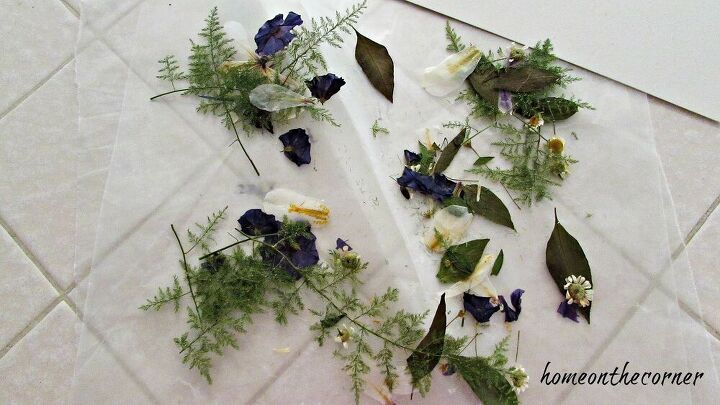
I started with the outline of the Mickey. I laid out the pieces into the general shape. I didn’t glue yet, I wanted to make sure it was formed right first. Once I had the outline, I started filling it in with other bits and pieces.
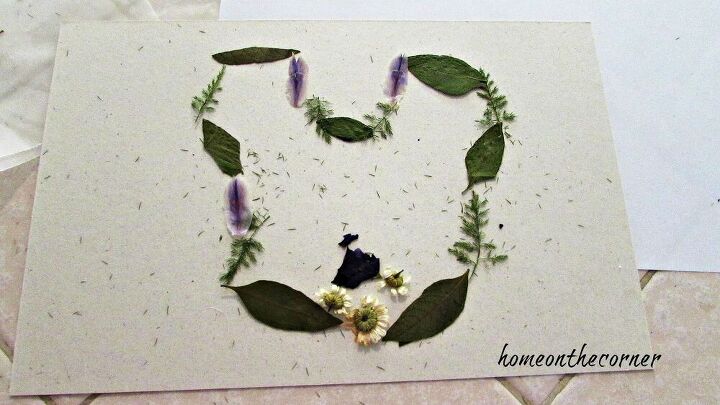
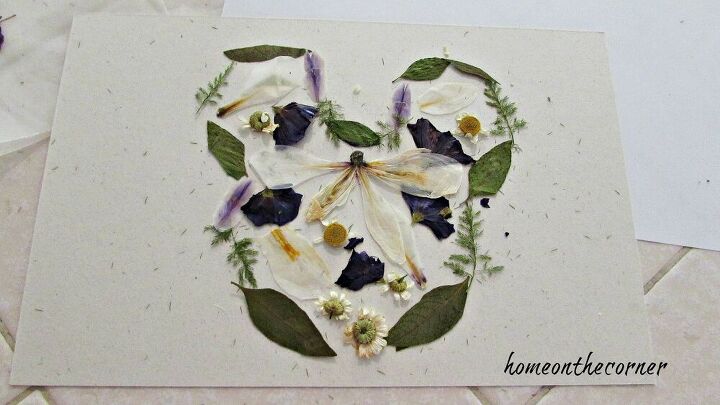
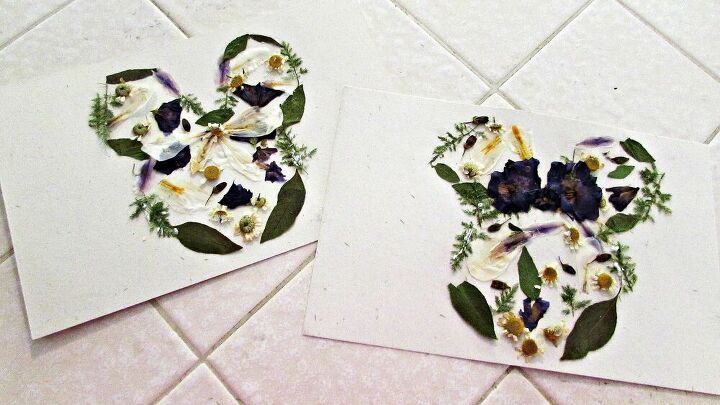
I cut the fern into small pieces and also took some of the petals off the flowers to fill it in. Once I was happy with how it looked, I started gluing the leaves and flowers onto the paper. I glued on the base pieces and then added a few more on top to feel it in. I also added a couple of large flowers for a bow for Minnie.
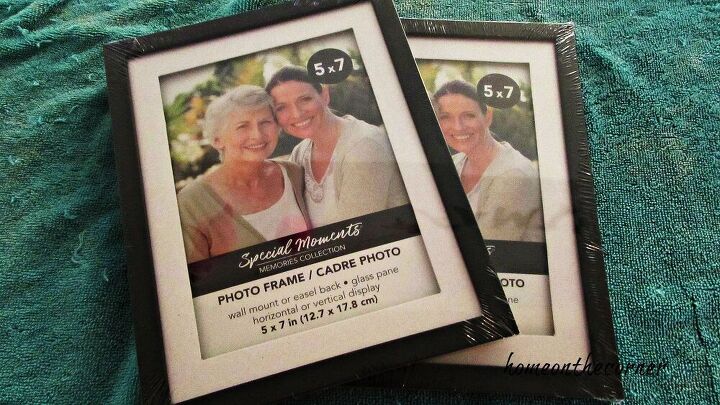
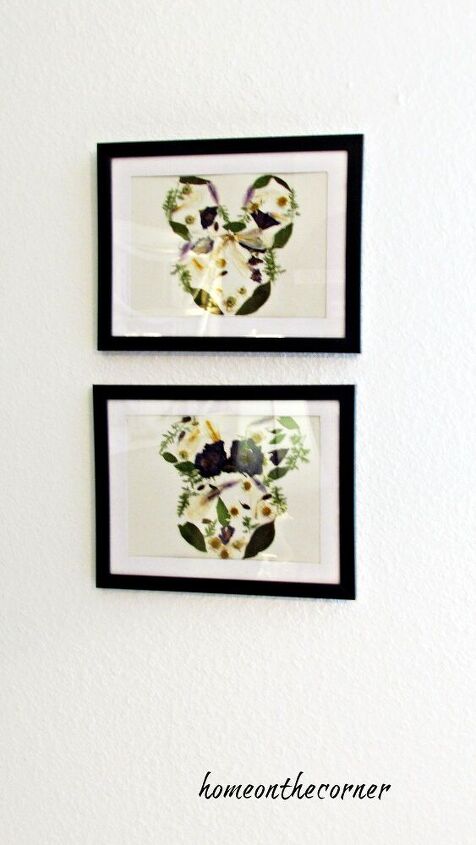
I bought a couple of 5 x 7 black frames from the Dollar Tree to hang the pictures in.
I hung them in the guest room, aka Haley’s room, aka the Disney room.
I’m not sure why I thought this would be so complicated, but it was pretty easy! I can think of so many other shapes to use this technique on. It would be nice on a Christmas card!
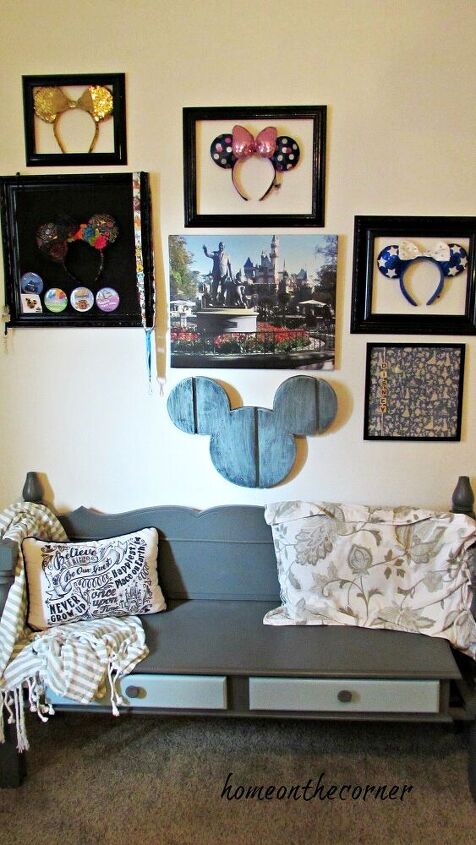
Here is my other Disney wall in the room. I have been collecting ears each time we visit Disneyland and hang them in a black frame. I love this gallery wall!
Come on over to my blog and see what other Disney things I have made!


Frequently asked questions
Have a question about this project?